Learn how to code a circle with JavaScript and ProcessingJS, and then try it yourself in the editor boxes.
This math + art + technology activity is designed to show how JavaScript programs can be used to make drawings and introduce kids to the coordinate system used.
This circle coding activity emphasizes the importance in the order of code, the coordinate grid, how circles are positioned by their center, and how to add color.

This activity is designed for kid coders with basic coding experience, but it can be adapted for younger learners as well. I did this activity with my oldest girls, 6yrs and 11yrs.
With my 6yr old, I talked about how we can write programs for a computer to make art just like her drawing. We talked about ellipses and that an ellipse is used to code a circle in Javascript.
She played with the parameters and I explained what smaller and larger numbers did for each parameter. We like to color with hexadecimals a lot, so we talked about hexadecimal colors and looked at the RGB decimal codes for each hexadecimal color.
The trick to keeping it simple with a young kid coder is to treat the activity as more of an exploration and create excitement about turning drawings into programs on a computer while inserting some key vocabulary.
Recommended: Circle Algorithm Art Unplugged Coding Activity
What is p5.js?
This activity uses p5.js, a library and set of tools that make it easy to use the JavaScript programming language for creative coding purposes.
p5.js is based on Processing, a creative coding environment originally developed by Ben Fry and Casey Reas.
One of the primary goals of Processing is to help artists, designers, educators, and beginners learn how to program interactive, graphical applications while also being an impressive tool for experts.
Activity Code
This activity introduces the following code:
- fill(color)
- ellipse(x,y,w,h)
- background(color)
How to Code a Circle
In order for the computer to understand how to draw a circle, you’ll need to give it information about where to draw the ellipse as well as what size it should be.
This information is given to a computer by using the ellipse function.
Please Note: This interactive coding activity is best viewed on a desktop or tablet. Mobile devices can be used to complete the lesson with scrolling or in landscape mode.
The Coordinate Grid
Before we can plot our circle, we need to understand how the canvas grid works.
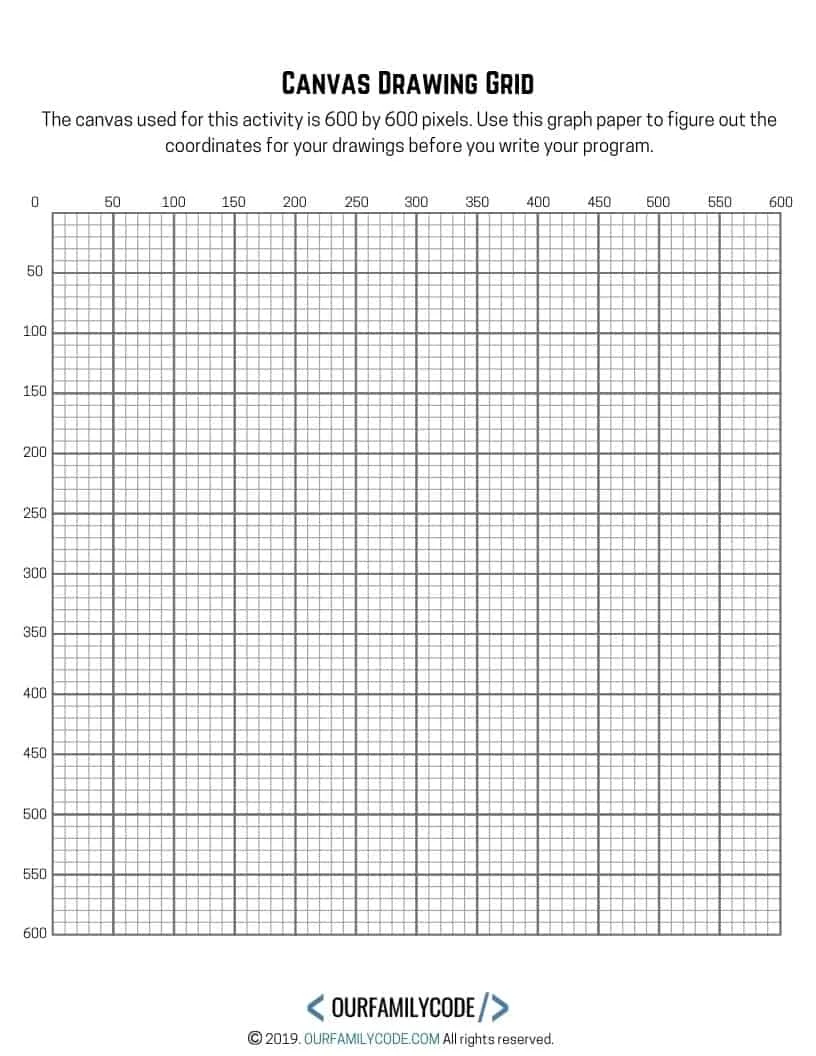
You should print a canvas drawing grid to help you figure out the coordinates for your drawings.
<<CLICK HERE TO DOWNLOAD A FREE CANVAS DRAWING GRID>>
The canvas size used for this activity is 600×600, which means that the center of our canvas is (300,300).
Parameters
The numbers that go into the parentheses are called parameters. Parameters are information passed to a function to customize it.
In our program, we are calling the ellipse function and passing it four parameters to change how the ellipses are drawn. The first two parameters control the position of the ellipse while the second two control the size of the ellipse.
Parameter X
The first parameter is called parameter X. It determines the direction the ellipse goes across our canvas from the left side of the canvas.
In this activity, parameter X starts with 0 and ends at 600 and moves left (with numbers closer to zero) and right (with numbers closer to 600). Adjust the first parameter and hit “Play”.
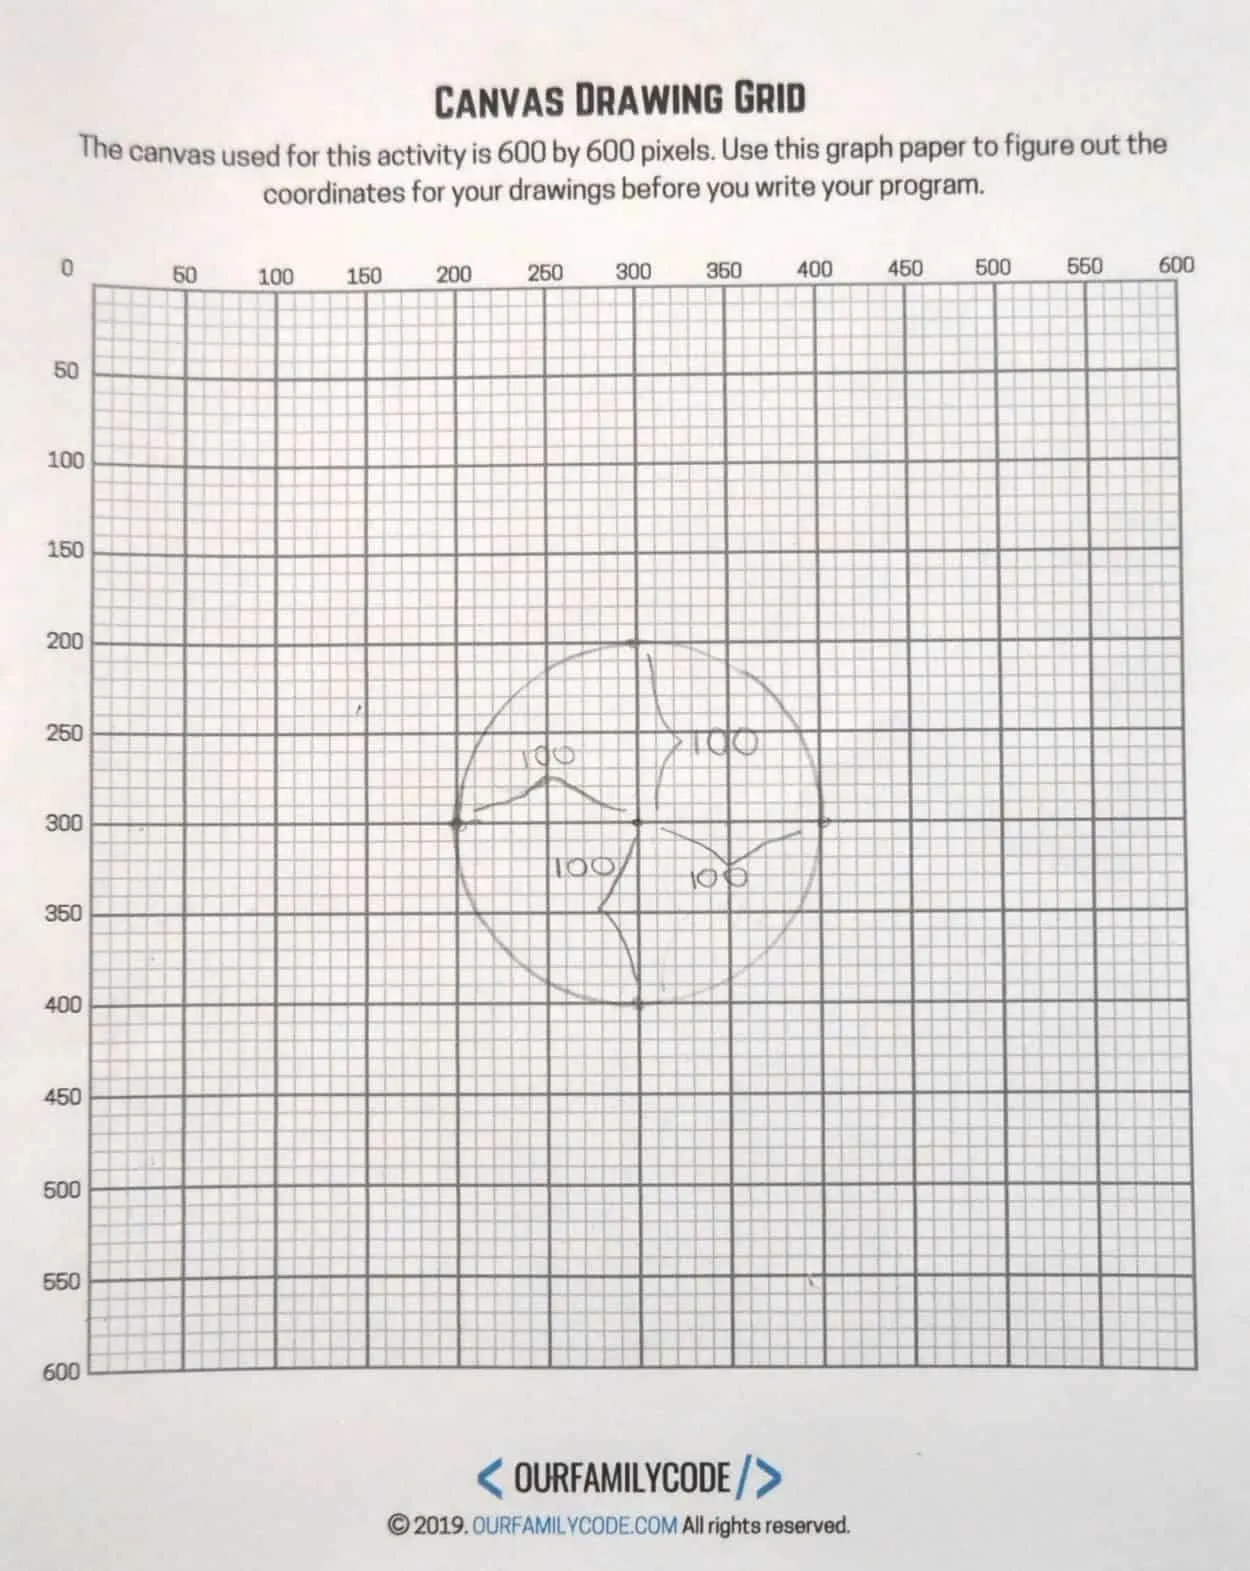
Parameter X Grid Drawing
Check out how this ellipse looks on a grid drawing!
This ellipse is a circle because its width and height parameters are the same. This circle has a diameter of 200 pixels.
Parameter Y
The second parameter is called parameter Y. It determines the direction the ellipse goes down the canvas.
It starts at zero up in the top left corner and goes to 600 at the bottom of the canvas.
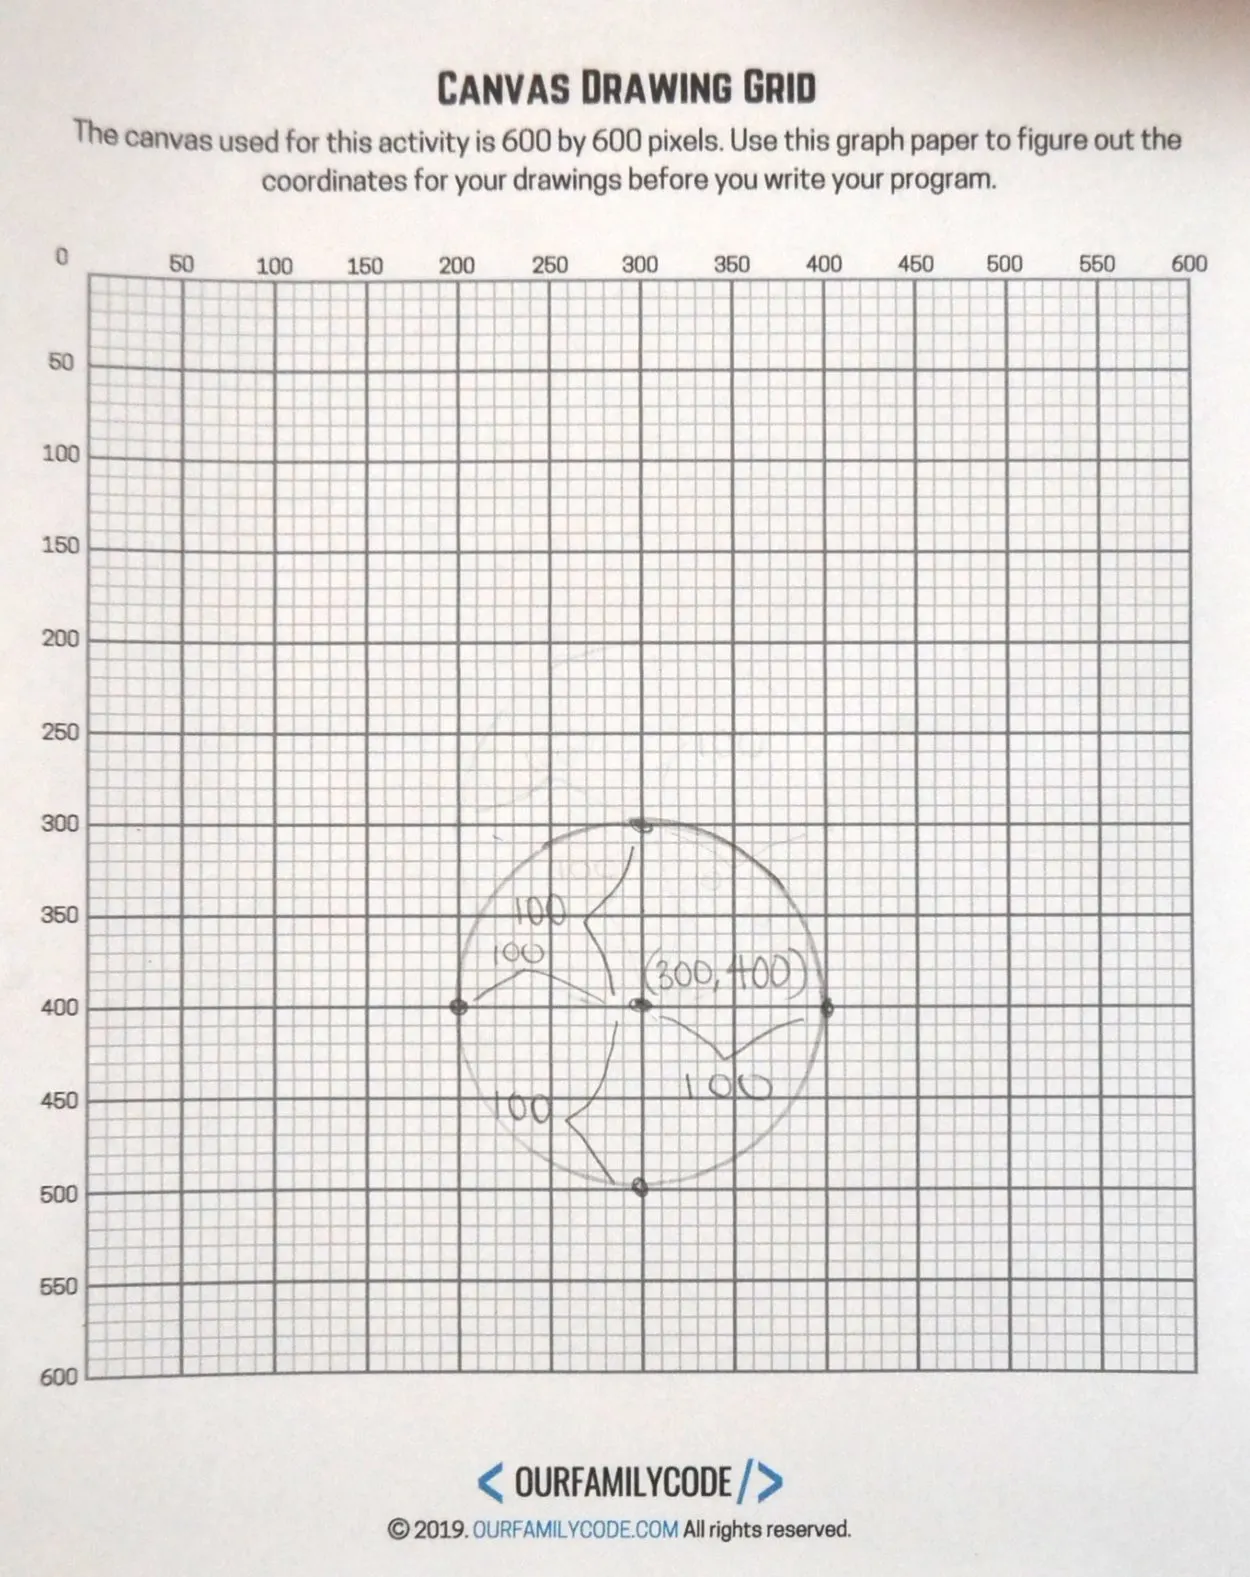
Parameter Y Grid Drawing
Check out how this ellipse looks on a grid drawing! The position of this ellipse is (300,400).
This ellipse is a circle because its width and height parameters are the same. This circle has a diameter of 200 pixels.
Width
The third parameter is called width. This changes how wide or thin the ellipse is.
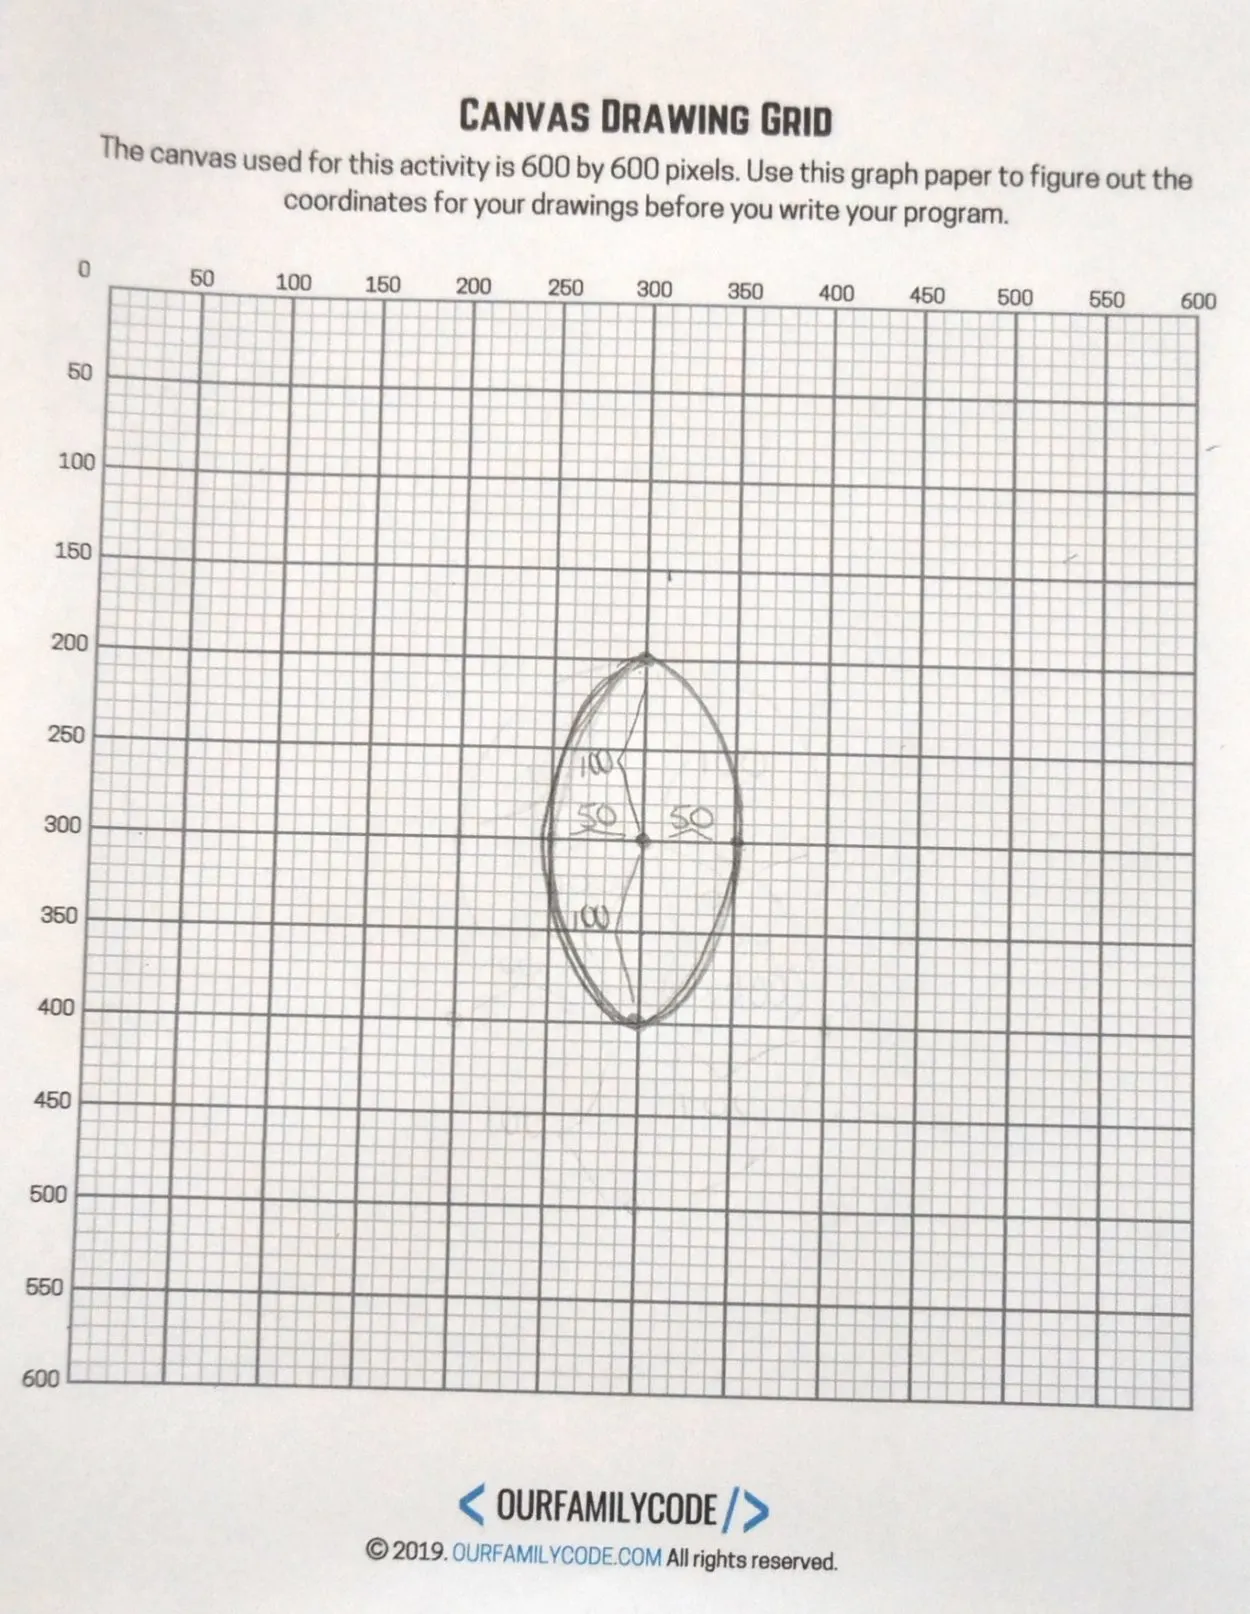
Width Parameter Grid Drawing
Check out how this ellipse looks on a grid drawing! The position of this ellipse is (300,300).
This ellipse has a width of 100 pixels and a height of 200 pixels.
Height
The fourth parameter is called height. This makes the ellipse taller and shorter.
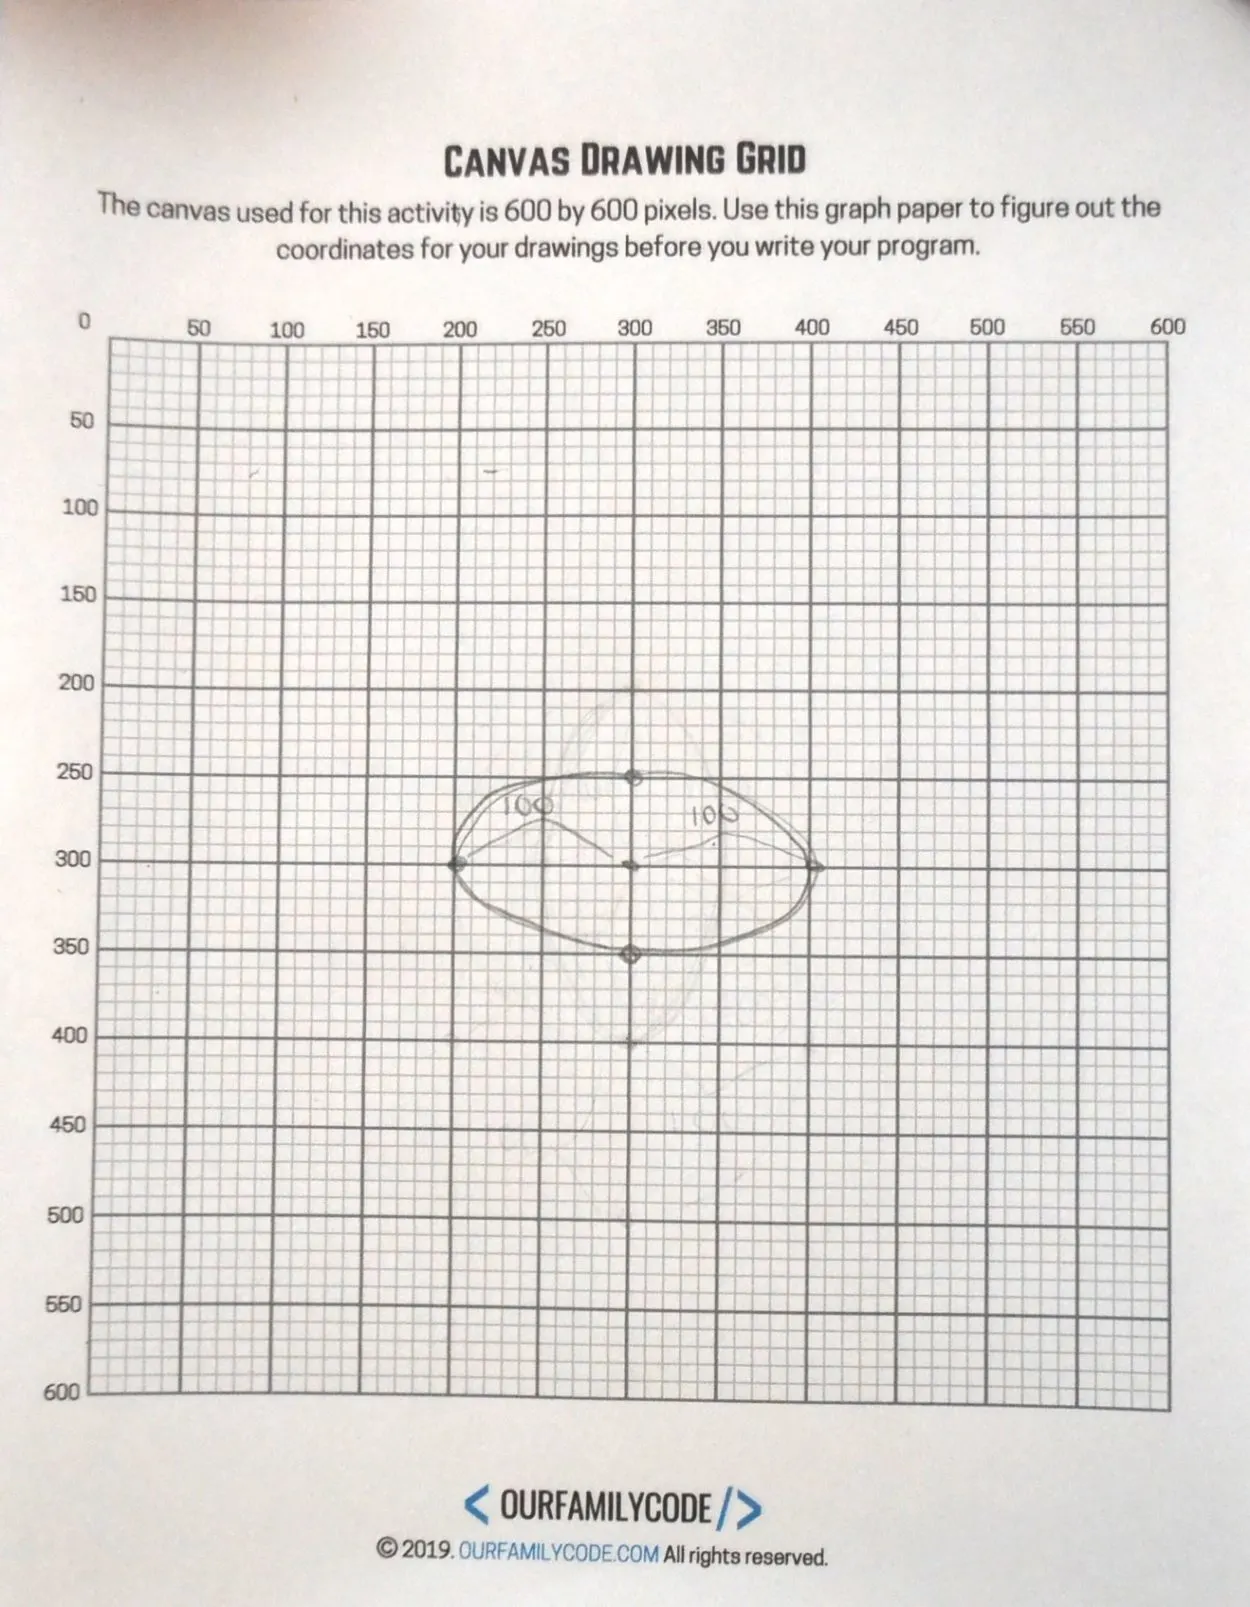
Height Parameter Grid Drawing
Check out how this ellipse looks on a grid drawing! The position of this ellipse is (300,300).
This ellipse has a width of 200 pixels and a height of 100 pixels.
The Importance of Command Order
Change the parameters of the ellipses in the editor below to match the parameters you chose above. What happened?
Adjust the parameters until you can see all of the circles. Did you notice how the order of your code matters to the placement of the circles?
Commands run in order from the top to the bottom, so the order of your ellipses matter if you are trying to layer the ellipses to make an image.
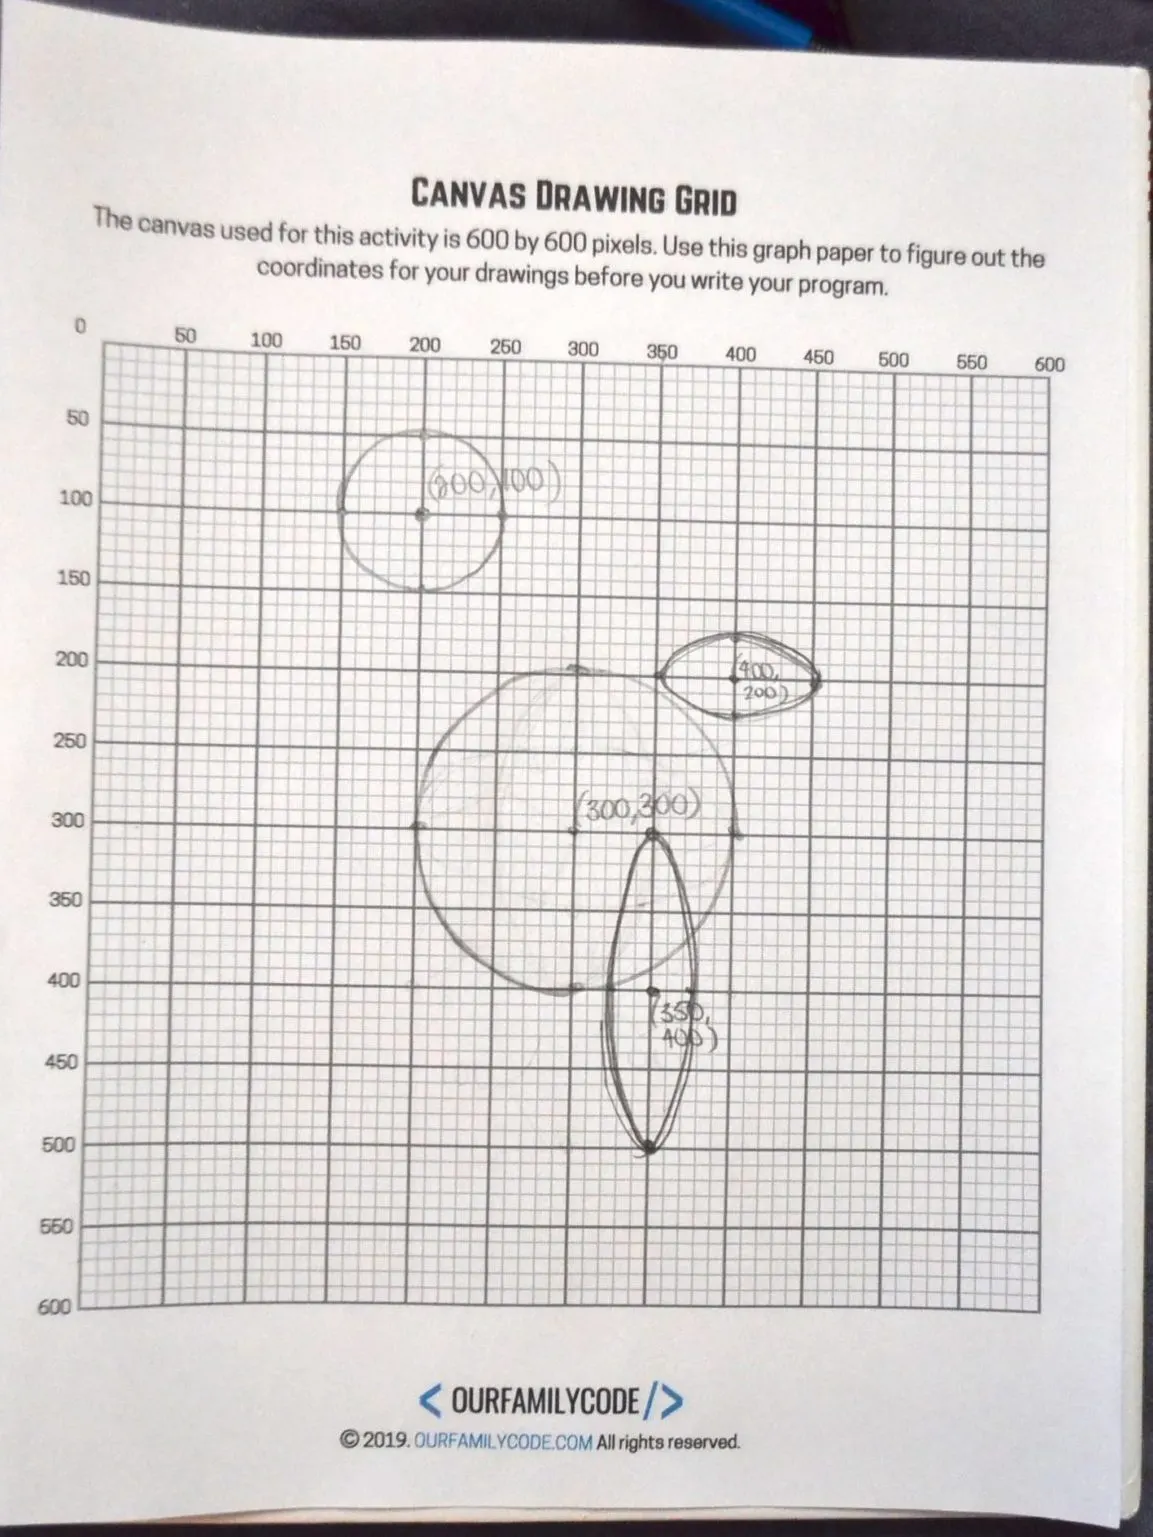
Do you see how ellipse(350,400,50,200) is on top of the others? That is because it is the last command to run. Move it to the first ellipse position and see what happens.
Change the order of your ellipses until you create a design that shows all circles. You can also play with our example below if you’d like!
Coding Circle Art
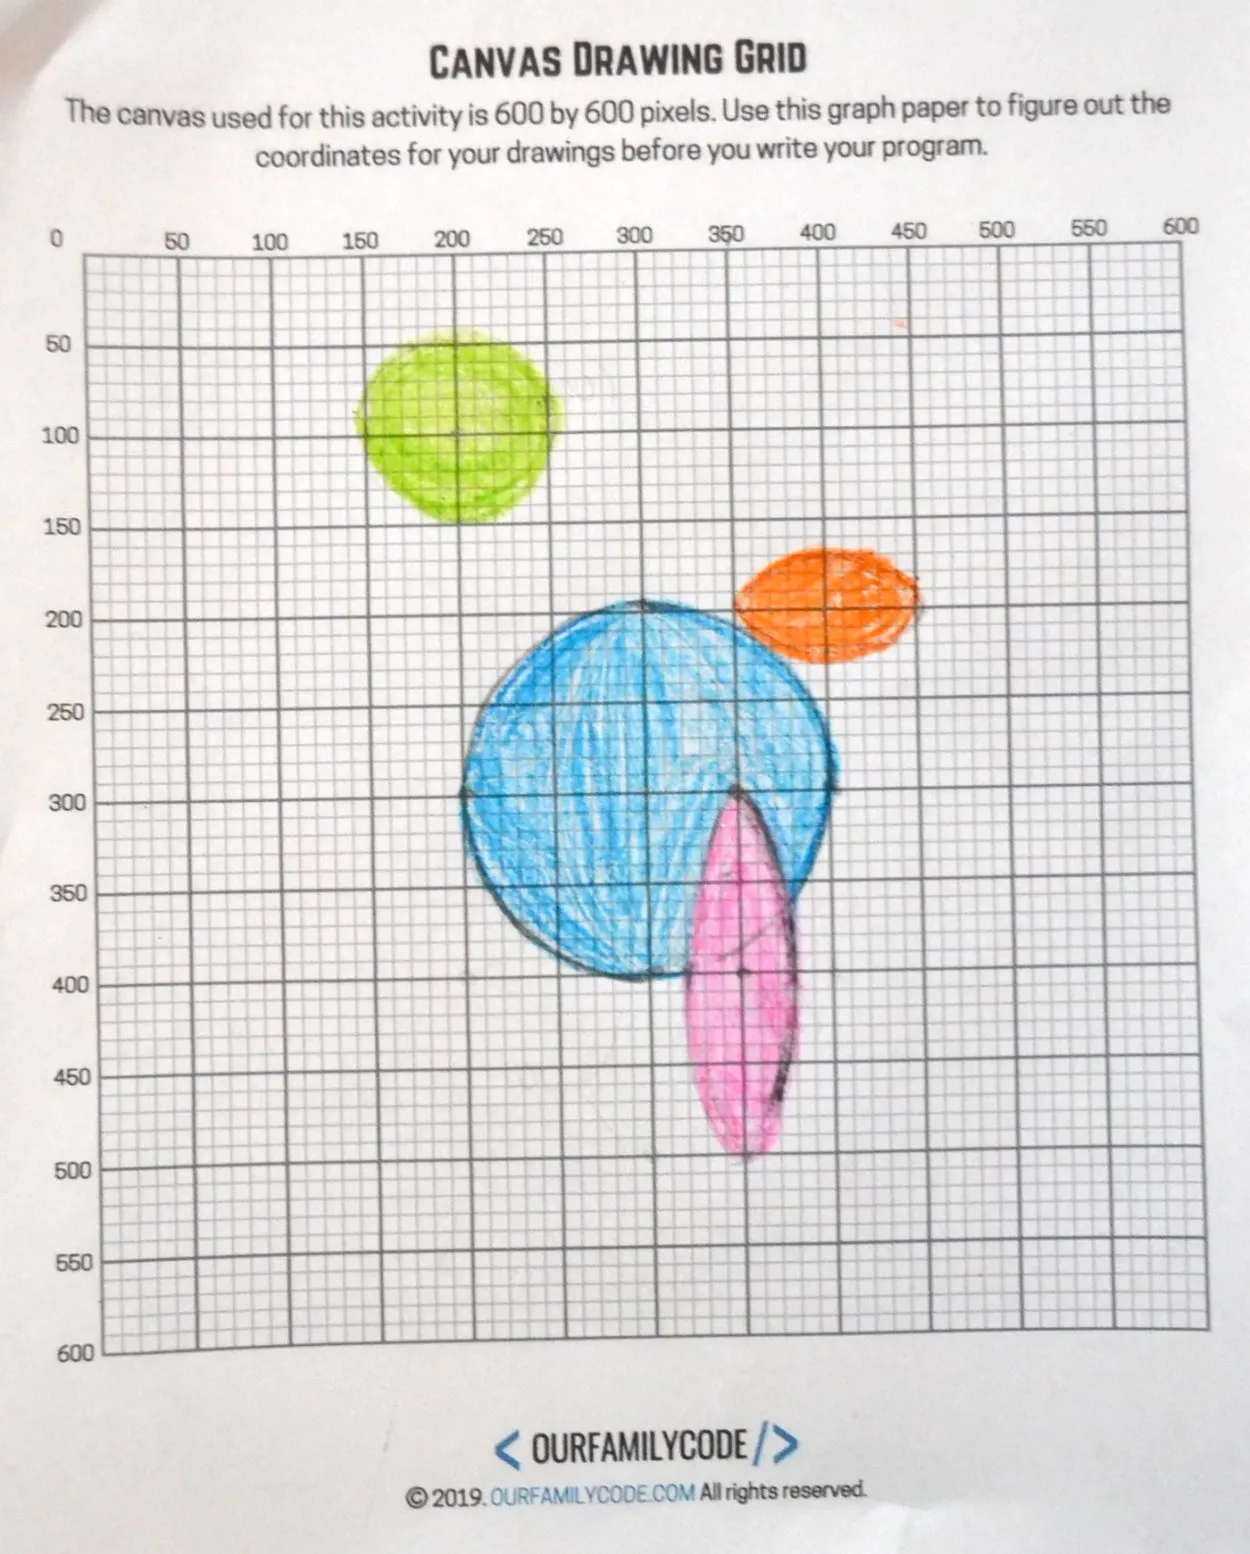
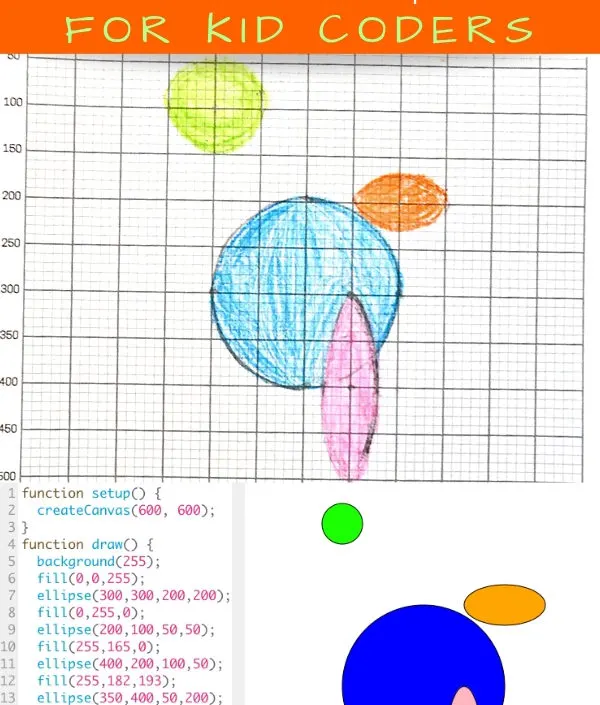
Now that we know how to make ellipses, move them around the grid, and order them to create art. We decided to turn our ellipses into art by adding color. To add color in JavaScript, we use the fill() function. The input for fill() is a color in RGB decimal form. For this activity, we used: blue (0,0,255), green (0,255,0), pink (255,182,193), and orange (255,165,0).
You can use the RGB Color Codes Chart from Rapid Tables to find more colors. You can also change the background color by adjusting the color in the background() command. Change 255 to 0 and see what happens!
To add color to each circle, you must call the fill() function before every ellipse. Remember that order is important. See our example below for help.
Tips to Remember:
1. Use one command per line
2. Each function must end with a ; (this is a common mistake!)
3. Commands run in order from the top to bottom
4. Order of parameters in commands matter
5. Each parameter must be separated by a comma
6. (0,0) is the top left corner of the grid, this is the origin of the grid
7. All x and y parameters on the grid are positive
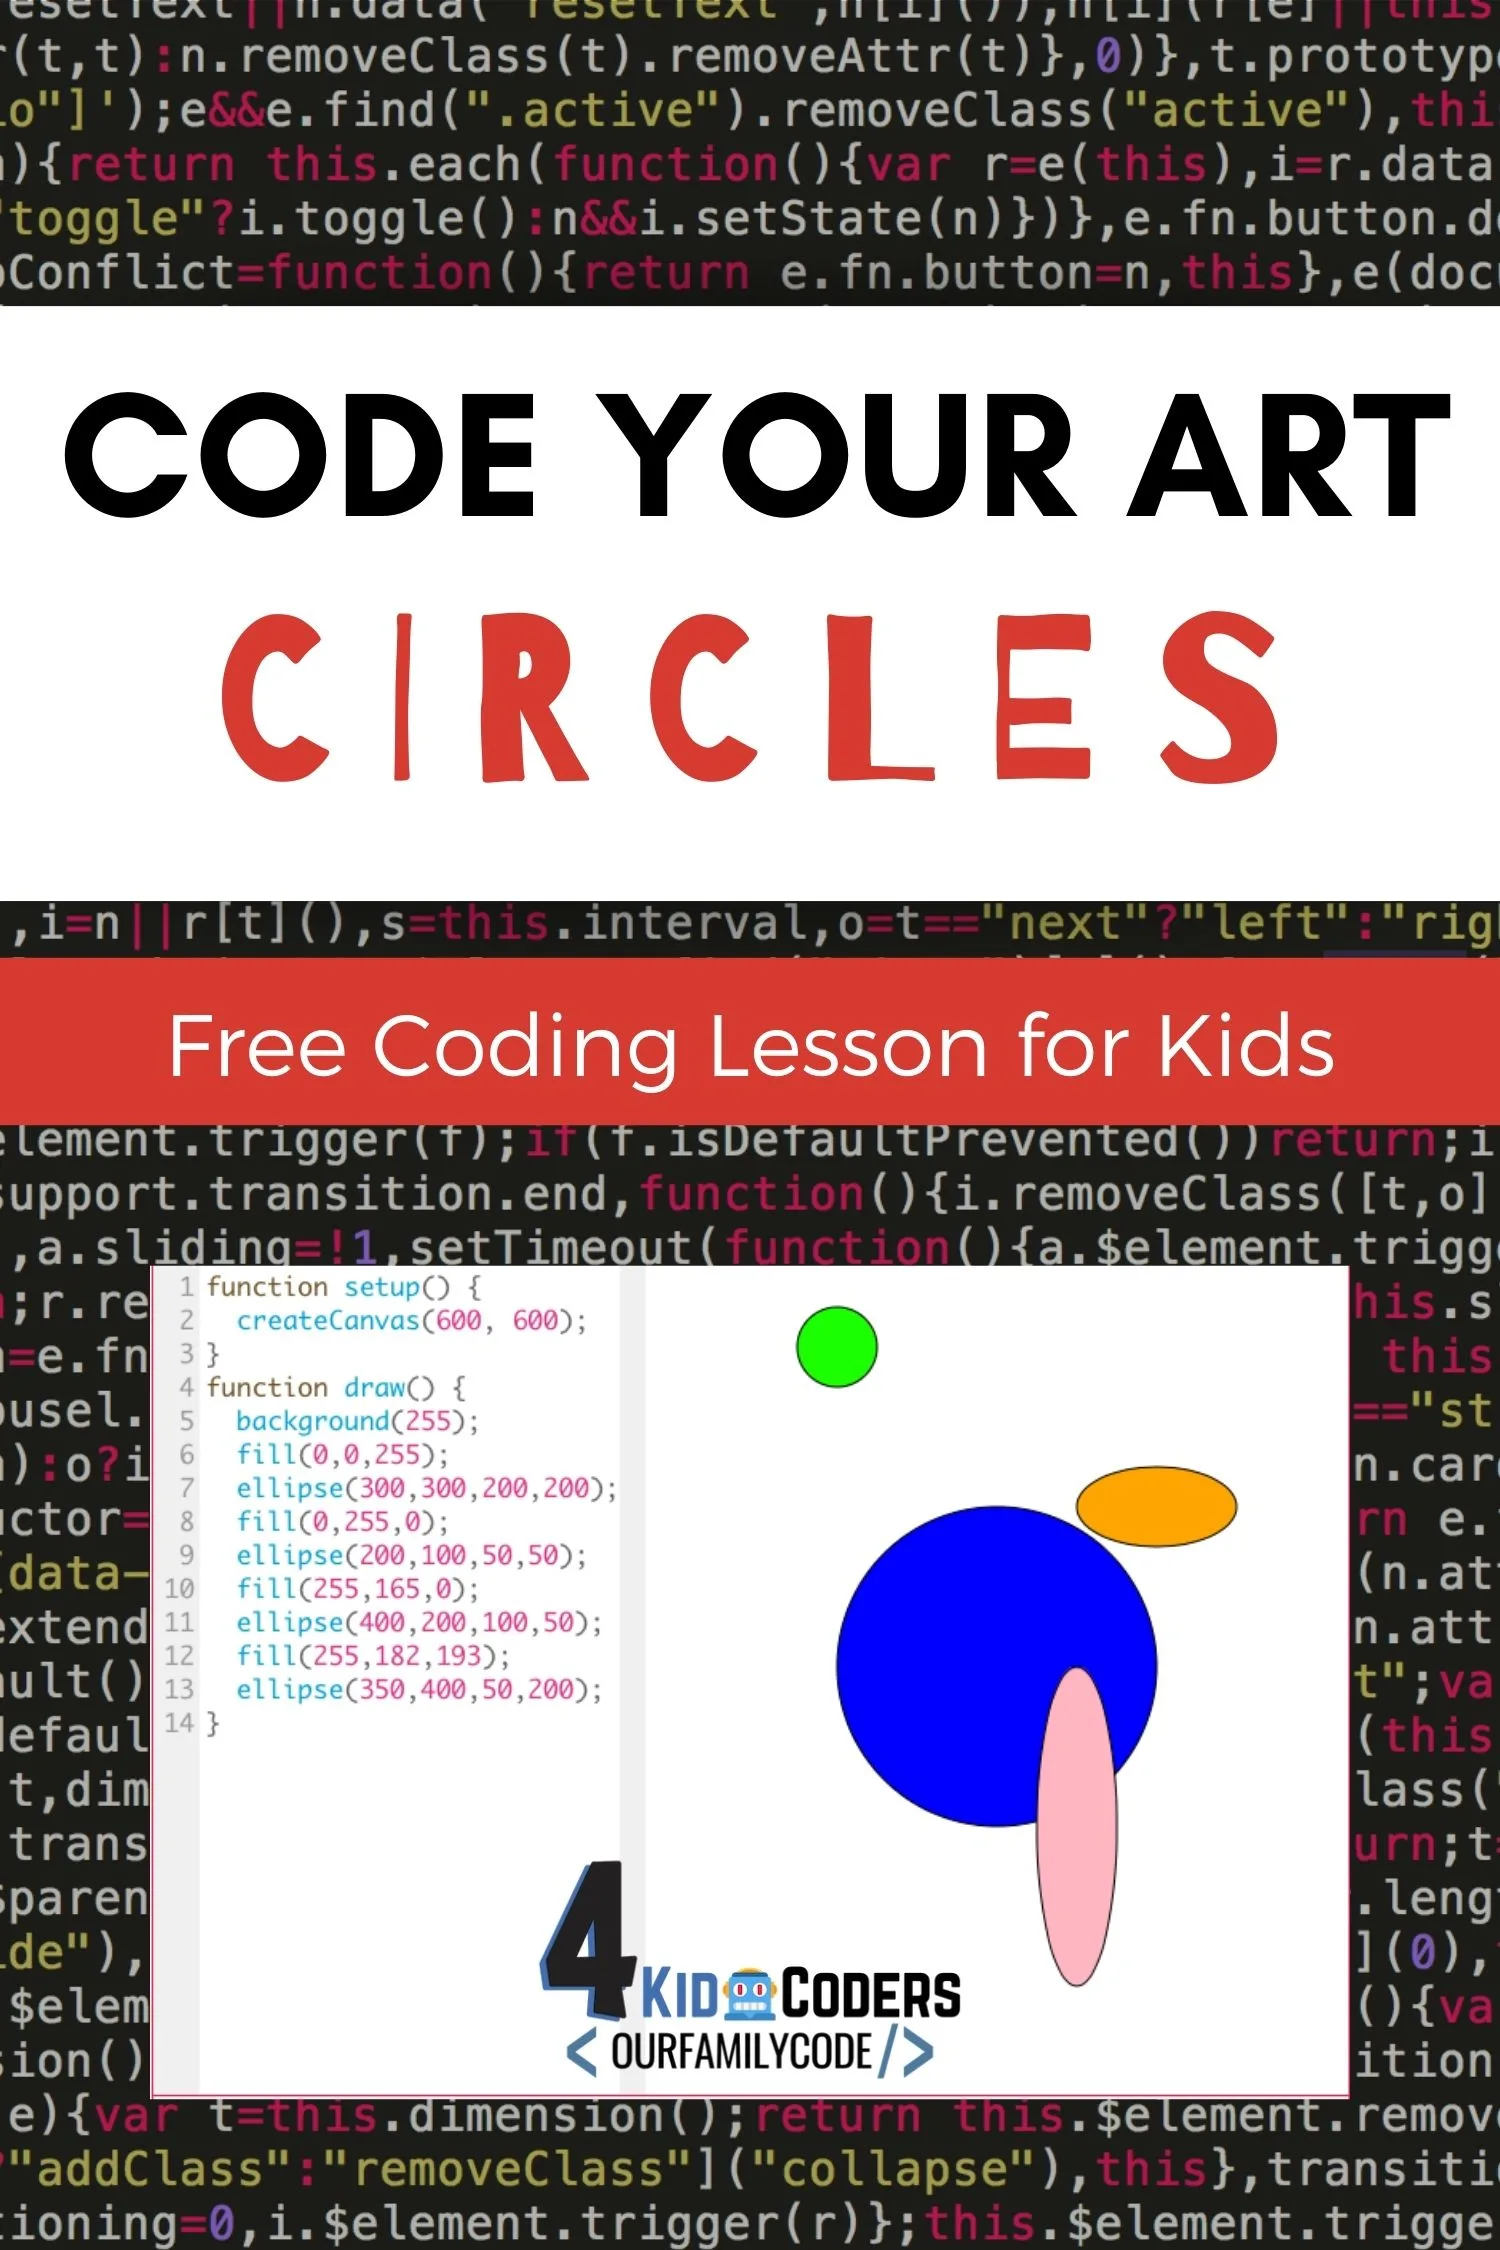
PIN THIS IMAGE TO SAVE THIS CODING LESSON FOR KIDS
Tech Art Activities for Kids
Find more tech + art activities for kids!
Pi Skyline: Math + Art + Tech STEAM Activity
Check out this Pi Day color coding mosaic pi skyline activity that works on basic computer programming skills while introducing Pi!
Make Digital Mondrian Art in Google Sheets
Make Digital Mondrian art using Google Sheets with this Math + Art + Tech activity perfect for upper elementary students!
How to Code a Rectangle with JavaScript
Learn how to code a rectangle with JavaScript and ProcessingJS, and then try it yourself in the editor boxes.
Pi Necklace Coding Unplugged Coding Activity
This Pi Necklace coding activity is the perfect combination of math, binary, and hexadecimal coding for upper elementary and middle school.
Code Fibonacci Rectangles in JavaScript
Learn how to code Fibonacci rectangles with JavaScript and ProcessingJS, and then try it yourself in the editor boxes.
How to Code a Lion Directed Drawing Algorithm Art
Can you follow the algorithm and draw a lion in this directed drawing unplugged coding + art activity?
Bitmap Coding Unplugged Coding Activity for Kids
Introduce algorithms with this hands-on unplugged coding activity for kids!
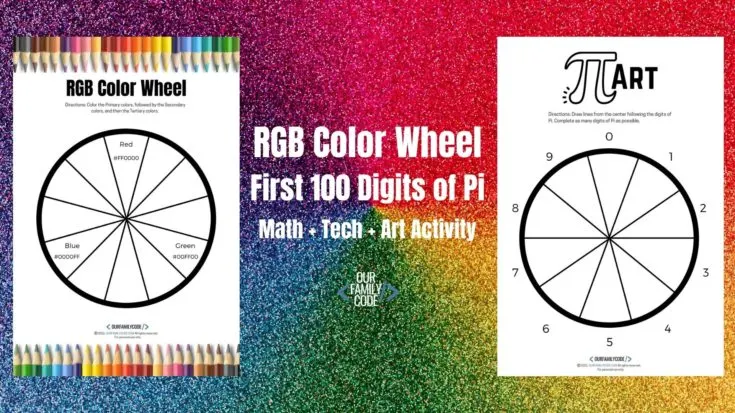
First 100 Digits of Pi Color Wheel Activity
Learn the first 100 digits of Pi with this color wheel activity that helps kids to visualize numbers of Pi in the first 100 digits and learn about color wheels!
Meet Toni, the Maker Mom behind Our Family Code

Hey there, I’m Toni! I’m a software engineer and Maker Mom that finds my joy in unleashing my children’s curiosity by exploring STEAM concepts with my fantastic five!
When I’m not chasing toddlers or raising tweens, you can find me tearing things up and putting them back together over here at Our Family Code.
I am the owner and content creator of multiple educational websites designed to increase access to STEAM & STEM education with a focus on teaching computer science and coding to kids of all ages!
You can also find out more about me by visiting ToniGardner.com!




TechyKids Canada
Friday 16th of July 2021
Very informative post and would help many to take their coding skills to next level. Thanks for sharing, it's very useful!