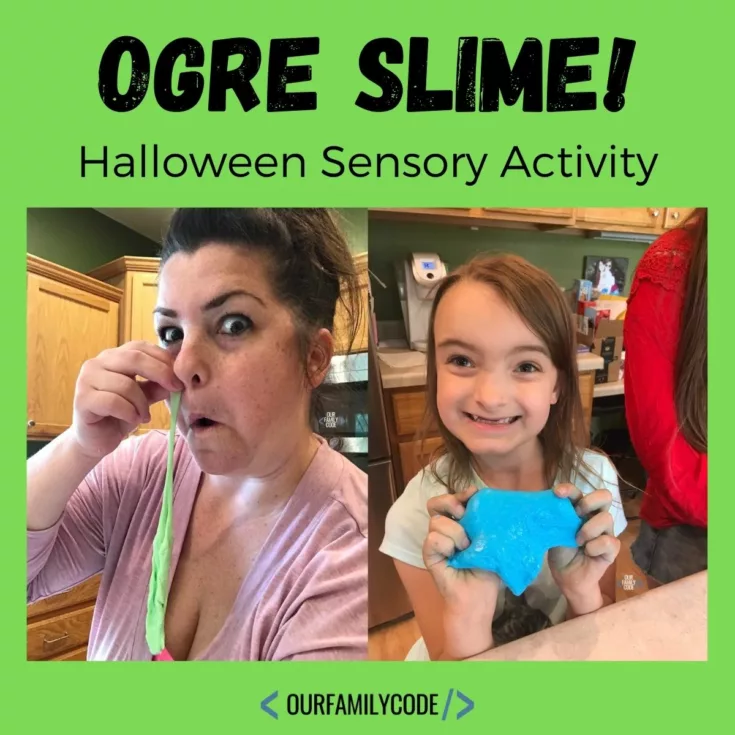
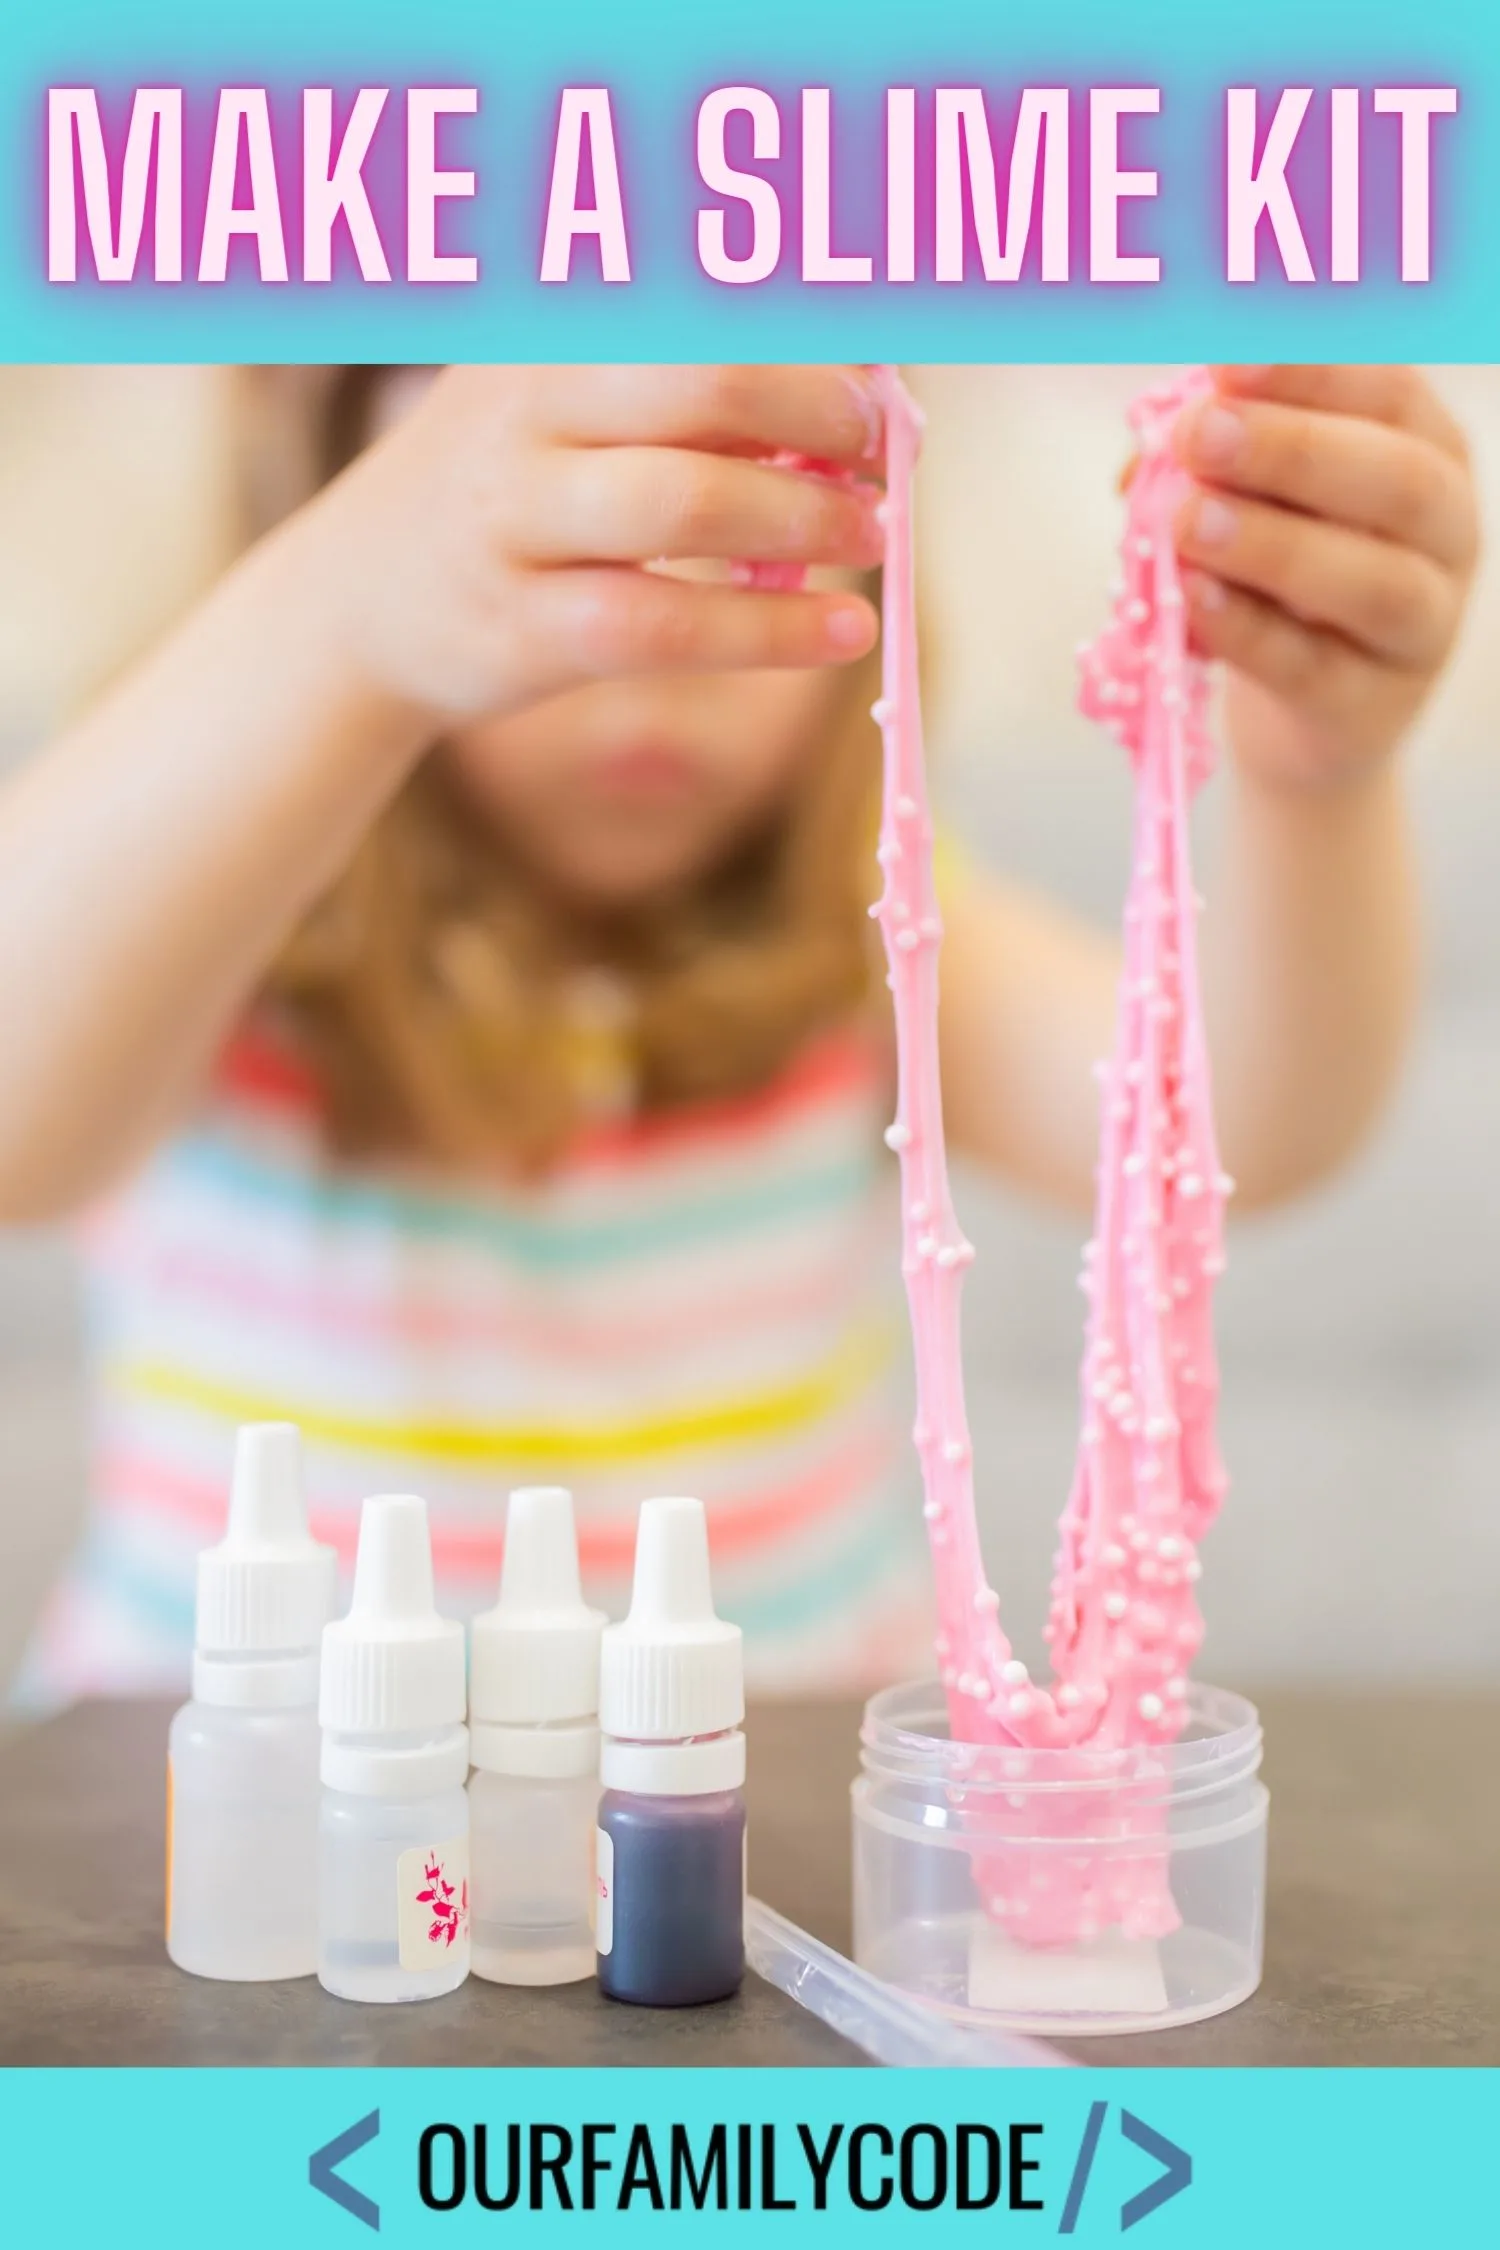
Find out how to make a slime kit for kids and grab a free printable saline solution slime recipe for a DIY slime kit gift for kids!
My kids are always asking for slime kits from the store that are super cute, but would only last for one day at my house! Why buy a small slime kit when I could put together an easy DIY slime kit filled with slime activities and supplies that can be used again and again?
This post contains affiliate links. As an Amazon Associate, Our Family Code earns from qualifying purchases. Please see our Disclosure Policy for more details.
Slime Science
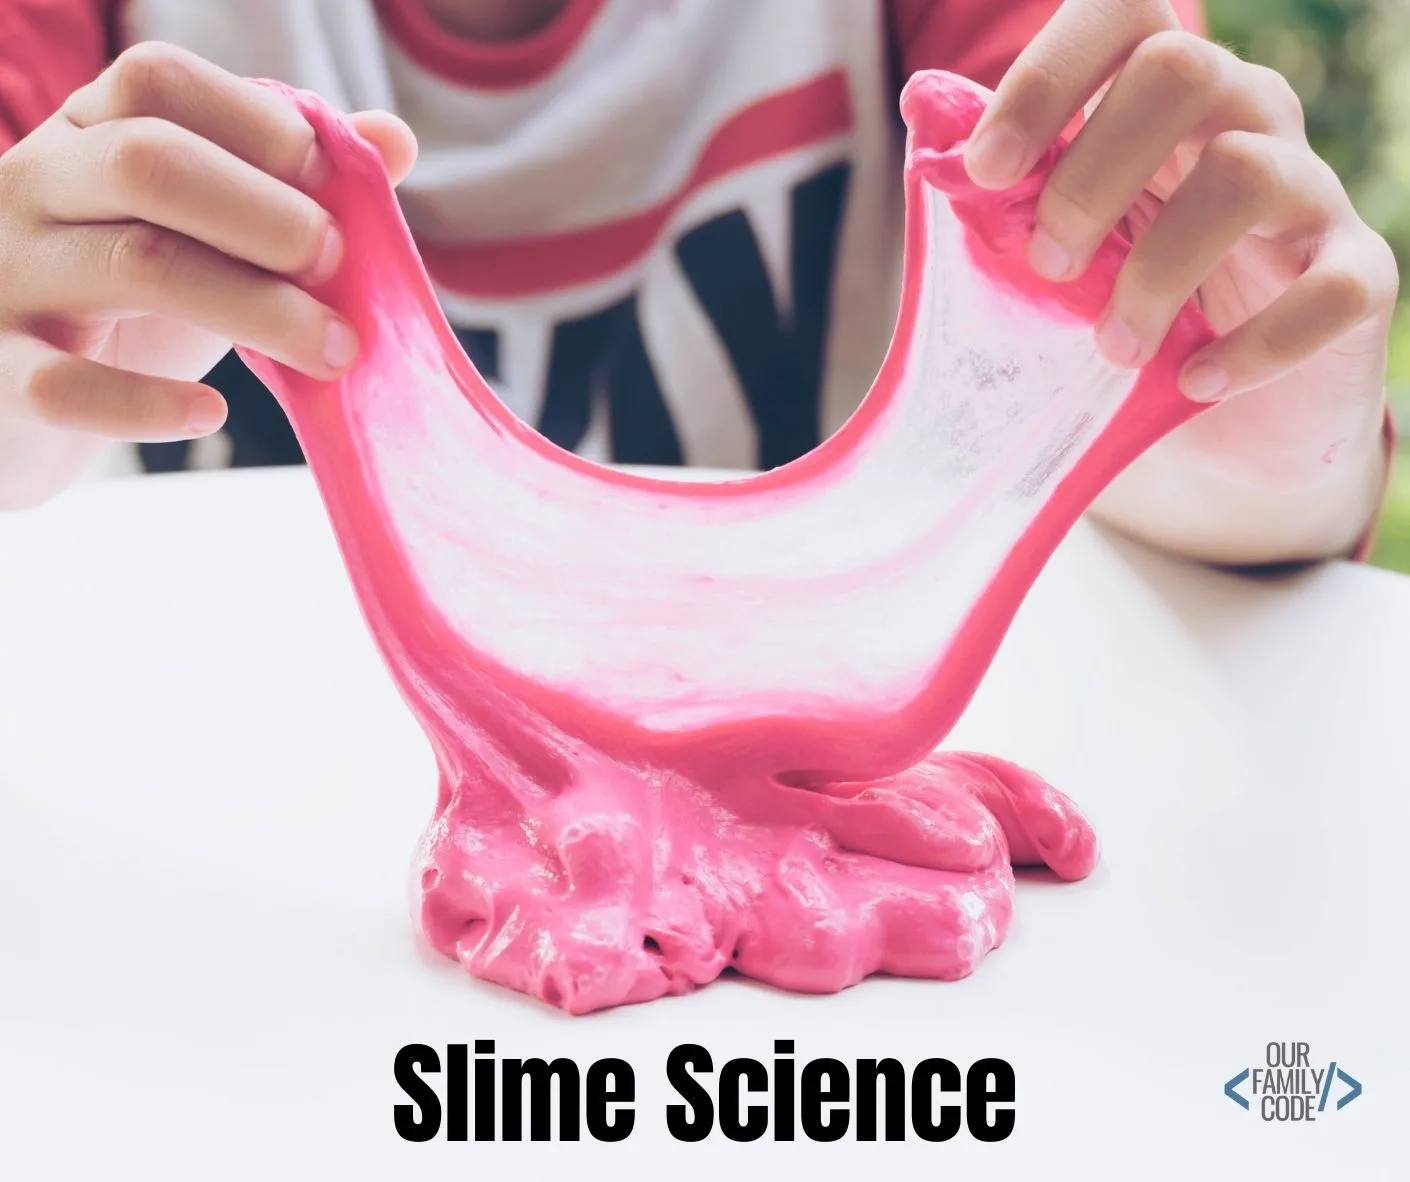
Slime is made by mixing PVA glue and a slime activator together. White glue contains polyvinyl alcohol, or PVA. When PVA comes into contact with a slime activator, it changes due to a chemical reaction that takes place. In this reaction, the molecules of PVA join together to form polymers that form the cool stretchy substance of slime! Slime is a polymer!
What is a Slime Activator?
Slime activators contain borate ions that combine with the PVA glue to create slime. The most used slime activators include borax powder, liquid starch or saline solution. Saline solution contains sodium borate and boric acid, which are necessary to act as a slime activator.
Some recipes call for contact lens solution instead of saline solution. If you use contact lens solution, make sure that it has sodium borate and boric acid. You should also omit the water from the recipe since this will cause your ingredients to separate during storage.
DIY Slime Kit
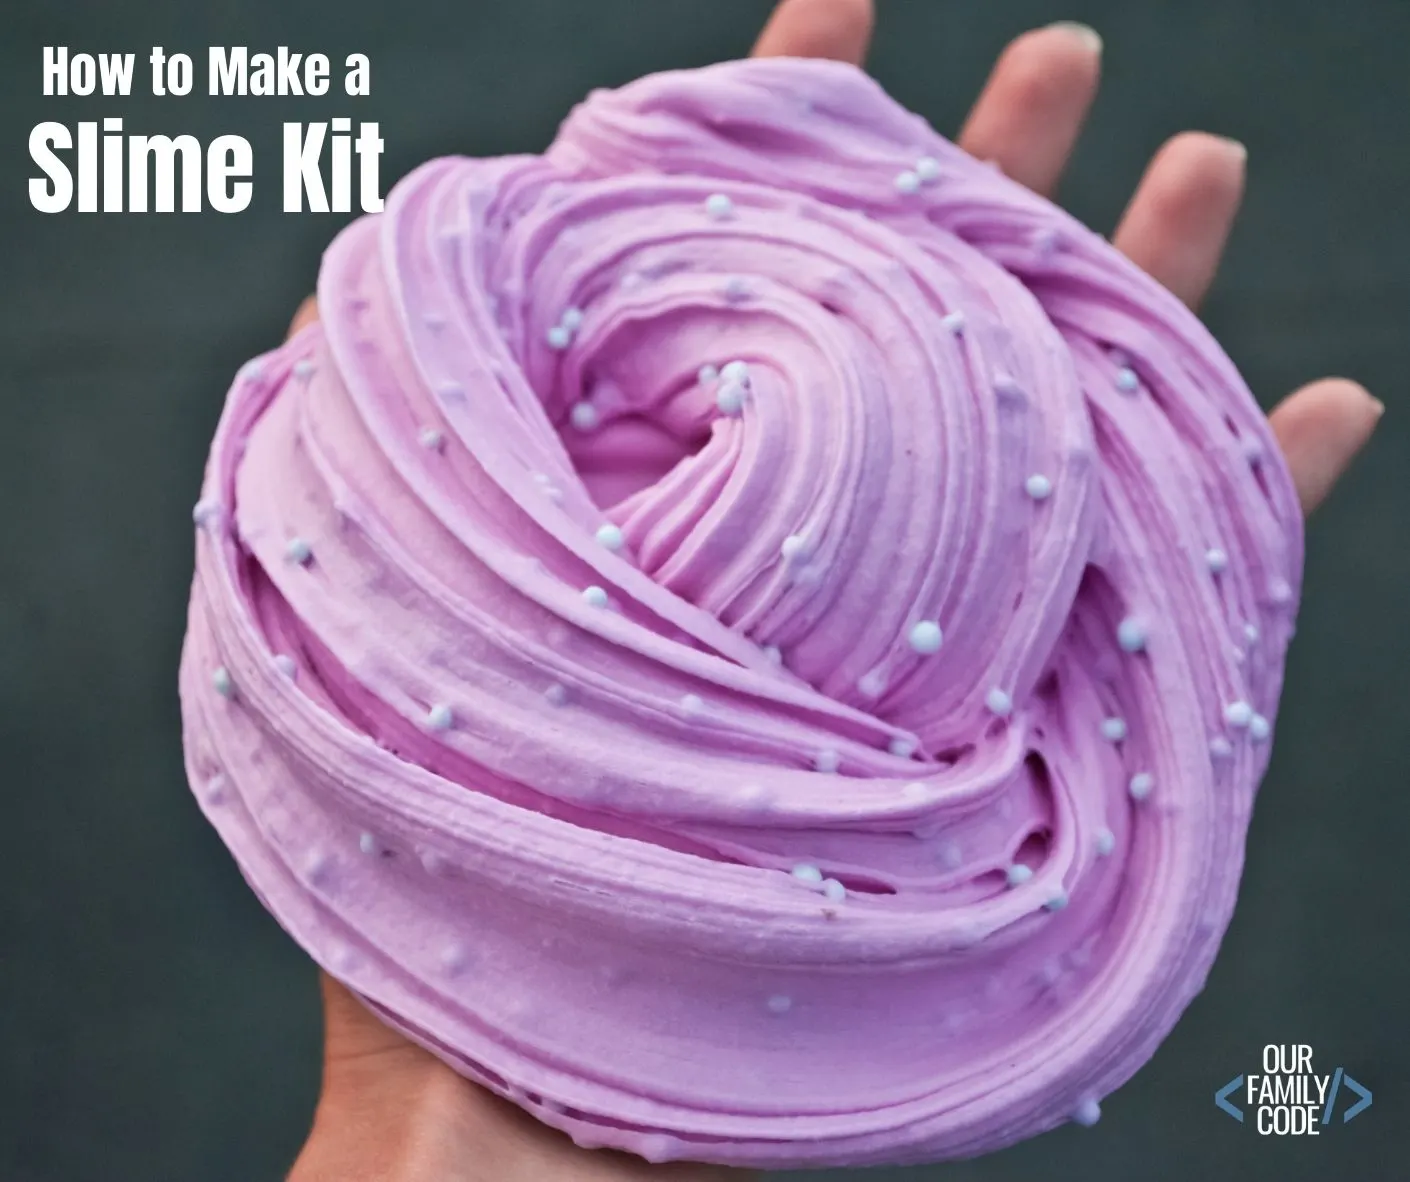
Since my kids love slime and ask for the trendiest slime kit from the store for every holiday, I decided to start making slime kits for them instead.
Not only is this a fantastic DIY gift for kids, but it is also a great opportunity to teach kids about polymers through hands-on science fun!
Remember, that making slime is a science experiment and ALL science experiments should be supervised by an adult at all times.
Build a Slime Kit
Follow the steps below to build a complete slime kit for kids!
Step 1: Pick a Slime Glue
Washable PVA school glue is the recommended glue for slime. This glue is available in clear or white. We usually use white glue unless we want a more brightly colored slime or a clear slime with colored slime mix-ins. If you want brightly colored or clear slime, you’ll need to include clear washable PVA school glue.
For a slime kit, I suggest buying a gallon of glue to include. Not only is it more affordable, it encourages testing out different types of slime and allows you to make some mistakes while experimenting with ratios!
Step 2: Pick Slime Activator
We recommend buying all three main types of slime activators in order to experiment with different slime textures.
- Borax powder for Borax slime recipes
- Liquid starch for liquid starch slime recipes
- Saline solution and baking soda for saline solution slime recipes and fluffy slime recipes (made with shaving cream)
Step 3: Include Colors for Slime
Any good slime kit needs color to make colored slime. To add color to your DIY slime kit, just include food coloring.
Step 4: Include Slime Mix-ins
There are a bunch of fun slime mix-ins that can be included in a slime kit! We love working with confetti, pom pom balls, glitter, and more!
Grab some top slime mix-ins
Step 5: Add Slime Tools
To make slime, you’ll need a dedicated mixing bowl, measuring cups, spoons, and an apron. We also suggest including slime storage containers.
Step 6: Add a slime recipe
Print out some slime recipes to include in your slime kit. We suggest starting with a saline solution slime recipe. You can find a free printable slime recipe below to get started!
Printable Saline Solution Slime Recipe
For first time slime makers, we suggest making a simple saline solution slime since it is much easier to get right the first time!
You will need:
- Mixing bowl and spoon
- 3/4 cup white or clear washable PVA school glue
- 3/4 cup water
- 1 tsp baking soda
- 1 tbsp saline solution (we prefer the Target Up&Up brand or the Walmart Equate brand)
- Food coloring, glitter, confetti, or other mix-ins
How to Make Saline Solution Slime
Combine Glue and Water
Step 1: In a bowl mix the 3/4 cup glue and 3/4 cup water well until combined.
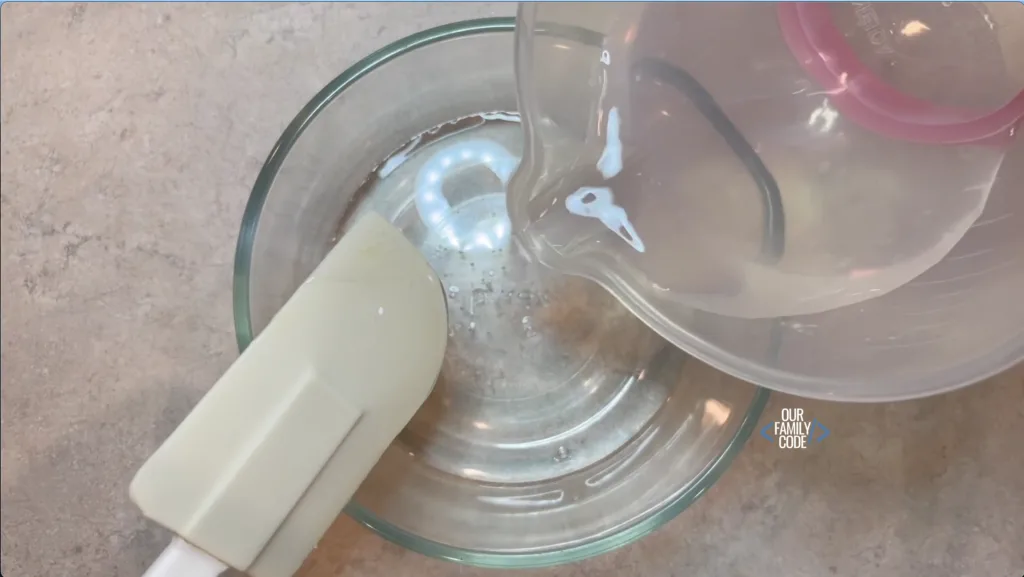
Add Slime Mix-ins
Step 2: Add your slime mix-ins, including food coloring. If you are using white glue, your color will be lighter. You can use clear glue for brighter colors.
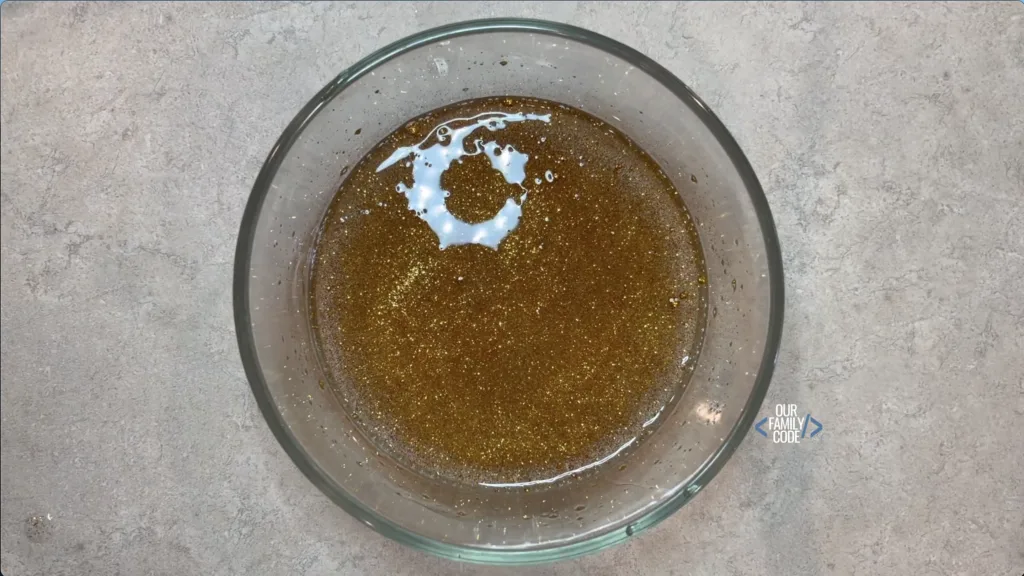
Add Baking Soda
Step 3: Add 1/2 tsp baking soda. Baking soda adds firmness to your slime recipe. We suggest starting with 1/2 tsp for your first recipe and then adjusting the amount of baking soda for future recipes based on the firmness you’d prefer.
A more stretchy slime would uses less baking soda, while a more firm slime uses more baking soda.
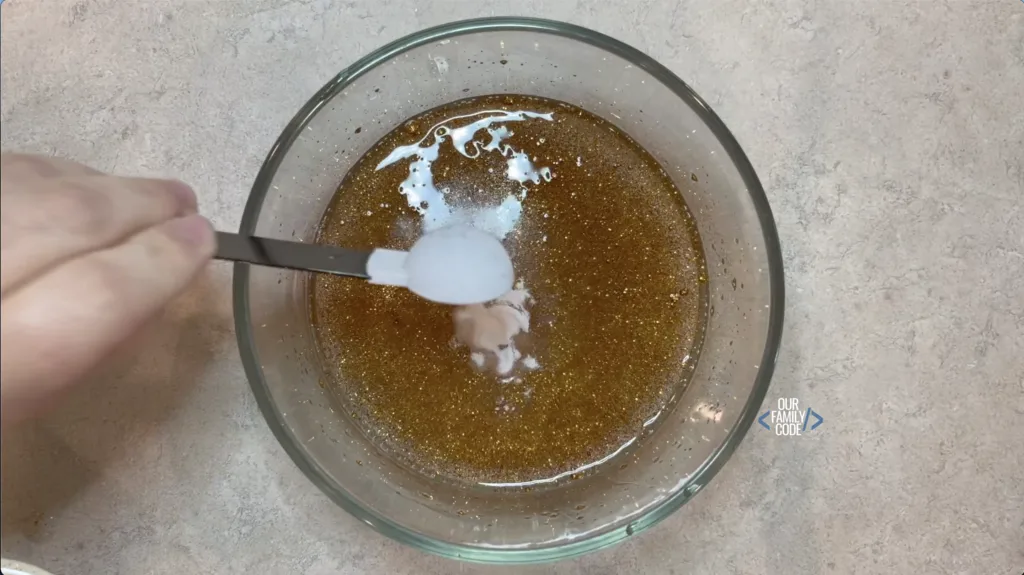
Add Saline Solution
Step 4: Mix in 1 tbsp saline solution. Stir until slime forms and begins to pull away from the sides of the bowl. You may need to add more saline solution depending on the brands used. We used the Target Up&Up saline solution.
To add more saline solution, we suggest putting some on your hands before kneading the slime instead of adding more to the mixing bowl. This is because saline solution will reduce the stickiness of your slime, but using too much can make your slime too firm.
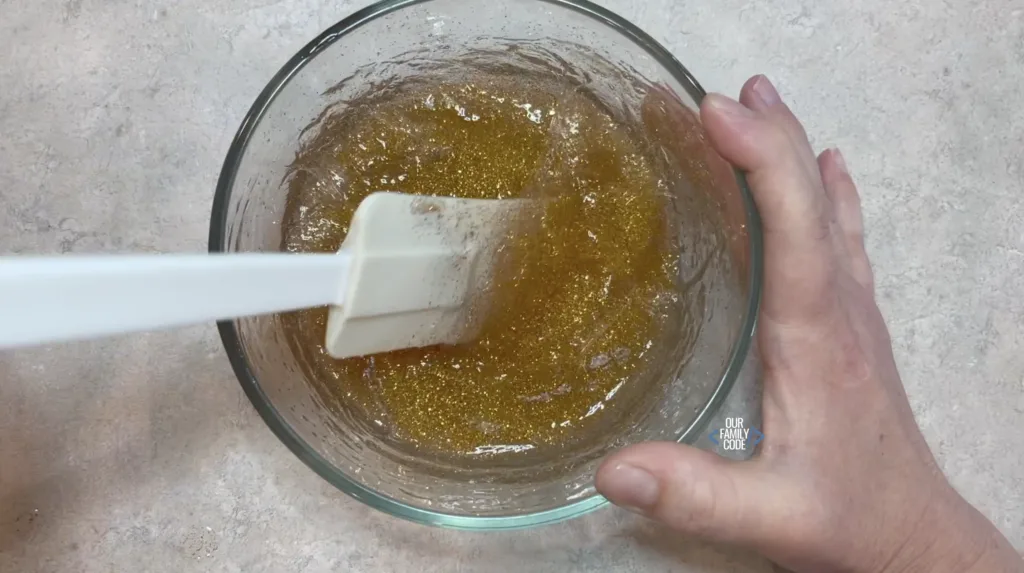
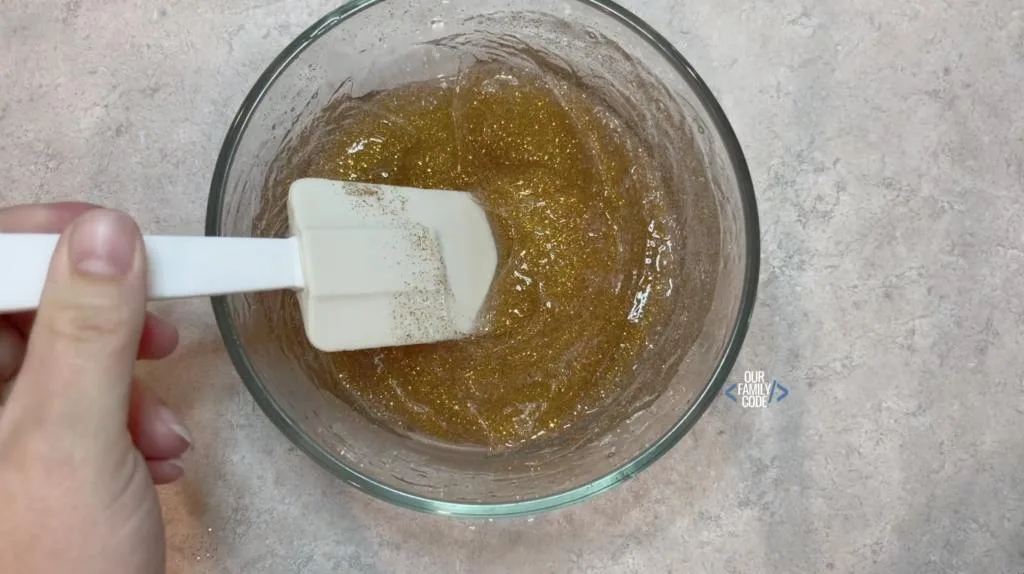
Knead Slime
The slime will appear stringy and be sticky at first. Keep kneading until the slime is no longer sticky, which can take up to 5 minutes.
Remember: you can add more saline solution if your slime is too sticky after kneading. Make sure to put a few drops on your hands and knead into the slime. You can always add more, so start with an extra drop or two.
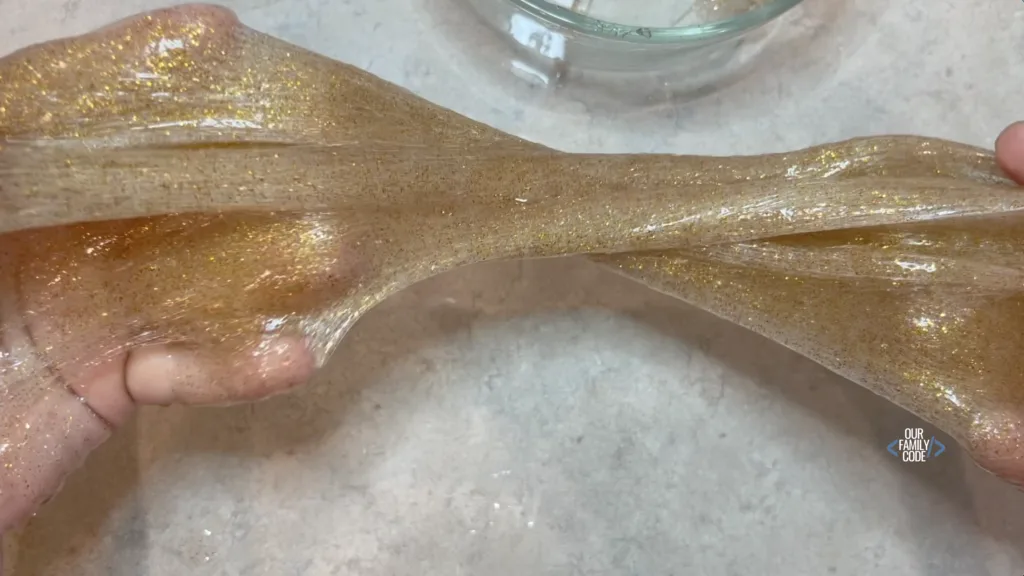
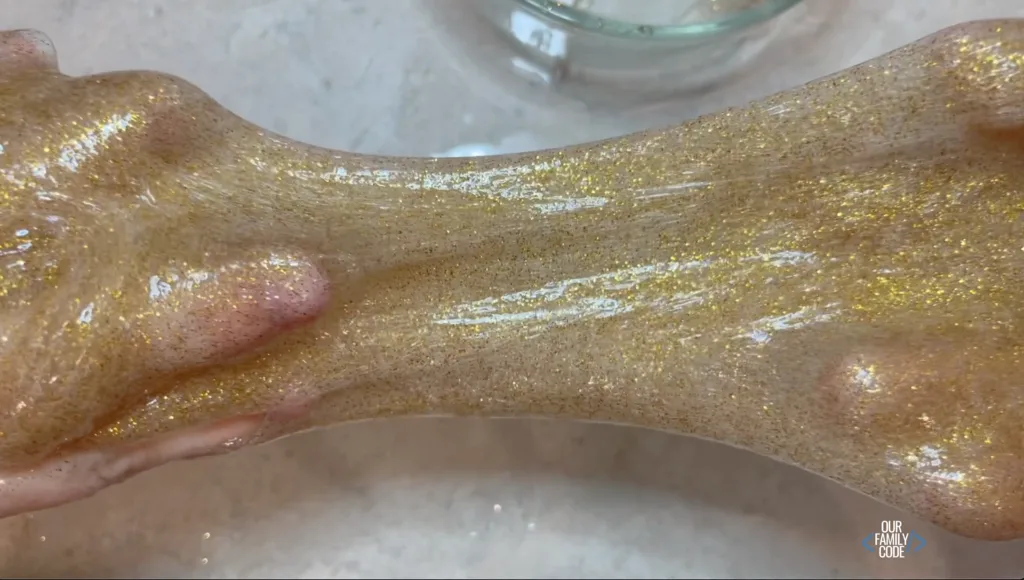
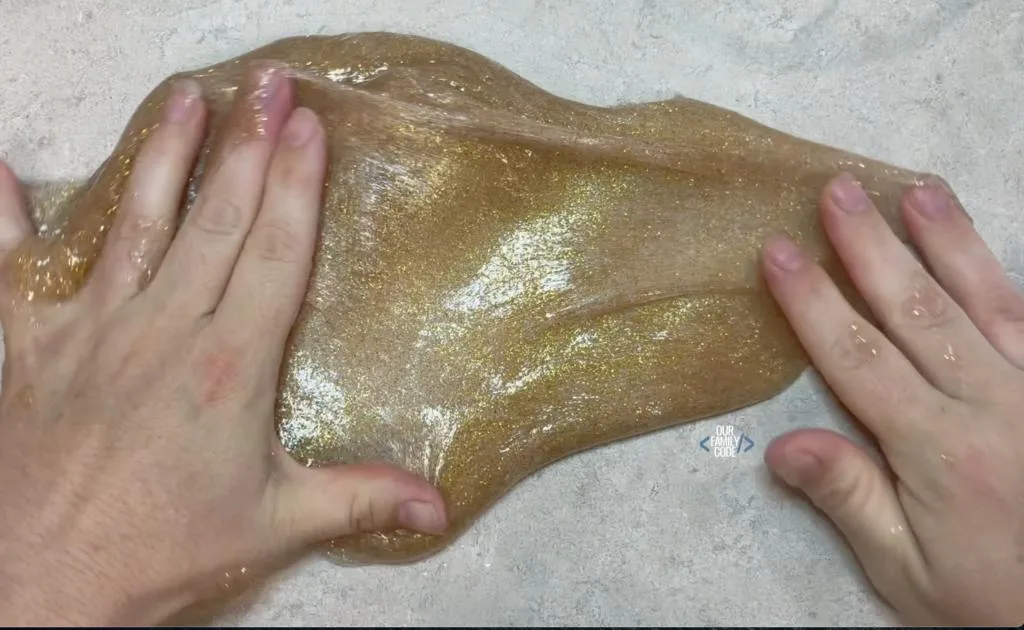
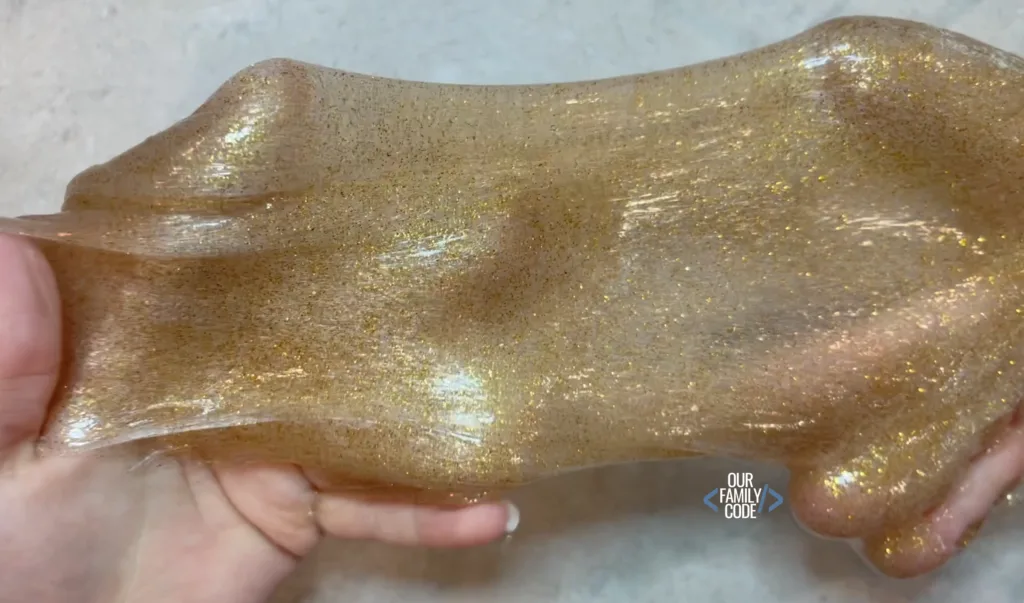
Play with slime!
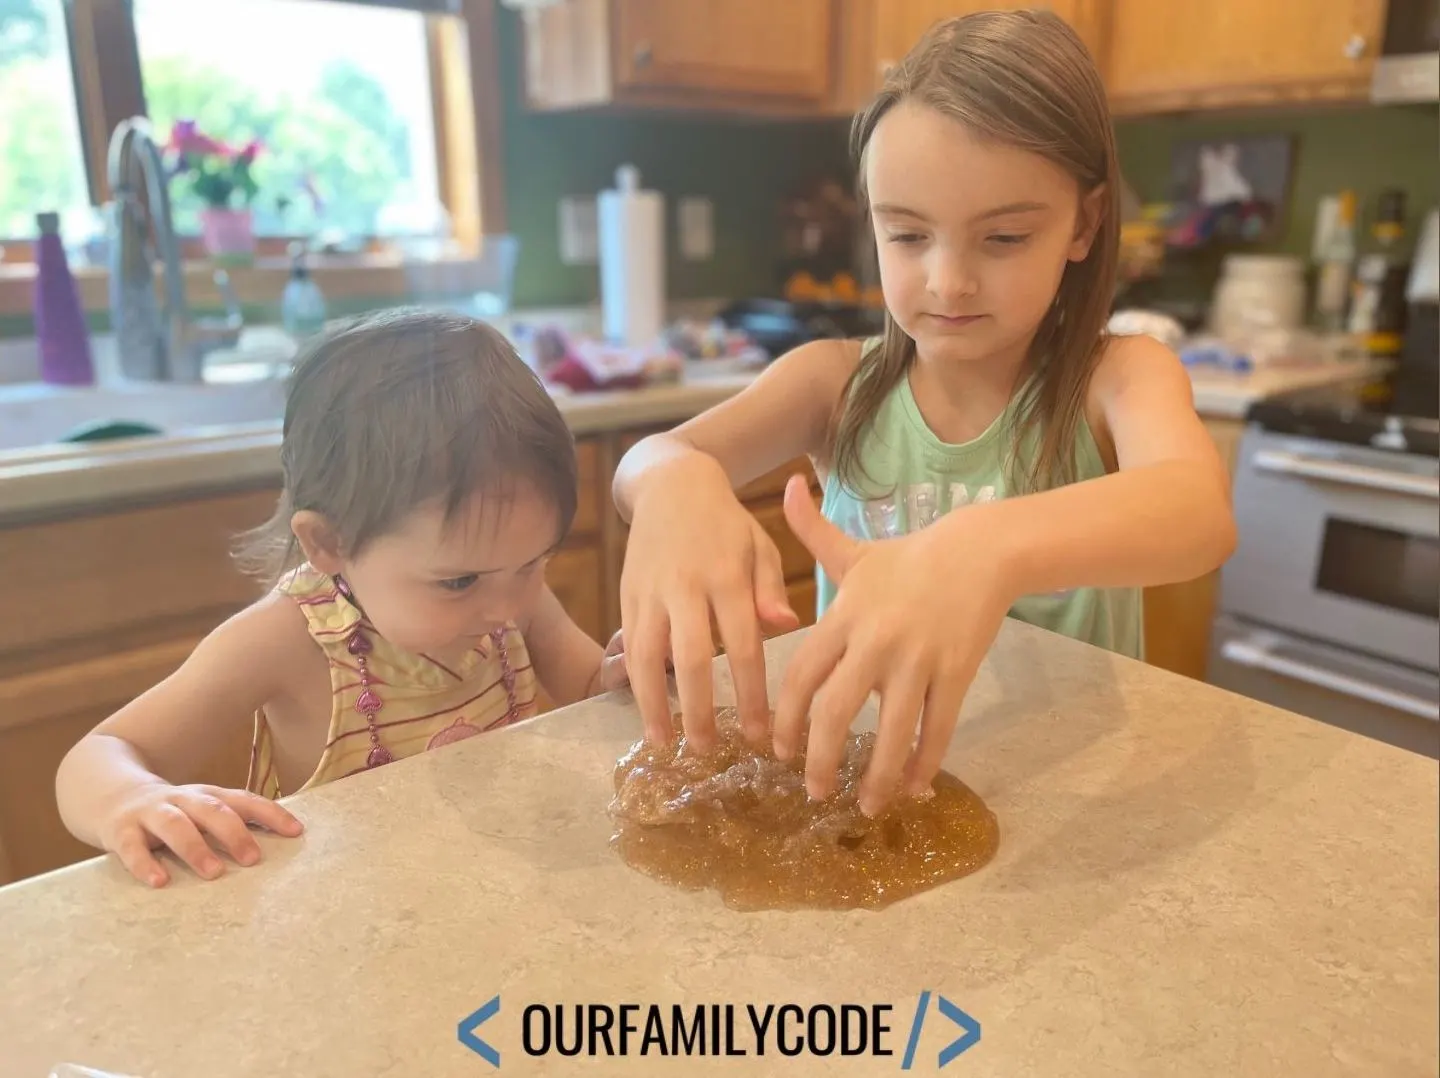
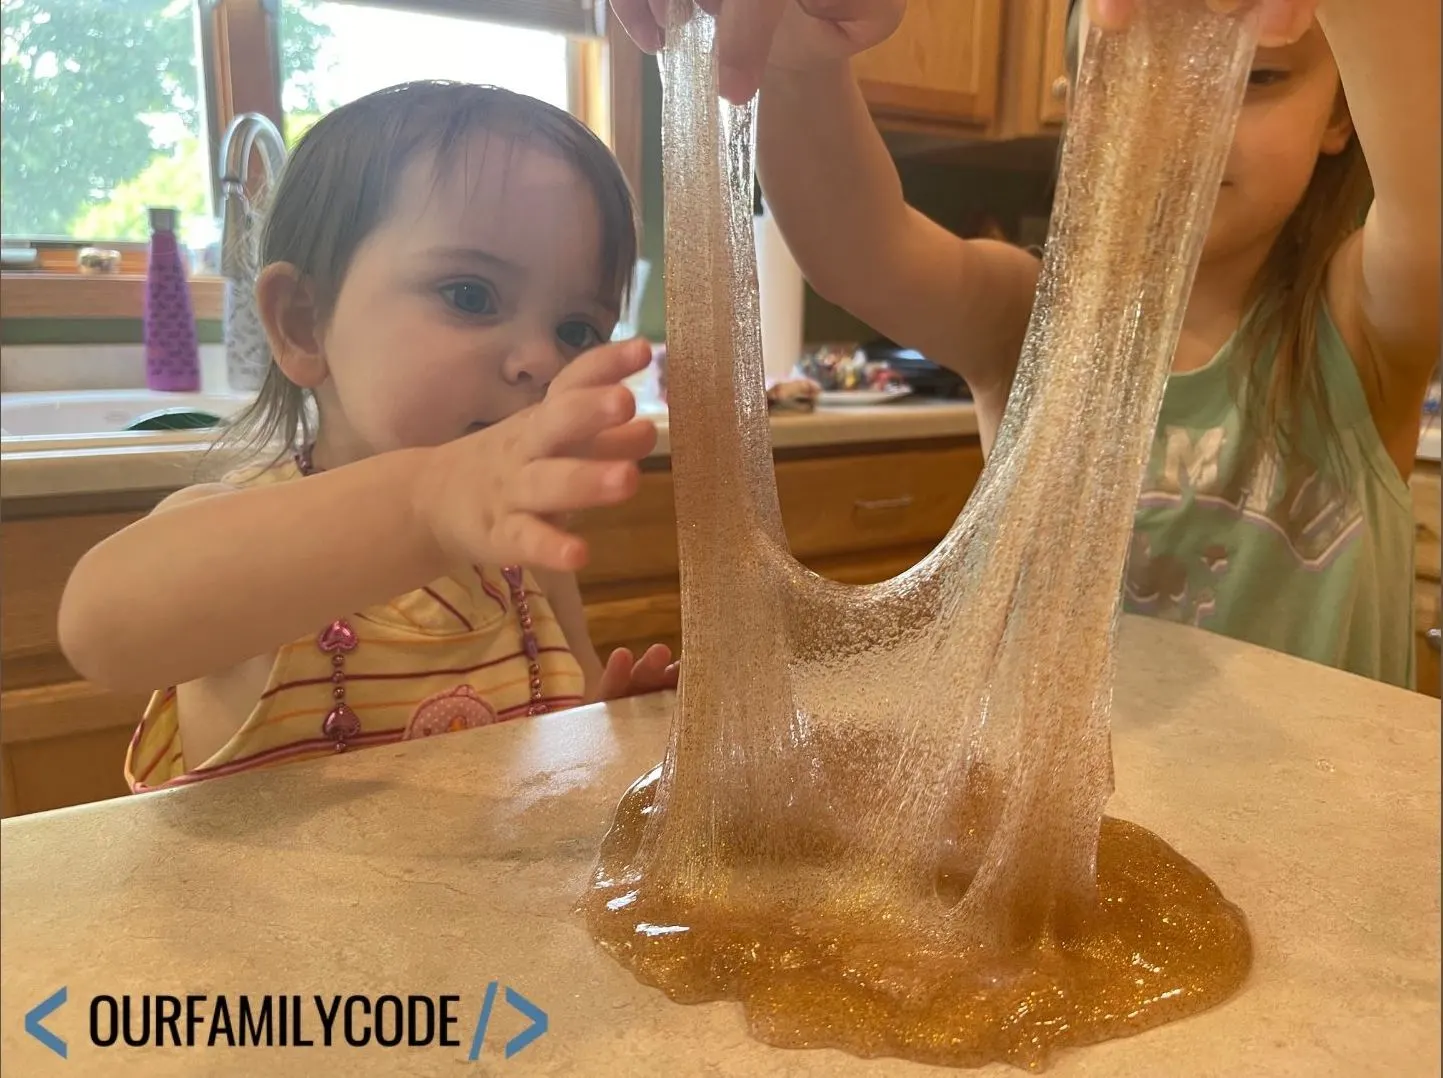
Saline Solution Slime
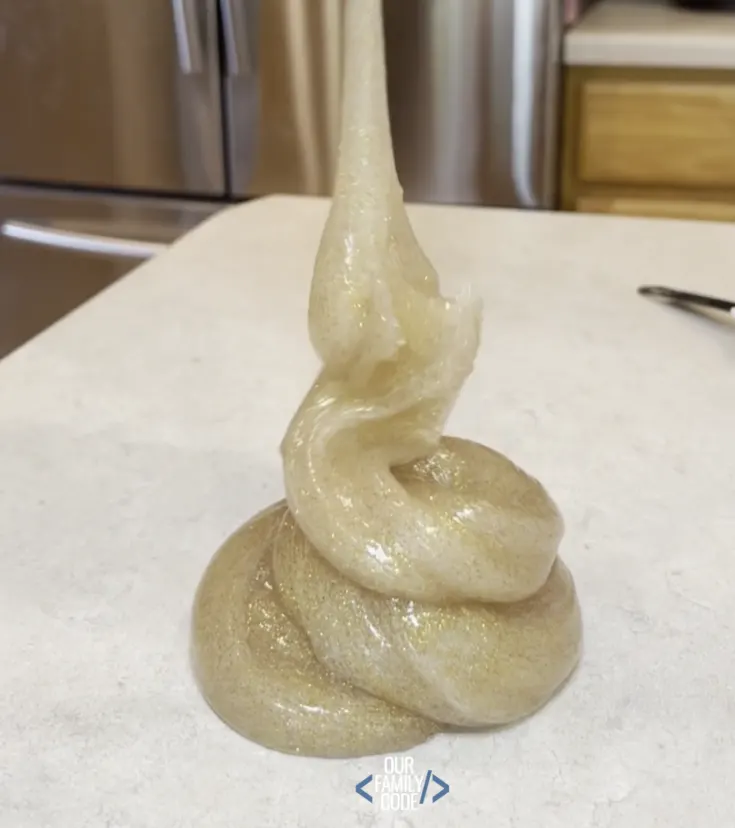
This saline solution slime recipe is the best recipe to learn how to make slime.
Slime is a science experiment and ALL science experiments should be supervised by an adult at all times.
Ingredients
Instructions
Combine Glue and Water
Step 1: In a bowl mix the 3/4 cup glue and 3/4 cup water well until combined. 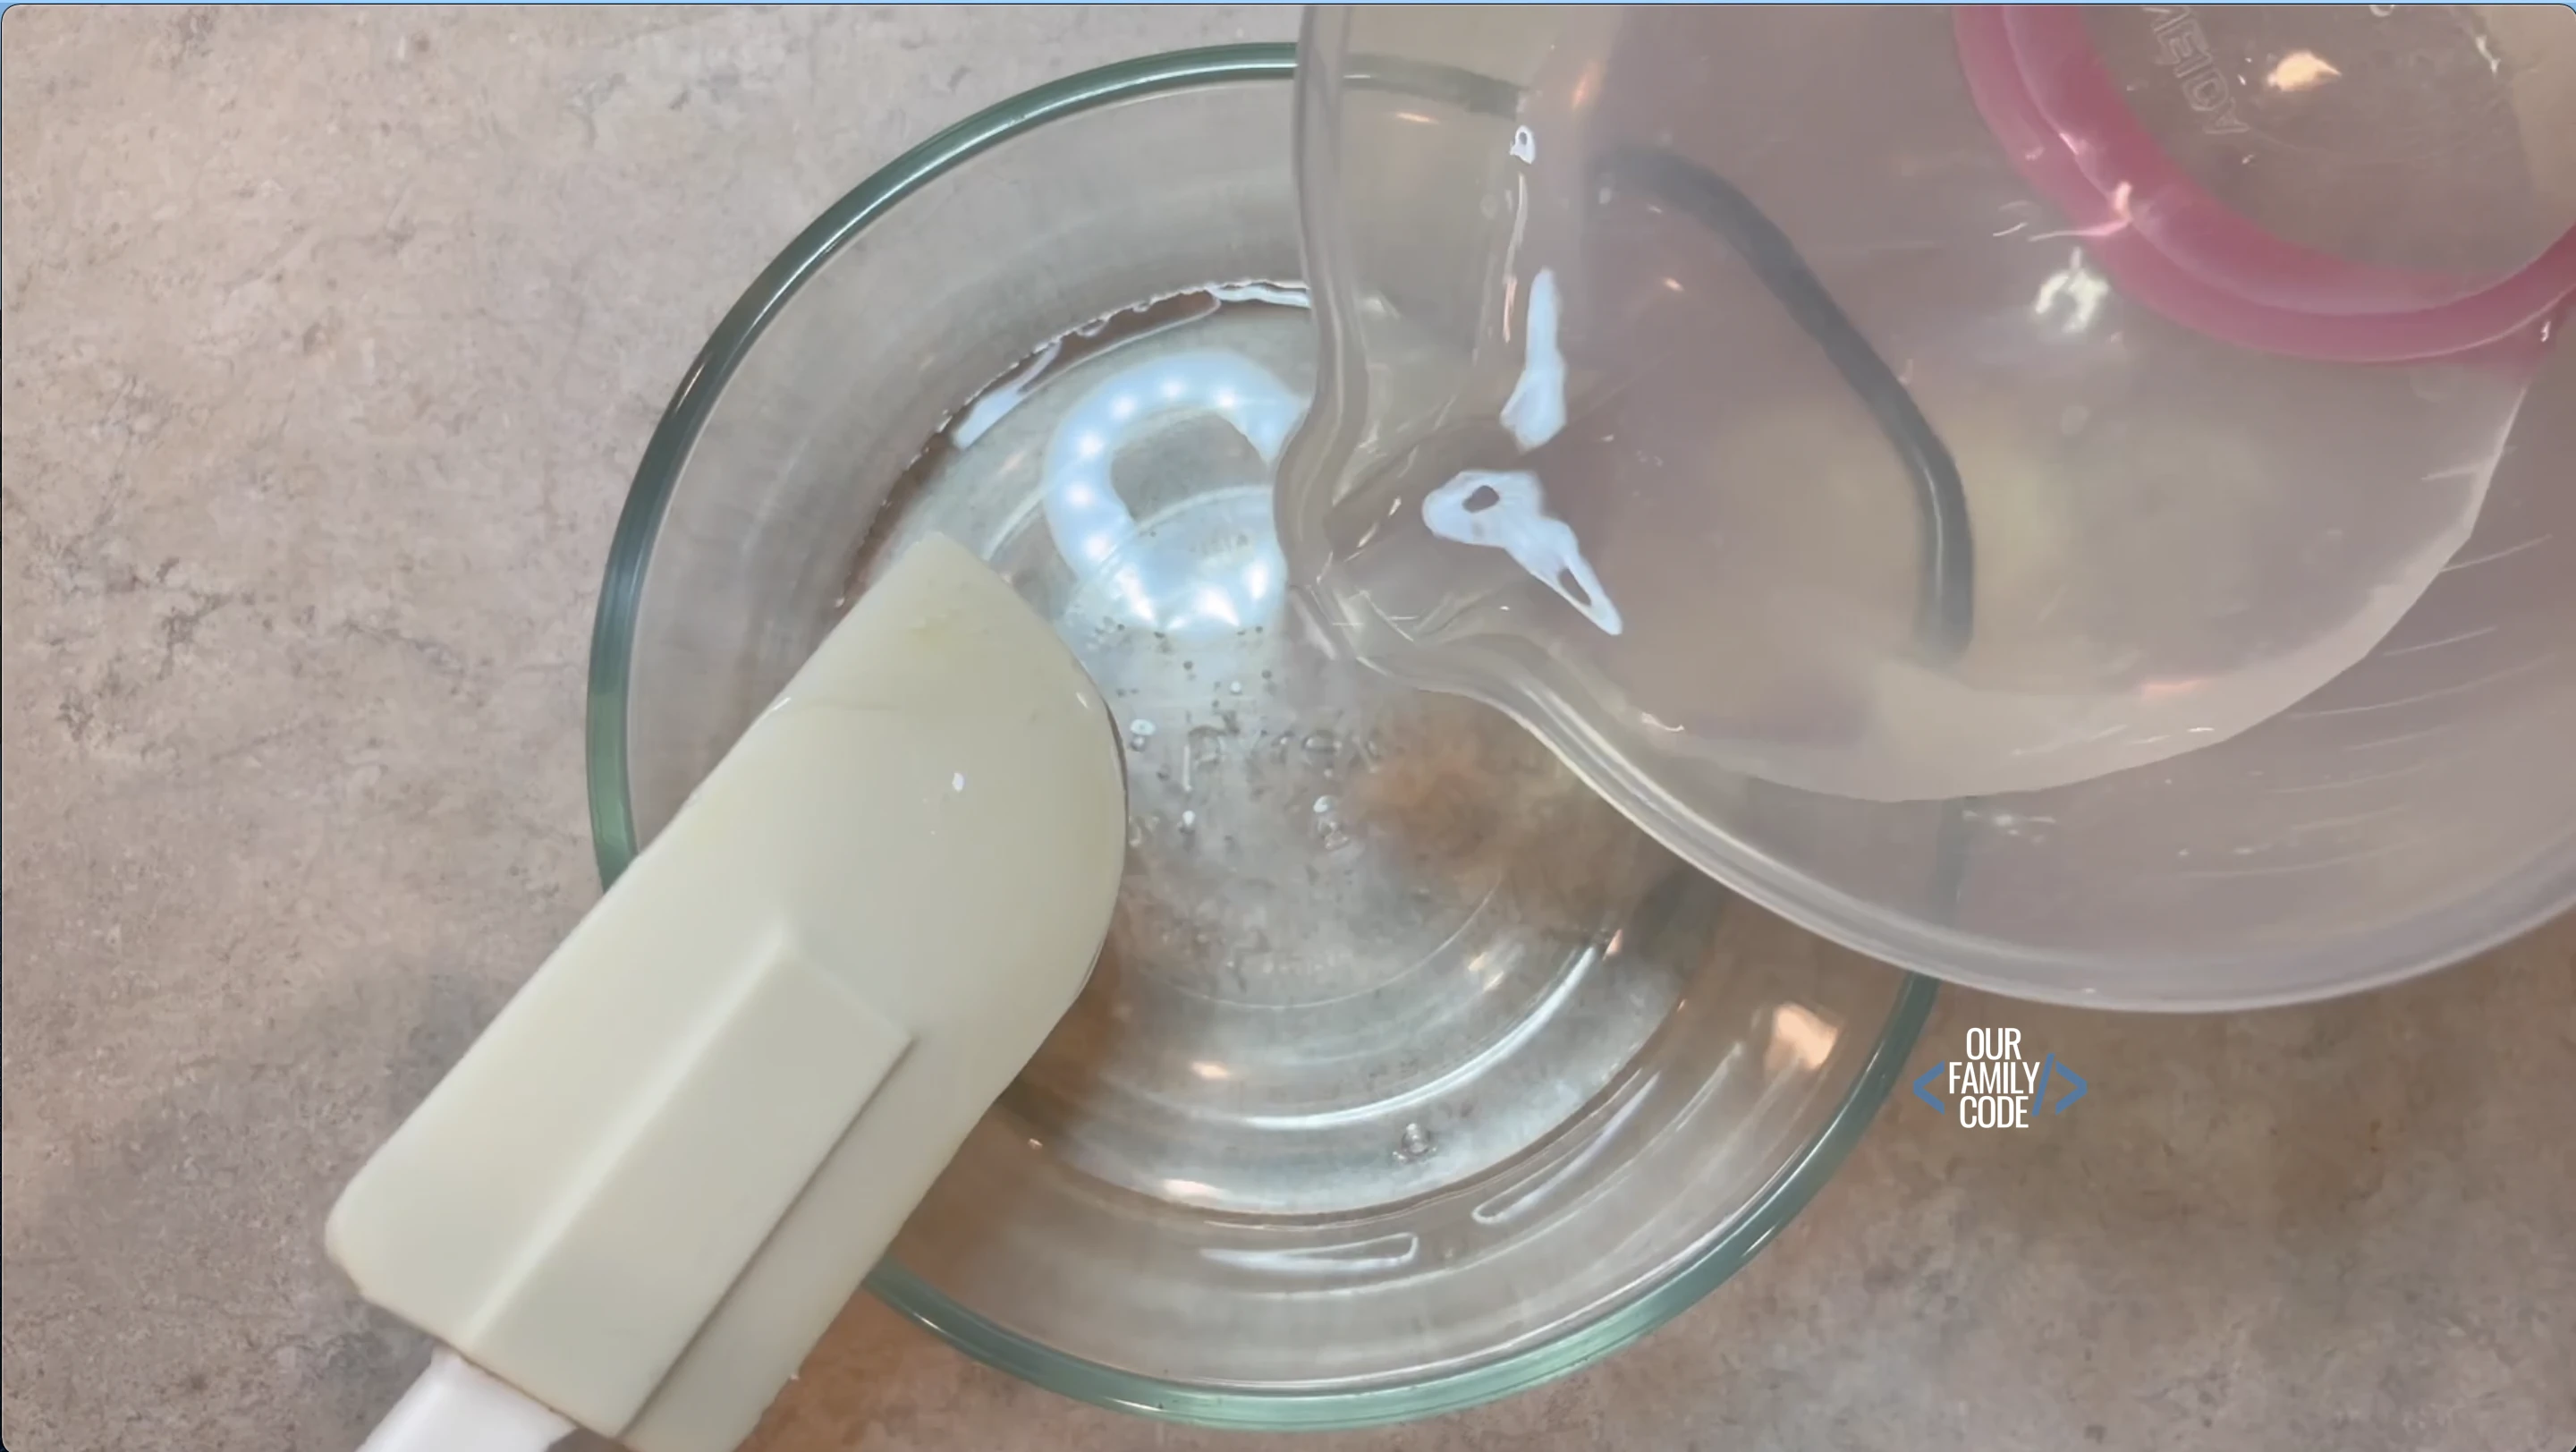
Add Slime Mix-ins
Step 2: Add your slime mix-ins, including food coloring. If you are using white glue, your color will be lighter. You can use clear glue for brighter colors.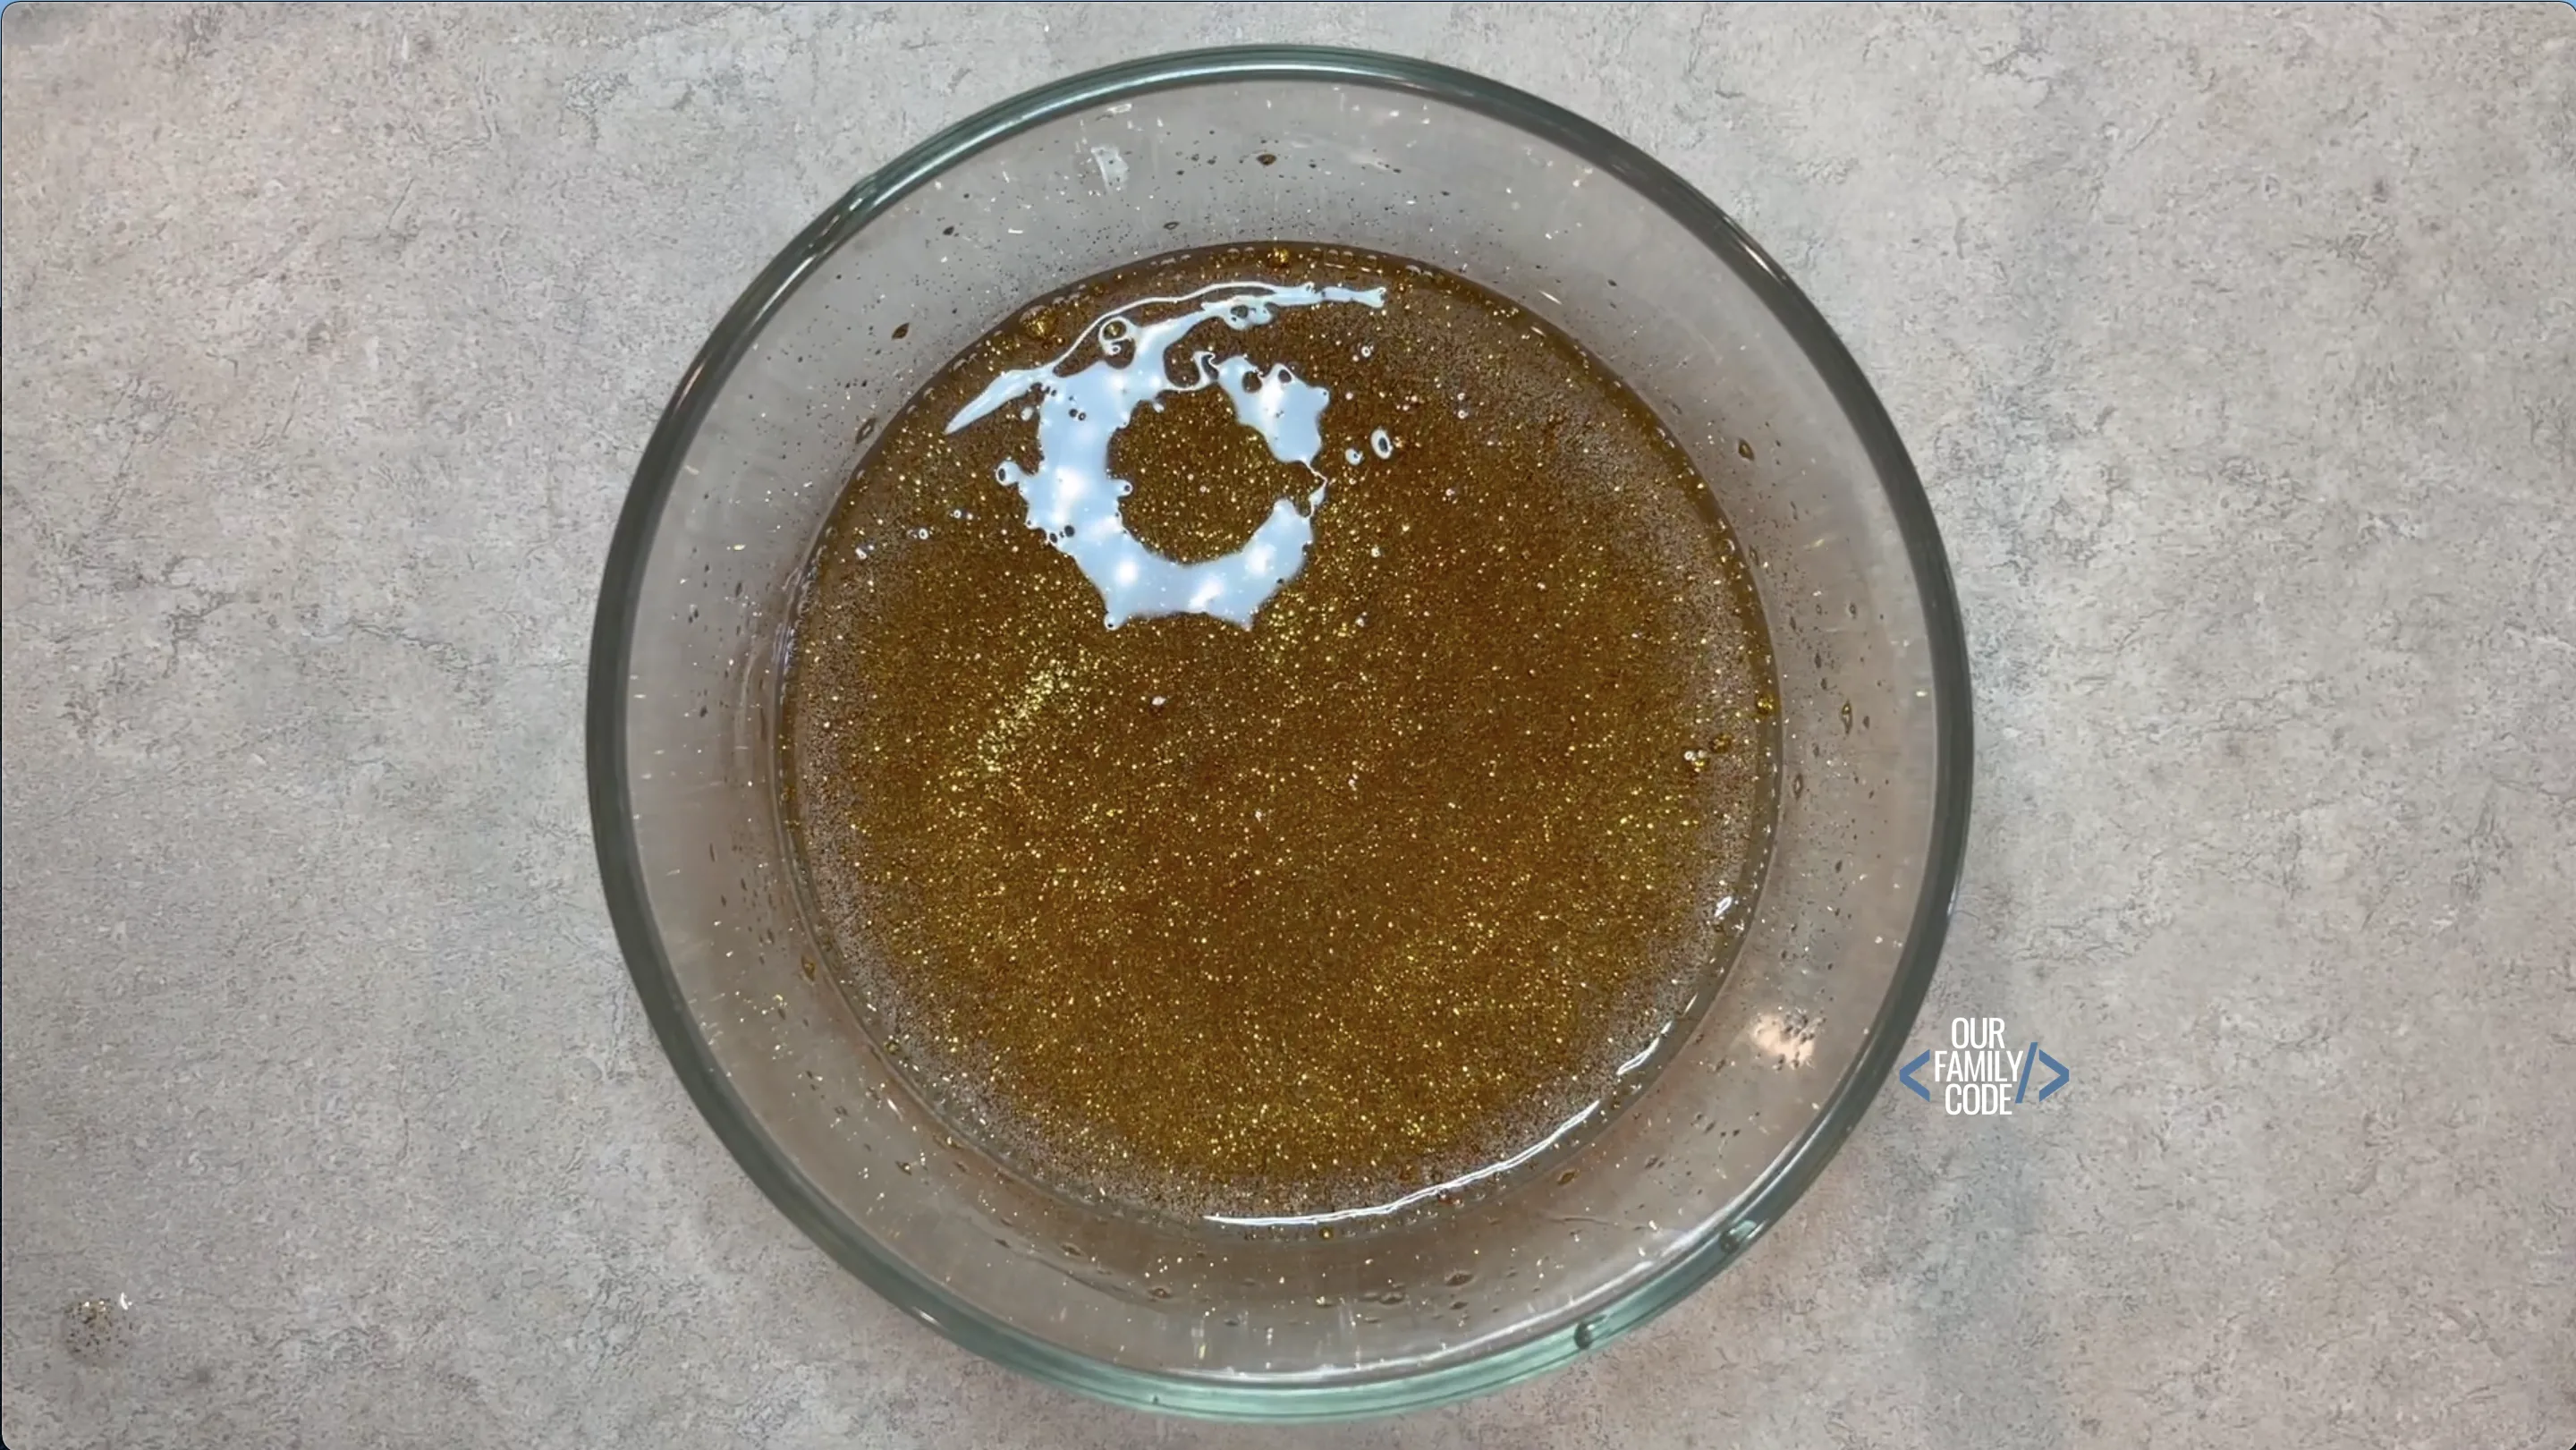
Add baking soda
Step 3: Add 1/2 tsp baking soda. Baking soda adds firmness to your slime recipe. We suggest starting with 1/2 tsp for your first recipe and then adjusting the amount of baking soda for future recipes based on the firmness you'd prefer. 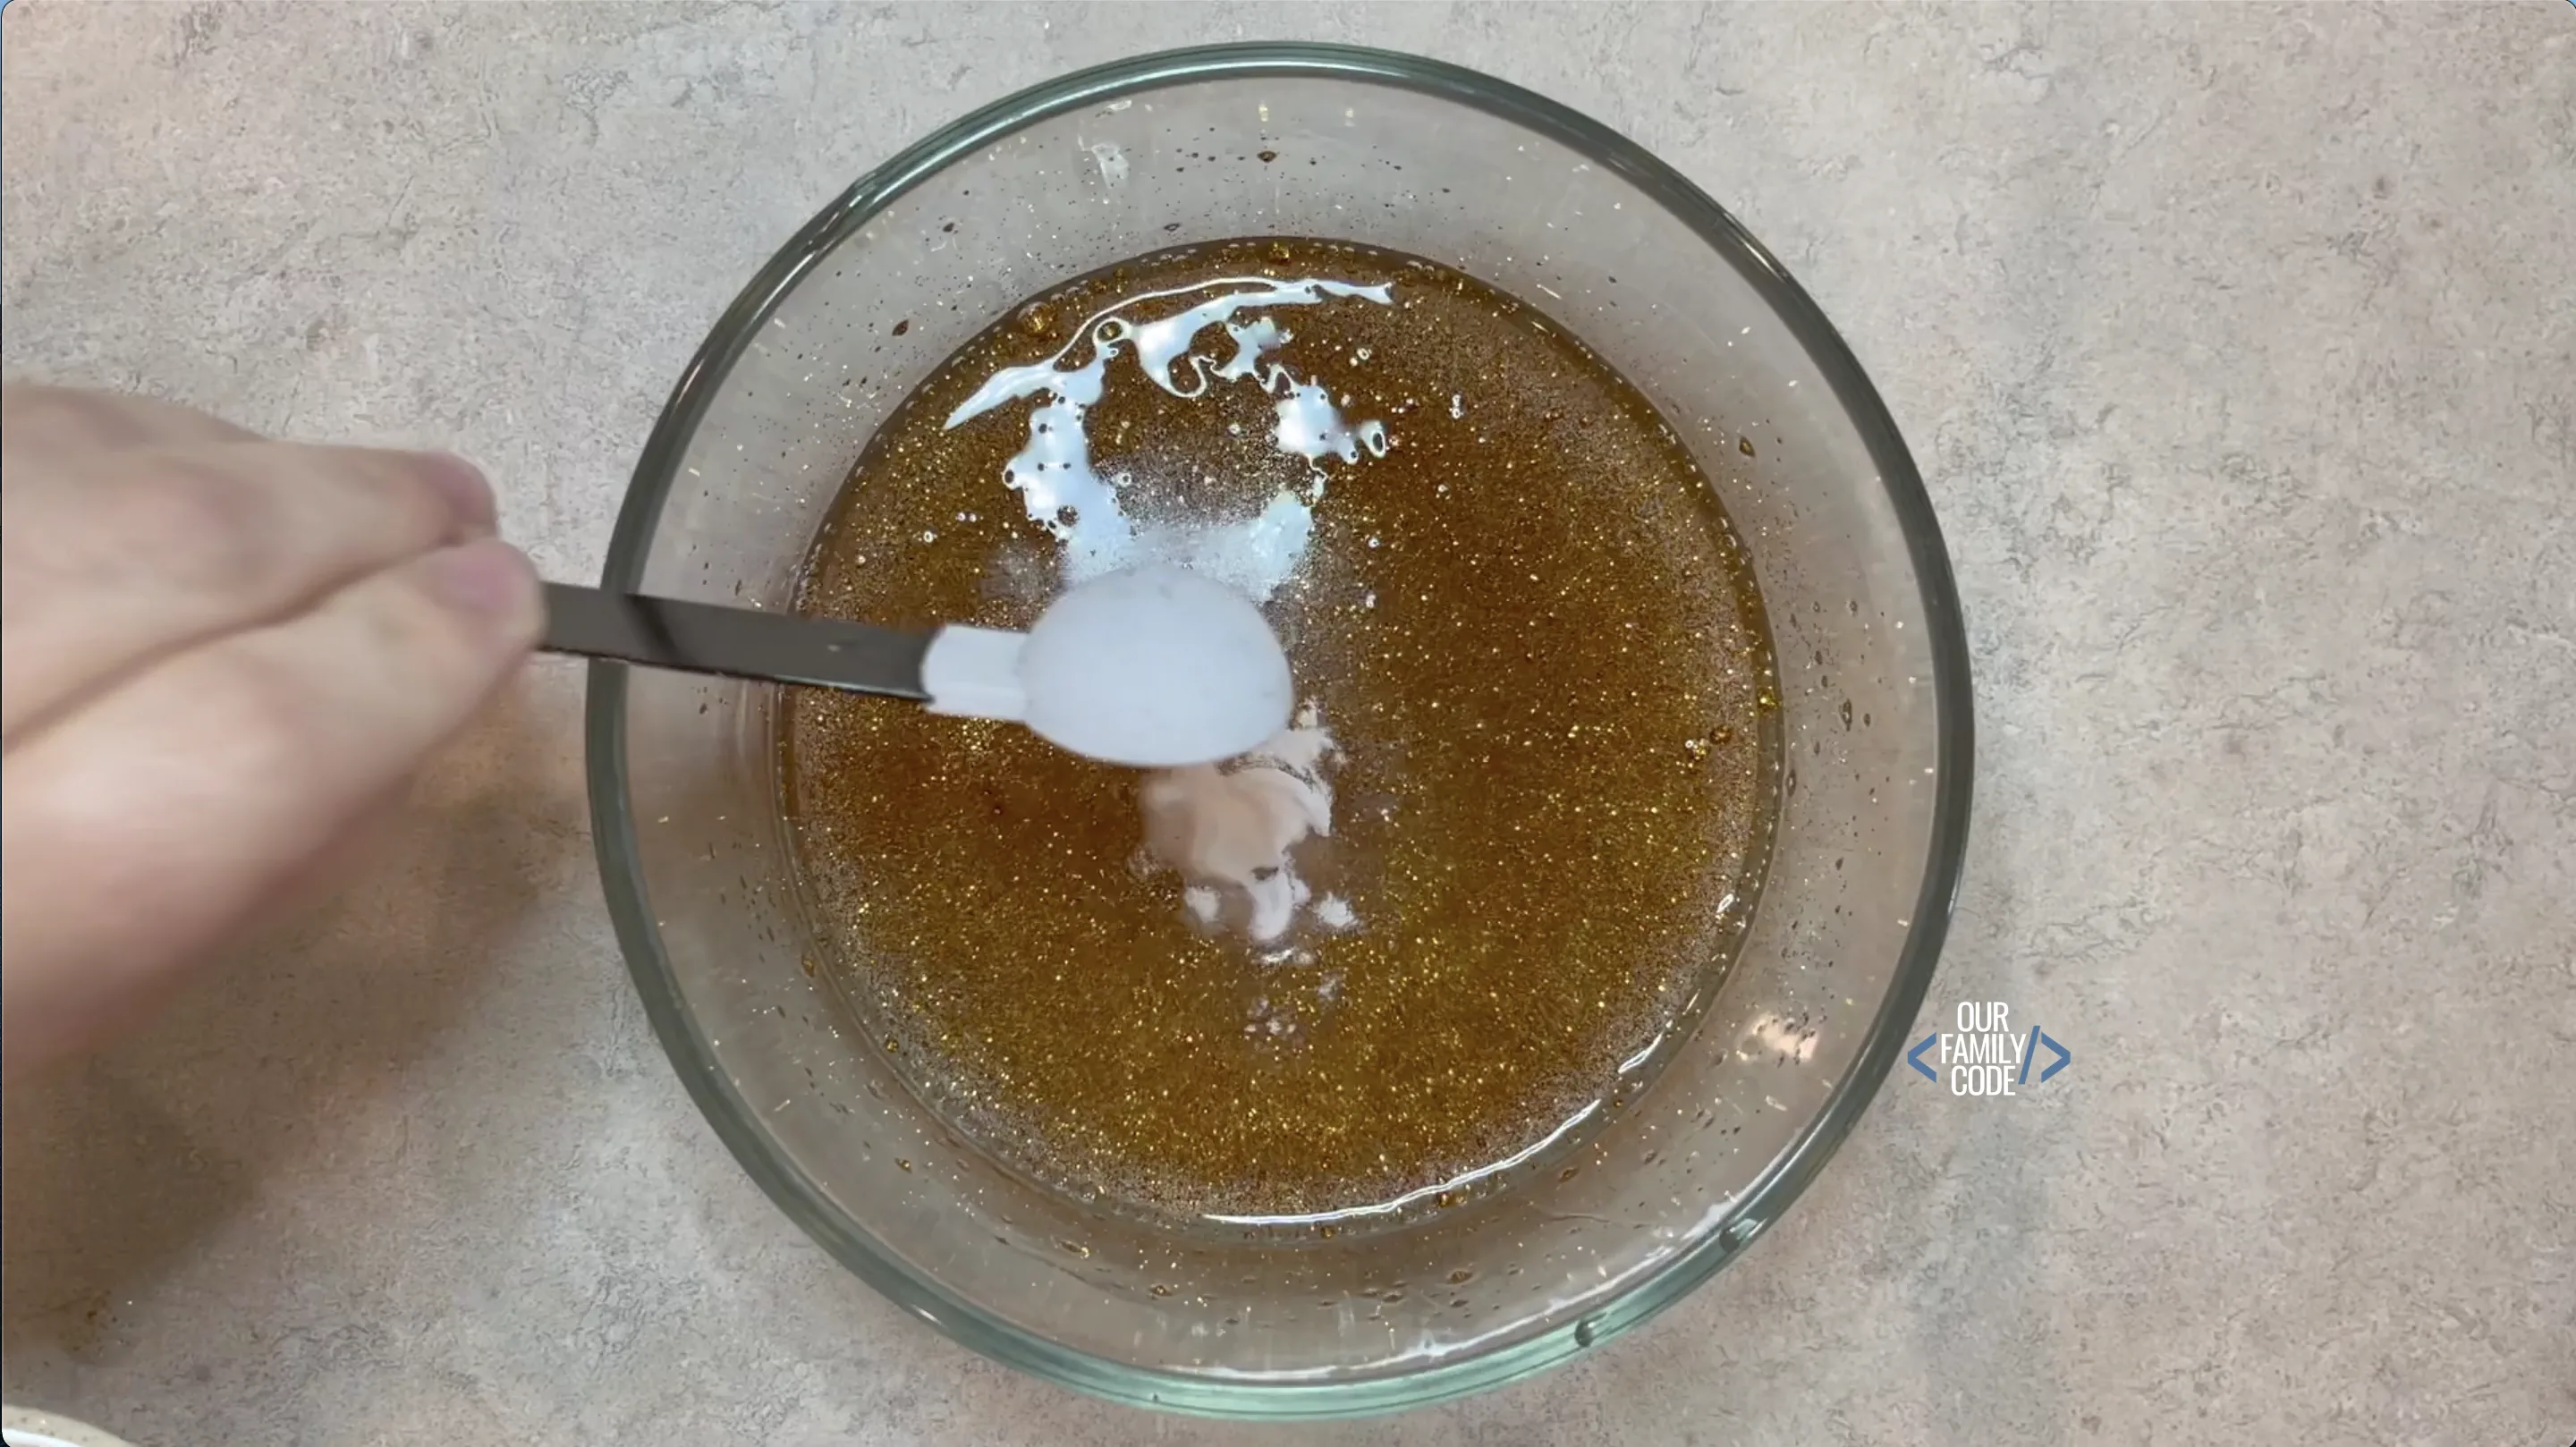
Add saline solution
Step 4: Mix in 1 tbsp saline solution. Stir until slime forms and begins to pull away from the sides of the bowl. You may need to add more saline solution depending on the brands used. We used the Target Up&Up saline solution.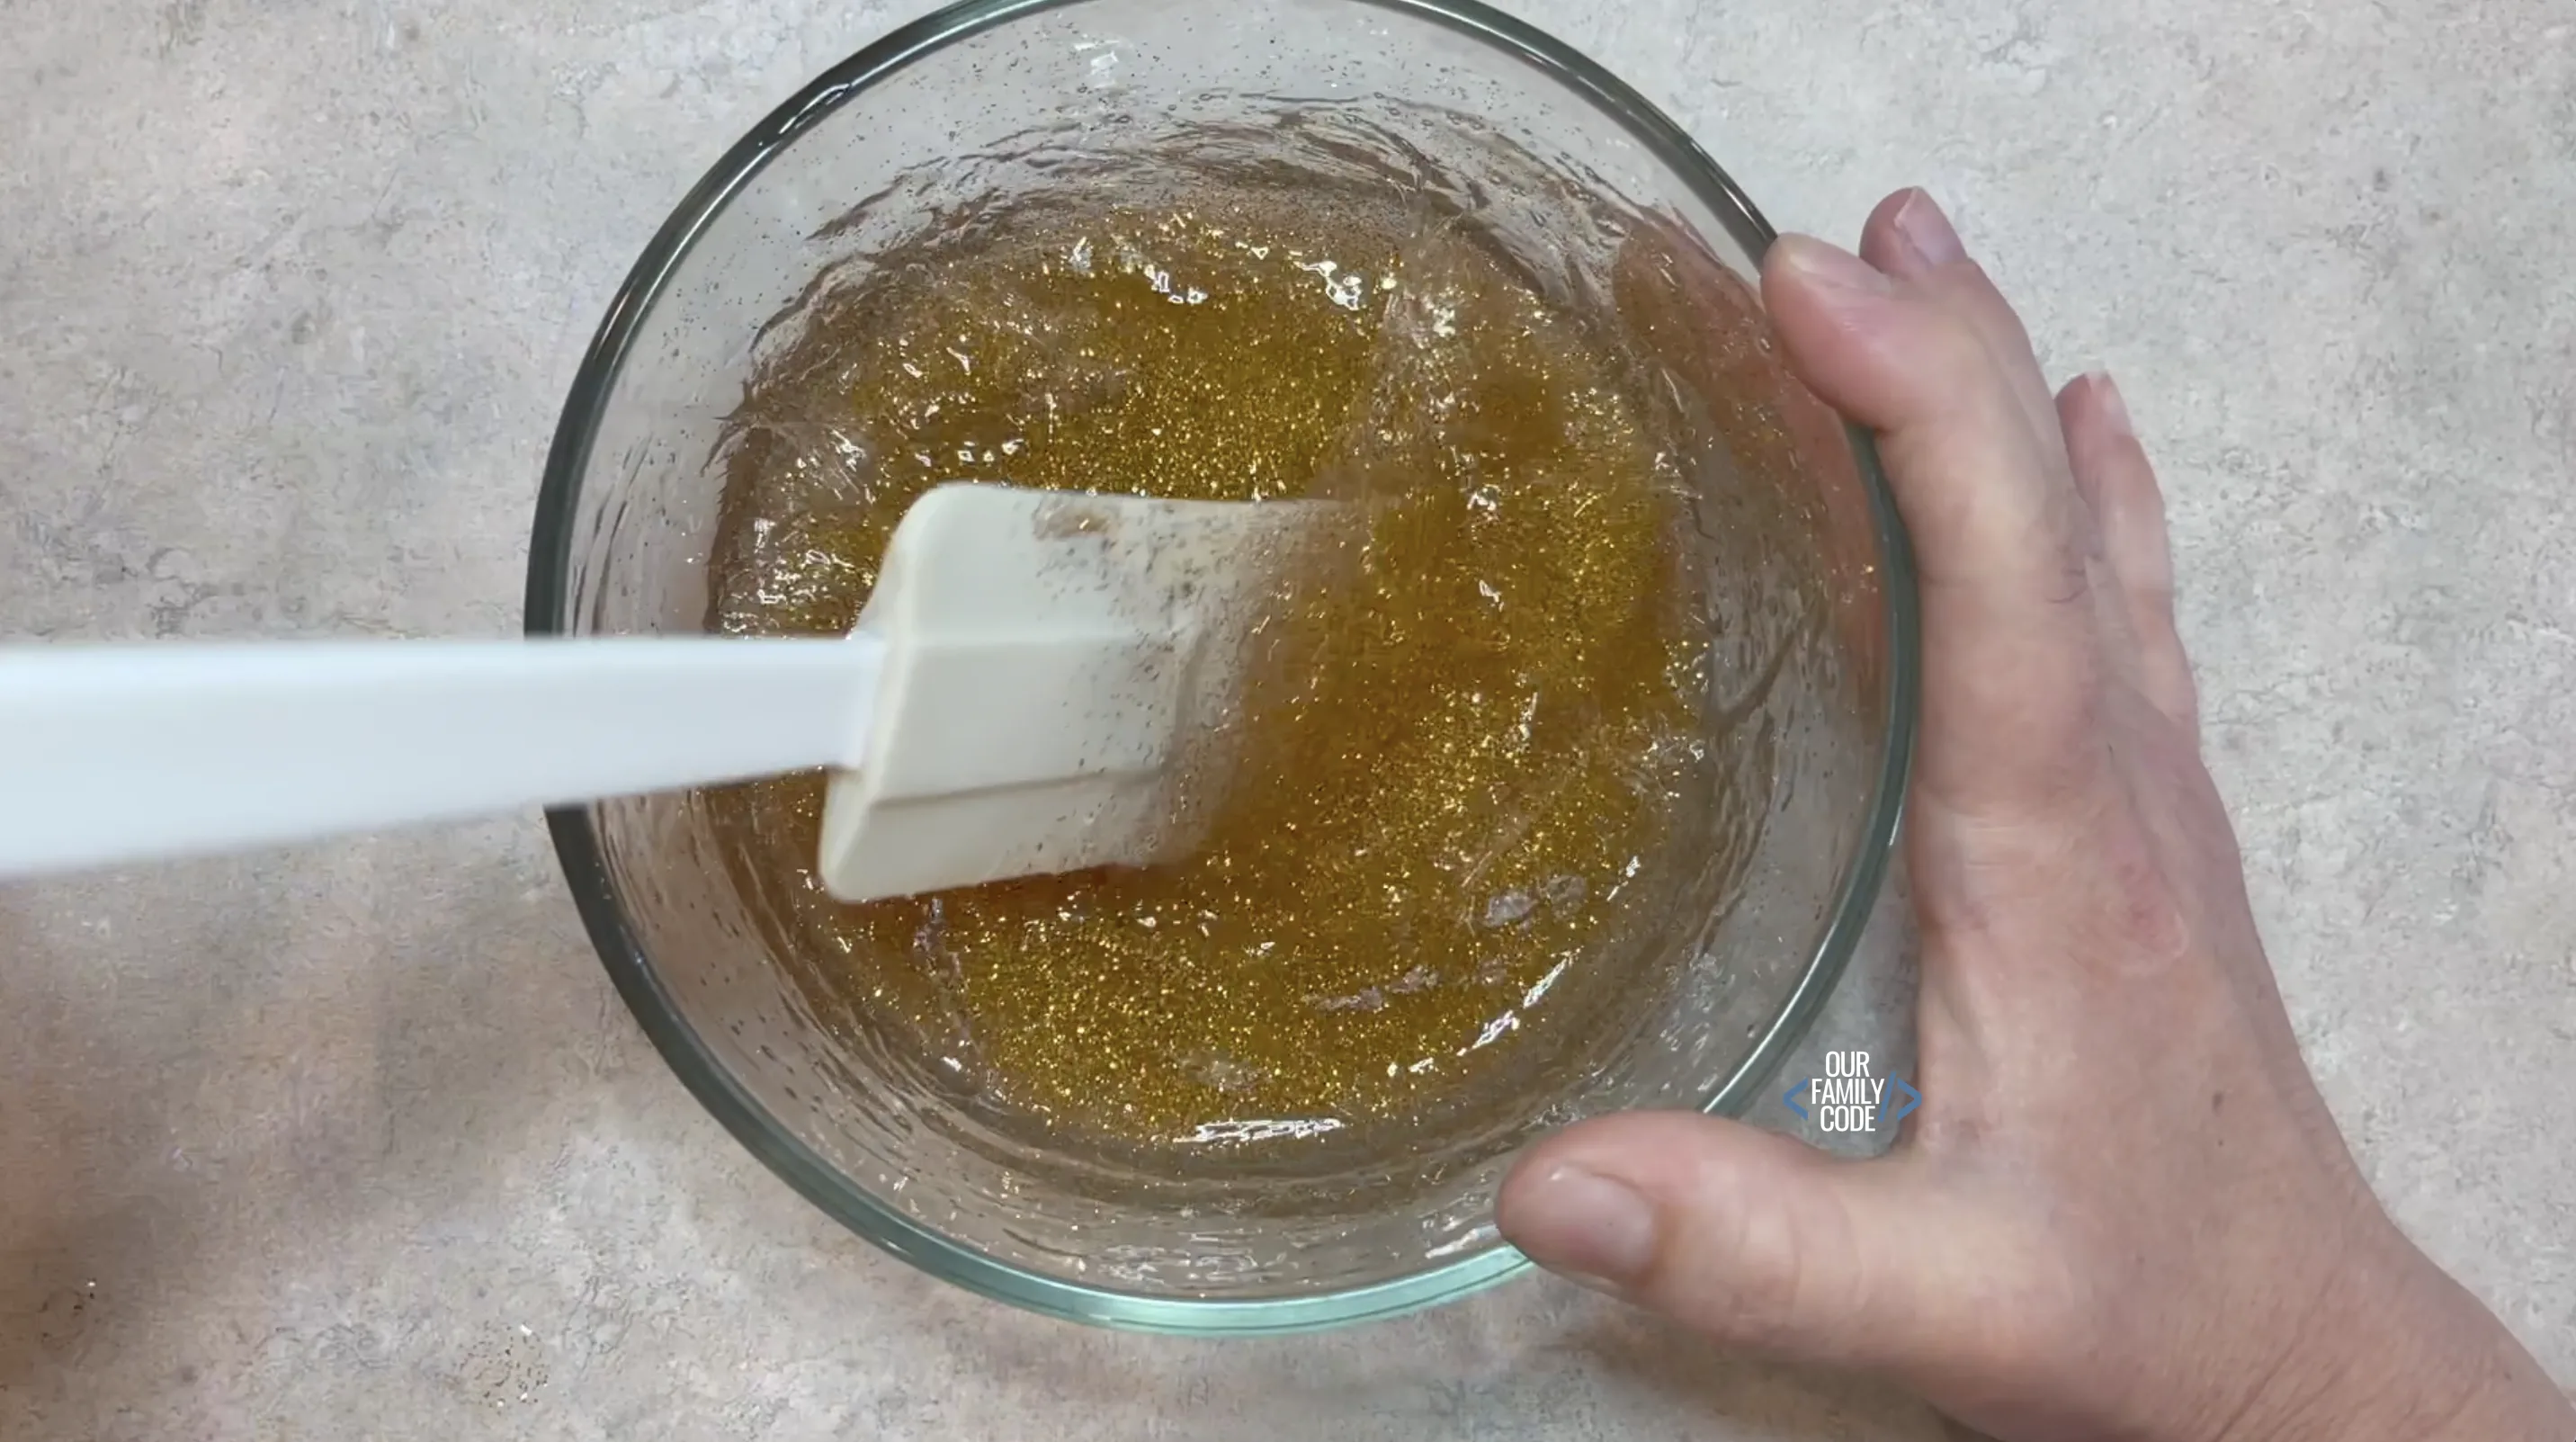
Knead slime
The slime will appear stringy and be sticky at first. Keep kneading until the slime is no longer sticky, which can take up to 5 minutes.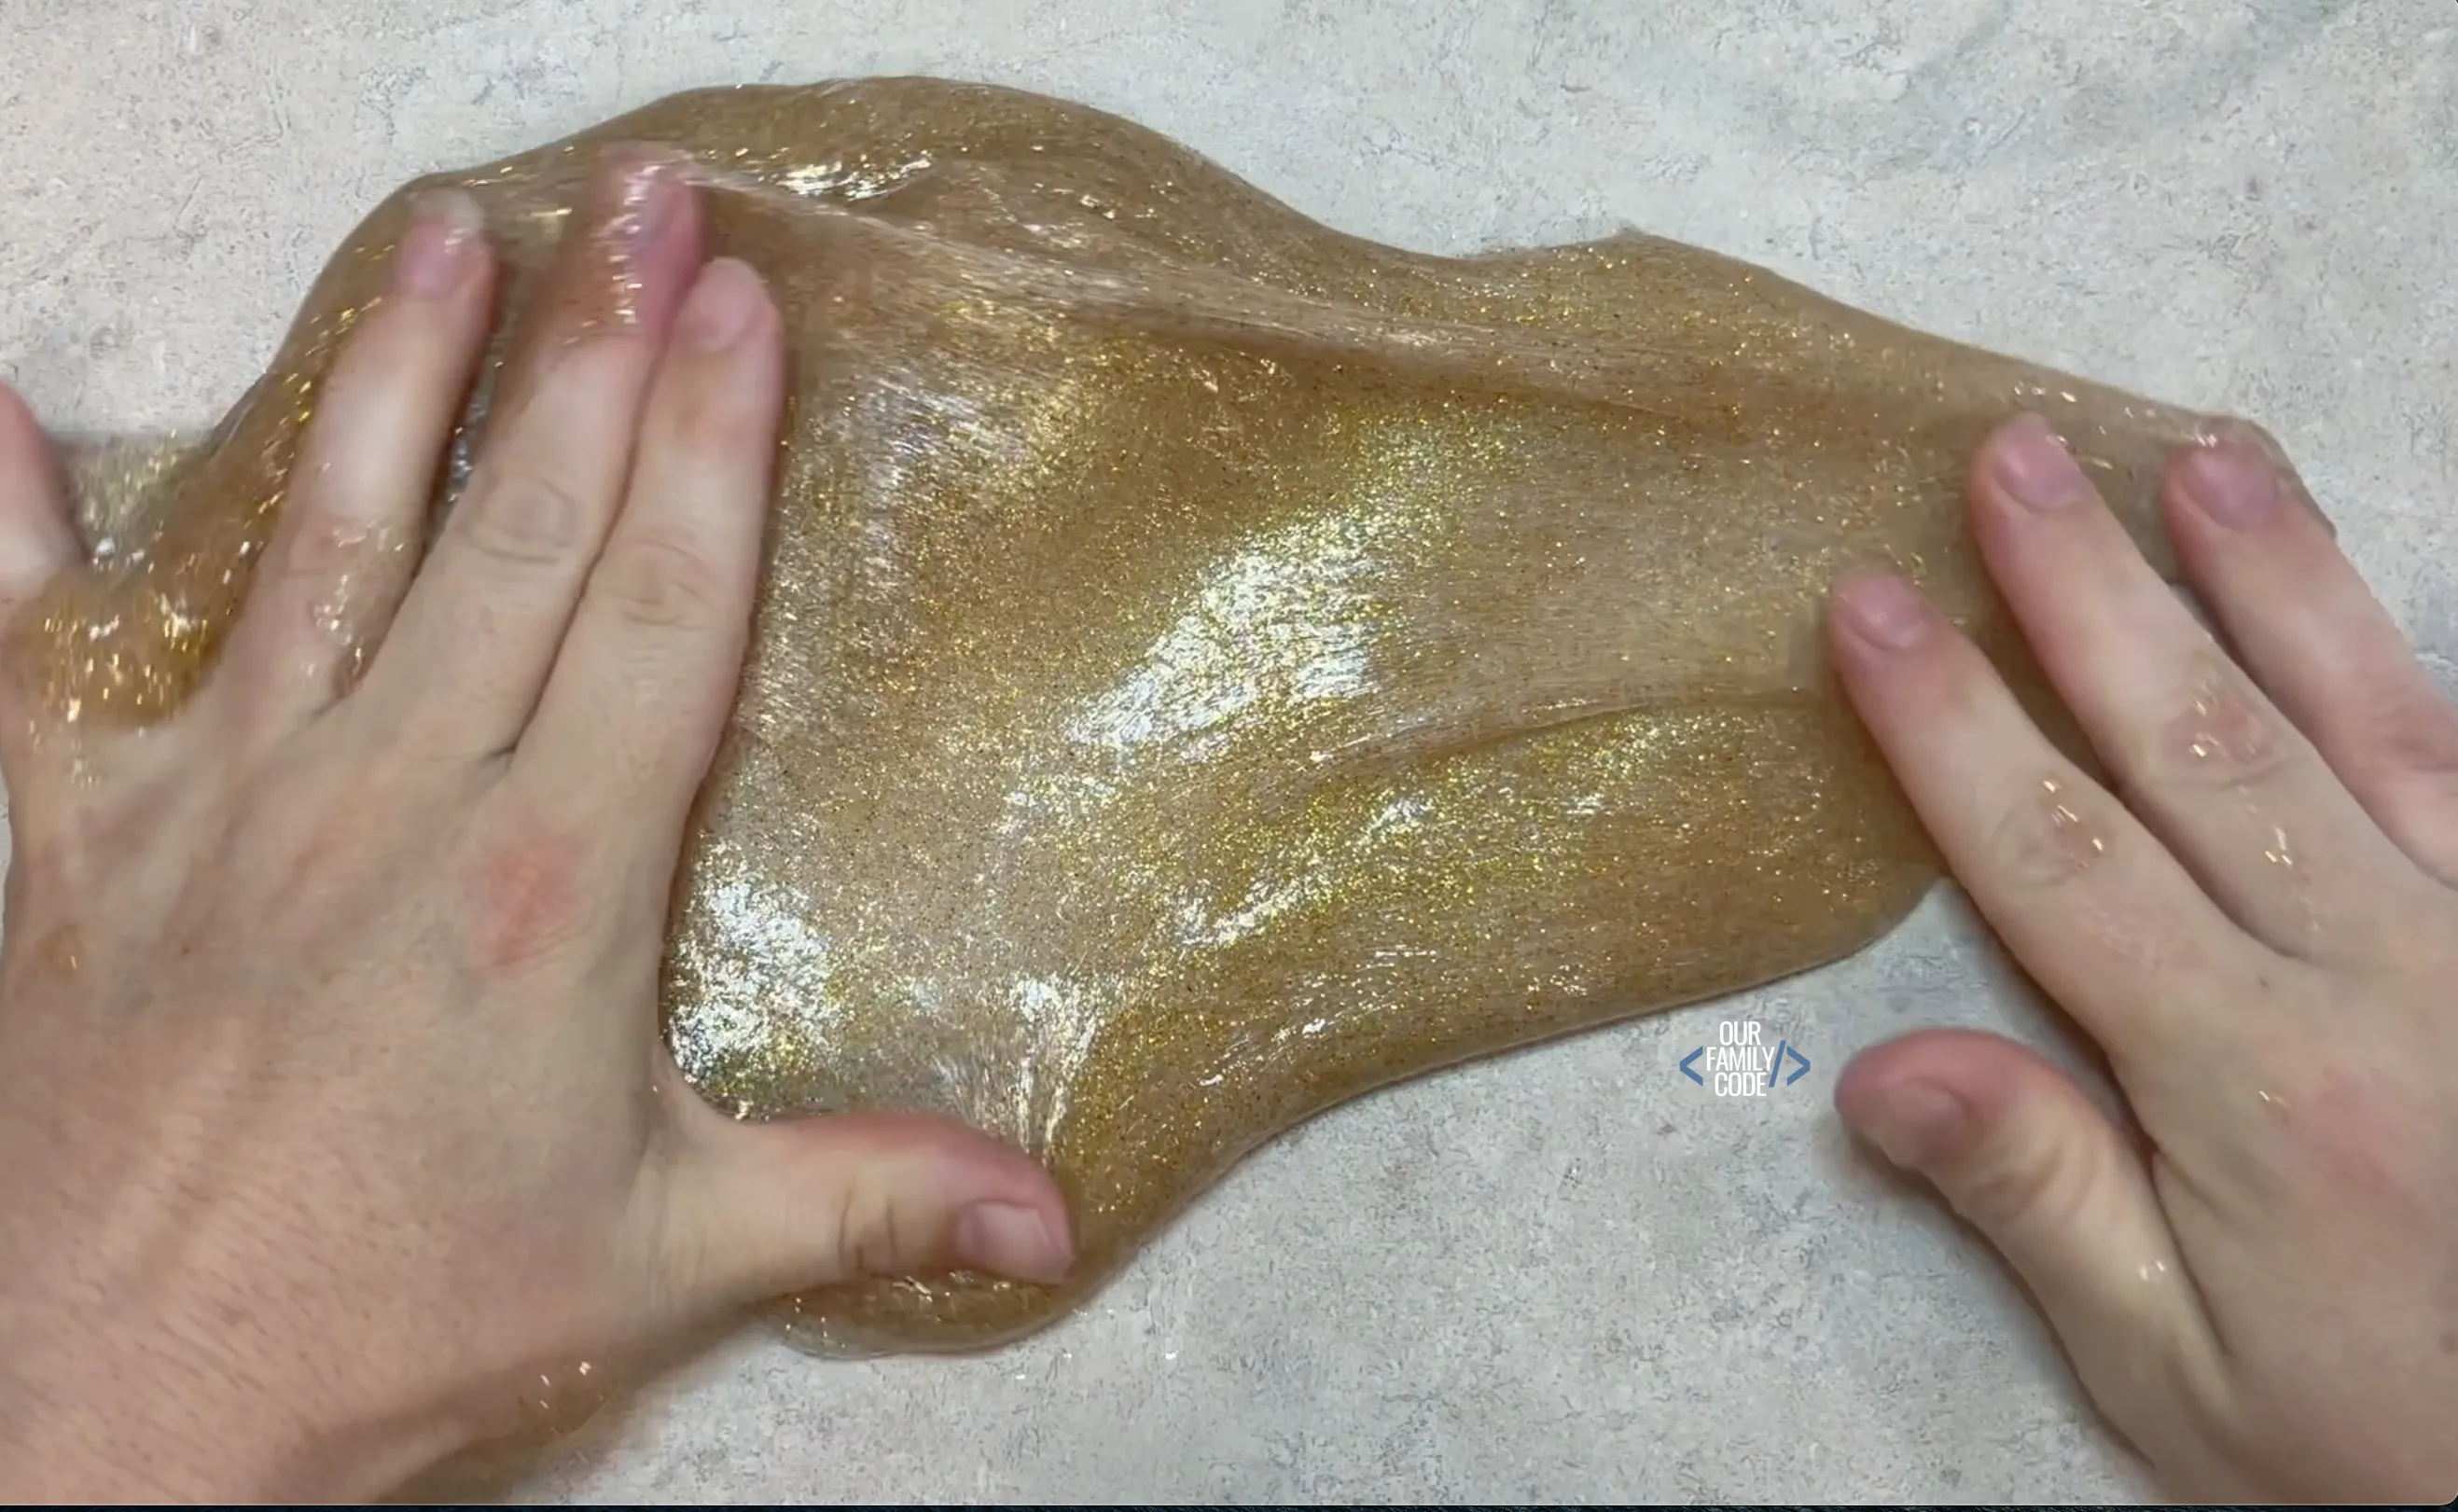
Notes
A more stretchy slime would uses less baking soda, while a more firm slime uses more baking soda.
To add more saline solution, we suggest putting some on your hands before kneading the slime instead of adding more to the mixing bowl. This is because saline solution will reduce the stickiness of your slime, but using too much can make your slime too firm.
DO NOT EAT SLIME
Recommended Products
As an Amazon Associate and member of other affiliate programs, I earn from qualifying purchases.
Slime Recipes
Find more slime recipes and hands-on science!
Ogre Slime: Oozing Halloween Slime Sensory Fun!
Learn about molecules, polymers, and chemical reactions with this oozing ogre slime Halloween sensory activity!
Brain Slime: How to Make Zombie Food
Learn how to make brain slime without glue with this easy guar gum slime recipe that you can use for a fun Halloween sensory bucket or game!
Meet Toni, the Maker Mom behind Our Family Code

Hey there, I’m Toni! I’m a software engineer and Maker Mom that finds my joy in unleashing my children’s curiosity by exploring STEAM concepts with my fantastic five!
When I’m not chasing toddlers or raising tweens, you can find me tearing things up and putting them back together over here at Our Family Code.
I am the owner and content creator of multiple educational websites designed to increase access to STEAM & STEM education with a focus on teaching computer science and coding to kids of all ages!
You can also find out more about me by visiting ToniGardner.com!


