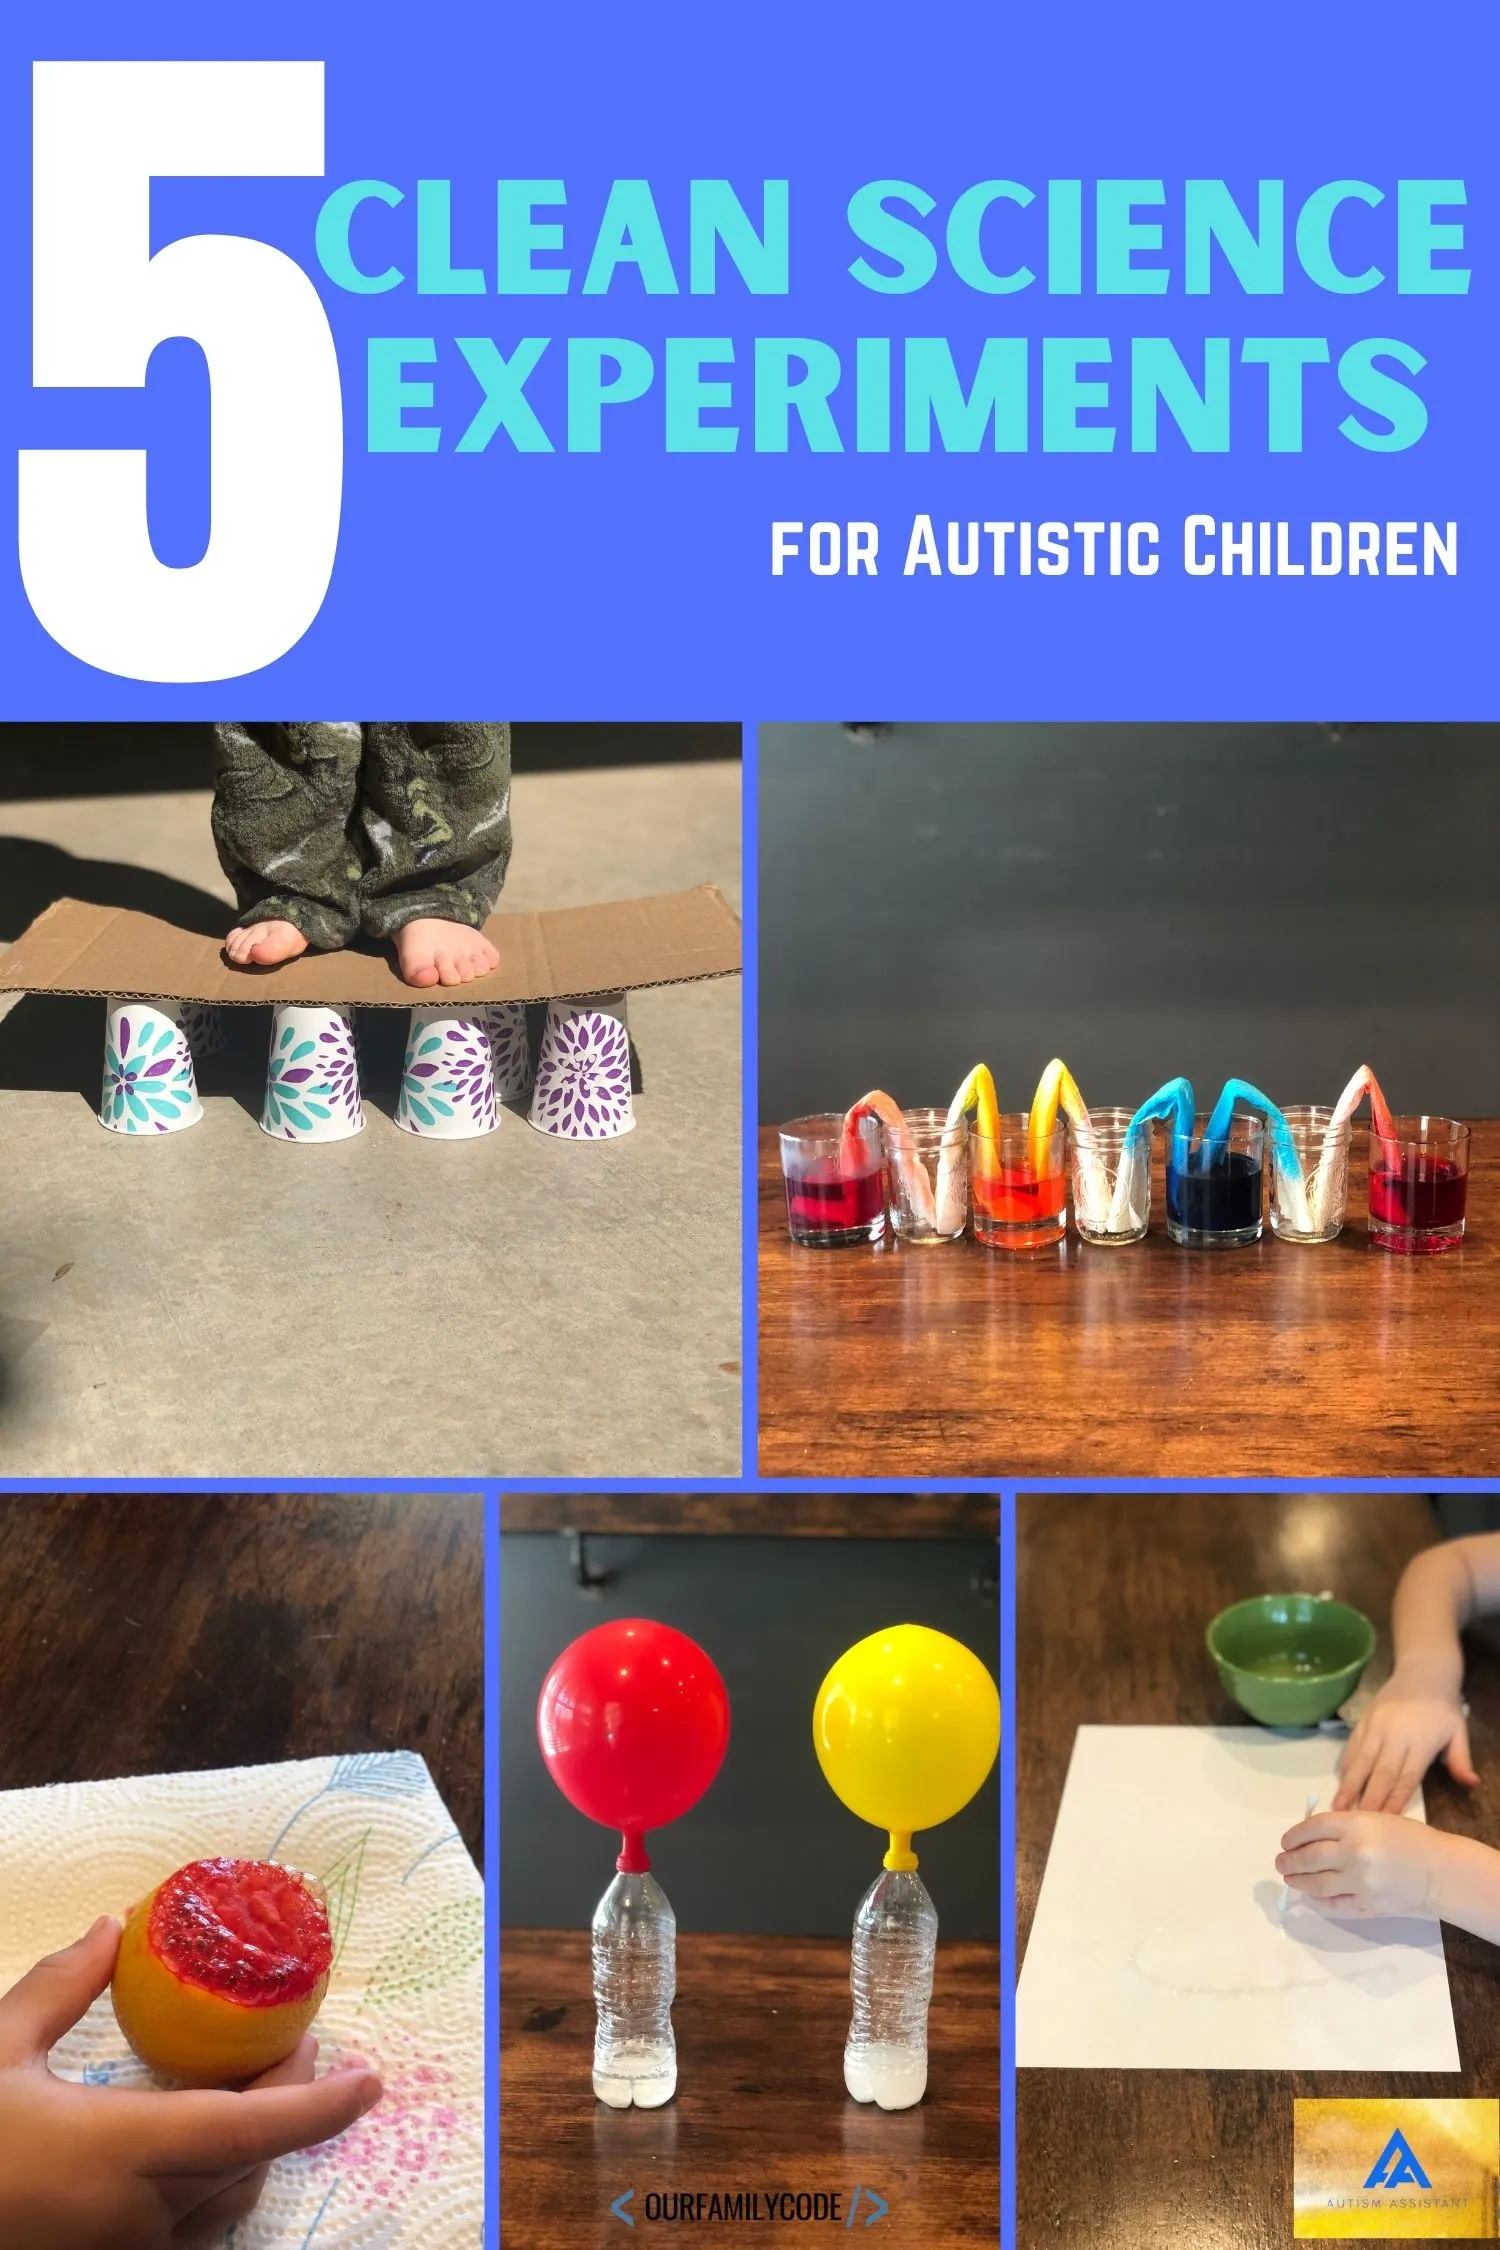
You are going to love these clean science experiments for autistic children and this guest post from the wonderful Emily Swank of Autism Assistant!
It is no secret that incorporating science experiments into learning is a great way to engage children and make lessons more hands-on and fun. While autistic students may have different needs in the classroom, they typically enjoy a good science experiment as much as every other learner.
However, there can be some sensory needs that need to be taken into consideration when planning science experiments, to ensure that your autistic child is as comfortable as every other student.
This post contains affiliate links. As an Amazon Associate, Our Family Code earns from qualifying purchases. Please see our Disclosure Policy for more details.
Sensory Issues and Autism
Many children on the autism spectrum have sensory processing disorder (SPD) or struggle with certain sensory issues. A very oversimplified definition of this is just that their brain processes sensory input (touch, taste, sight, smell, sounds) from the environment around them differently than most children. For some children this can mean they crave extra sensory input and for others it can cause an aversion to certain stimuli all together.
National Autism Resources is the leading online resource for information, advice, toys, gifts, educational products and more.
For our article, we have picked 5 clean science experiments that are quiet and don’t require children to get their hands messy, since these can be typical triggers for autistic children.
Clean Science Experiment #1: Invisible Ink Experiment
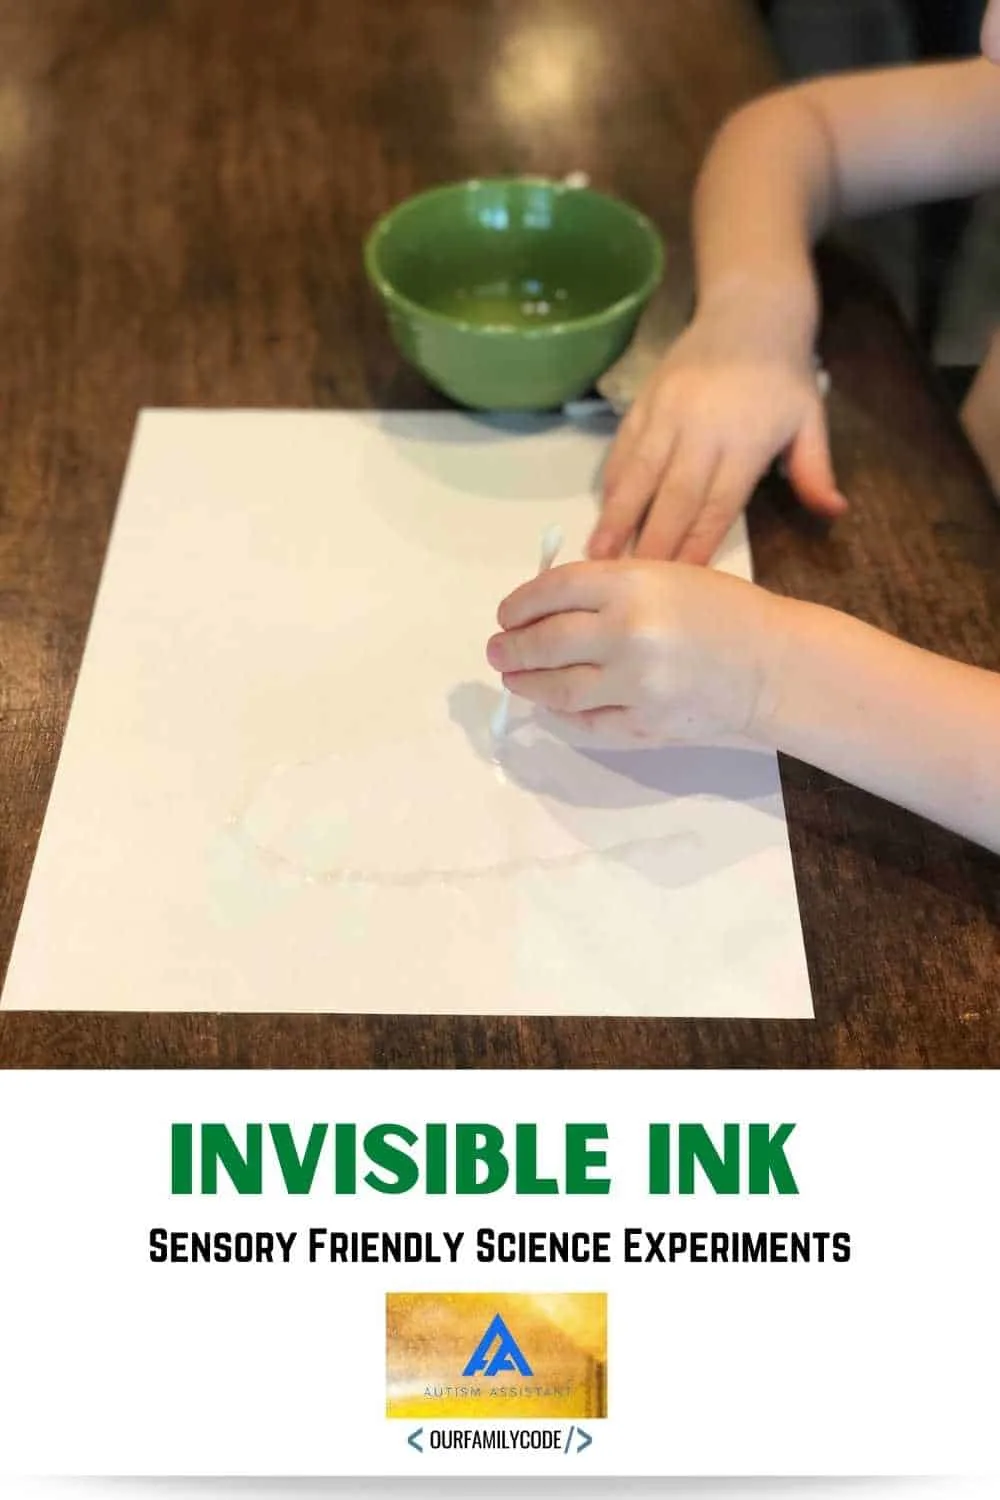
The lemon juice used for the invisible ink experiment is composed of carbon compounds. When they are at room temperature on the paper they are colorless.
The fibers of the paper soak up the carbon compounds from the lemon juice. When the paper is completely dry you can’t see any of the lemon juice.
However, when you add heat to the paper, it breaks the carbon’s chemical bonds in the lemon juice. This causes some of the carbon to be released and when that released carbon comes into contact with the heat, it oxidizes (turns a darker color). Thus revealing the “invisible ink” that has been written on the paper.
Invisible Ink Experiment Steps
1) Add fresh squeezed lemon juice or bottled lemon juice to a cup.
2) Put the end of your writing utensil (paint brush, Q-tip, cotton ball, etc) in the cup and soak it enough to get enough liquid on the end.
3) Write your message on a plain piece of paper. Then let it dry completely so that it is invisible.
4) Use a heat source to warm up the lemon juice. We used a lighter but there are plenty of available heat sources like a candle or a stove top burner.
Always have an adult conduct or supervise this portion of the experiment.
5) Watch your invisible message appear!
Clean Science Experiment #2: Blow up a Balloon Using Science
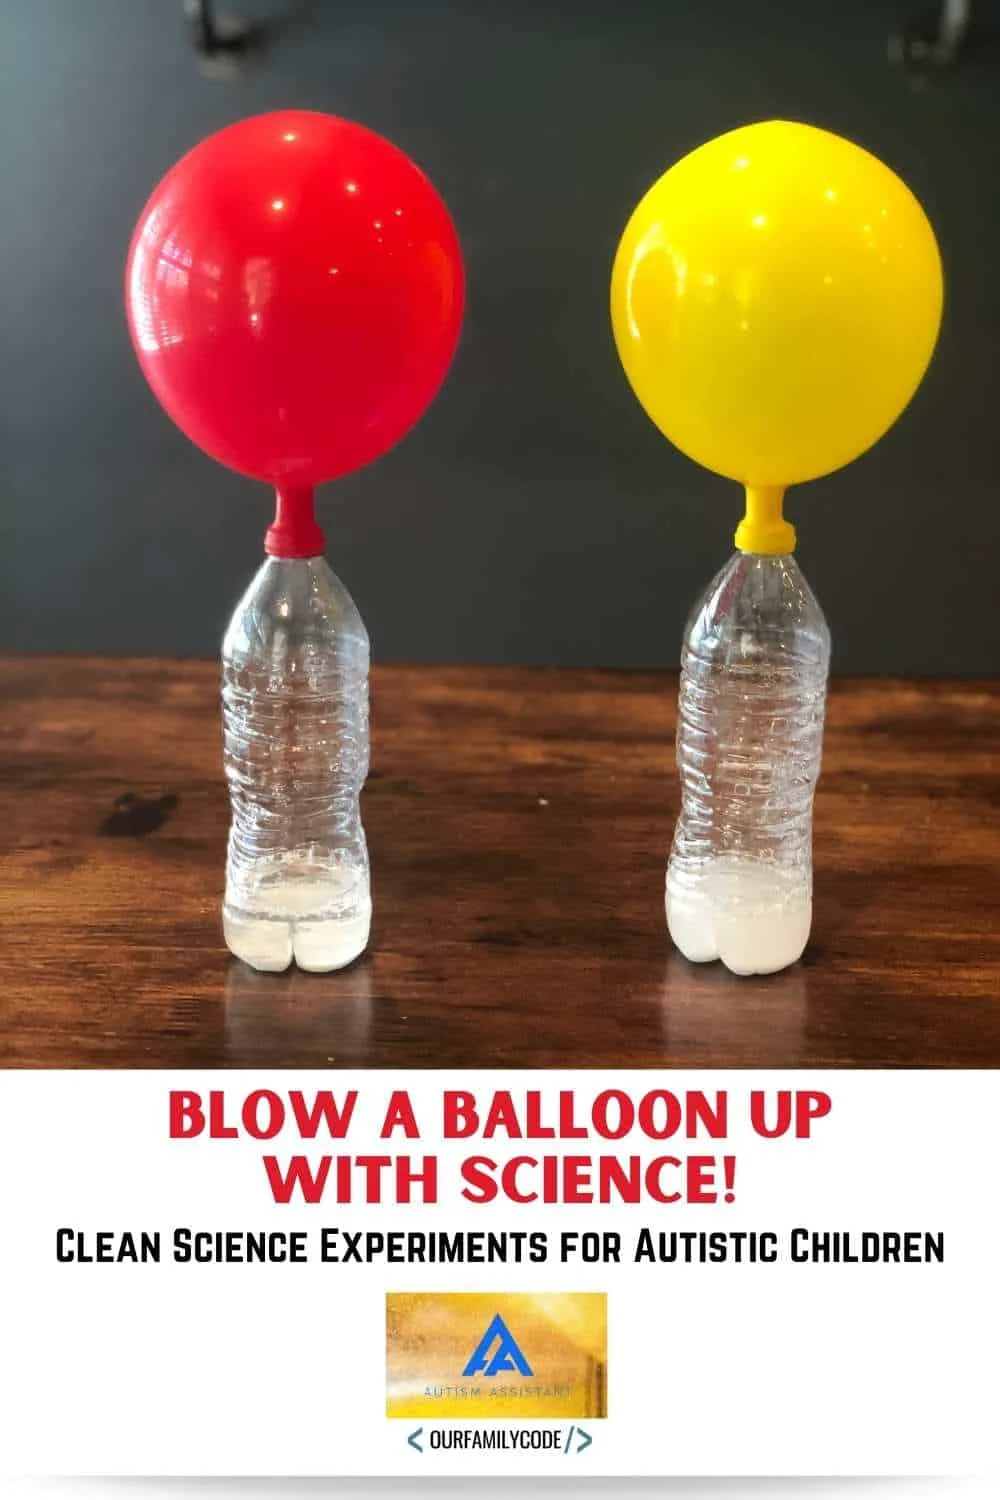
When vinegar and baking soda are mixed together, it causes an acid-base reaction that produces carbon dioxide, which fills up the balloon.
Steps for blowing up a balloon using science
1) Take an empty 16 oz water bottle and pour approximately one inch of white vinegar into the bottom. (You may want to use a funnel for easy pouring. Just be sure to rinse it off and wipe it clean before you use it again.)
2) Use your funnel to put some baking soda into the balloon. You may need to use a Q-tip to push it through.
3) Attach the balloon to the top of the water bottle but be careful not to dump the baking soda in yet.
4) Turn the balloon over and let the baking soda fall into the vinegar at the bottom of the water bottle.
5) You will see the balloon begin to expand and fill up.
Clean Science Experiment #3: Science Experiment that Creates a Bubbly Lemon
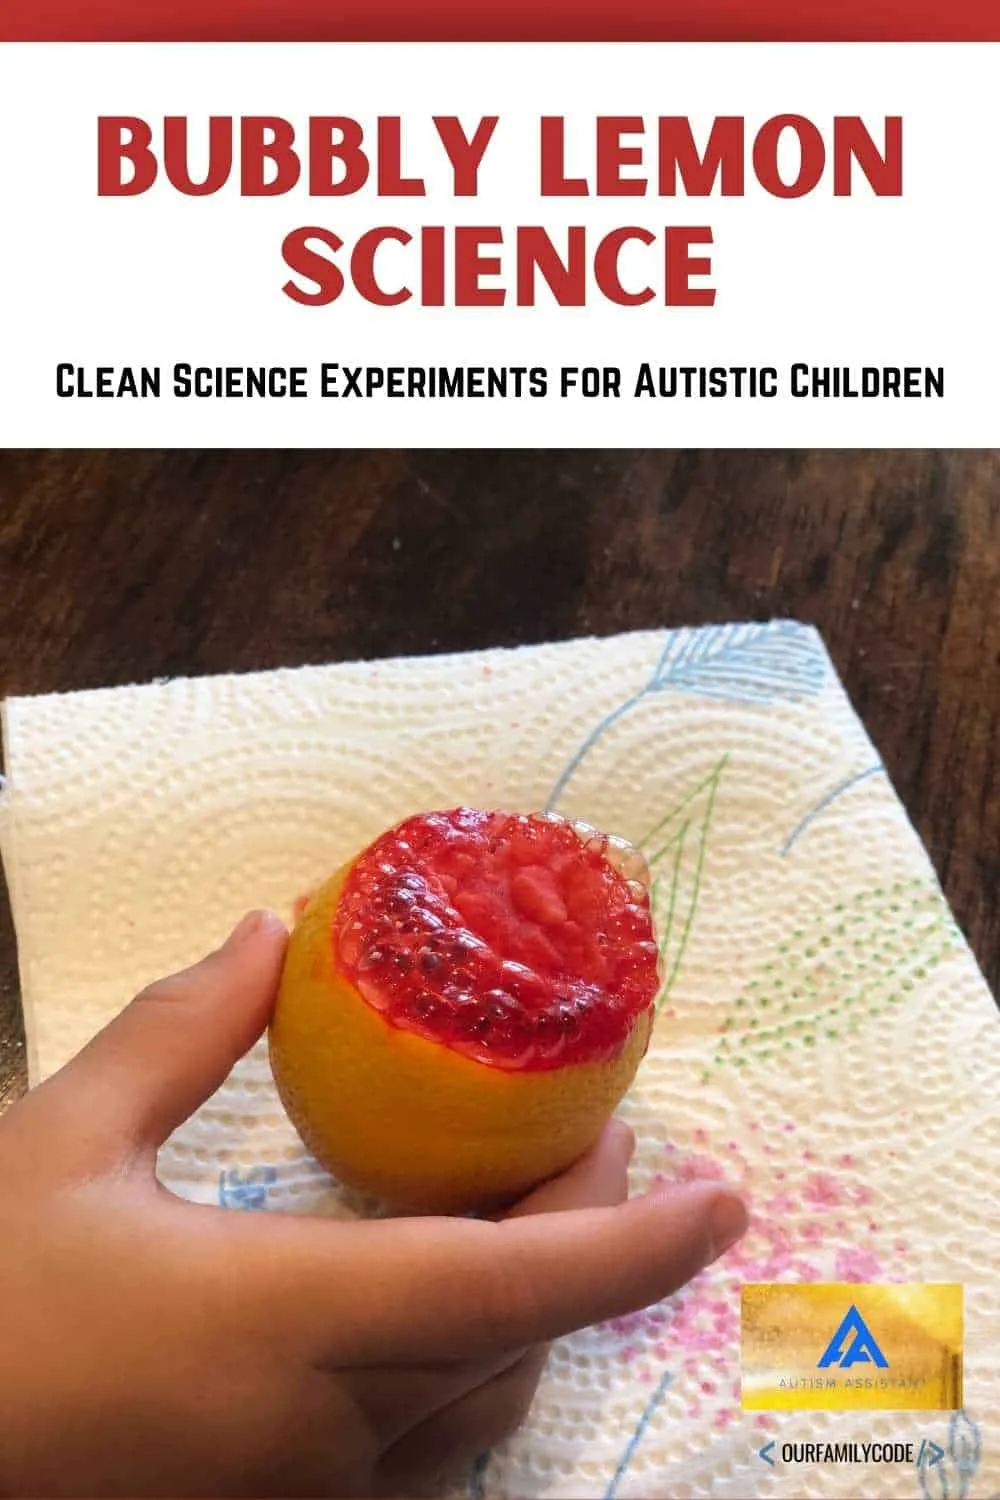
When lemon juice is mixed with baking soda, it creates an acid-base reaction that releases carbon dioxide, which produces bubbles. This is the same sort of reaction they use to create the bubbles in popular carbonated soft drinks.
Steps to Make your Lemon Bubble
1) Take a lemon and cut one end off. An adult should do this part of the experiment.
2) Take a fork and mix up the inside of the lemon. (Make sure to leave everything inside the lemon because we need all the juice for the experiment.
3) Add a couple drops of blue or red food coloring and stir it up a little more.
4) Now add a scoop of baking soda and watch the bubbles appear up at the top of the lemon opening.
Clean Science Experiment #4: Walking Water Experiment
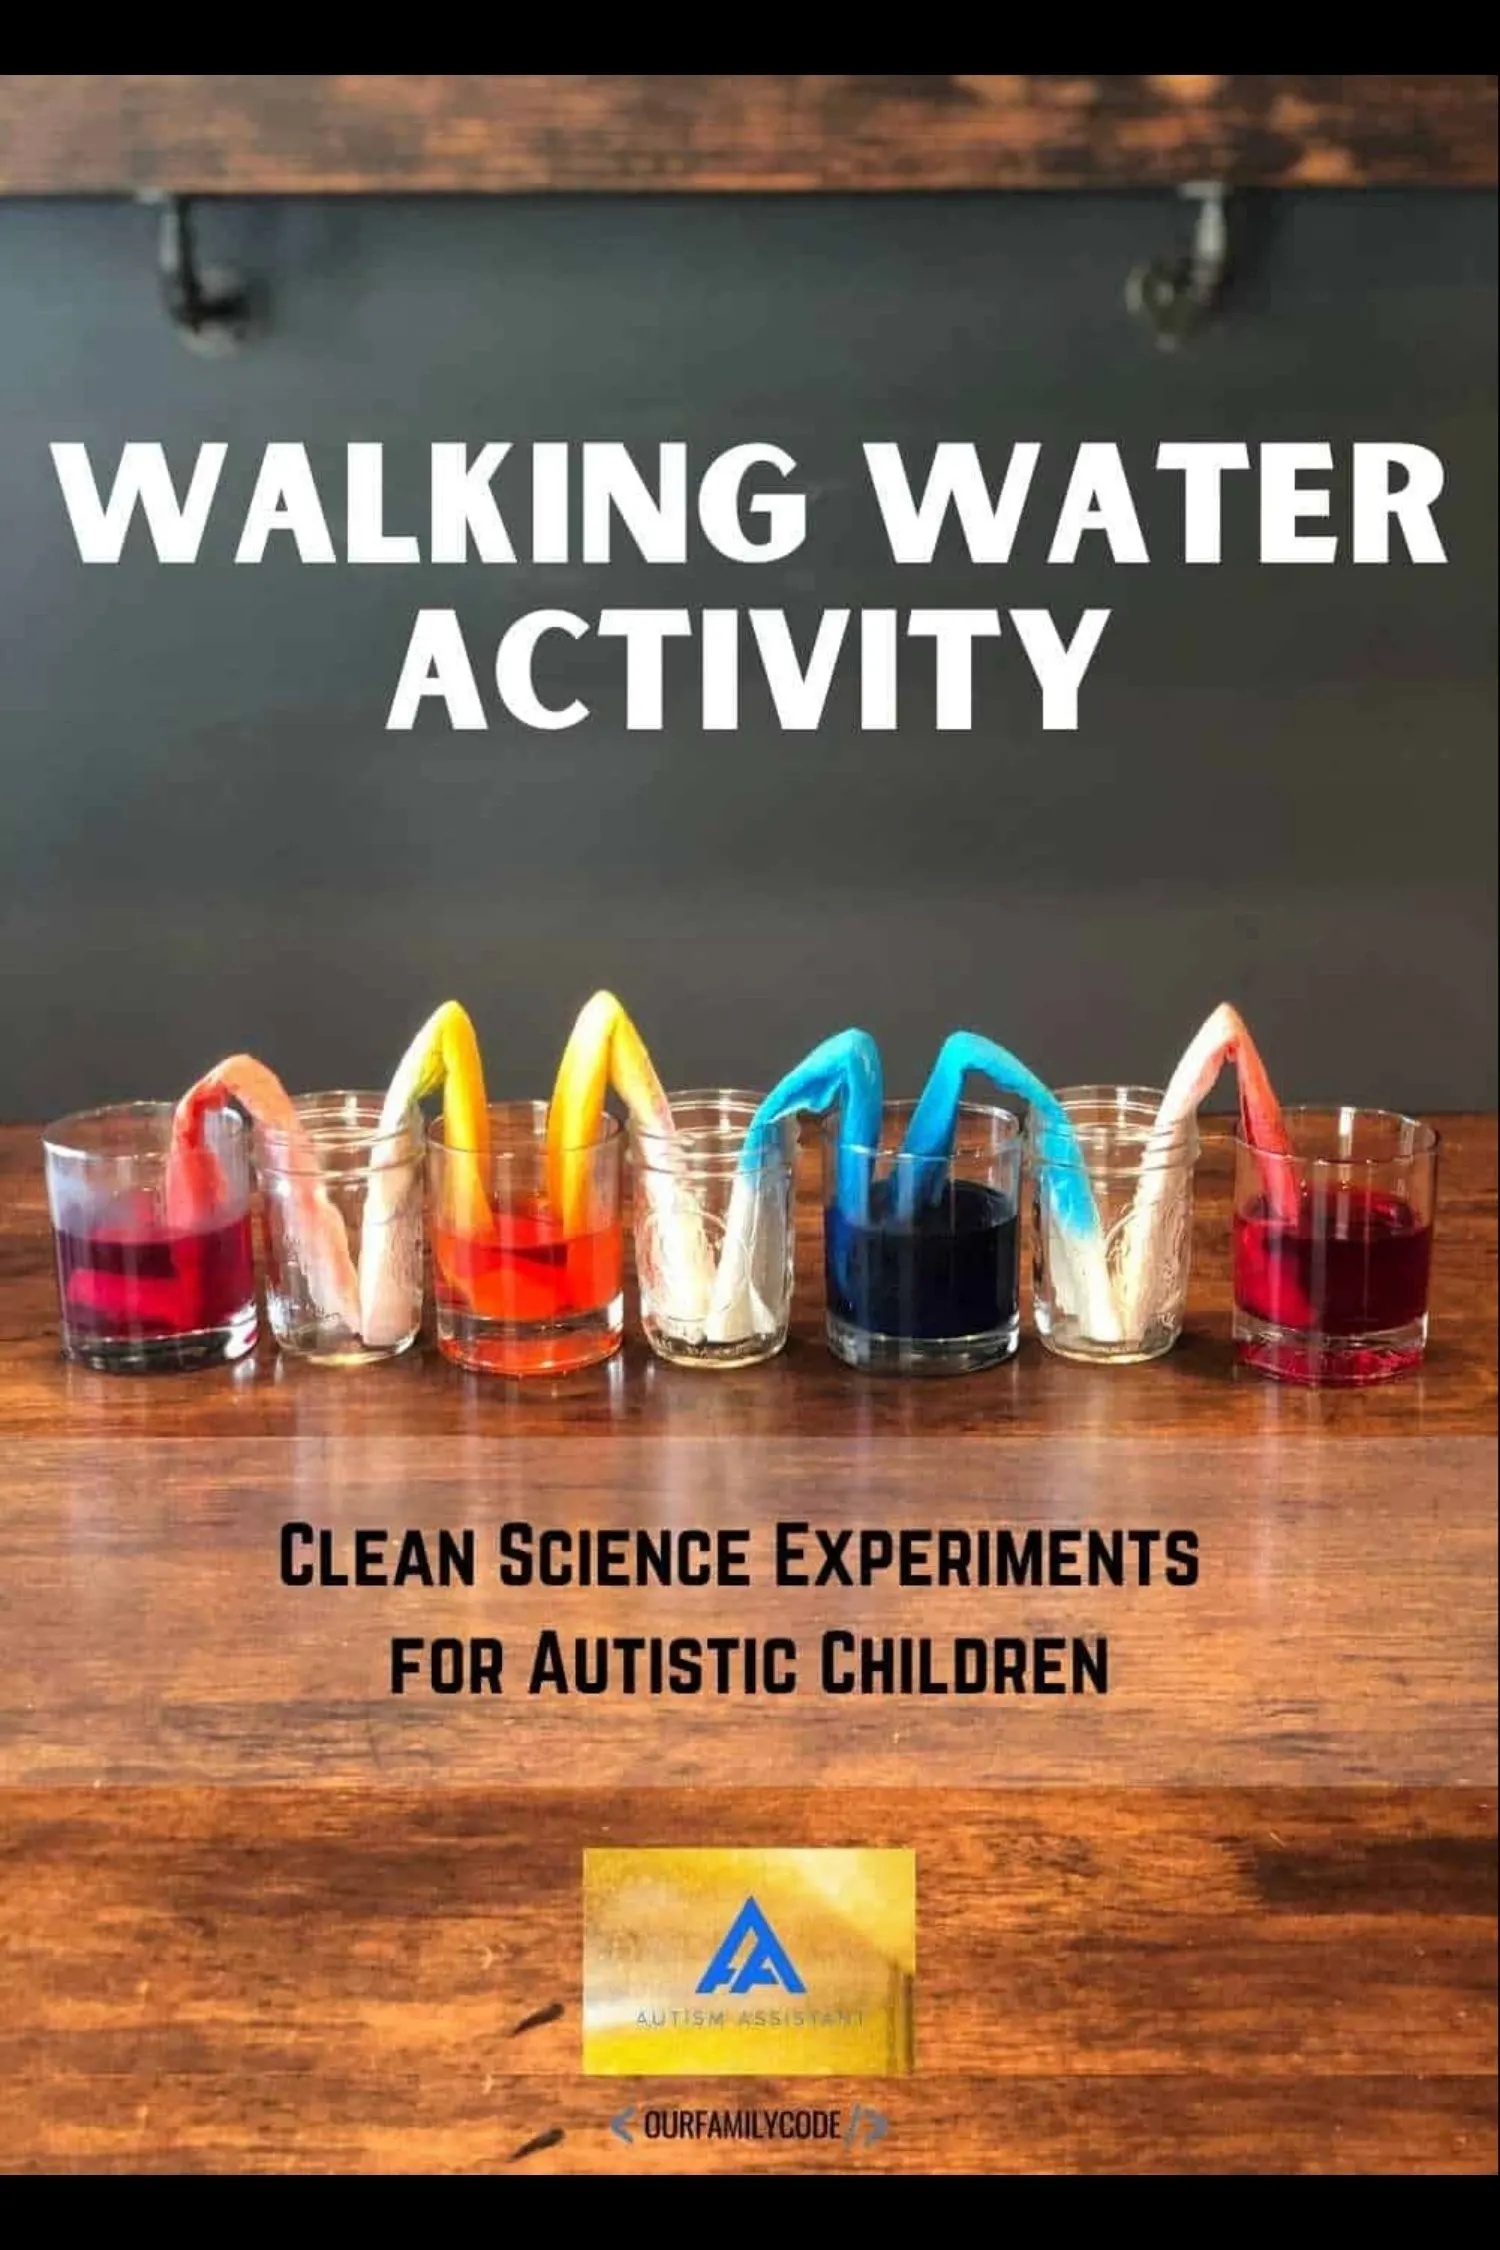
The purpose of this experiment is to show the little scientists how adhesion, cohesion, and surface tension can cause a liquid to move up a porous solid.
The molecules in the water stick to each other (cohesion), next they will stick to the paper towel (adhesion). As a water molecule starts to climb up the paper towel, the next water molecule that is stuck to it will begin to be pulled up the paper towel by the first molecule.
This happens in a long line as many molecules are being pulled up the paper towel in succession. This will give the appearance that the water has been walking up and down the paper towels.
Steps for the Walking Water Experiment
1) Set out 7 glasses of similar height. Fill 1,3, 5 and 7 approximately ¾ of the way with water.
2) Next you will add the food coloring to the glasses as follows: 7-10 drops of red to glasses 1 and 7, 12-15 drops of yellow to glass 3, and 7-10 drops of blue to glass 5.
3) Take a paper towel and fold it in half long ways. Continue to fold over and over again until you have a long slender piece of paper towel. Then put one end of the paper towel into the first glass and the other end into the glass next to it. Repeat this step until every glass has two ends of a paper towel in it (except the two end glasses which will only have one)
4) Now watch the water climb up the paper towels.
You might like: Sensory Bottle Science
Clean Science Experiment #5: Use Science to Make Paper Cups Hold Your Body Weight
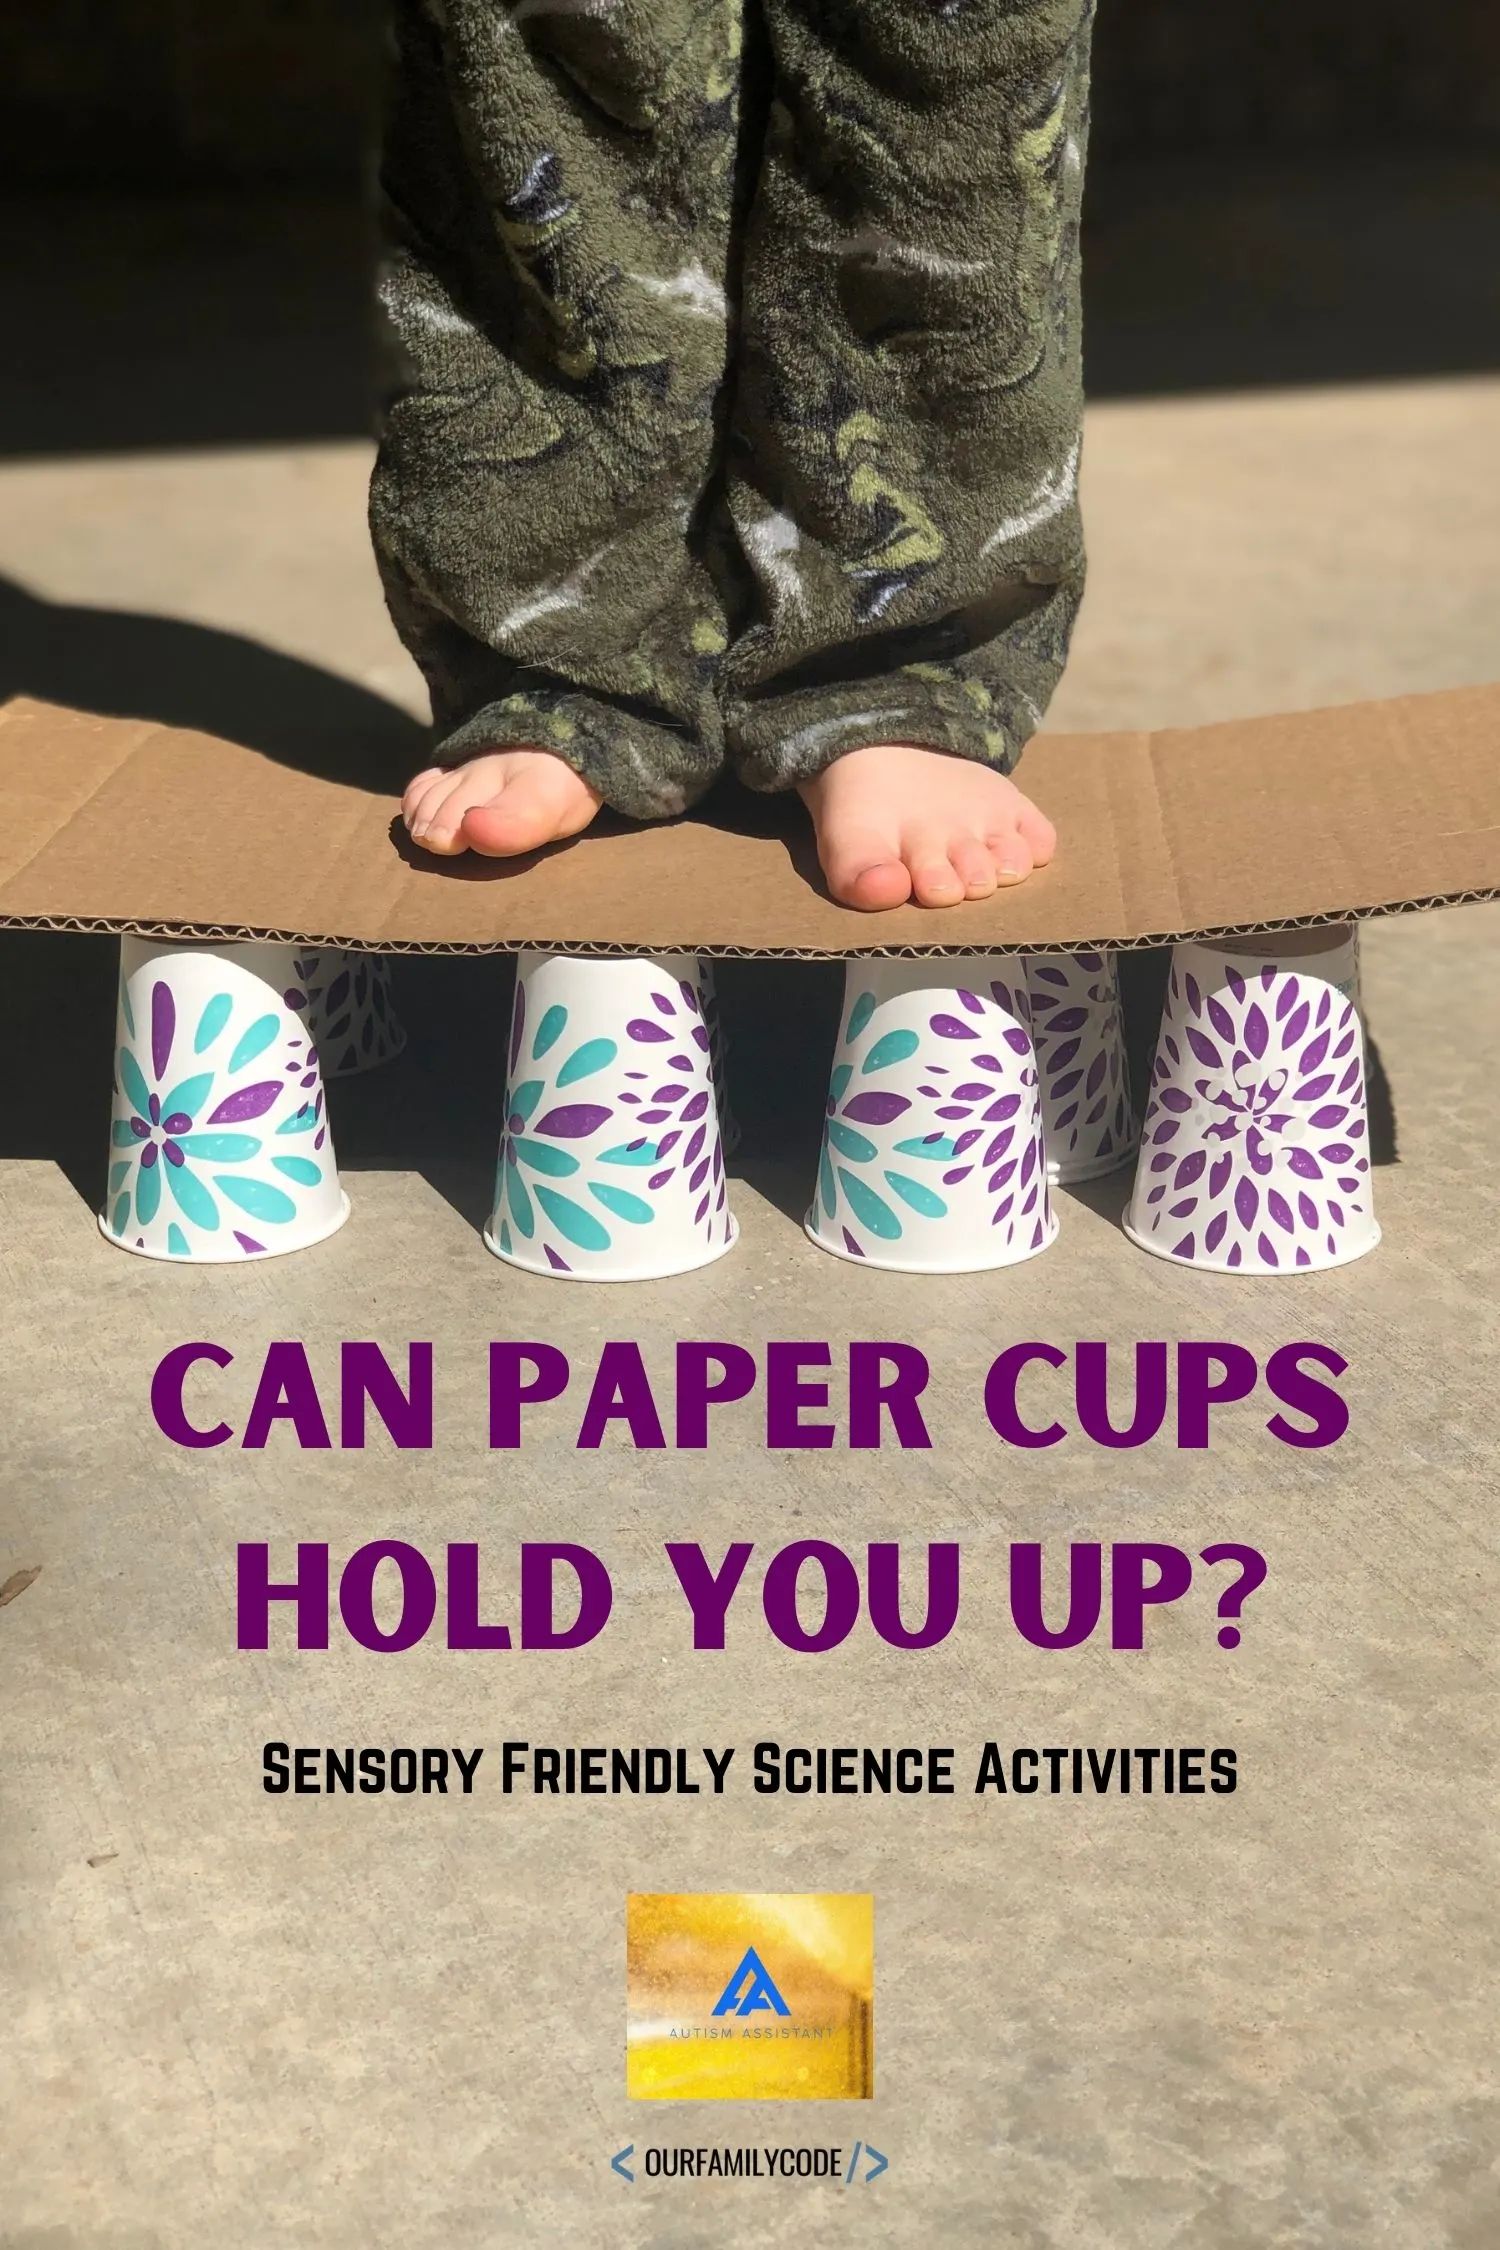
This clean science experiment is teaching children about weight distribution. It’s great for future architects and engineers!
Steps for Using Science to Make Paper Cups Hold Your Body Weight
1) Have the child stand on a paper cup. It will easily crumble under the weight of even a smaller child. This is because all the weight is directly on the cup.
2) Now, evenly space out several of the same paper cups (6-10) and then put a piece of cardboard over all the cups. Then have the child stand on the cardboard. It should hold them because of the weight distribution.
If you’re feeling brave you can even add a second layer of cups with another piece of cardboard on top of that.
Help with Sensory Issues
Occupational Therapy is a tool that is often used to help children with sensory issues adjust to the environment around them and deal with sensory stimulation. AutismAssistant.com is a great free tool to help parents find high quality therapy providers within their community that can work with their children on issues like sensory processing disorder. Consulting with a therapist is a great place to start.
About the Author

Emily Swank is the mother of three children, two of which are autistic. She is also the Founder of Autism Assistant, a national search engine and database that helps parents find autism resources within their community.
Make sure to follow Emily and Autism Assistant on Facebook, Instagram, and YouTube!
