Learn sensory bottle science! These easy density activities will help you teach your kiddos all about density and challenge them to think scientifically about the liquids and solids in sensory bottles!
Sensory Bottle Science
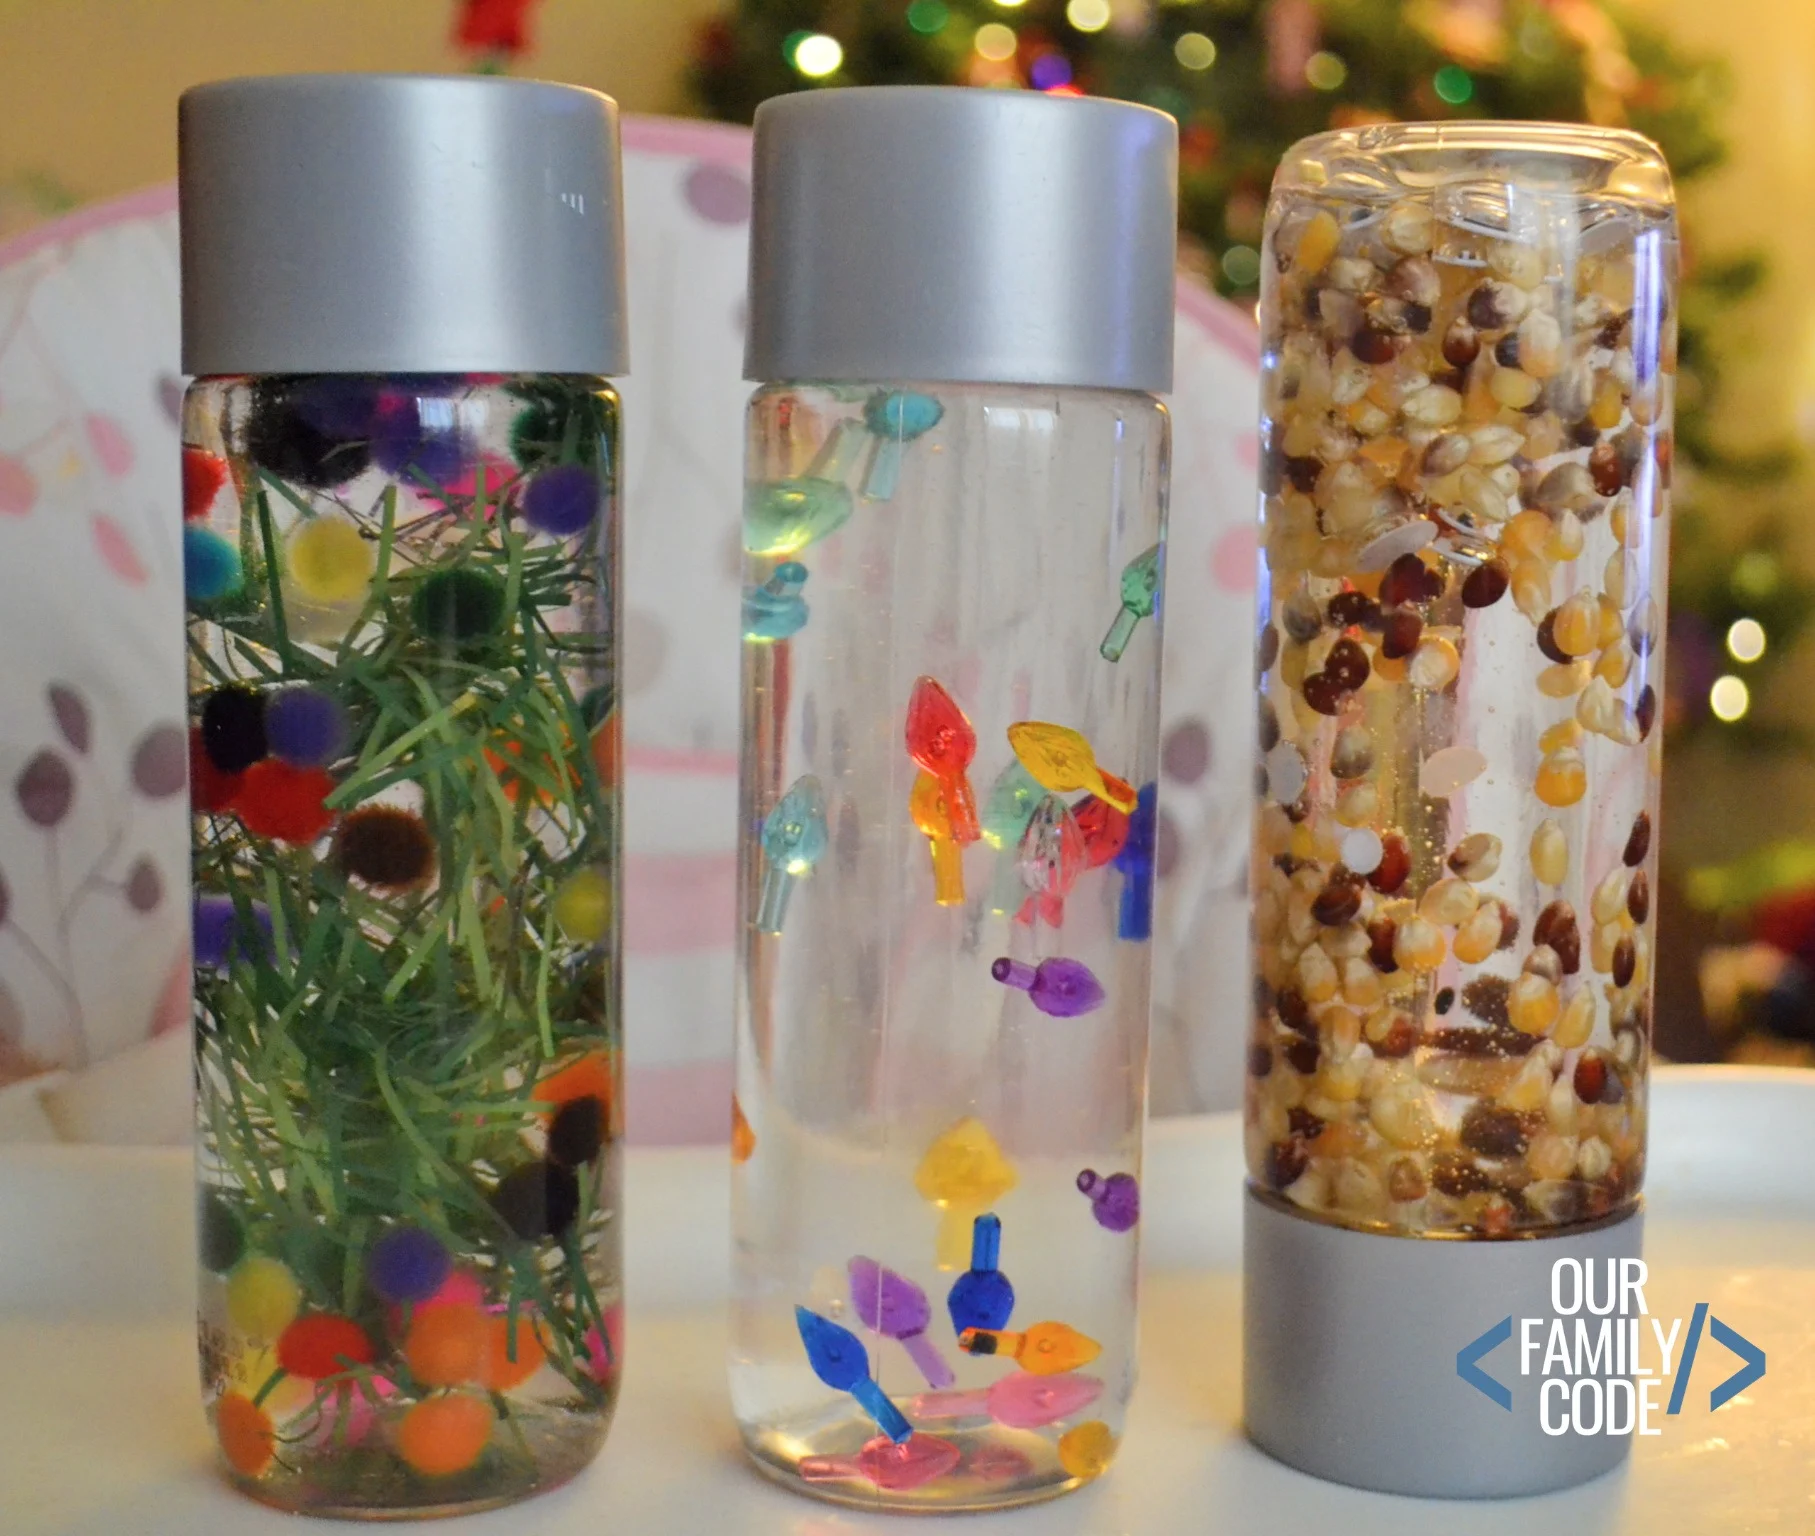
Sensory bottles are all the rage on Pinterest because they are totally awesome and there are so many different liquids and solids that you can use. Your kids are probably obsessed with making these bottles, but do they know the science behind them?
Our goal was to conduct a water science experiment to learn about the weight and volume of different liquids and compare them to each other.
The ultimate goal is to create a 7-layer sensory bottle, but that won’t come today since we’ve got to learn all about density to get our sensory bottle science right.
This post contains affiliate links. As an Amazon Associate, Our Family Code earns from qualifying purchases. Please see our Disclosure Policy for more details.
Why STEAM Activities?
STEAM is the abbreviation for Science, Technology, Engineering, Art, and Math.
STEAM, like STEM, is an integrated approach to learning that encourages learners to make connections between the concepts they are learning and how they apply them to real-world problems.
STEAM helps students ask questions, problem solve, think creatively, and produce innovative solutions. Many schools have adopted STEAM learning activities into their curriculum, but it’s never too early to start building critical thinking skills.
We love low-prep STEAM activities at our house and have a blast doing activities for toddlers all the way to tweens! Visit our 31 Days of Low-Prep STEAM hub to subscribe and get more info!
Looking for some more hands-on activities that incorporate Science, Technology, Engineering, Art, and Math (STEAM)? Then you have to check out STEAM Kids!
This book features more than 50 hands-on activities that are organized into easy to implement categories, so you know exactly what concepts your kids are learning!
Grab your copy from Amazon today or get instant access to this great book by purchasing a downloadable PDF!
Key Density Terms for Sensory Bottle Science
Volume is the measure of the amount of space an object takes up. Density is a measure of the amount of mass in a certain volume or how much room a substance takes up in a space.
Weight is a measure of the force of gravity on an object of a certain mass, which is a measure of the amount of matter in an object.
Sensory Bottle Density Experiment Supplies
- Oil-based Food Coloring (we prefer Wilton Candy Decorating Colors)
- Vegetable Oil
- Corn Syrup
- Dish soap
- 91% Rubbing Alcohol
- Honey
- Large Glass
- Can
- Shoebox Top
- Tape
- Permanent Marker
- Pennies
- Fuse beads
- Pony beads
- 7 clear plastic cups
- Design Your Sensory Bottle Worksheet (grab this later in the post)
- Density Experiment Tracking Worksheet (grab this later in the post)
Learning the Science Behind Sensory Bottles
Density of Liquids Exploration
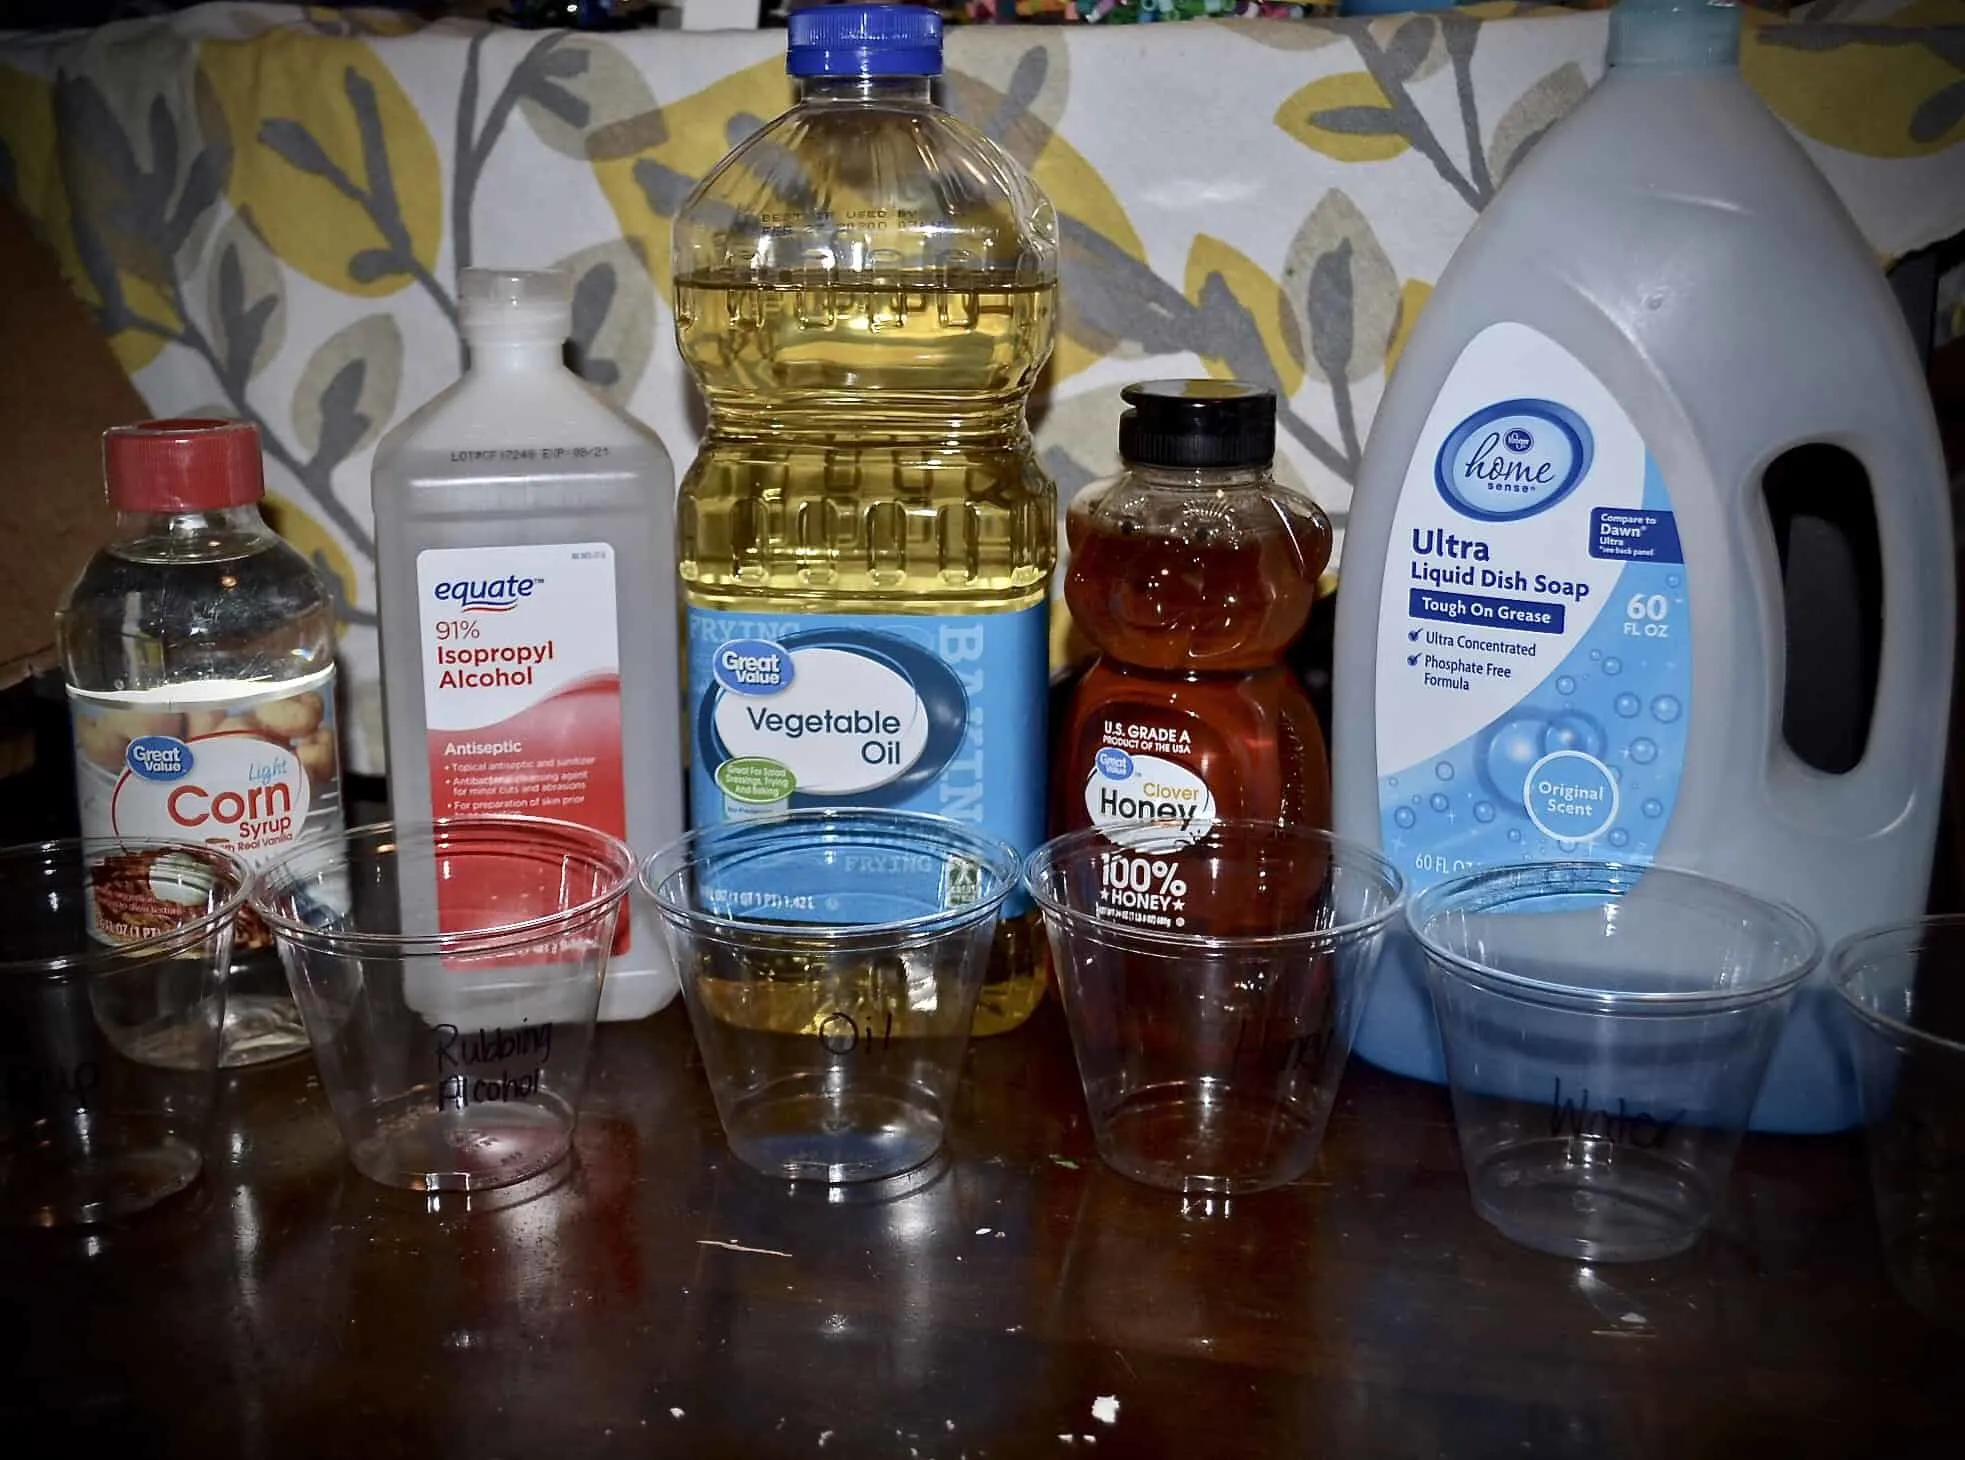
Label 6 cups with “water”, “oil”, “dish soap”, “honey”, “rubbing alcohol”, and “corn syrup”.
Pour about 1/2 a cup of water, oil, and corn syrup into their labeled cups. If you’d like to color your layers, add food coloring to every liquid except honey and vegetable oil. Stir and let the color absorb into the liquid before moving on.
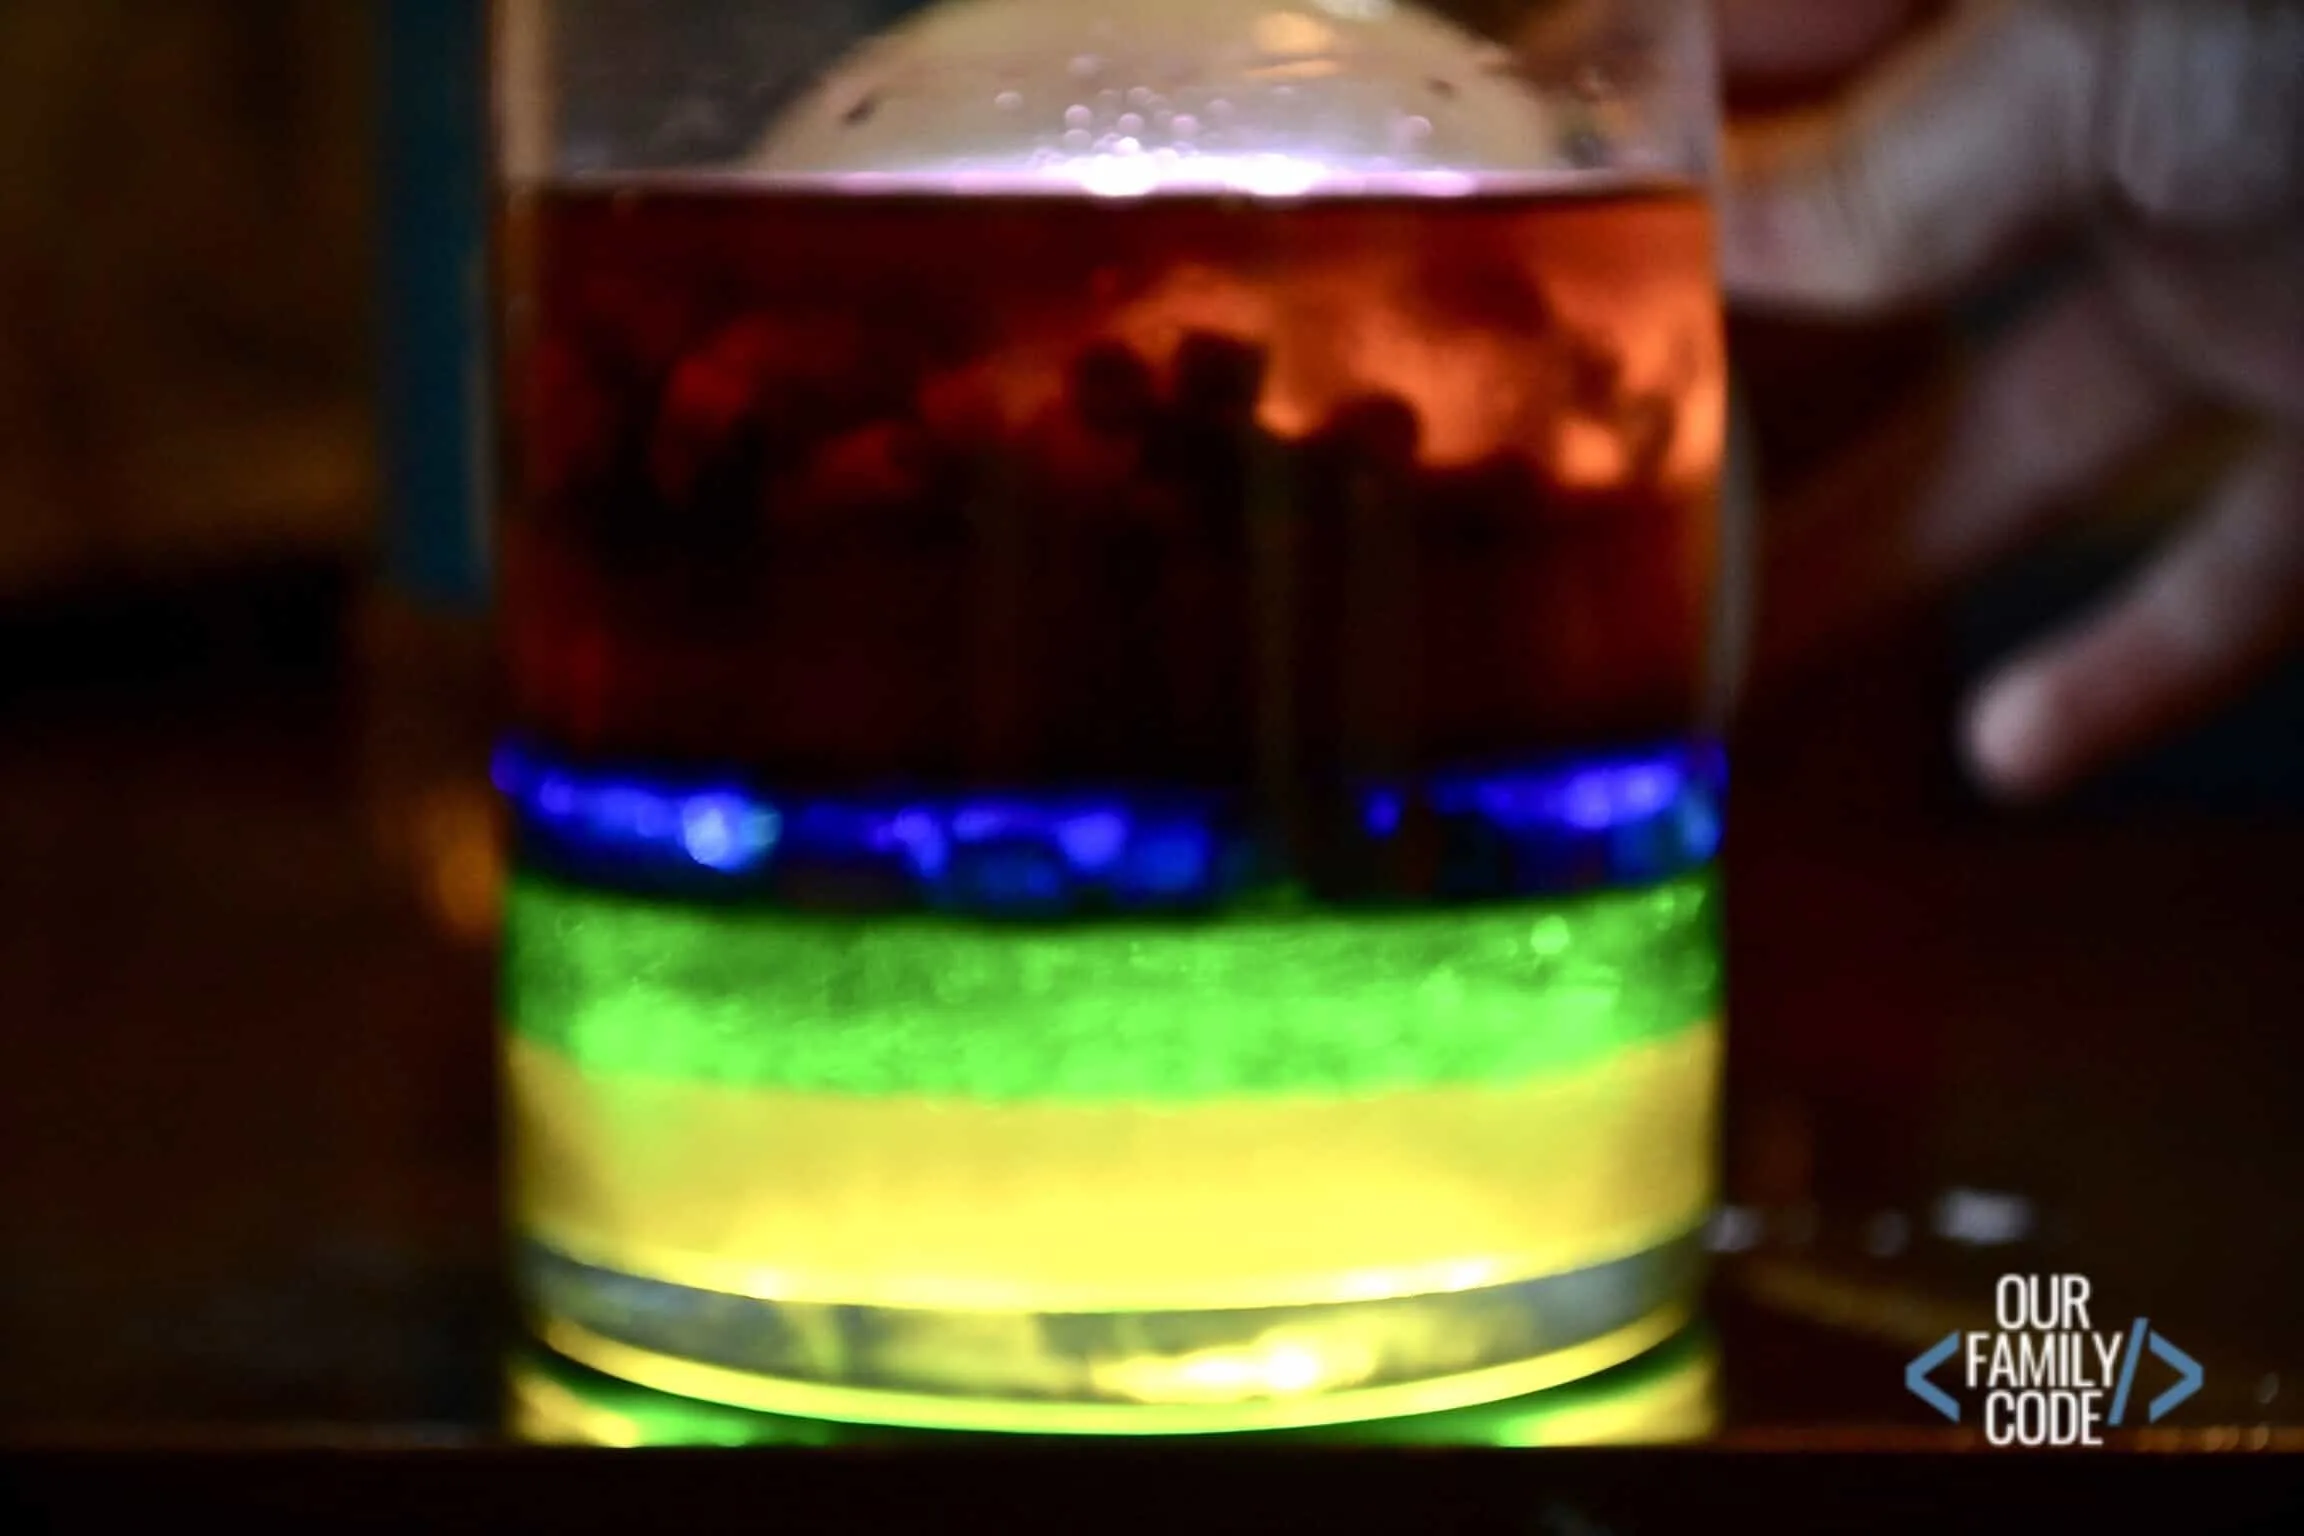
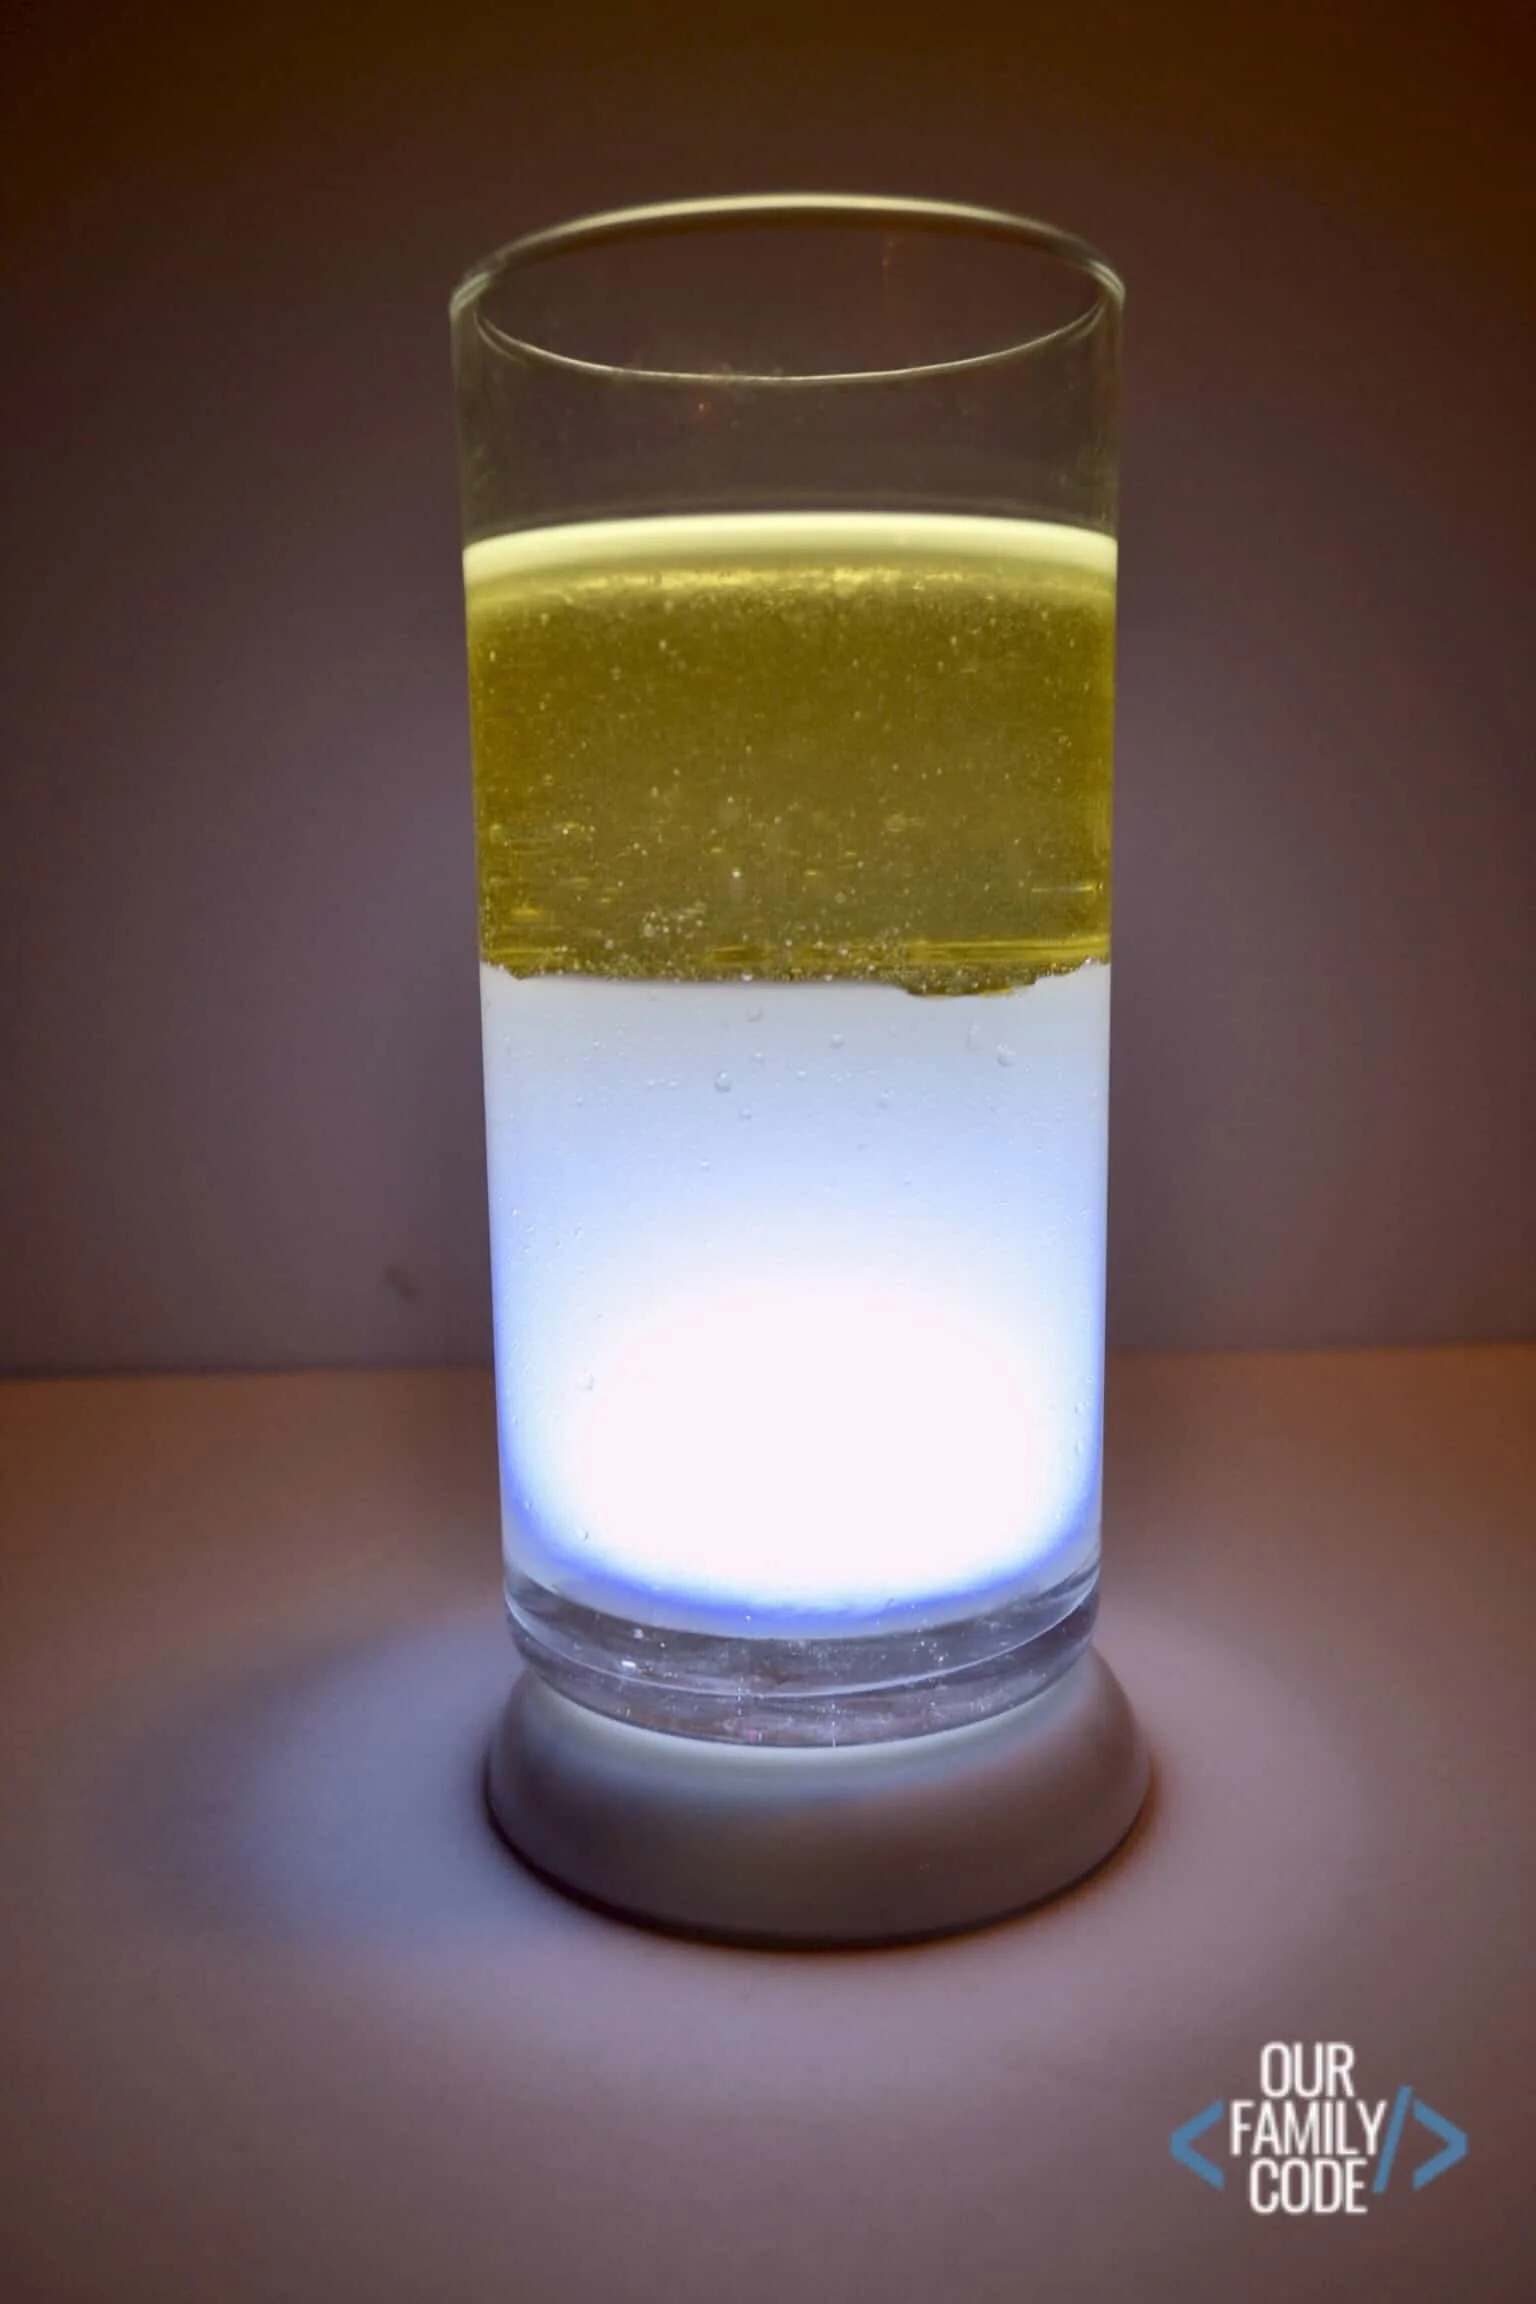
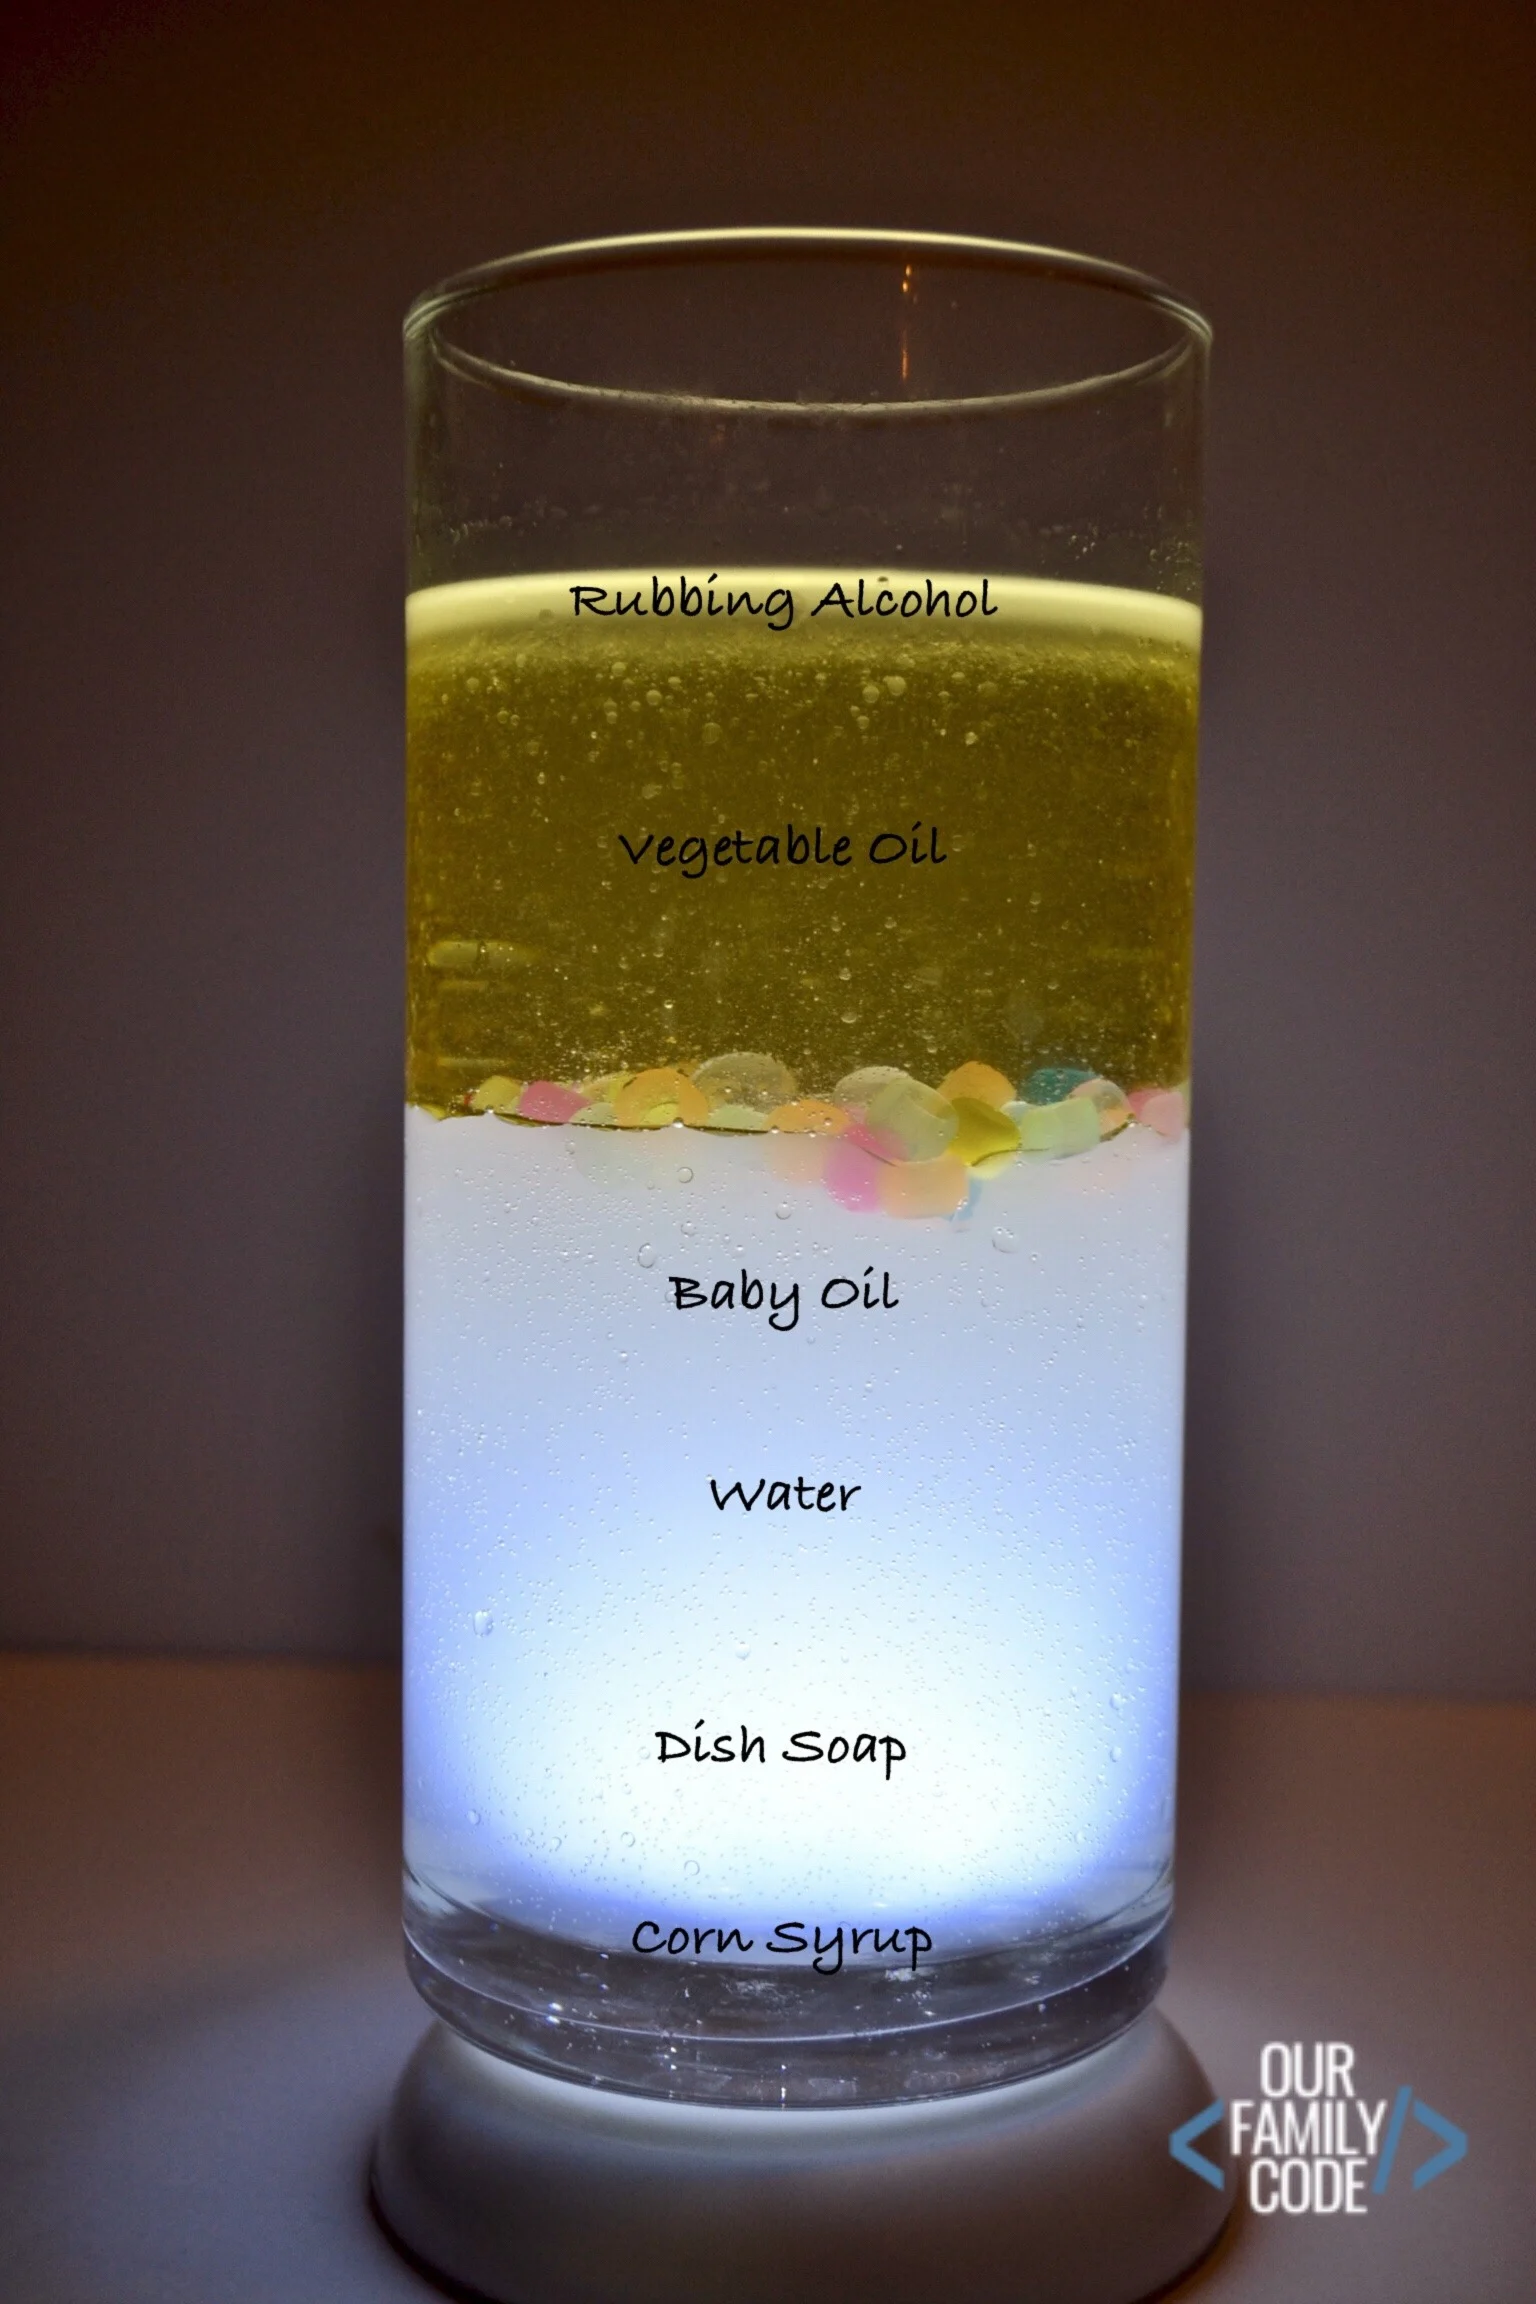
Take a large glass cup, vase, or graduated cylinder and pour the liquid from each of the cups into the glass in the following order: honey, corn syrup, dish soap, water, vegetable oil, and rubbing alcohol.
It’s okay if the liquids mix a little, their density will make sure they all even out. Make sure to pour slowly and only in the center of the glass. Do not let the liquids touch the sides of the glass.
Observe what happens and take notes. Where is the water? Which liquids float on on water? Identify which liquids sink in water.
Discuss what this means in regards to density. The oil and rubbing alcohol float on water. What does this mean about the density of oil and rubbing alcohol compared to water?
The corn syrup and honey sink in water. What does this mean about the density of corn syrup and honey compared to water? Discuss and then set this cup to the side for another activity.
Challenge: Try this activity again, but try other liquids like baby oil or hand soap. Make sure to pour slowly and in the center of the glass though. Make observations.
Density vs. Weight: Measuring Equal Weights to Compare to Density
For this density activity, your kiddos are going to weigh equal volumes of each liquid against pennies or any other nonstandard unit.
Take the original, labeled cups from Activity 2. Measure 1 inch from the bottom of each cup with a ruler and mark it on the cup with your permanent marker.
Which liquid do you think is going to be the lightest? The heaviest?
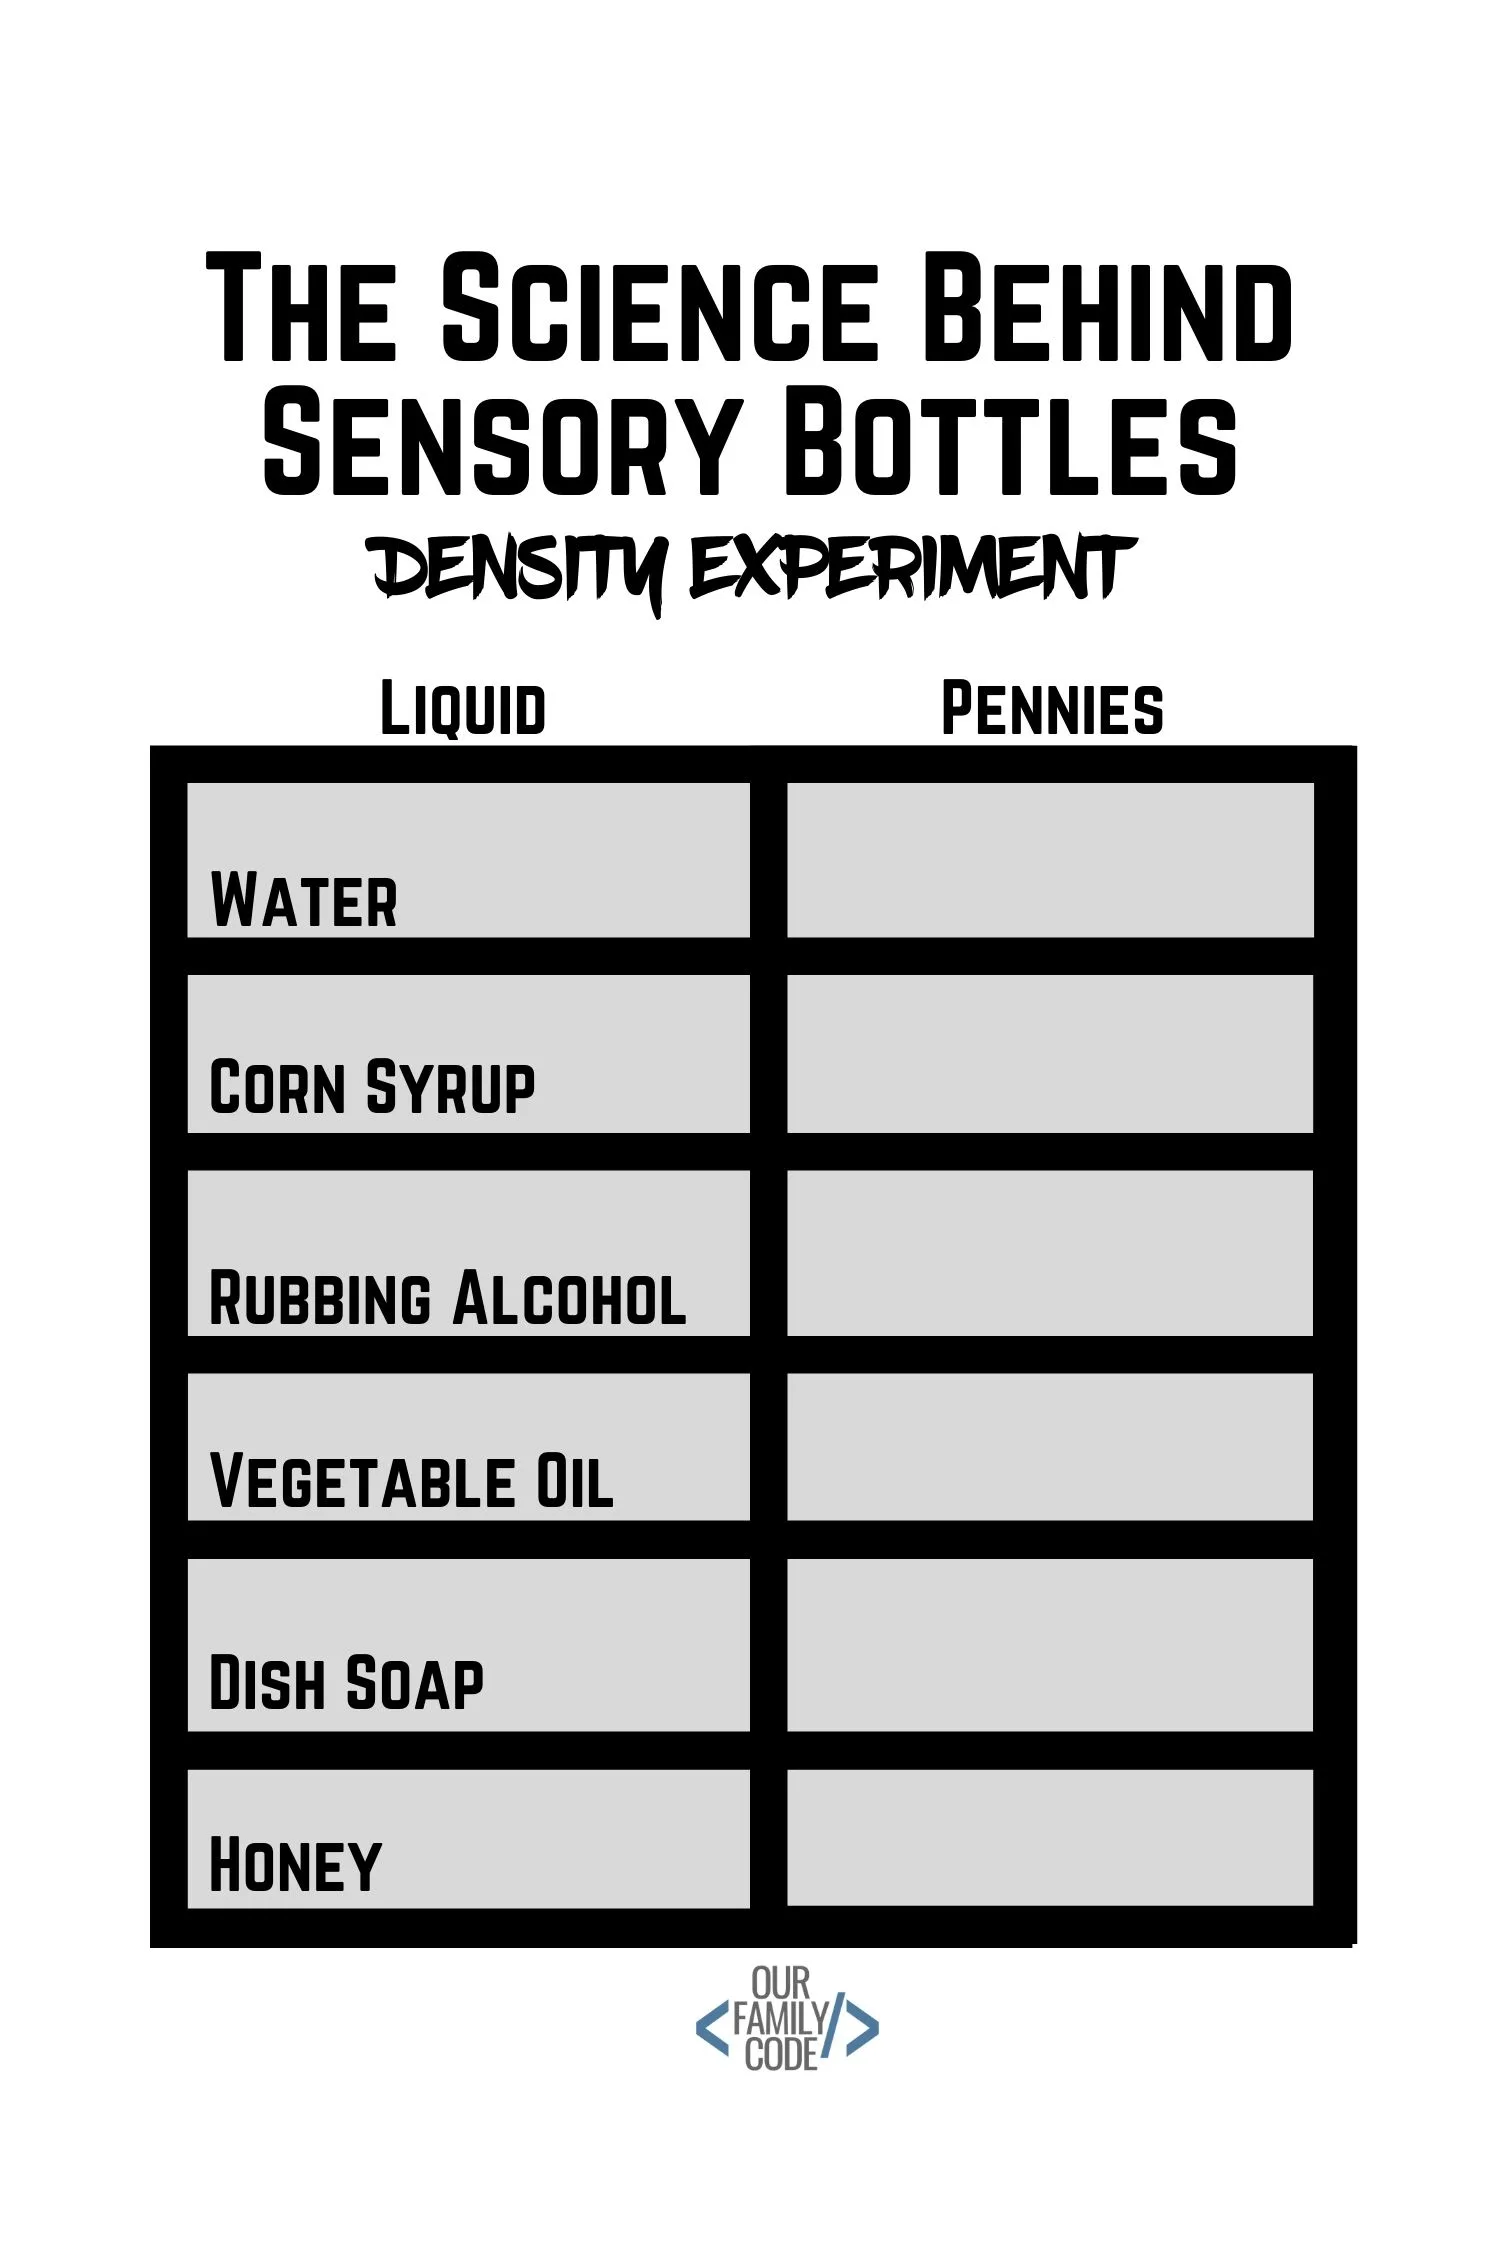
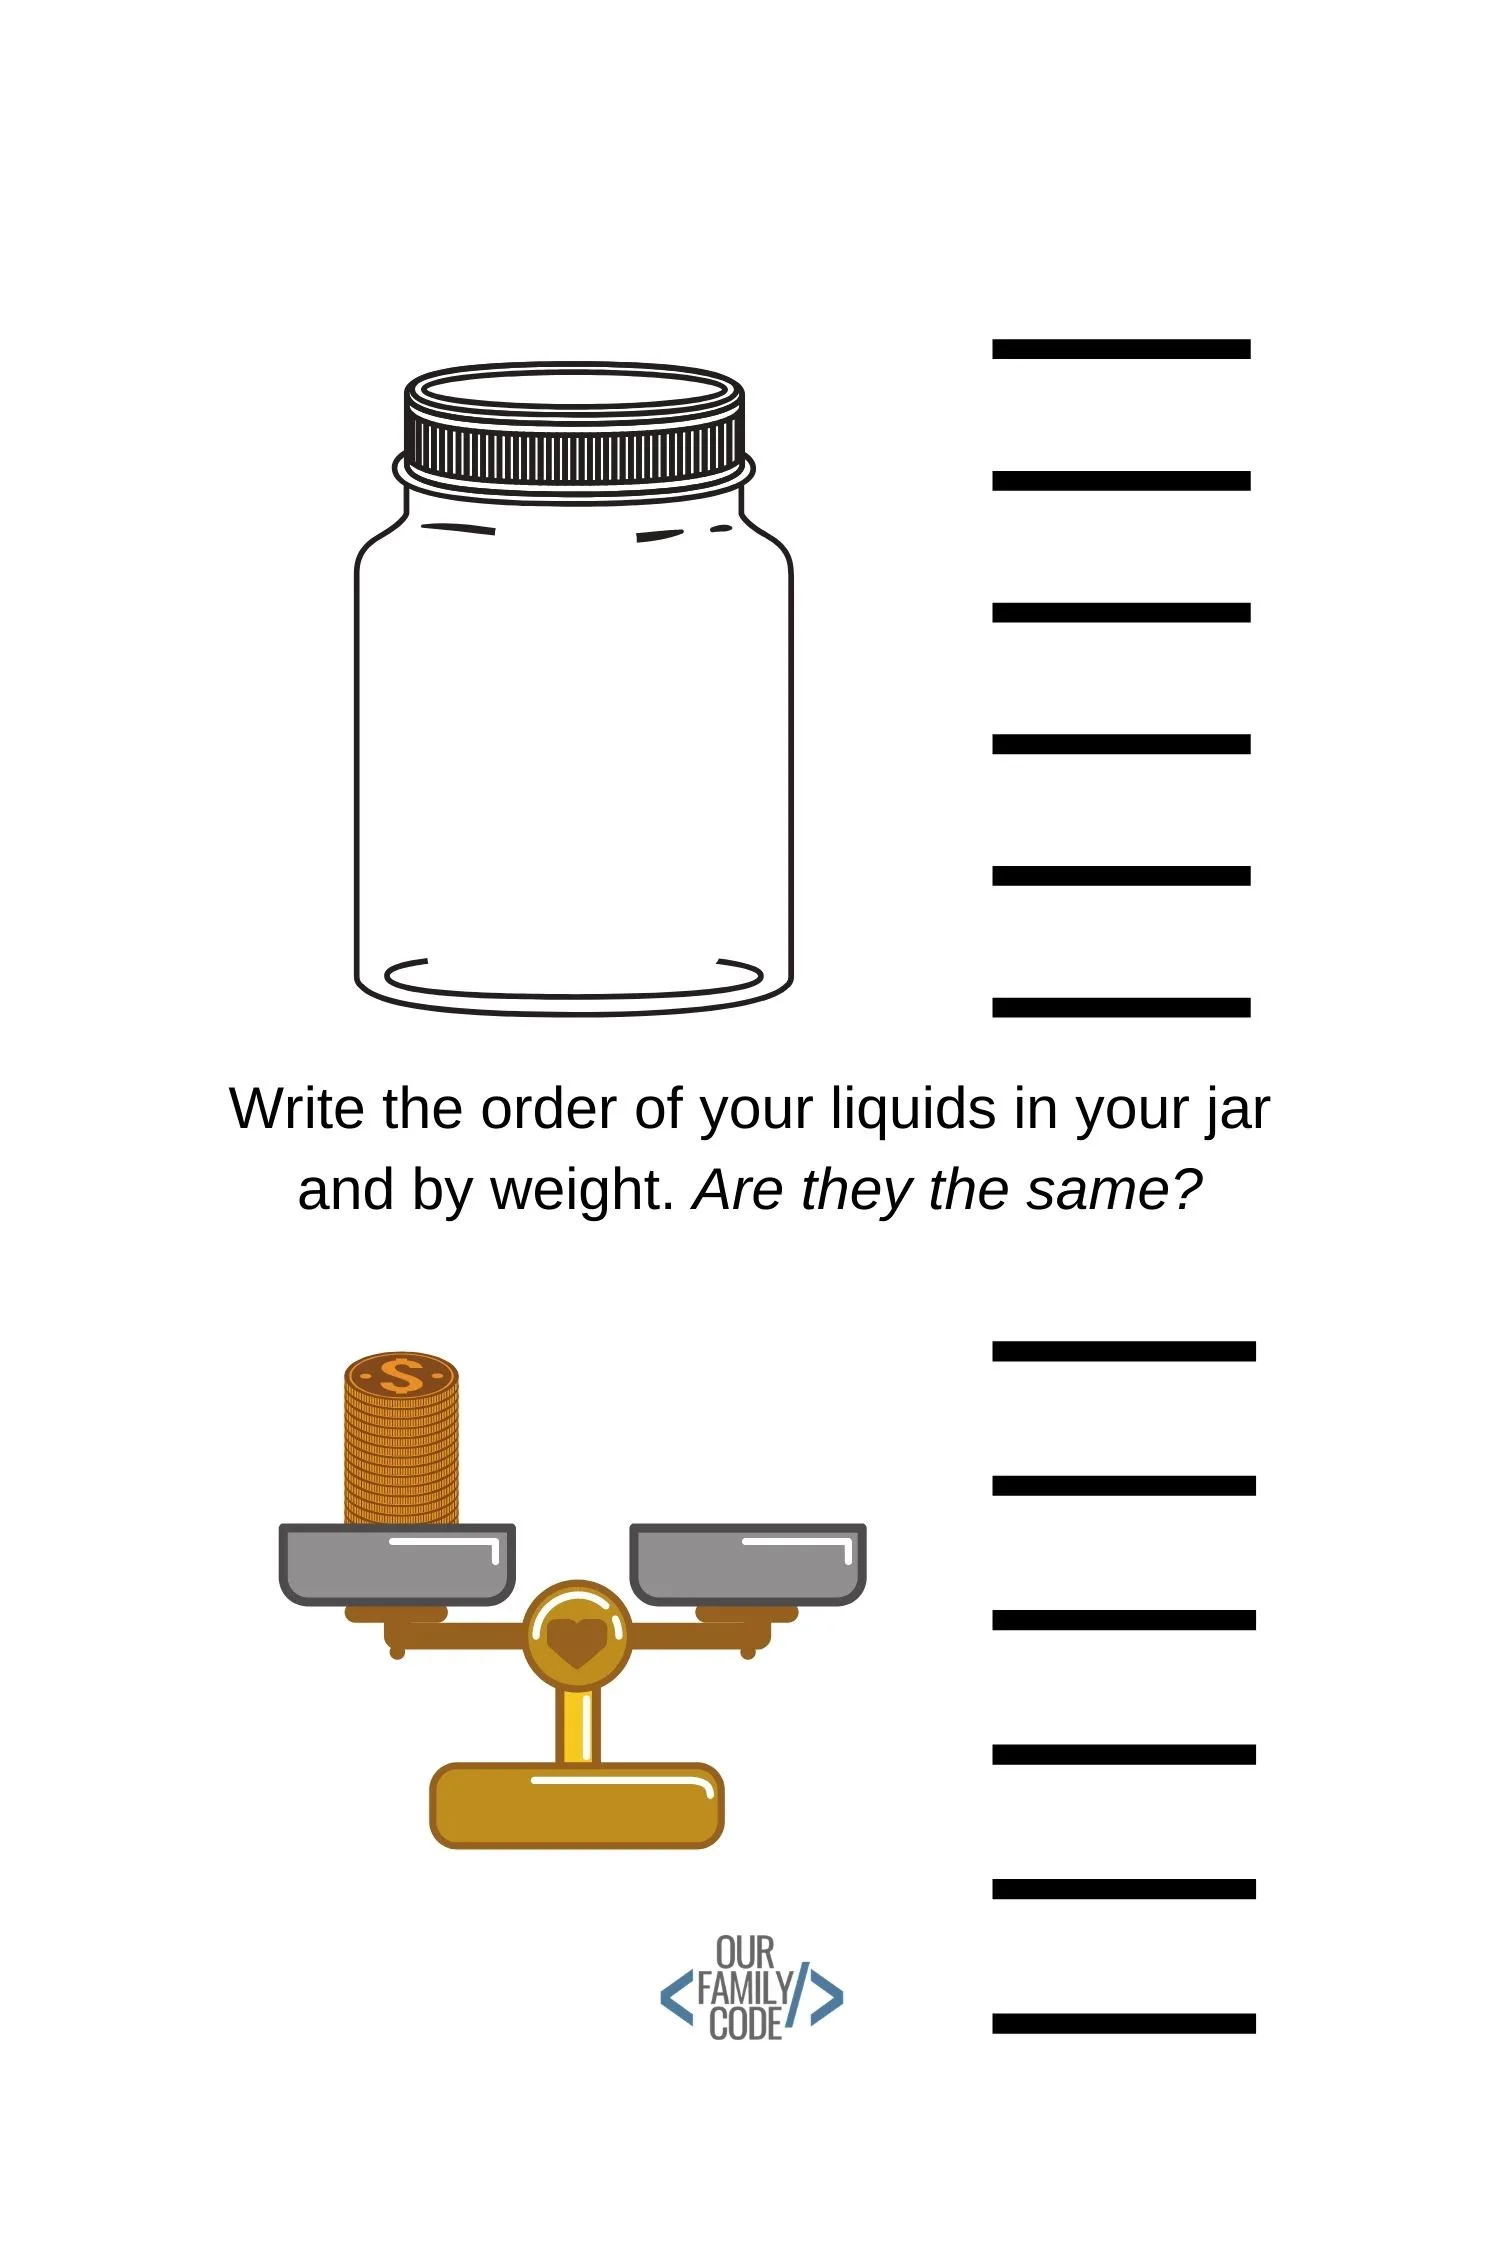
<<CLICK HERE FOR THE DENSITY EXPERIMENT TRACKING WORKSHEET>>
Make a Homemade Balance Scale
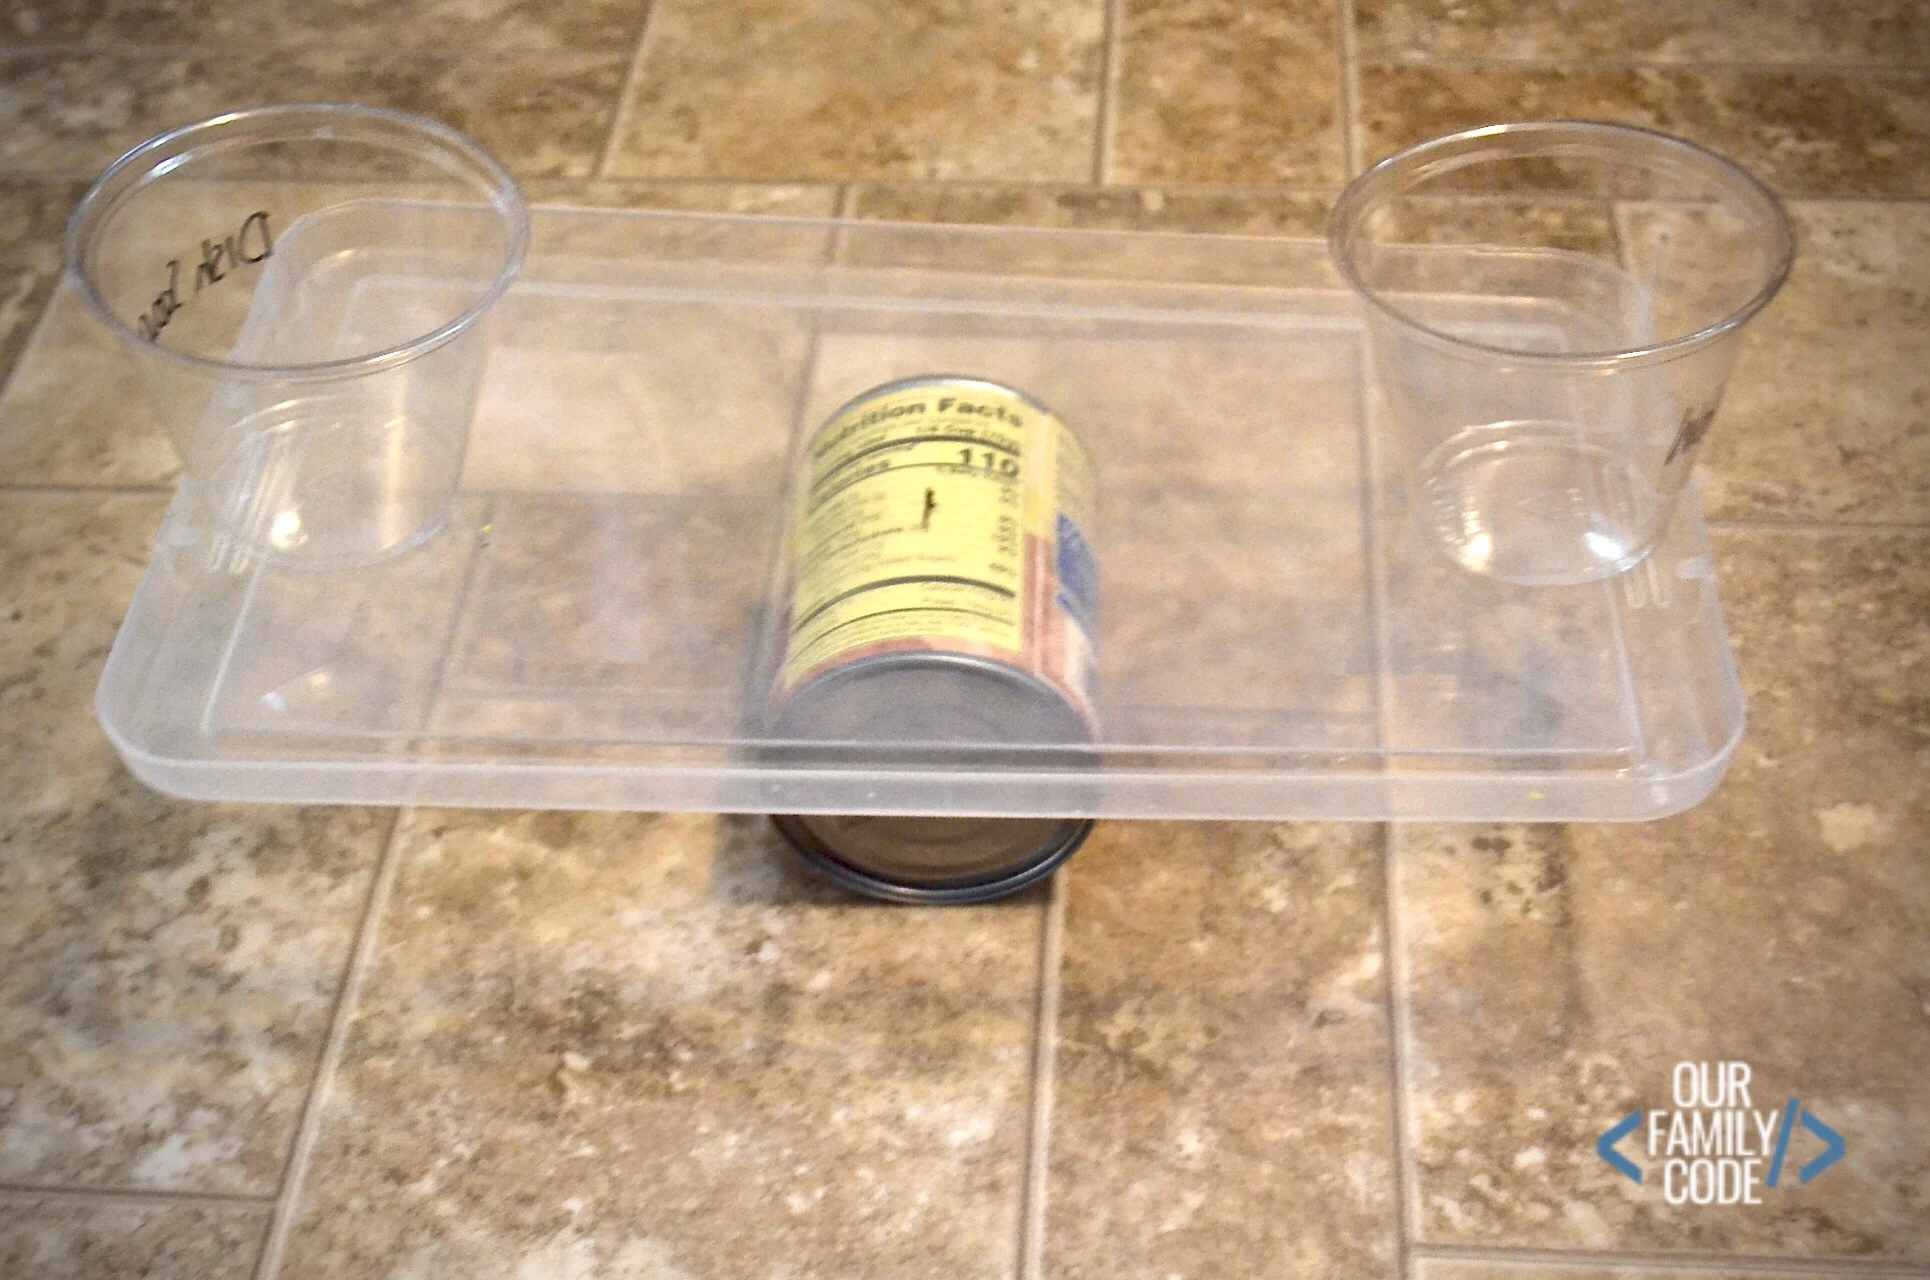
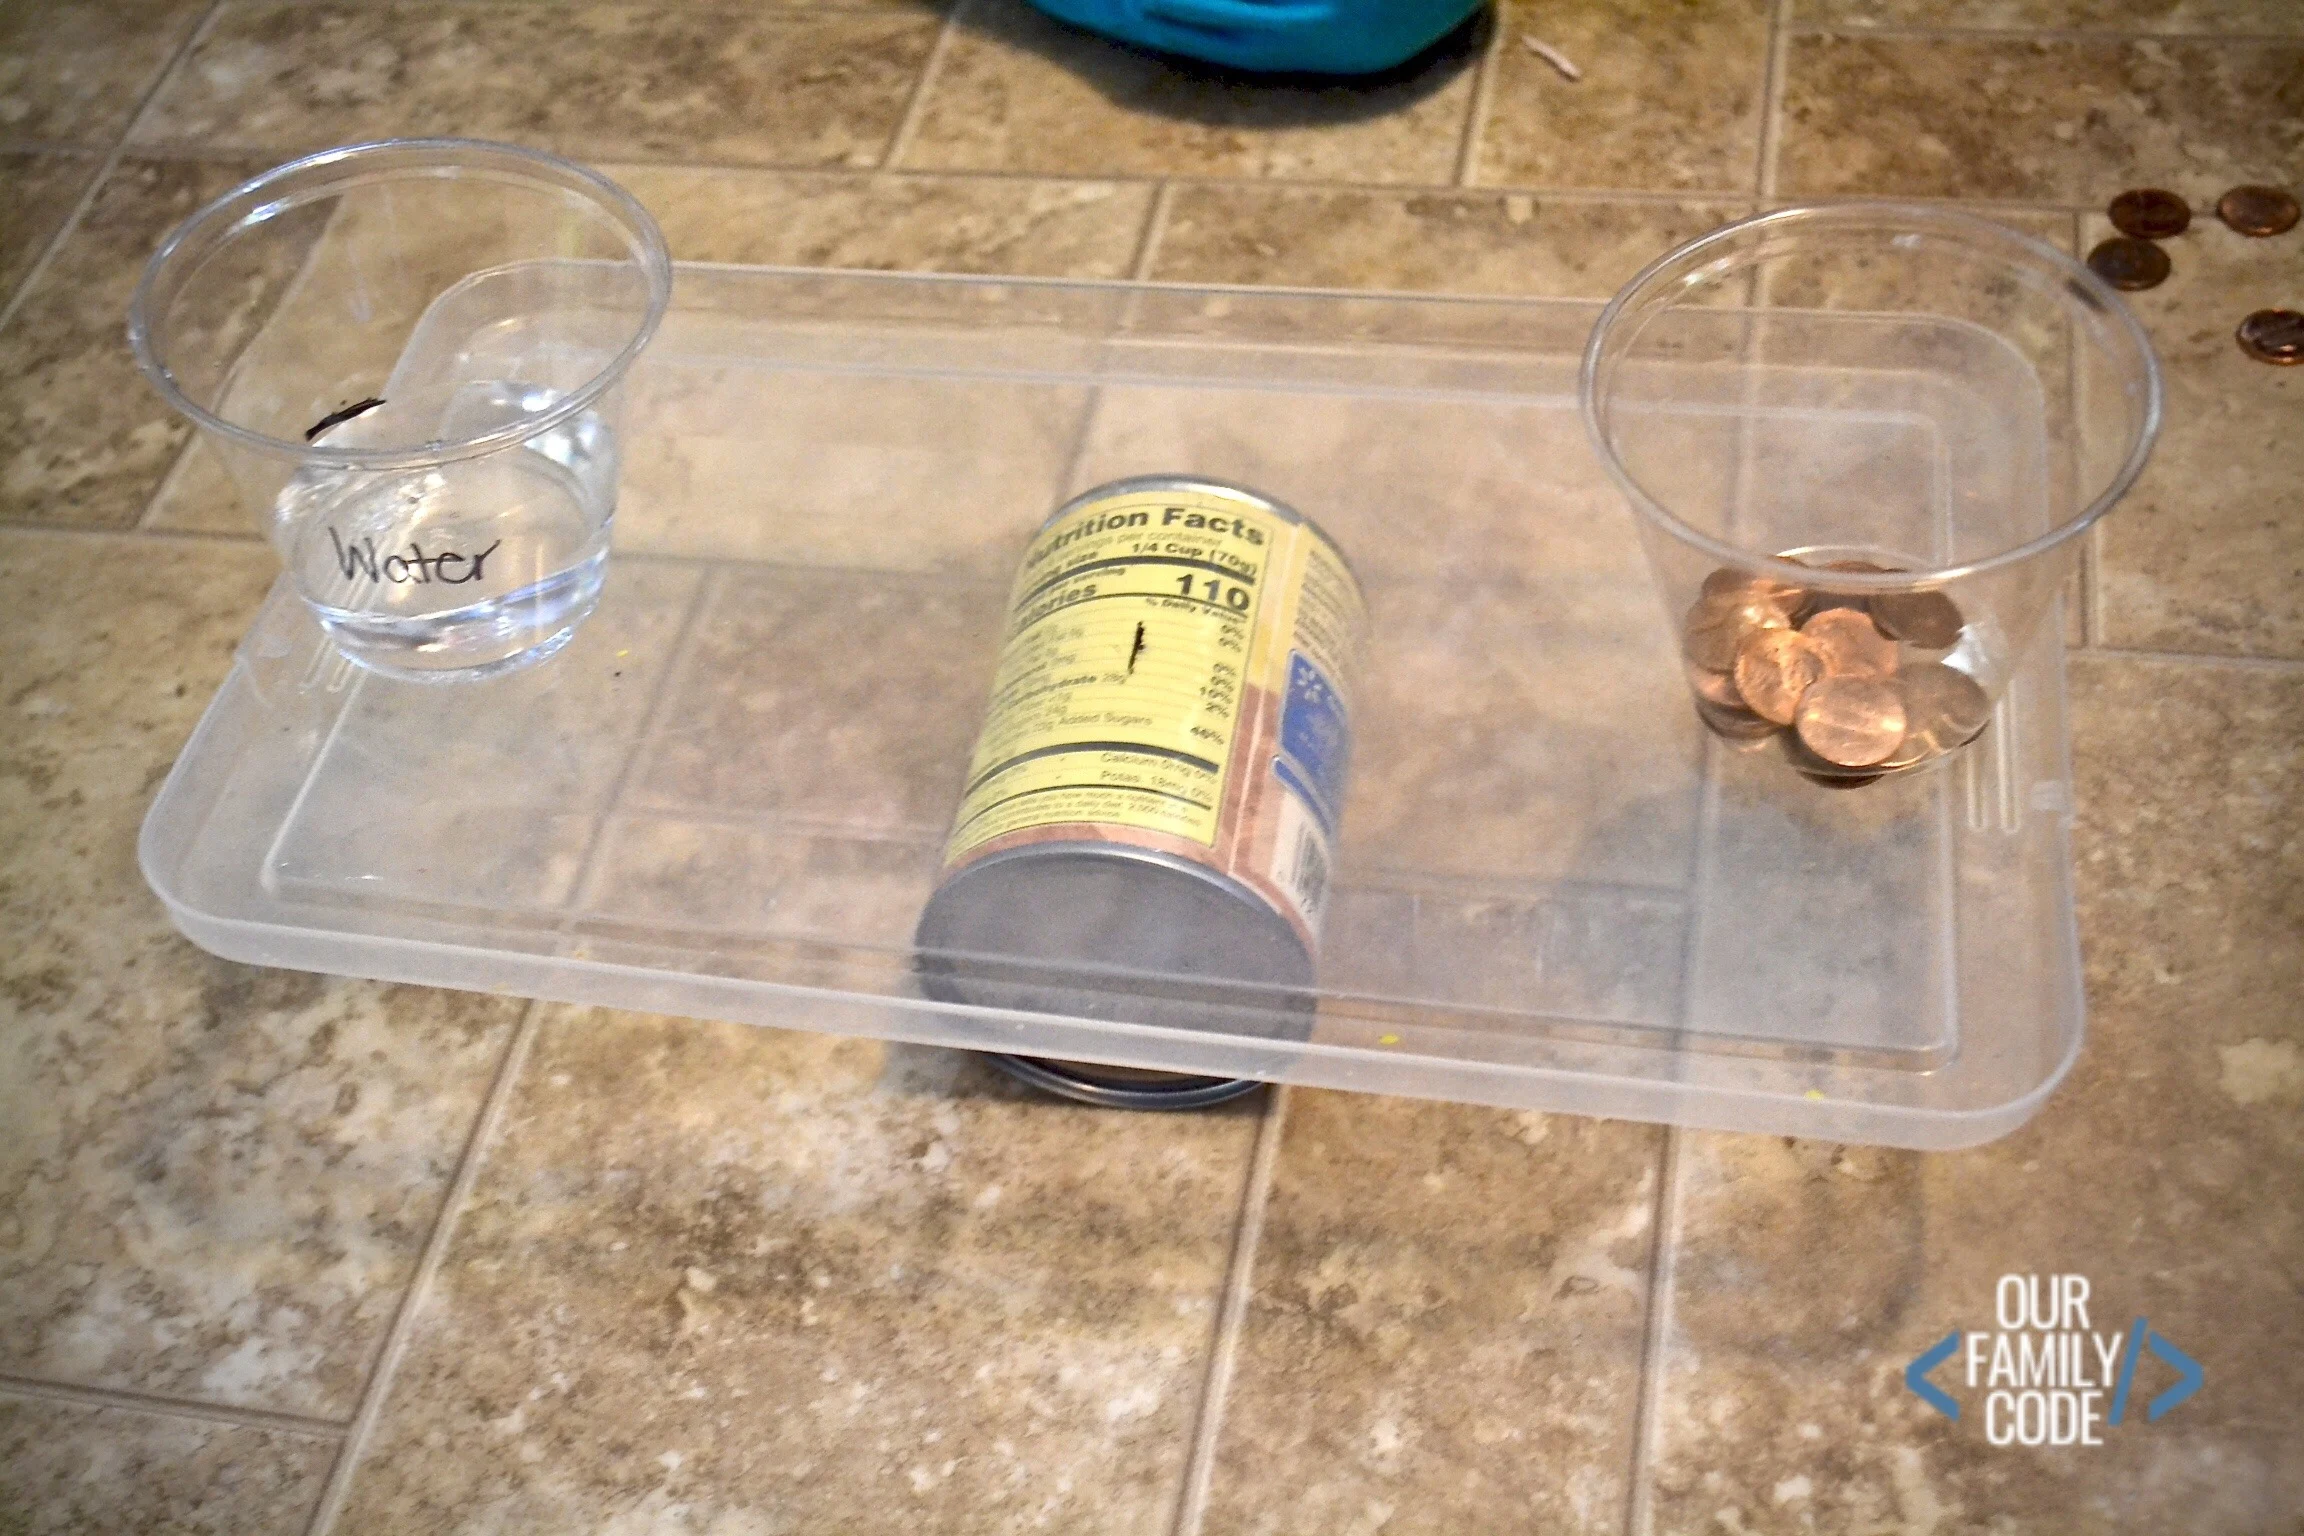
Make a homemade balance scale with a can, some tape, and a shoebox lid. Use the can as your fulcrum and use tape to hold it in place on a table.
Then, place your shoebox lid on top. Balance two empty cups on either side of your scale and mark your center of balance on the shoebox.
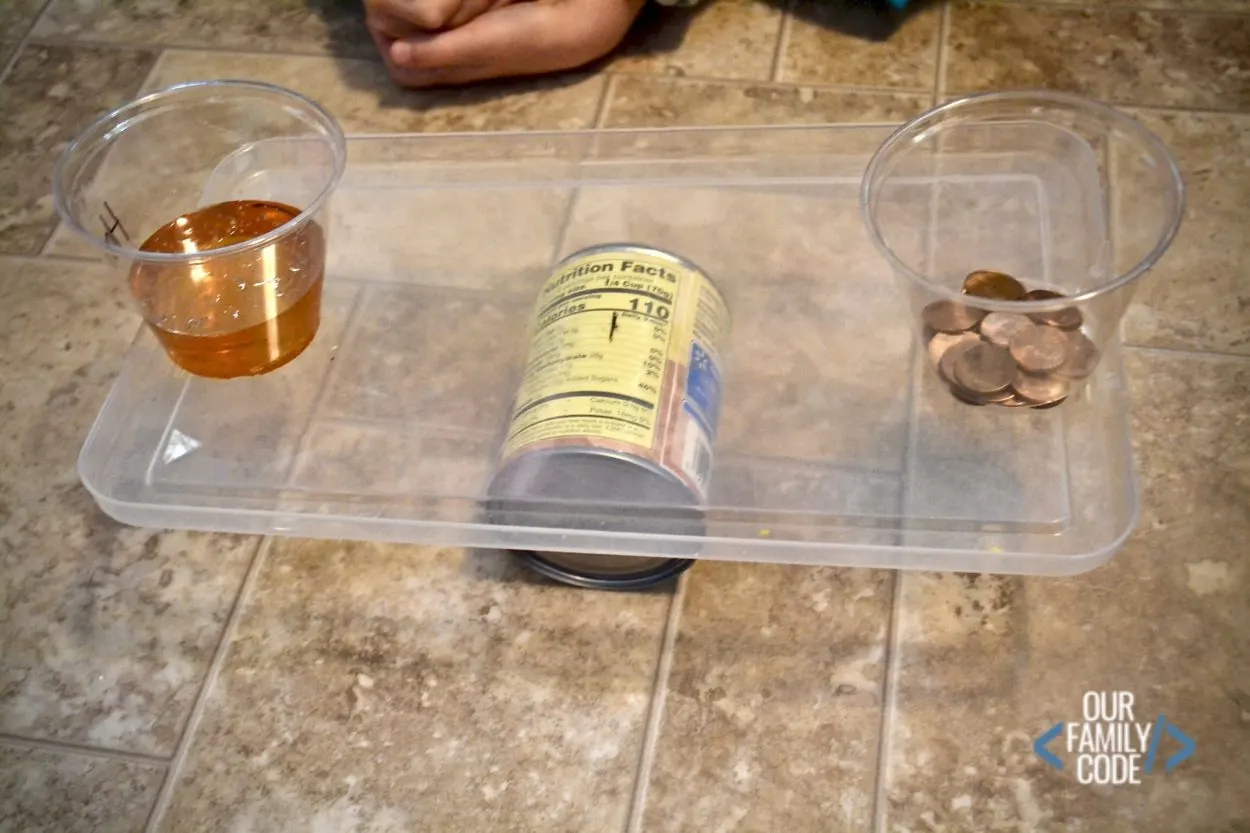
Use your Density Experiment Tracking Worksheet to record how many pennies each liquid weighs.
Observe what liquid weighs the most pennies.
Does this match your observations of each liquids density in Activity 2? (Hint = it should)
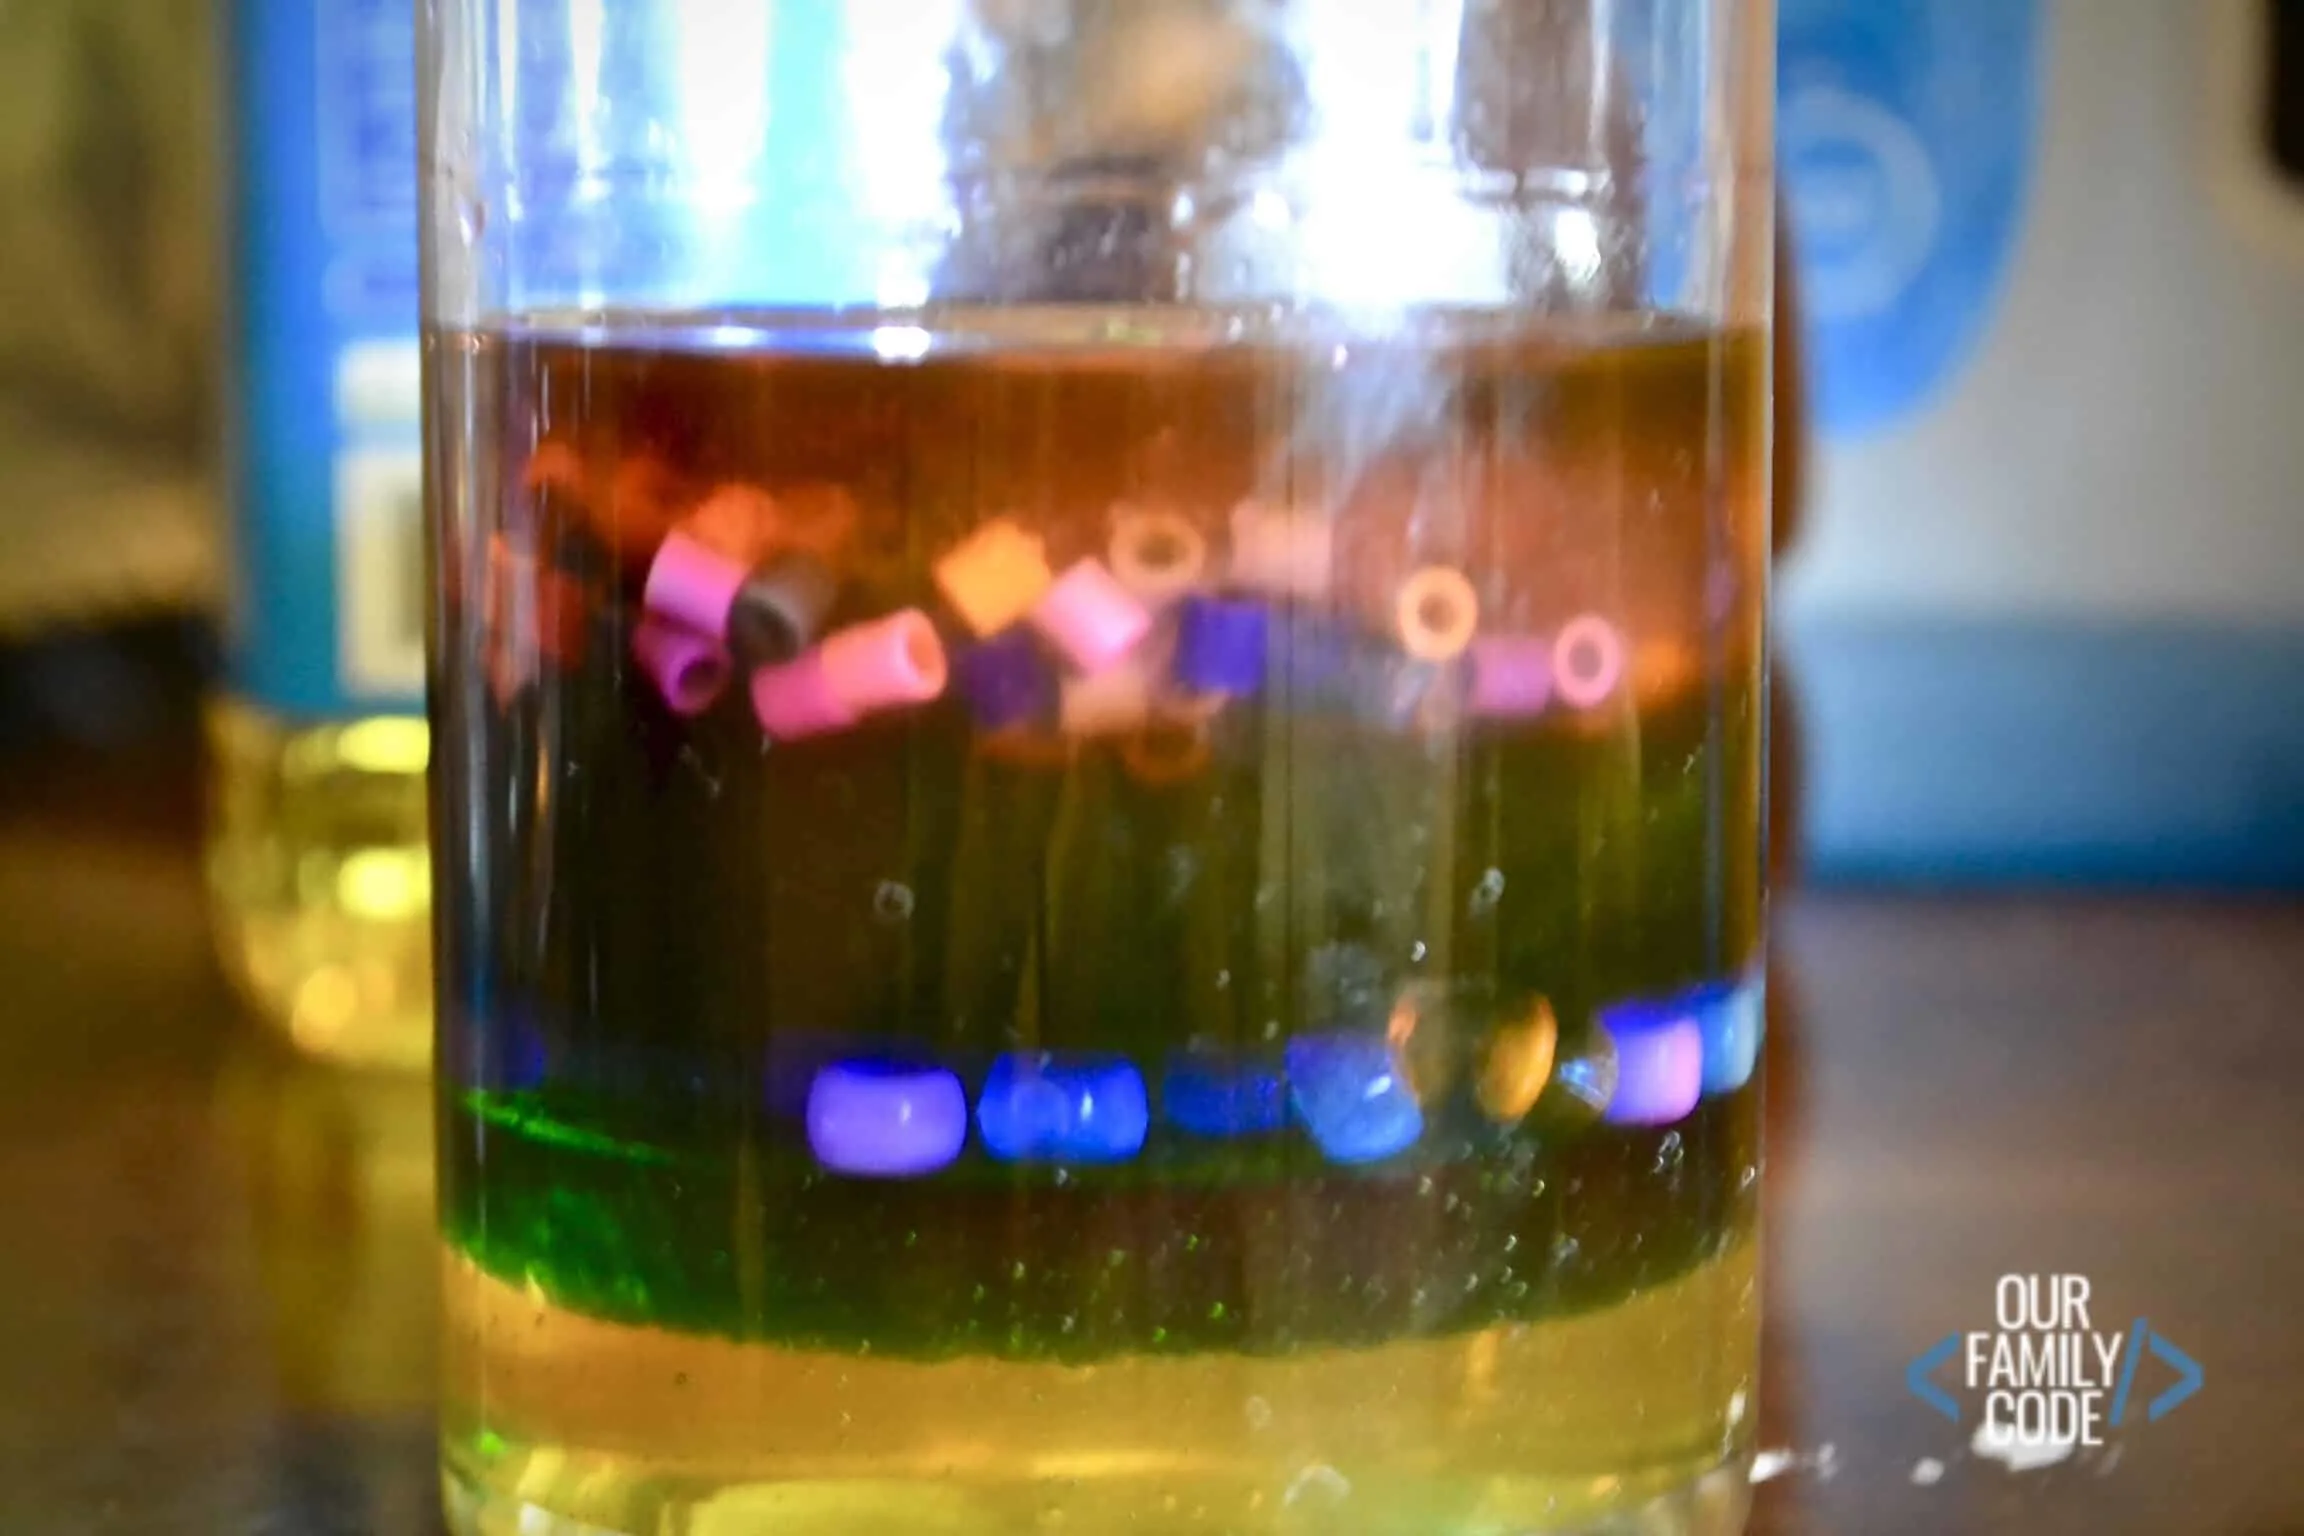
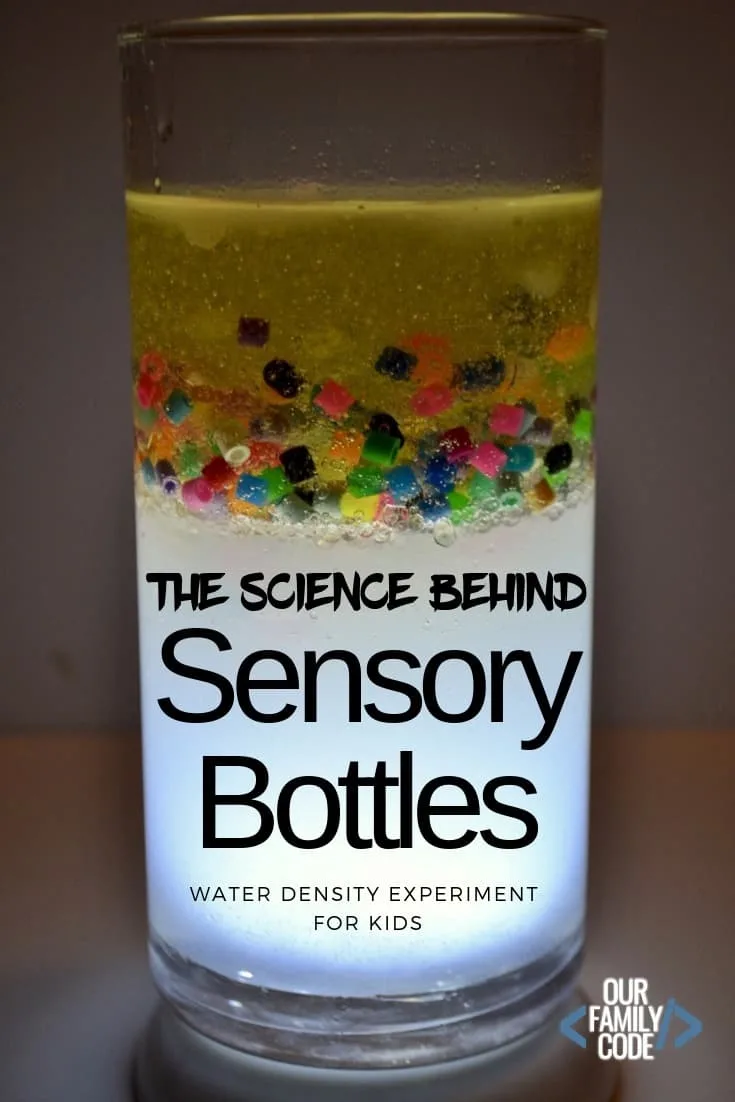
Take your cup of all liquids that you set aside and drop some pony beads and fuse beads into the 6-layers.
What does this tell you about the density of fuse beads or pony beads?
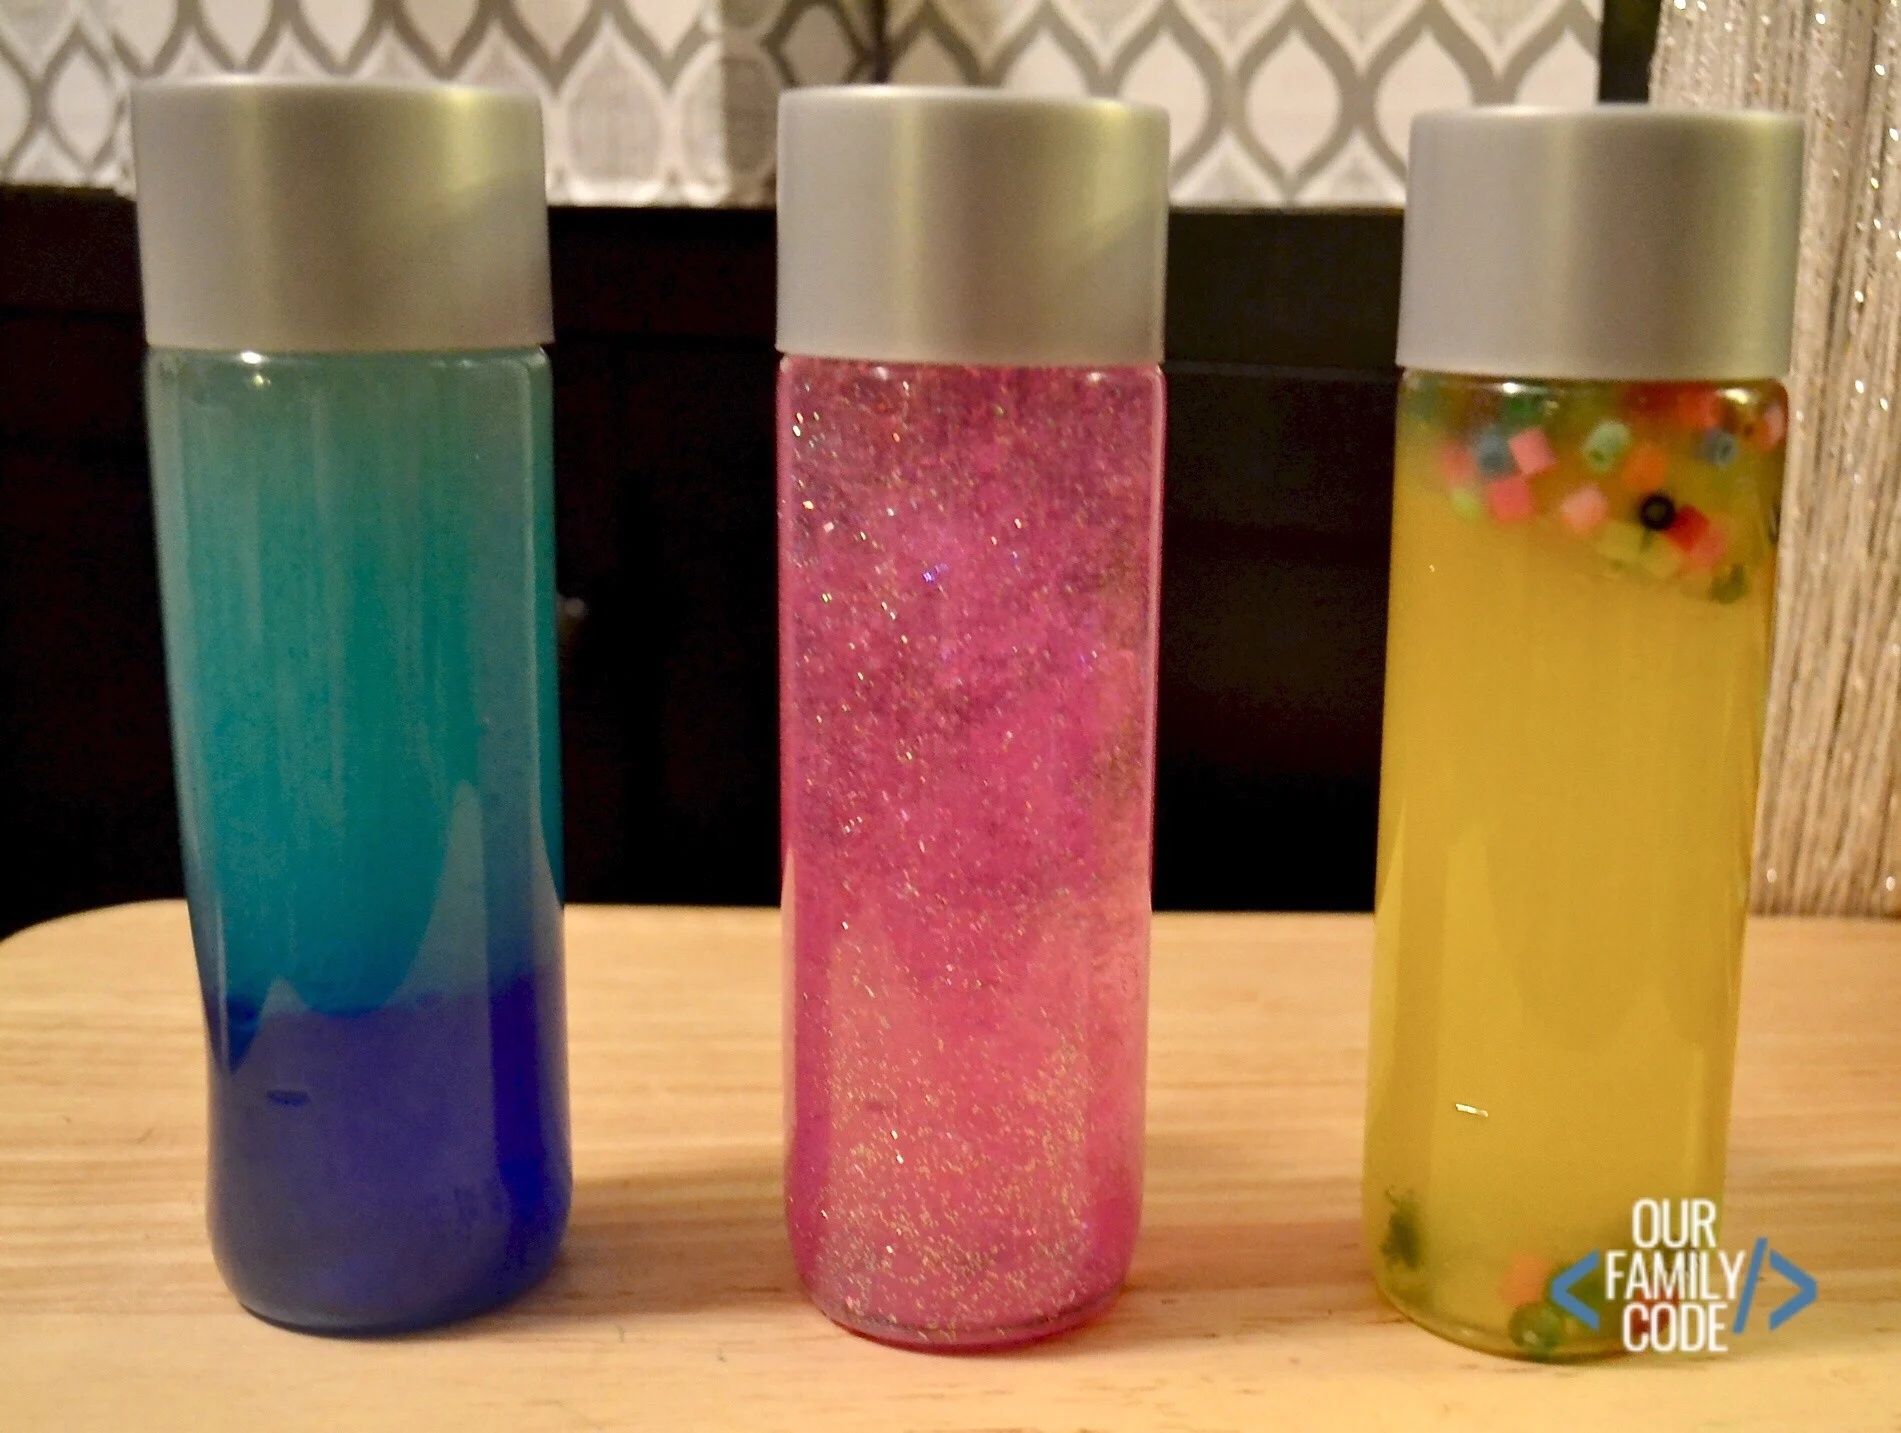
Use the worksheet to design your sensory bottle and explore new liquids to use like baby oil, mineral oil, clear glue, conditioner, hair gel, etc.
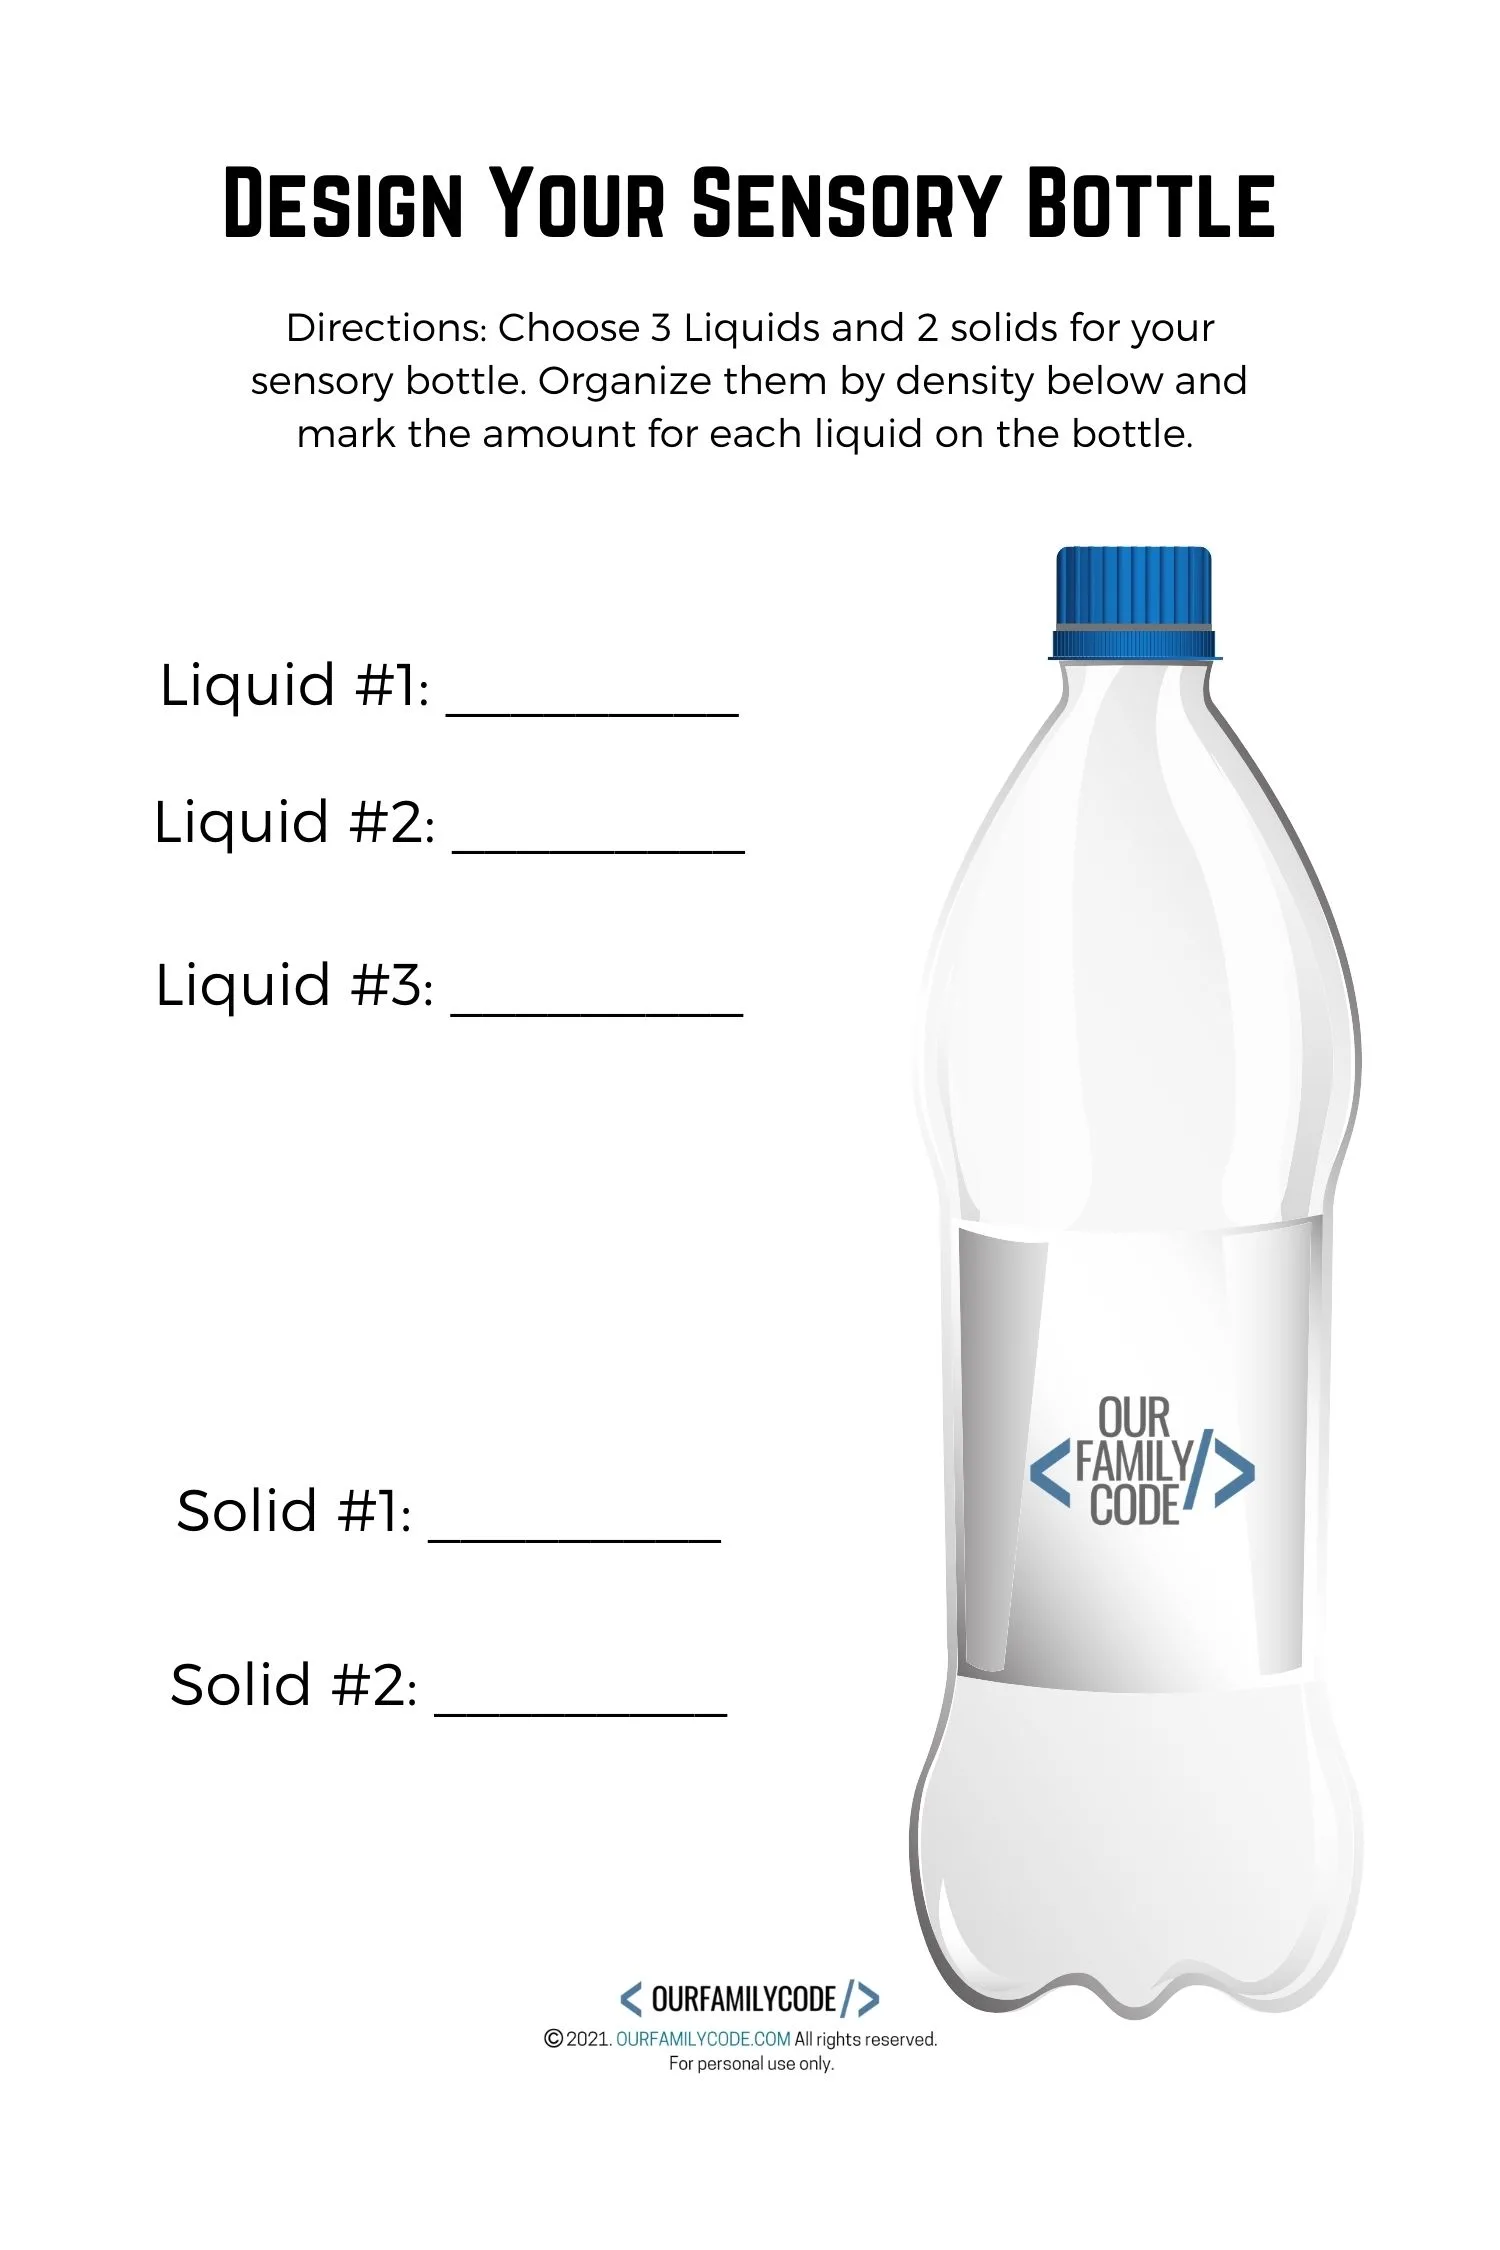
<<CLICK HERE TO DOWNLOAD THE DESIGN YOUR SENSORY BOTTLE WORKSHEET>>
Challenge: What would happen if you added salt to the water? Would it change the density of the water in relation to the other liquids? Try it!
Some Questions to Discuss After Your Sensory Bottle Experiment
- Which liquids float on water?
- Which liquids are more dense than water?
- What liquids are less dense than water?
- Which liquids sink in water?
- What did you do in this activity to make sure you are comparing equal volumes of liquid?
- Explain why the beads are positioned the way they are in your liquids.
Connect your Sensory Bottle Science with other STEAM buckets!
Science
This activity is primarily science-based! As an extension, explore how changes in temperature impact the density of vinegar, oil, and corn syrup.
Technology
Take this project one step more and use a computer to make a chart to graph the weights of your liquids based on your non-standard unit and present your findings.
Engineering
You built a lever, a simple machine! How cool! You can review the notes on levers and talk about other ways you can use a lever.
Art
Use this knowledge about density to create a sensory bottle that uses liquids and solids.
Math
Working with a ruler and non-standard units to measure equal volumes of each liquid is a super fun way to explore math concepts! Add salt to the water and see if it changes the density of water. Use your balance scale to weigh it and compare its weight to water without salt.
Looking for more awesome density activities? Check these out!
- Sugar Water Density Rainbow Science Experiment from Little Bins for Little Hands
- Super Fun Winter Density Jar Science Experiment for Kids from Lemon Lime Adventures
- Salt Water Density STEAM Experiment: Can a Carrot Float?
31 Days of Low-Prep STEAM Activities for Kids
If you like this activity, then you are going to love the activities we have in store for our 31 Days of Low-Prep STEAM Activities. Every activity focuses on each of the buckets of STEAM (Science, Technology, Engineering, Art, & Math) although these integrated projects fit in more than one bucket.
You and your kiddos are going to love all of the activities that we have in store! Visit the 31 Days of Low-Prep STEAM Activity hub and pin it, so you can come back and visit it daily!
PIN THIS IMAGE TO SHARE THIS LOW-PREP STEAM ACTIVITY!
Meet Toni, the Maker Mom behind Our Family Code
Hey there, I’m Toni! I’m a software engineer and Maker Mom that finds my joy in unleashing my children’s curiosity by exploring STEAM concepts with my fantastic five!
When I’m not chasing toddlers or raising tweens, you can find me tearing things up and putting them back together over here at Our Family Code.
I am the owner and content creator of multiple educational websites designed to increase access to STEAM & STEM education with a focus on teaching computer science and coding to kids of all ages!
You can also find out more about me by visiting ToniGardner.com!
