

Repurpose crayons into colorful sun catchers from crayon shavings, wax paper, and a little adult-managed heat. This hands-on art activity gives broken crayons a new purpose and lets kids observe what happens when solid wax melts and cools again.
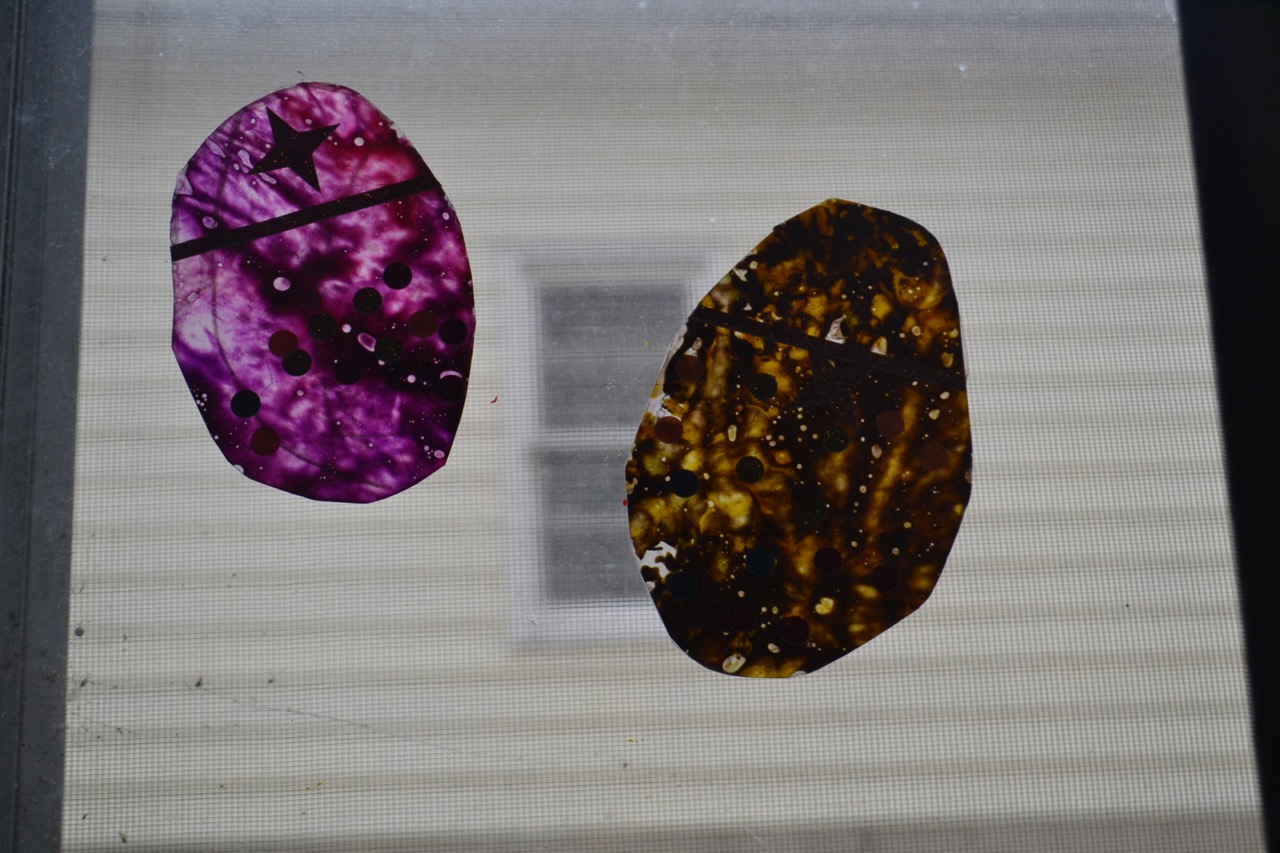
Our original project became a window full of Easter eggs because the girls wanted a seasonal design. You can follow the same process for simple leaves, pumpkins, hearts, or other shapes without changing the basic materials.

A Colorful Way to Repurpose Crayons
We had a box of broken crayons in our craft supplies and found time to turn them into something new. The girls chose their colors, collected shavings, and decorated the cooled shapes for our window.
This is a shared project with separate jobs: kids help plan and arrange the colors, and an adult handles every heating step. The original photos remain below to show our project, but children should not operate the iron even where a historical photo shows a child near it.
Our original craft session took about an hour, including time with the younger children. Allow extra time for making shavings and cooling the wax rather than rushing either step to finish on a schedule.
Crayon Sun Catcher Supplies
This post contains affiliate links. As an Amazon Associate, Our Family Code earns from qualifying purchases. Please see our Disclosure Policy for more details.
- Crayons in the colors you choose; broken pieces are welcome
- A sharpener with a crayon-sized opening
- Wax paper
- An iron for adult use only
- Scissors and a pencil
- Paper plates to collect shavings
- Protective paper for the ironing surface and top of the wax-paper sandwich
- Double-sided tape, or a hole punch and string for an adult to attach
- Optional stickers or other lightweight decorations
Use ordinary wax crayons and a sharpener that fits them without forcing the pieces. An adult should make the shavings when a piece is too short to hold comfortably or the child cannot use the tool safely.
Set up a separate, stable, heat-safe area for the iron and keep its cord out of reach. Protect both the surface below the project and the iron above it so exposed melted wax cannot touch either one.
How to Make Sun Catchers from Crayon Shavings
1. Choose Your Colors
Round up the crayons and remove their paper wrappers before sharpening. Sort the colors into small groups so each sun catcher can have its own color story.
The girls chose blue, yellow, pink, and purple for our original eggs. Start with a few colors if you want to see them clearly instead of combining every shade into one pile.

2. Collect the Crayon Shavings
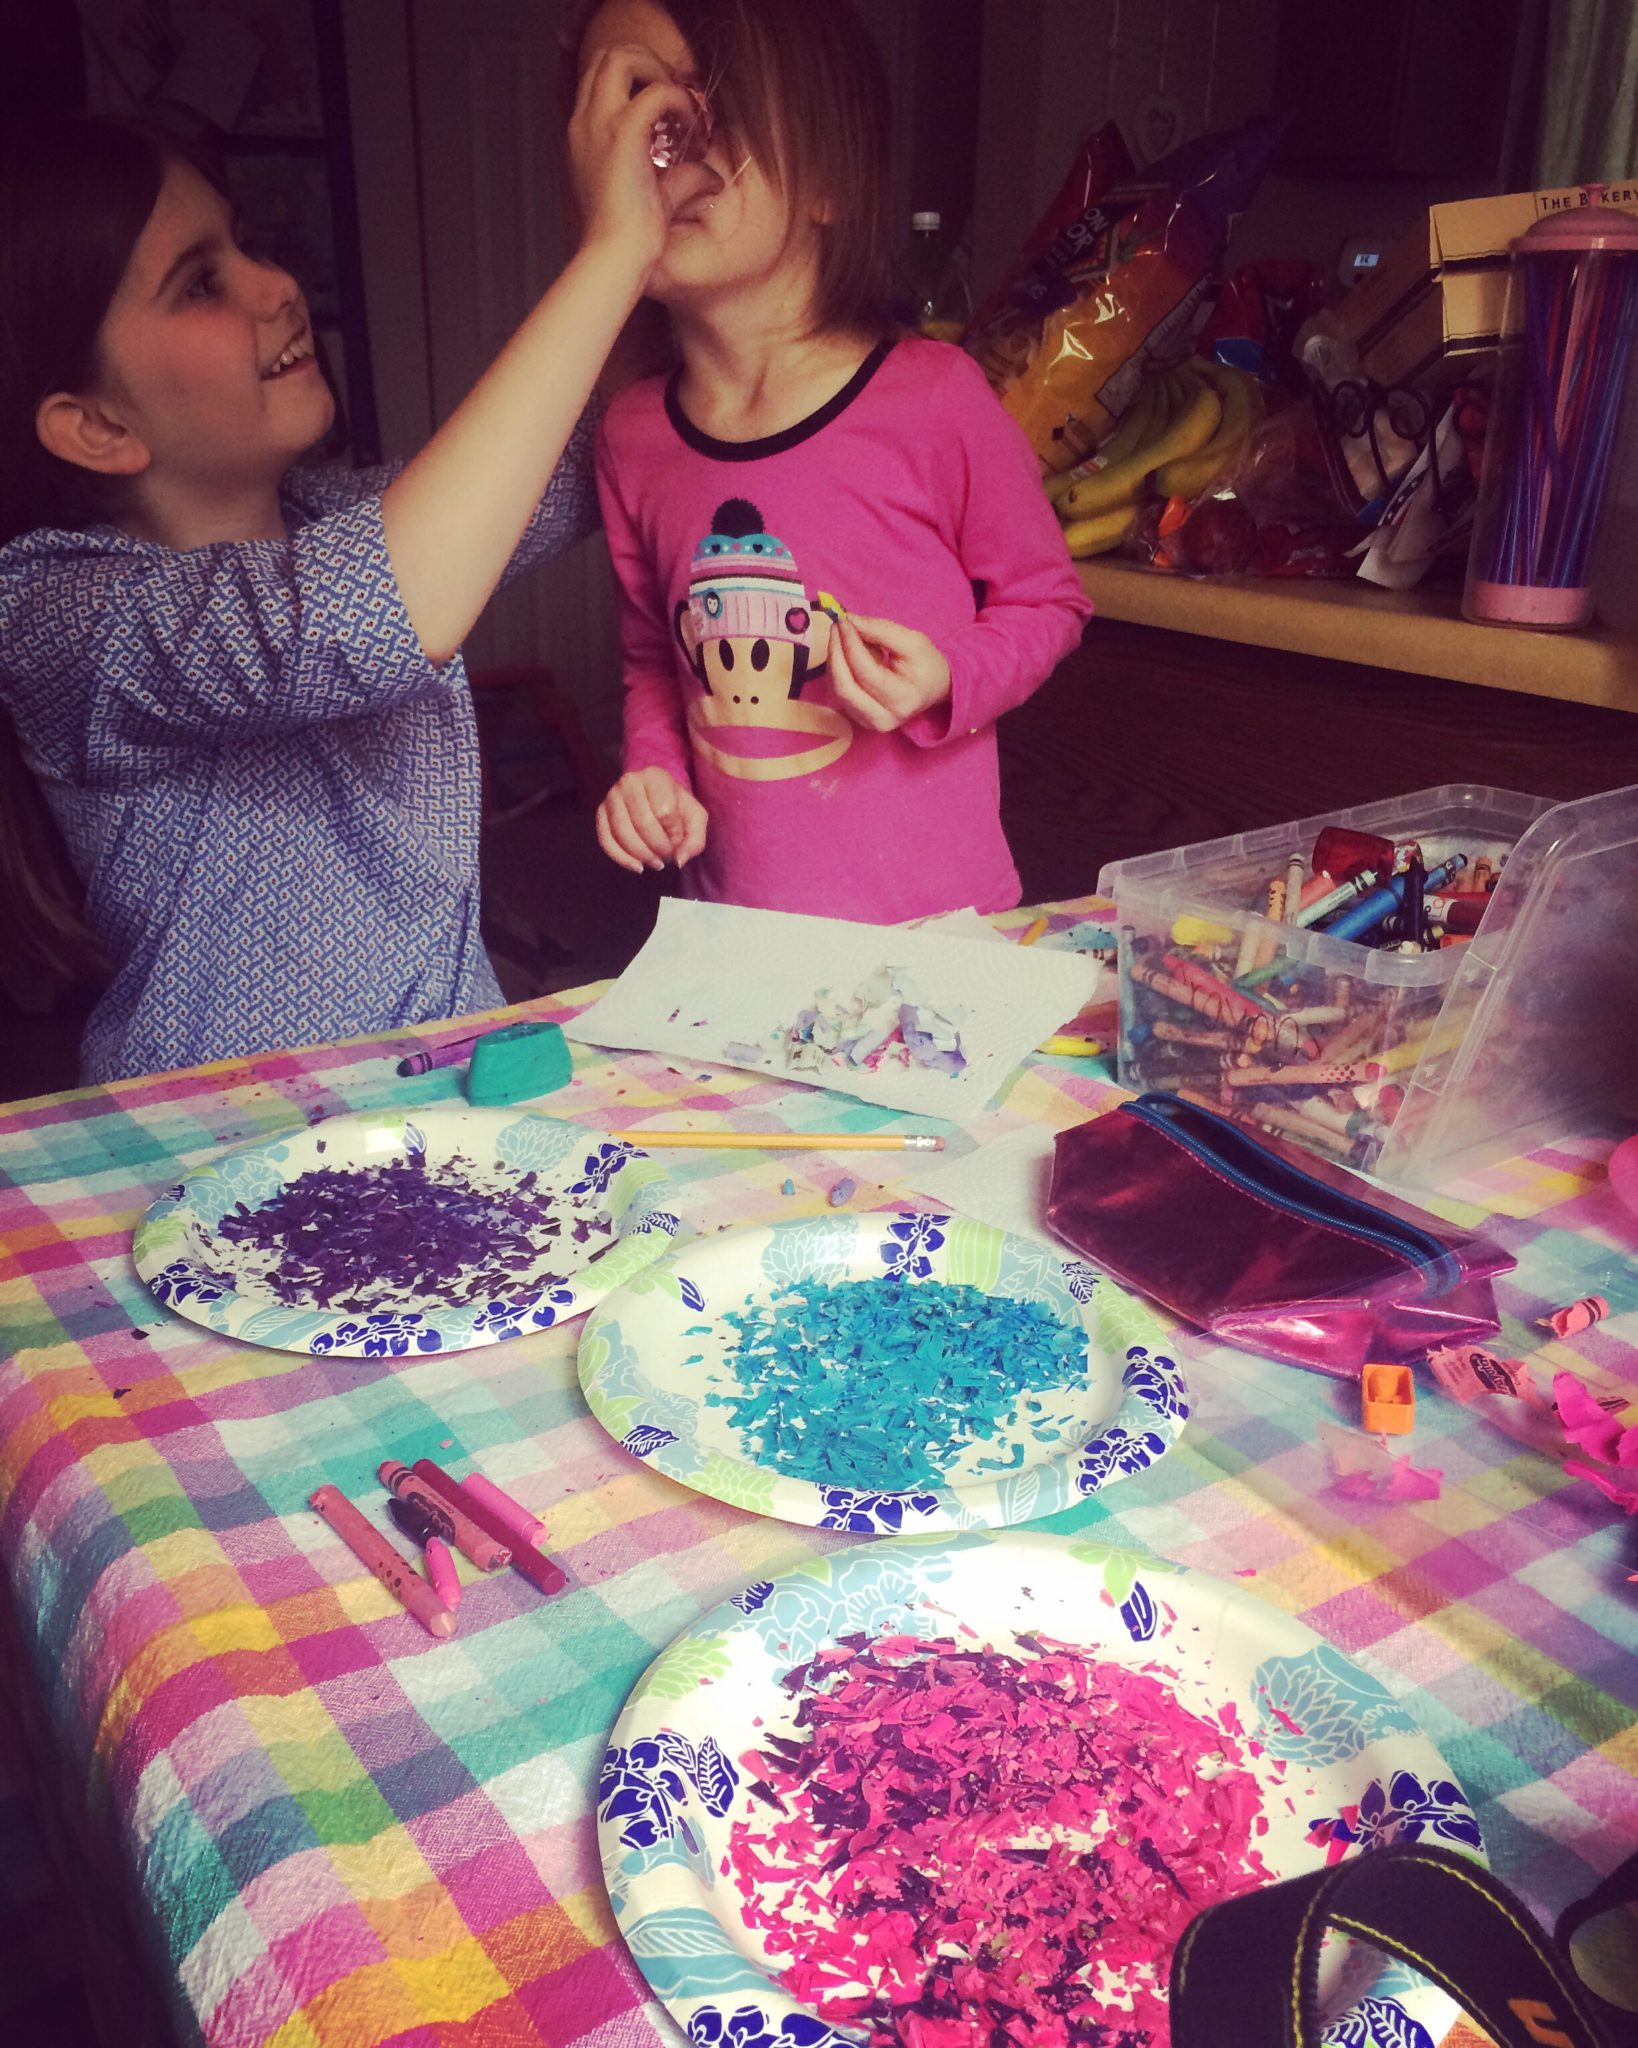
Use the crayon-sized opening in the sharpener to make small shavings. Collect them on a plate or another contained work surface so they do not scatter across the table.

Keep each color separate if you want control over where it goes in the design. You can also mix a small portion on purpose and compare that blend with a single-color area.

Sharpening was the longest part of our original project, and our five-year-old needed time and patience. Give help when needed and take breaks rather than expecting every child to prepare the same amount at the same speed.
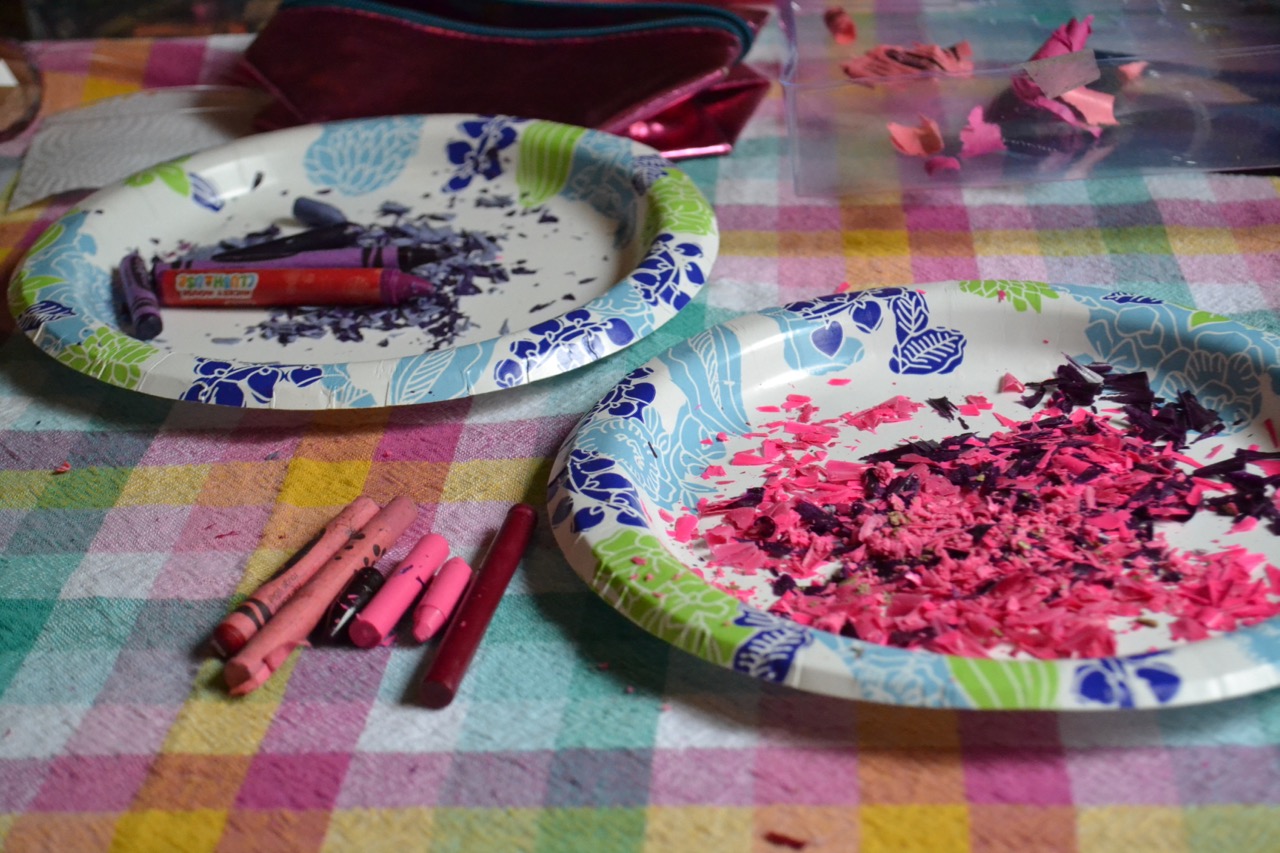
3. Arrange a Thin Layer on Wax Paper
Place a sheet of wax paper on the protected work area and sprinkle the shavings over it. Leave a clear border around the edges and keep the wax in a thin layer rather than a large mound.
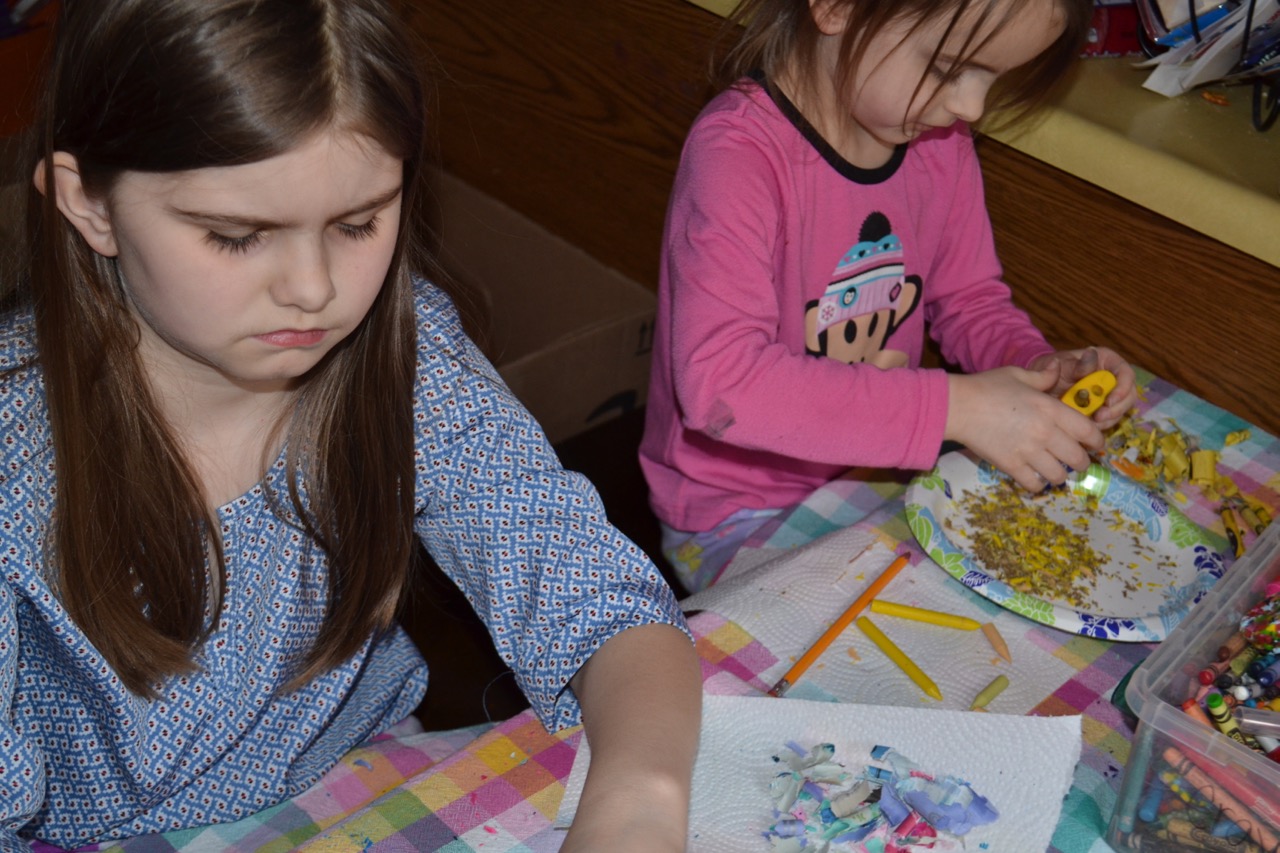
You can place colors in separate patches, make loose stripes, or scatter them for a mixed effect. Leave some small gaps if you want to compare areas with less wax and areas with more.
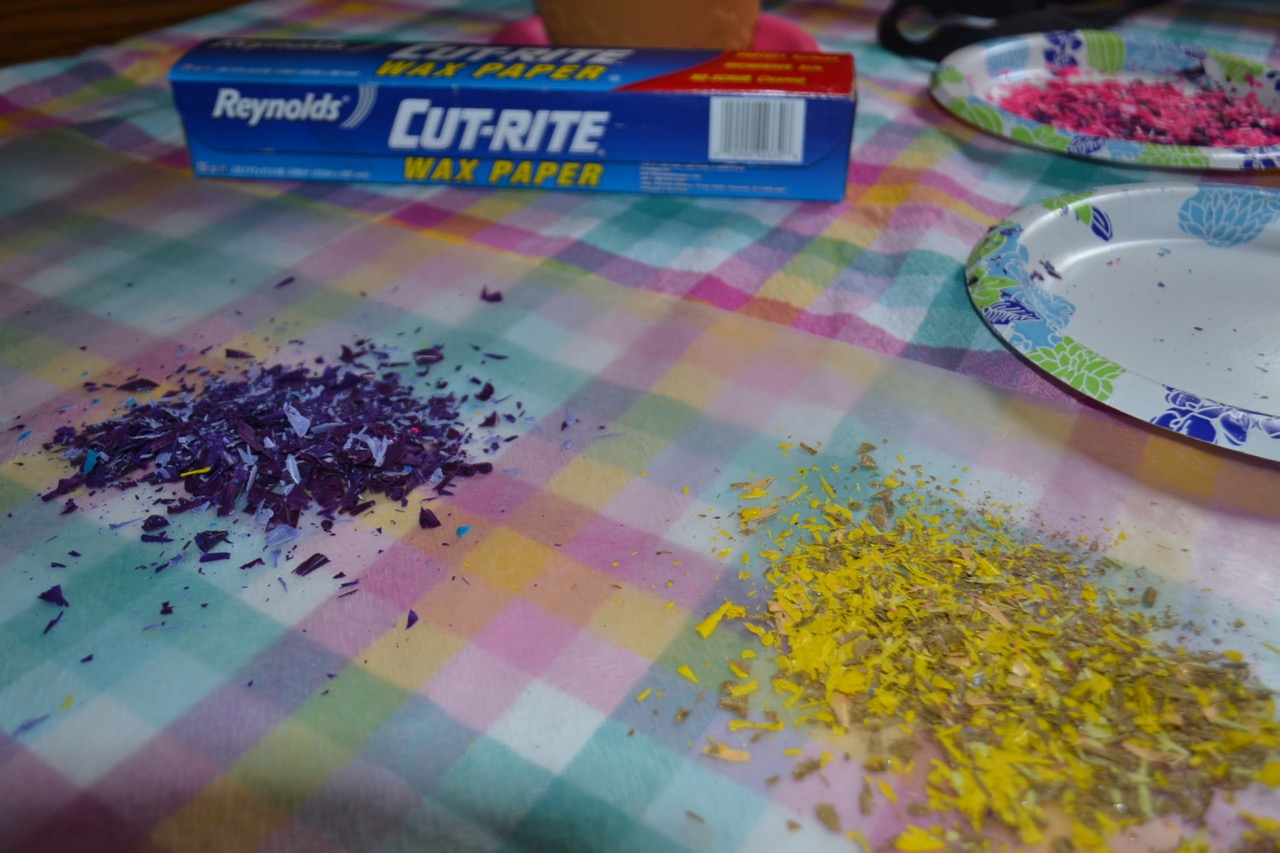
We used plates first to keep the shaving step contained while caring for younger children. Keep babies and toddlers in a separate safe activity area, away from shavings, sharpener parts, cords, and the iron.
4. Let an Adult Melt the Shavings
Place a second sheet of wax paper over the shavings and cover the sandwich with protective paper. Make sure no crayon wax is exposed to the iron or the surface underneath.
An adult uses brief, gentle presses with a low, dry iron setting suitable for the materials, lifting the iron to check progress. Do not drag the iron across the sandwich, because that can shift the shavings or tear the paper.

Our original post recorded presses of about 10–20 seconds, followed by another pass over areas that still needed melting. That is an observation from our project, not a universal heating time; irons and layer thickness vary, so check carefully and avoid overheating.
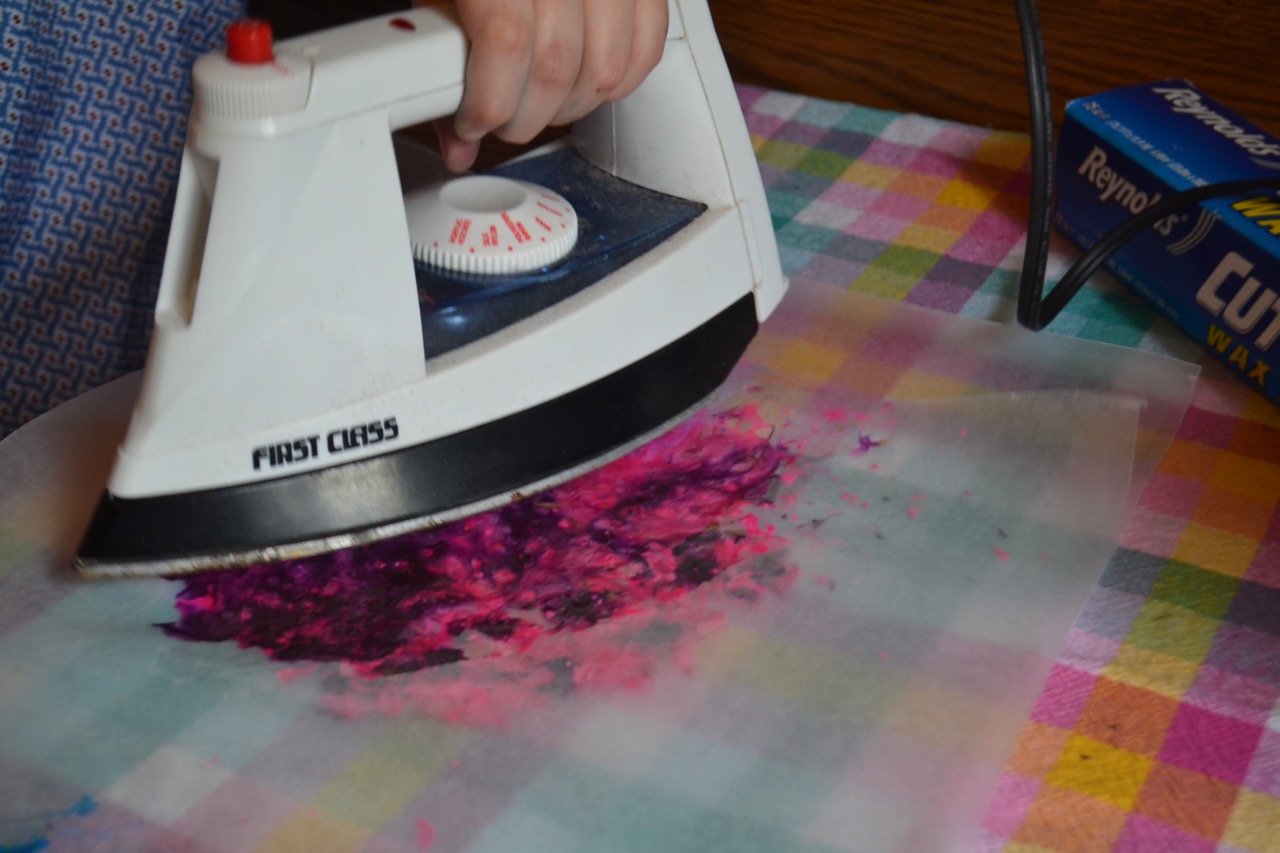
Keep children away from the heating area and leave the paper in place until the wax has cooled completely. An adult should unplug the iron and put it in a safe cooling location when the heating is finished.

5. Draw and Cut the Cooled Shapes
Once the sandwich is cool, draw your shape with a pencil. We used simple ovals for Easter eggs, which left plenty of room for the color patches to show.

Cut around the outline with scissors appropriate for the person using them, with adult help as needed. Simple, broad shapes are easier to cut and display than tiny points or narrow details.

If loose shavings fall out, stop cutting and let an adult inspect the piece. An adult can cover it again and briefly reheat unmelted areas, then let everything cool before you resume.
6. Decorate and Display
Add stickers or other lightweight decorations after the wax is cool. The girls decorated several eggs, while other pieces stayed simple enough to show the blended colors.
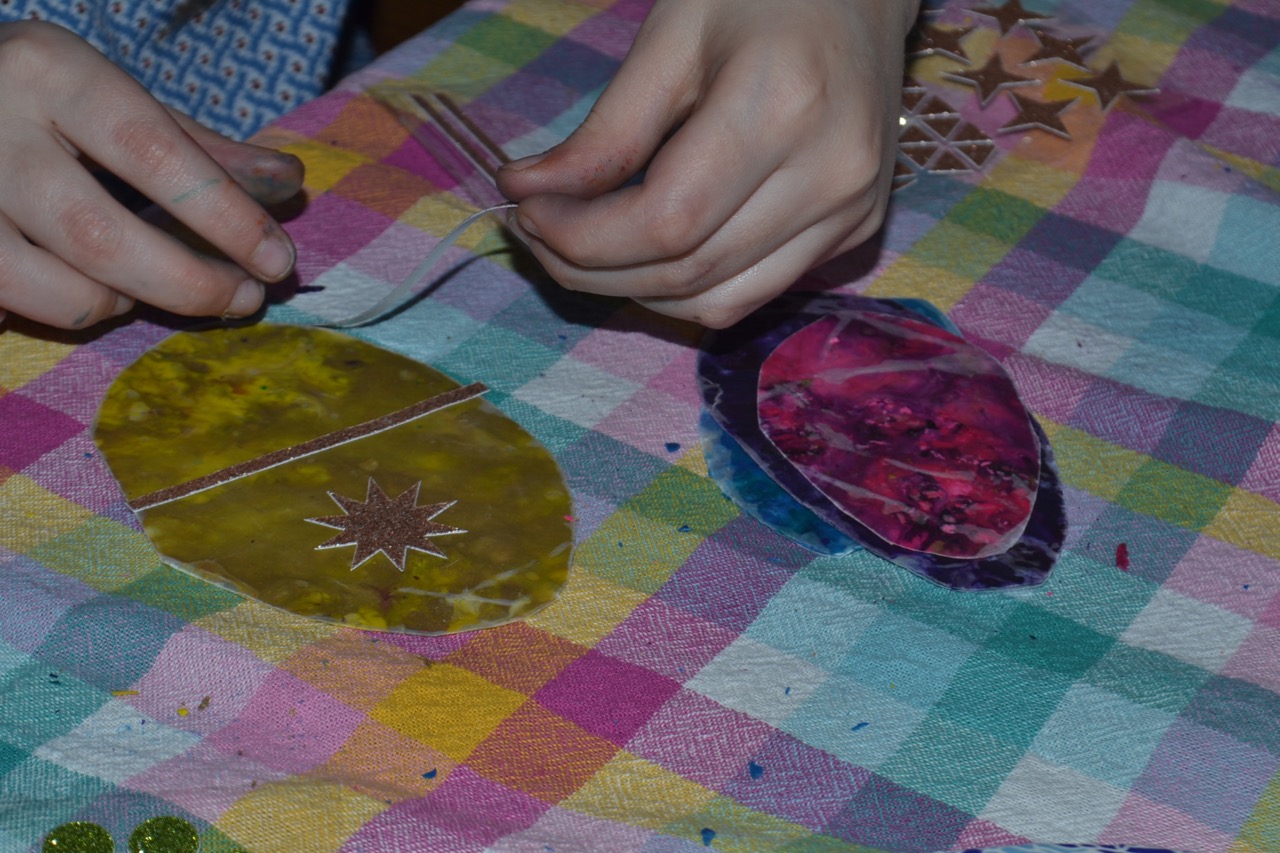
We used double-sided tape to attach our sun catchers to the window. A hole and string are another option if an adult makes a secure hanging point and keeps the line out of reach of young children.
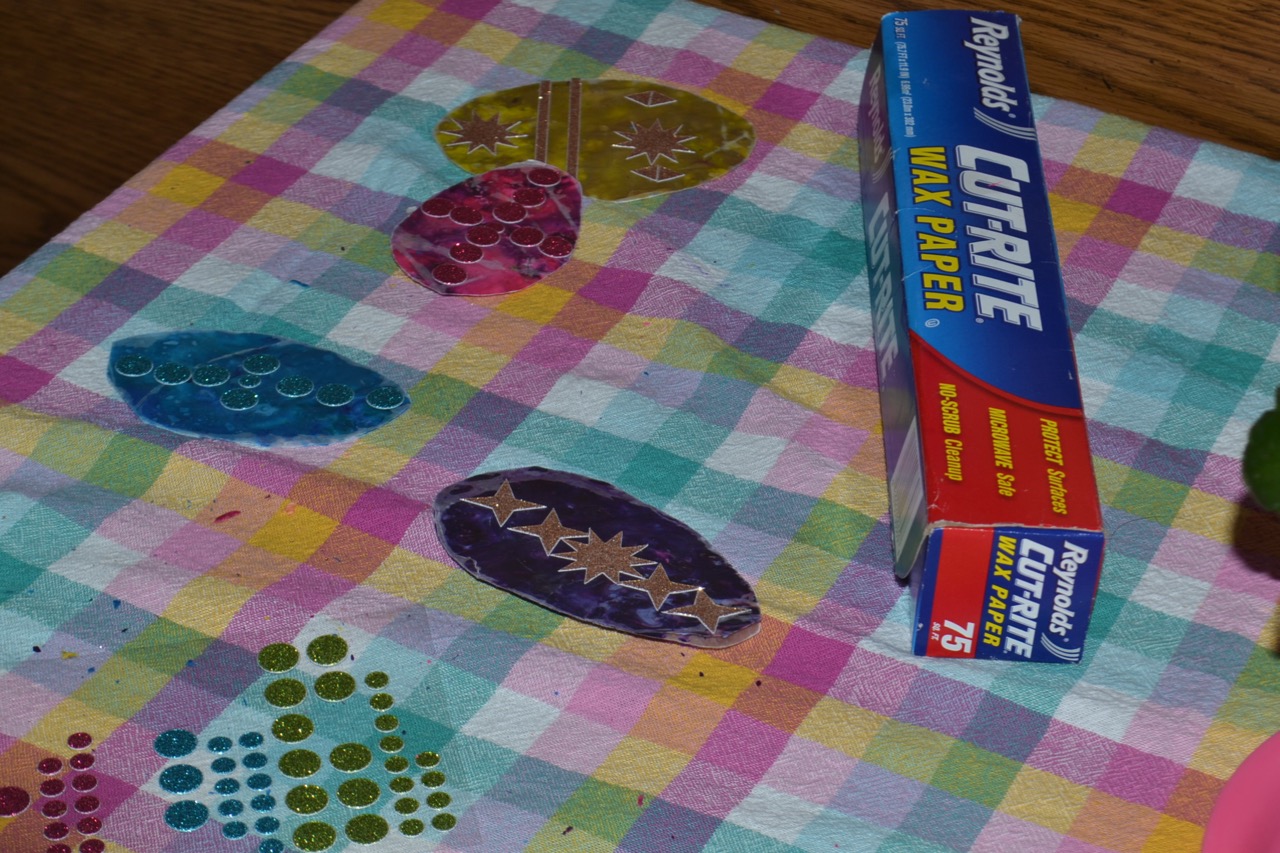
Choose a window where you can view the colors without placing the craft near a heat source. Keep the display away from heaters, flames, and places where children might pull on it.

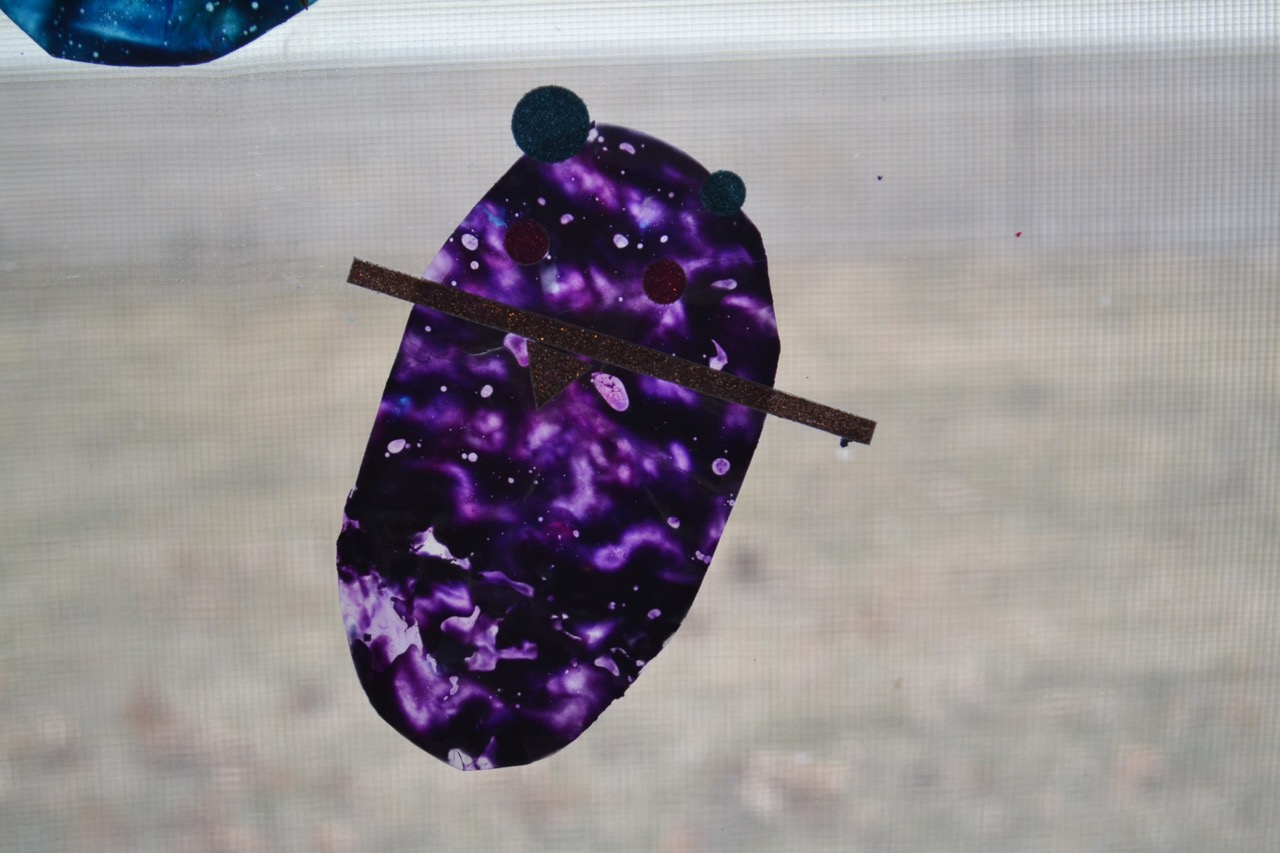
You do not have to stop with egg shapes: one of our original pieces became a mouse-shaped sun catcher. Let children suggest a silhouette that suits their colors and is practical to cut.
Explore Melting, Cooling, and Light
What Changes When the Wax Warms?
Compare the dry shavings with the cooled finished piece and ask children to describe the difference. During heating, the solid wax softens and melts; as it cools, it becomes solid again in its new arrangement.
Melting is a physical change, and the wax has not disappeared just because the original shaving shapes are gone. Keep the discussion tied to what children can observe rather than calling the project a chemical reaction.
How Does Layer Thickness Affect the View?
Hold two cooled pieces against the same bright background and compare which areas let more light through. Thin and thick patches may look different, so “more crayon” does not necessarily make a brighter-looking sun catcher.
For a planned comparison, use the same colors in two small areas but a lighter sprinkle in one and a thicker layer in the other. Ask what changed and keep the heating work entirely with an adult.
Add a Separate Prism Investigation
We also explored a prism during the original activity. A prism and a colored wax sun catcher both invite questions about light, but they produce different effects.
A suitable prism can separate white light into a spectrum because different wavelengths refract by different amounts, as explained in OpenStax’s refraction lesson. The crayon craft mainly shows the appearance of light through colored material, rather than creating the same prism spectrum.
Look at the prism’s projected colors on a surface and compare them with the colors already present in your craft. Never look directly at the sun through a prism or point concentrated light toward someone’s eyes.
Seasonal Shapes and Design Ideas
For Easter, use the original egg outlines and decorate them with patterns or stickers. For fall, try broad leaf silhouettes or rounded pumpkins using orange, red, and yellow crayon pieces.
Hearts work for a Valentine display, and simple circles work when you want to focus on color rather than a holiday. Sketch the shape on scrap paper first if you want to check its size before drawing on the finished wax.
For more autumn ideas after this project, visit our 31 nights of Halloween STEAM activities. Keep the same adult-managed heating process when changing the shape or season.
Questions About Crayon Sun Catchers
Do I Need a Printable Template?
No download is needed for the original project because we drew the egg outlines by hand. A simple oval, heart, or circle on scrap paper can help you plan before cutting.
Can I Use Tiny Broken Crayon Pieces?
Broken crayons are useful, but do not force a piece into the sharpener when you cannot hold it safely. Have an adult prepare suitable pieces and set aside fragments that are impractical to sharpen.
Why Did My Colors Become Hard to See?
A very thick layer or many overlapping colors can make the finished piece look less transparent. Try fewer colors and a lighter sprinkle in a small test piece before making a larger design.
Is This Recycling?
This craft repurposes existing crayons into an art display rather than sending them through an industrial recycling process. Use pieces you already have and keep shavings contained during preparation and cleanup.
You Might Also Like
Continue with these activities from the original Easter STEAM list, including coding puzzles, color exploration, and other sun catcher projects.

Jelly Bean Sudoku
Use a small Sudoku grid to practice logical reasoning and work through choices with colorful pieces.
Easter Egg Algorithm Art
Follow a set of drawing rules to create patterns and explore how an algorithm guides an activity.
Easter Egg Sudoku
Try another seasonal puzzle and explain how each placement follows the grid rules.
Free Easter Worksheets
Choose printable activities that match the skills your child is practicing.
Rainbow Color Recognition
Pair a storybook with hands-on color matching for younger children.
Color by Hexadecimal Rainbow
Use a color key to connect a familiar rainbow with hexadecimal color codes.
Easter Sequence Coding
Practice recognizing and extending sequences with a seasonal unplugged activity.
Hexadecimal Easter Eggs
Follow hexadecimal color labels to complete a patterned egg worksheet.
Plastic Bottle Sun Catchers
Turn clear water bottles into hanging spirals in a different reused-material art project.
Finding Pi with Math Sun Catchers
Combine fuse-bead art with circle measurements to explore circumference and diameter.
Squeegee Art Butterflies
Pull paint across paper and turn the colorful results into butterfly art.
Spring Logic Word Puzzle
Use clues and pattern matching to work through a seasonal word puzzle.
Meet Toni, the Maker Mom behind Our Family Code

Hey there, I’m Toni! I’m a software engineer and Maker Mom that finds my joy in unleashing my children’s curiosity by exploring STEAM concepts with my fantastic five!
When I’m not chasing toddlers or raising tweens, you can find me tearing things up and putting them back together over here at Our Family Code.
I am the owner and content creator of multiple educational websites designed to increase access to STEAM & STEM education with a focus on teaching computer science and coding to kids of all ages!


oh wow! I find this a great idea, perfeact to get rid of those crayons we dn’t use anymore and spend a rainy day on crafts!
xx
lau
This looks like so much fun! We always have plenty of broken crayons, so this would be a good use of them!
My kids loved it so much. They wanted to make a ton more, which we absolutely will because I have like 432839287 broken crayons. ?
Wow! that’s a good idea, never think of this but thank you for sharing. I have some broken crayons here from my 2 year old. We should do this sometimes.
You should! My girls are already talking about making rainbows and butterflies for Spring!
So fun! Making sun catchers is pretty much my favourite kids craft because they are so beautiful with the sun shining through them! I love that you put an Easter spin on them! We will have to try this one! ❤️ Love it!
Thanks!! We are already planning some Spring ones since I have more than enough broken crayons ?
Omg! This is amazing! You are so creative! What!! I absolutely love the way you write, this was such an enjoyable read. I’ll also try and attempt this with my boys, wish me luck :) x
I’m so glad you liked it!!! You should definitely try this with the boys! I’m sure they will enjoy it and the suncatchers will turn out great! Good luck!
I love this because I already have these things in my house! Such a simple, cheap and precious keepsake!
This is a great idea! I did it in the school I help in but with autumnal colours and cut them out in to different shapes of leaves. Brilliant for childrens fine motor skills
I love the leaf idea!
WOW! That is so creative. i am impressed. I would never have thought of that!!!
This is great! I have a huge pile of old crayons that need a project– and also 4 daughters who need a project!
They will love it!! You can even make some fun Spring butterflies and flowers too!
Anything that involves recycling I am there . This is such a fabulously unique idea . I think it is a wonderful way for both parents and kids to occupy their minds while creating something interesting and fun .
this is such a fun craft! definitely trying this!
What a great project! We all have broken crayons. Looks simple and I love the idea that the kids can create any shape they want.
OMG I remember doing this as a kid what great memories :)