

What is Op Art? It is short for optical art: art that uses patterns, lines, shapes, and contrast to create visual effects, such as an impression of depth or movement on a flat page.
These optical illusion art activities give kids several ways to explore that idea with paper and coloring supplies. Make a handprint that appears to rise off the page, try a pumpkin or spiderweb design, and download our free optical illusion worksheets and coloring book.

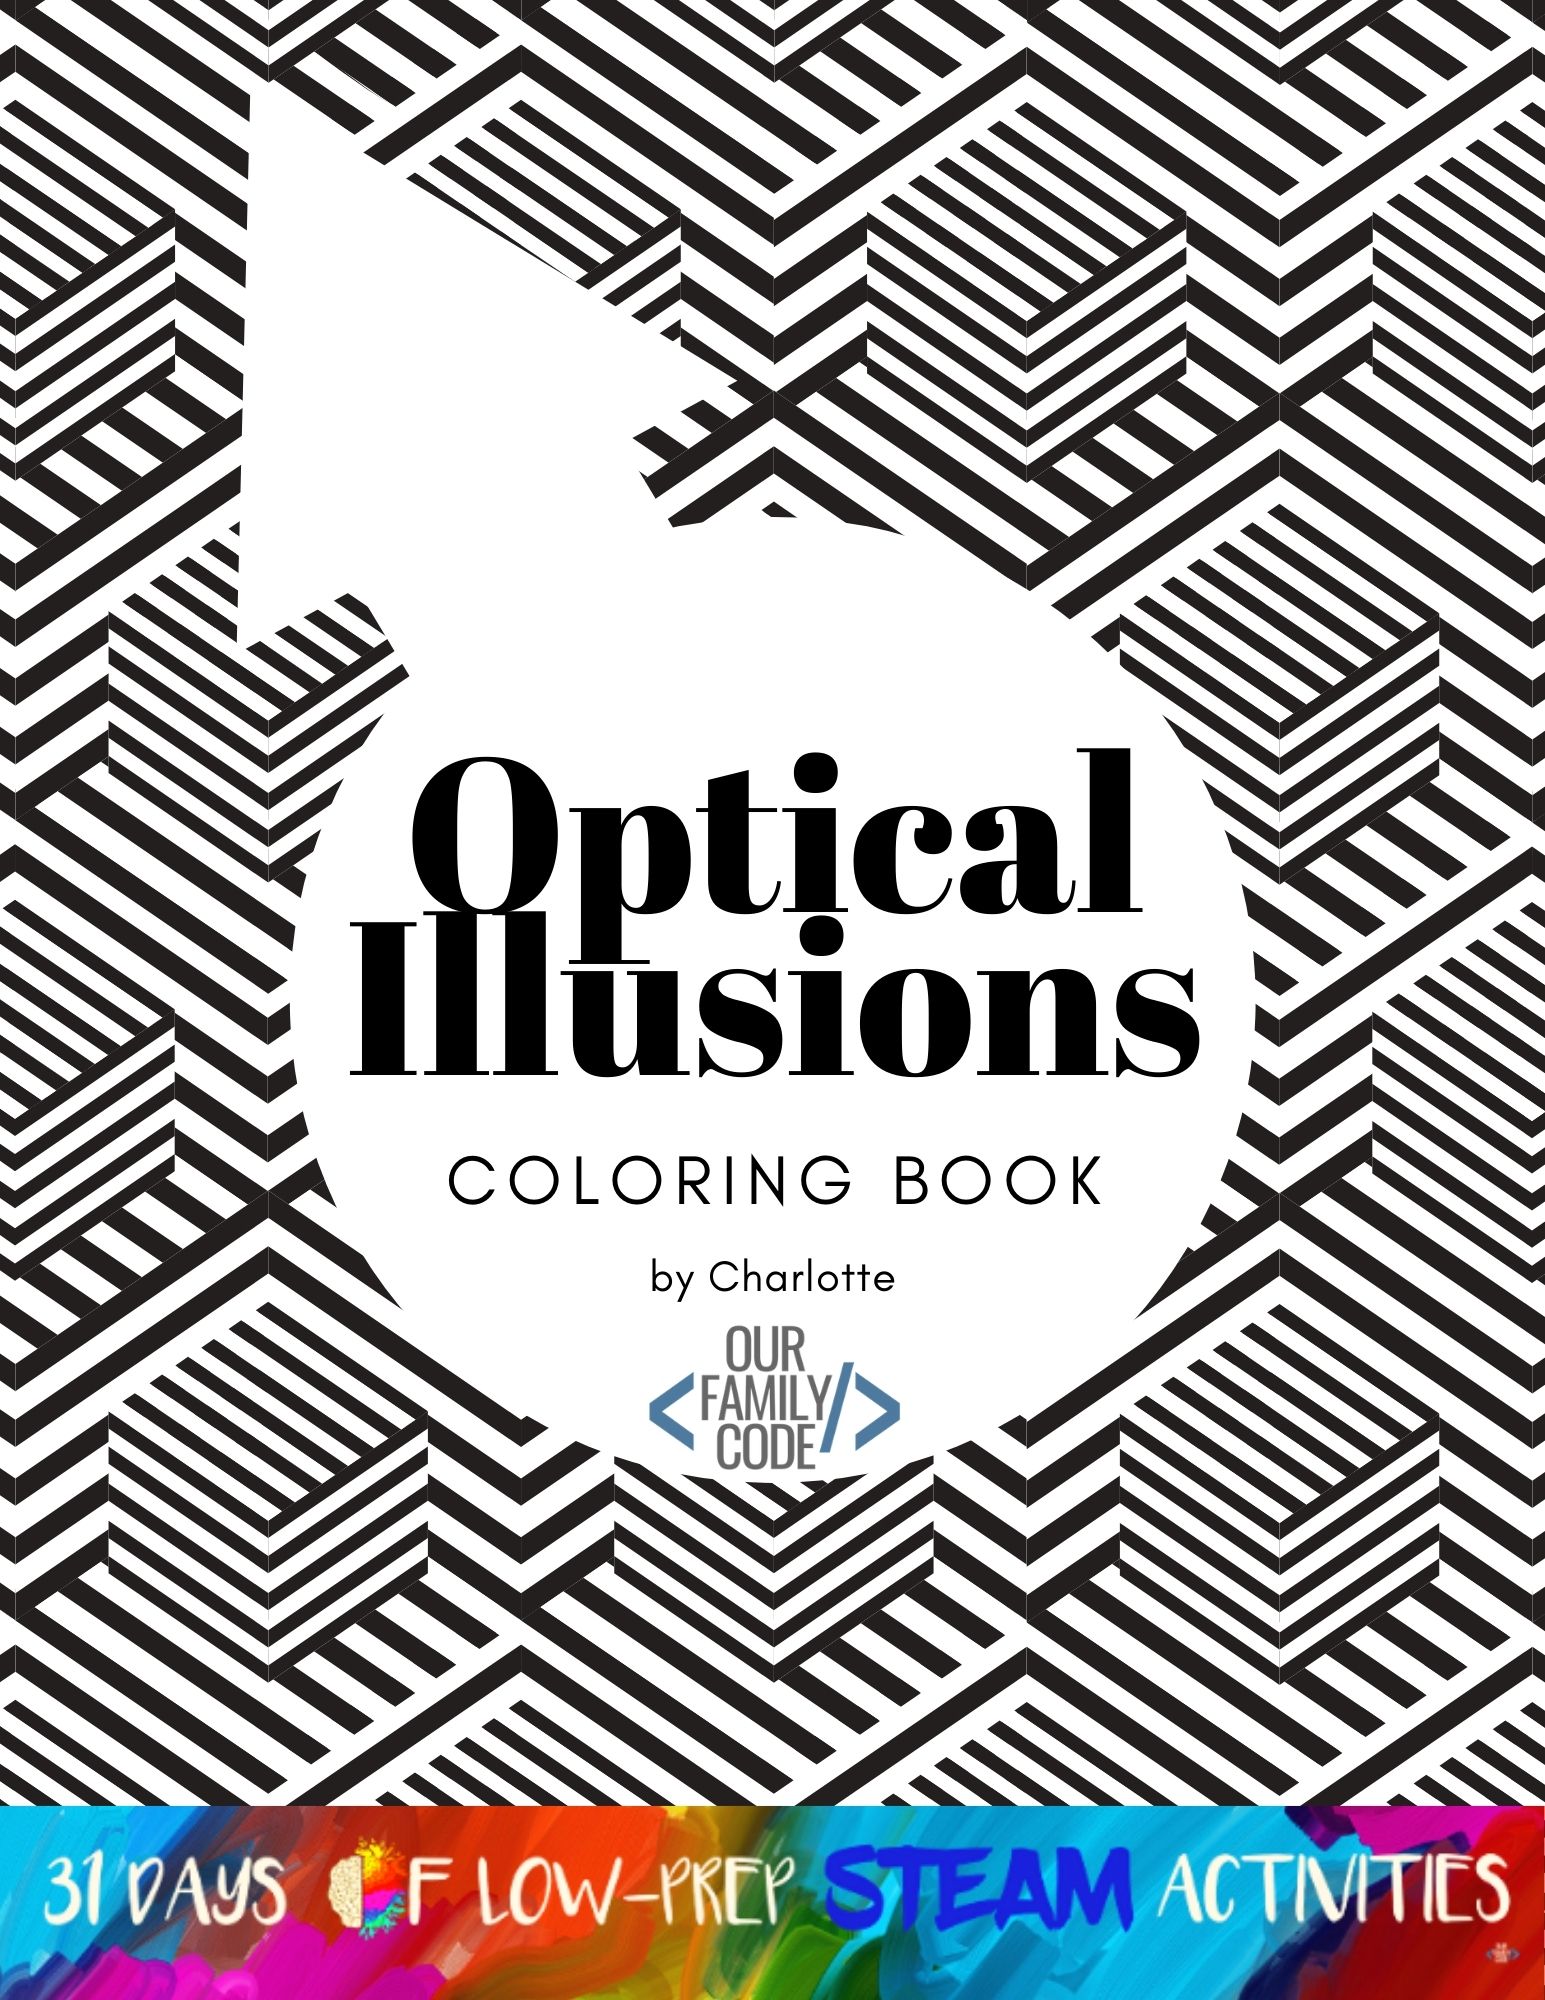
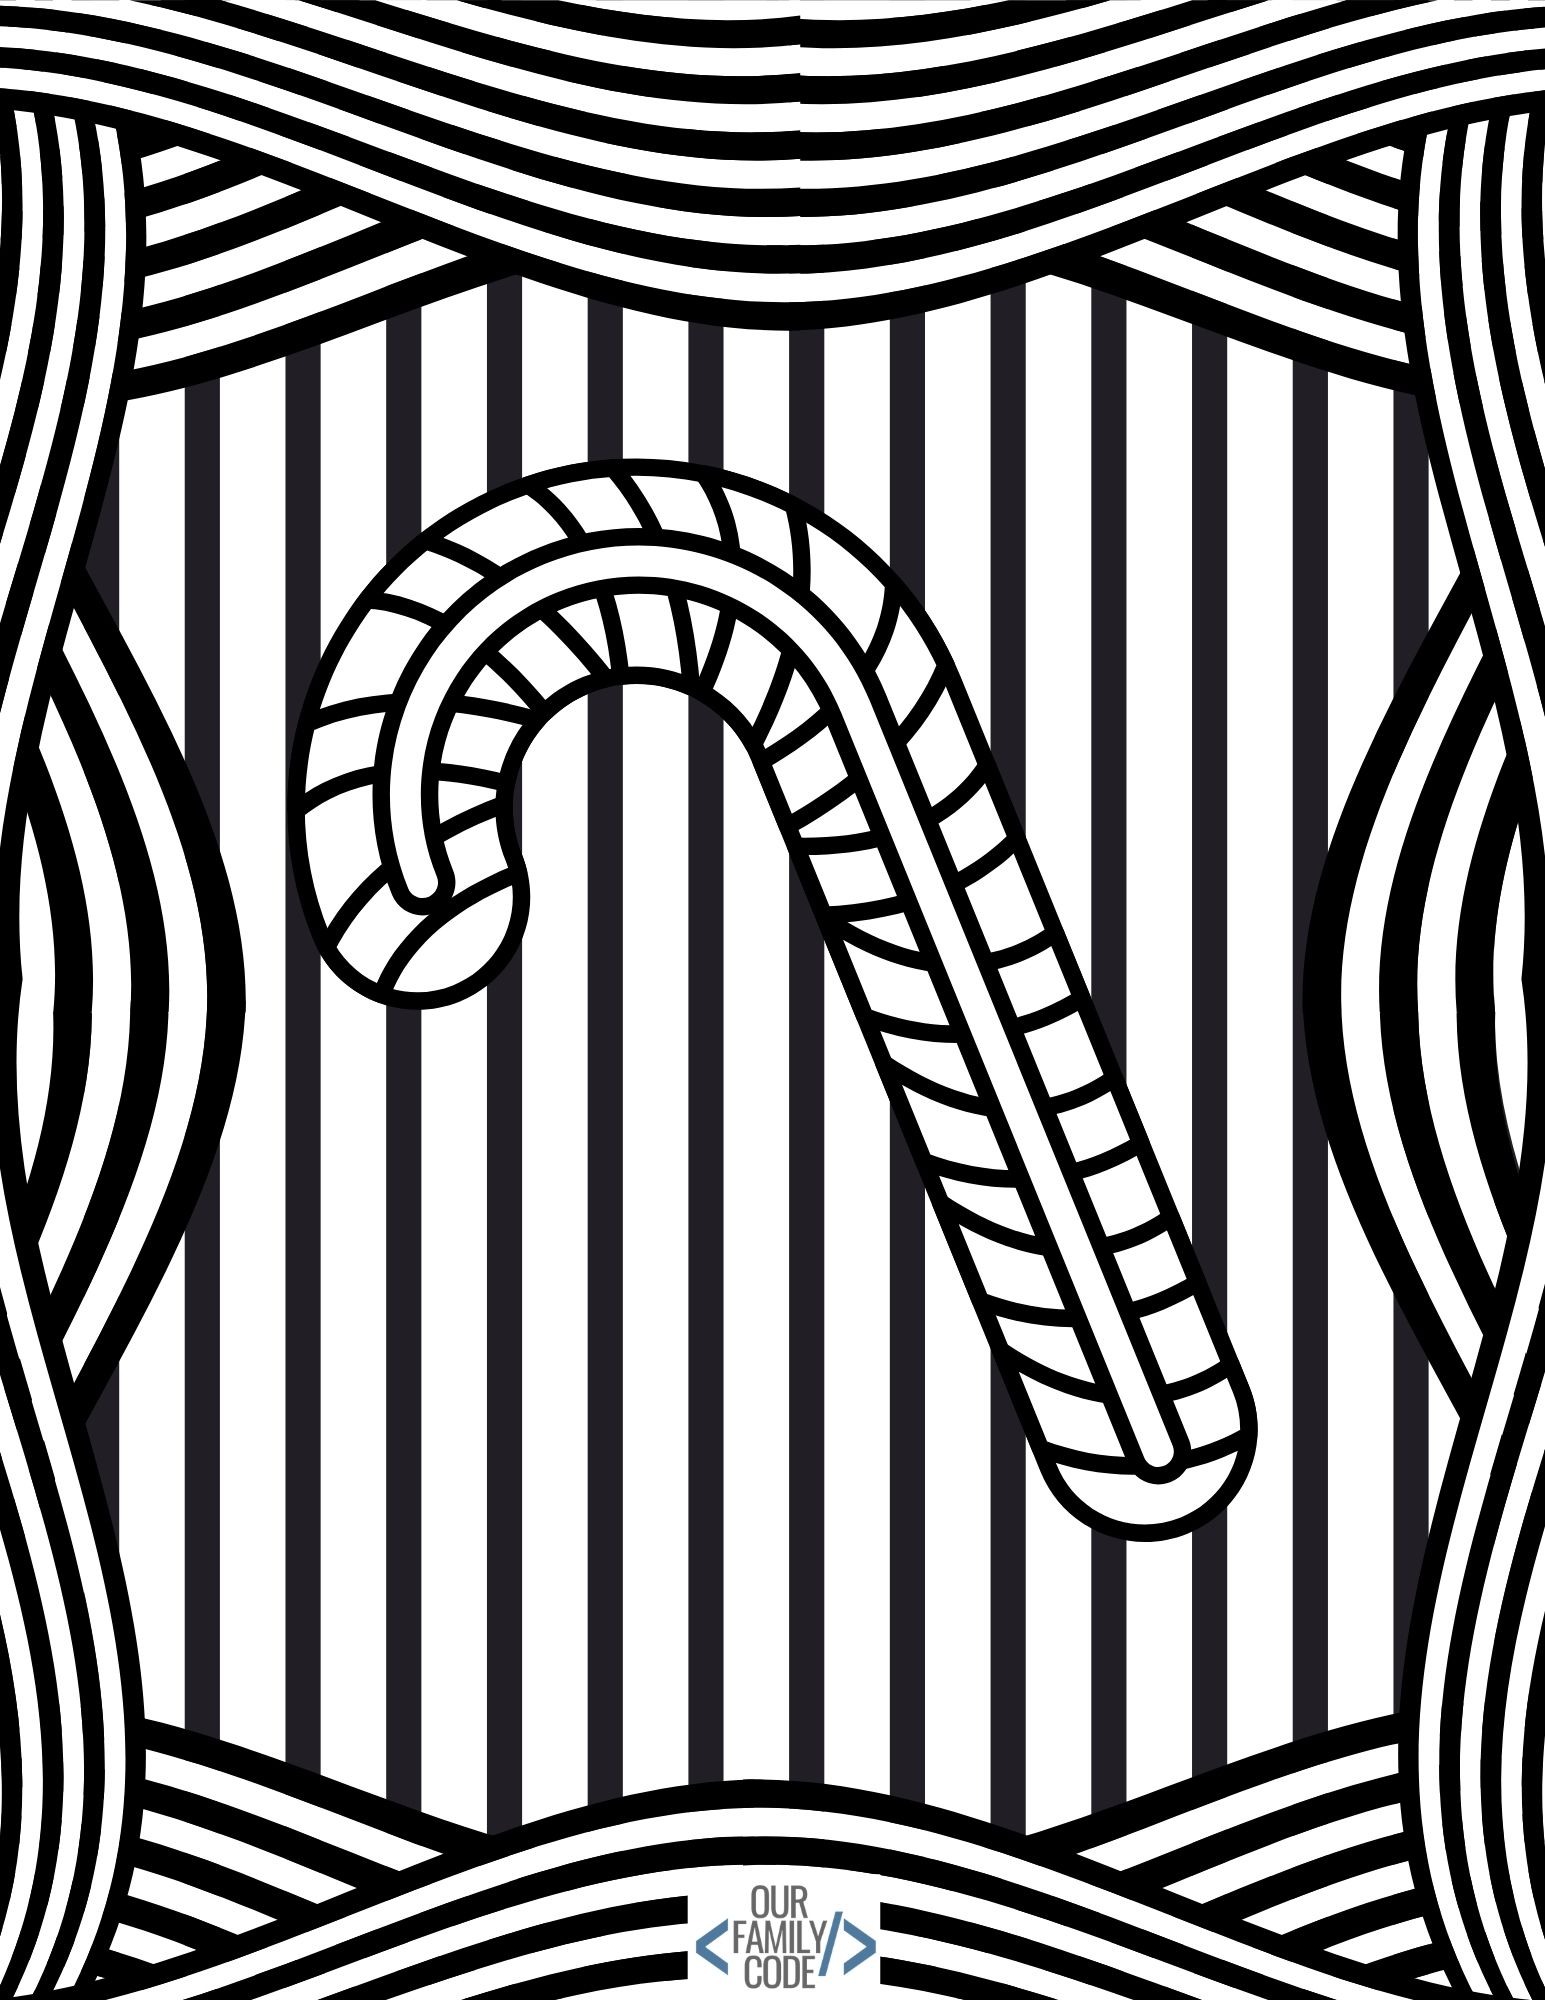
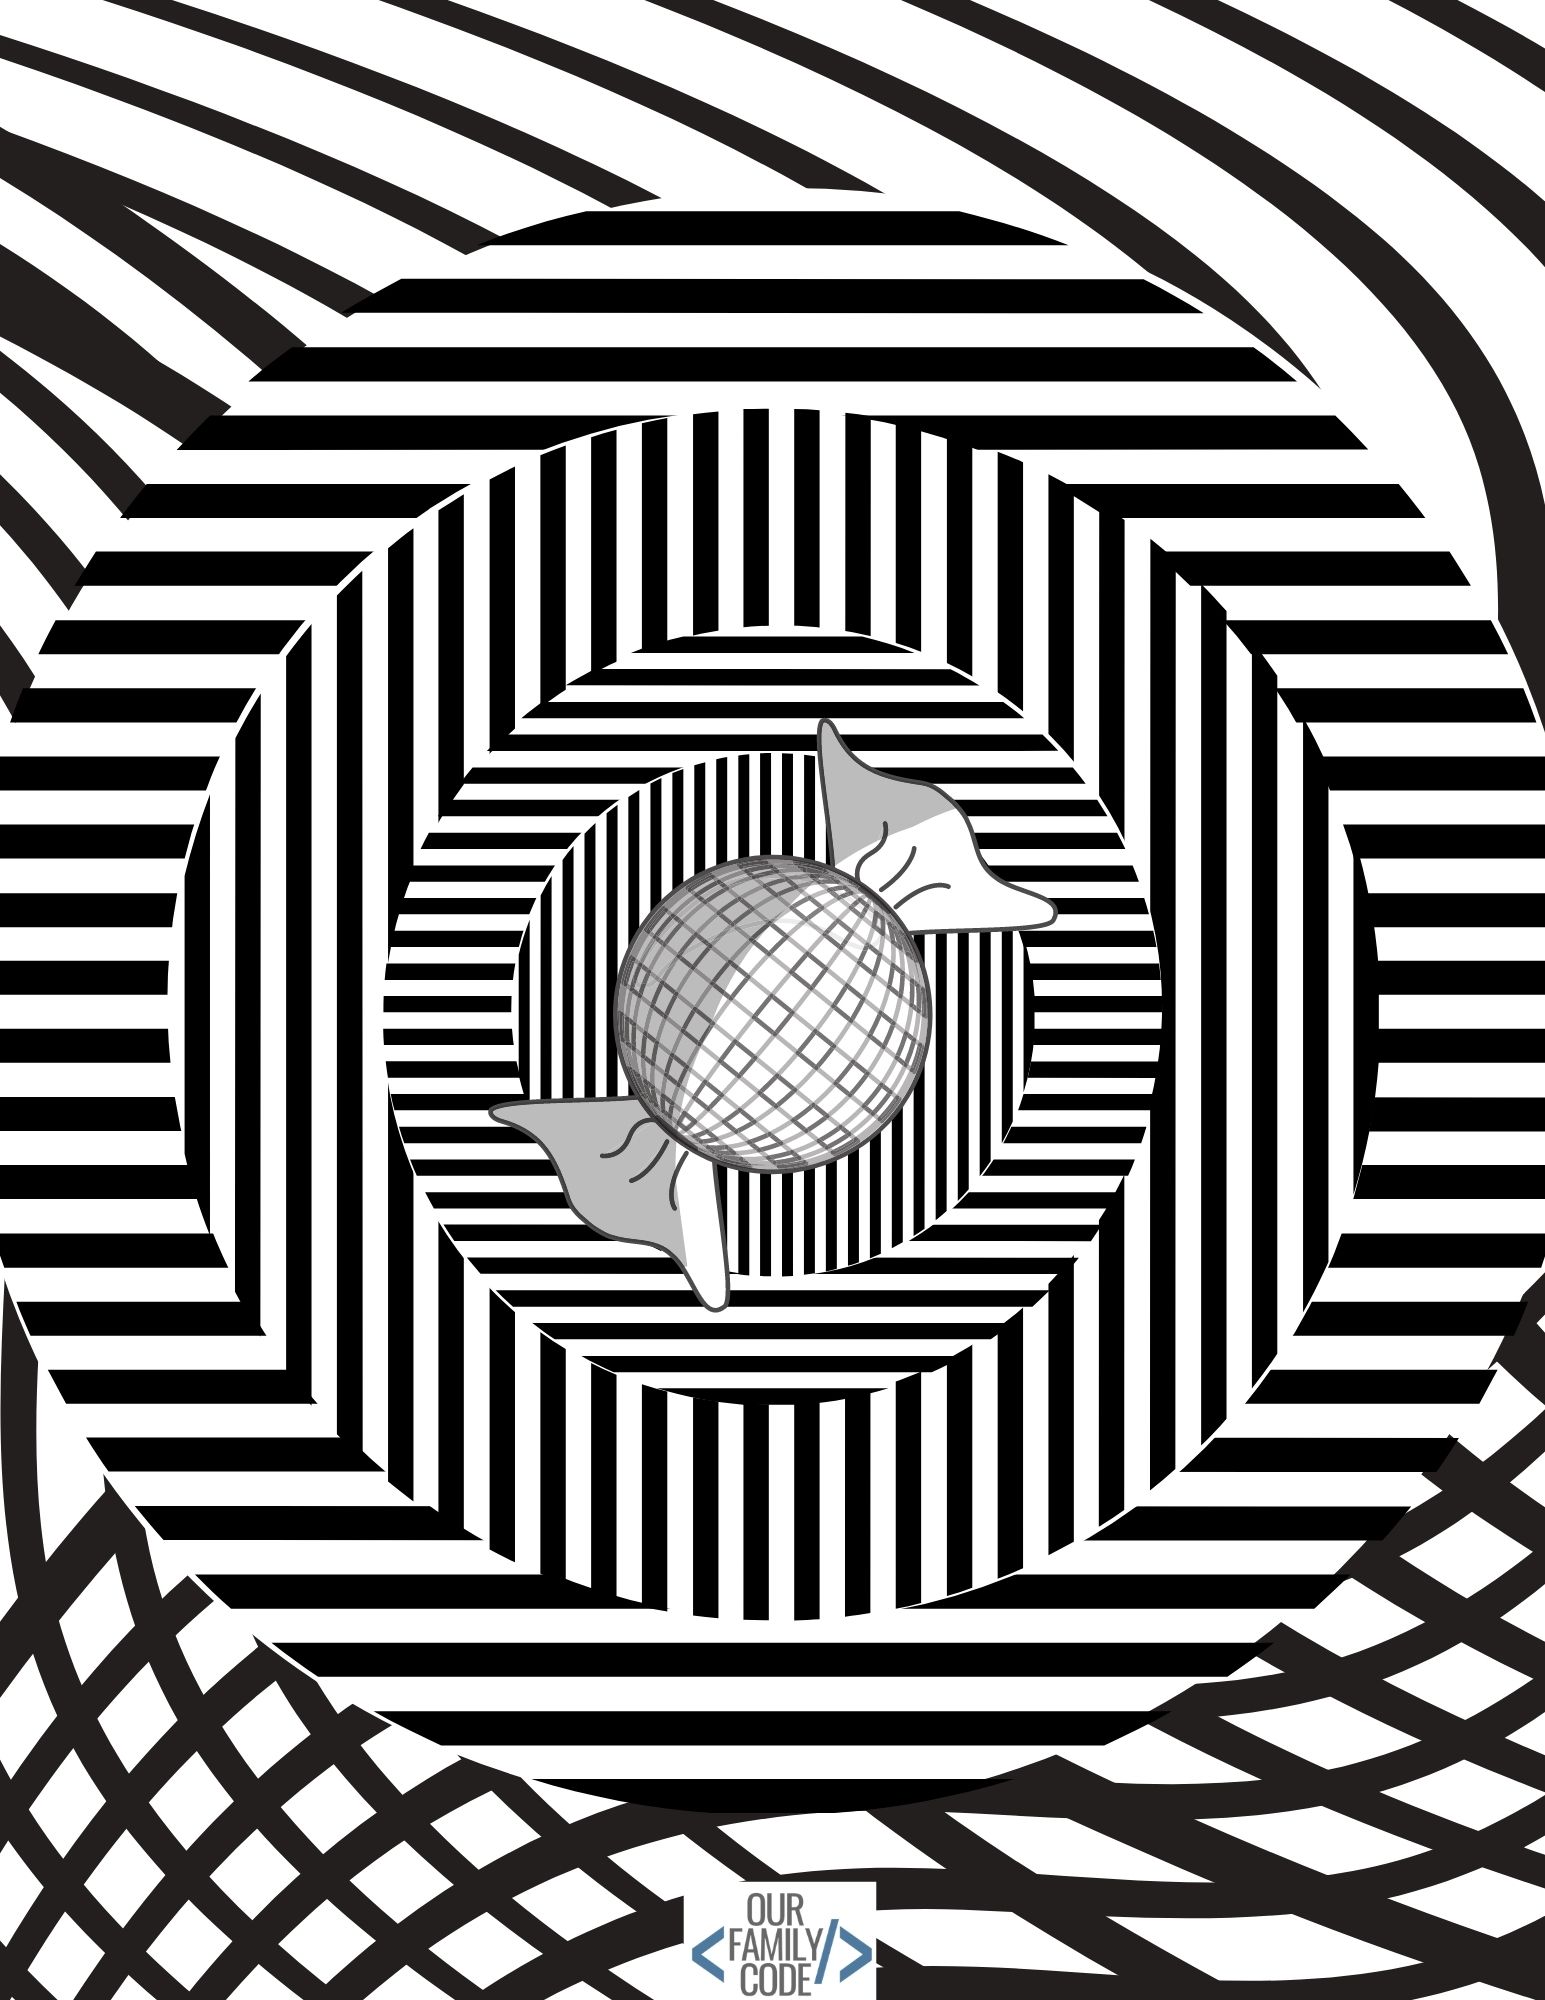
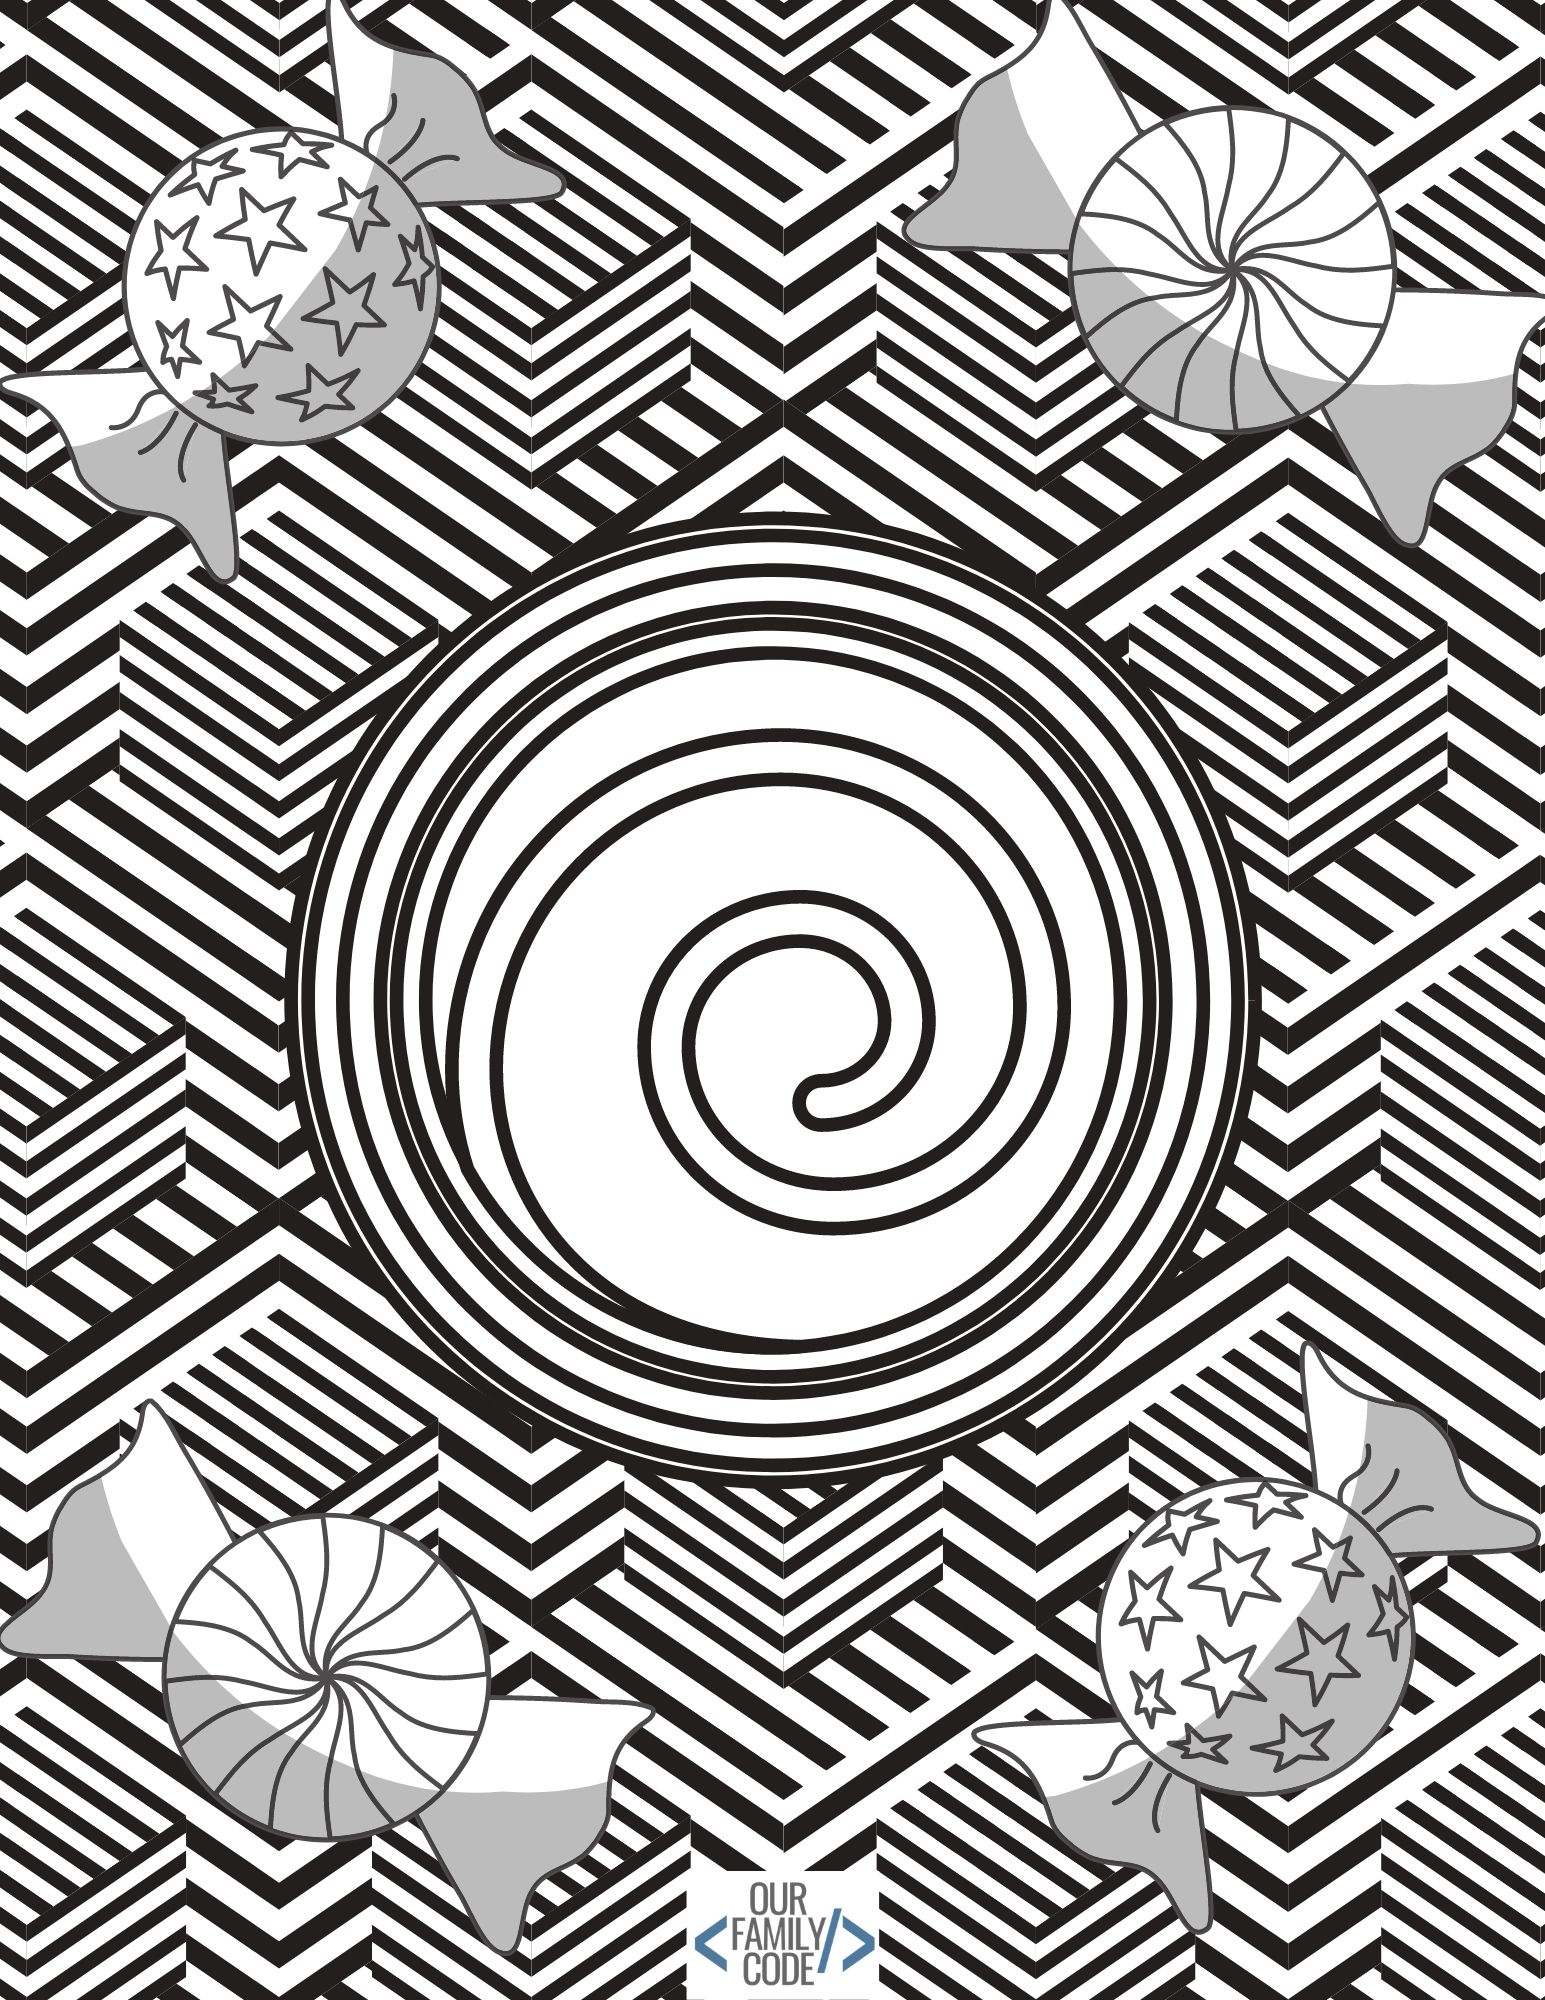
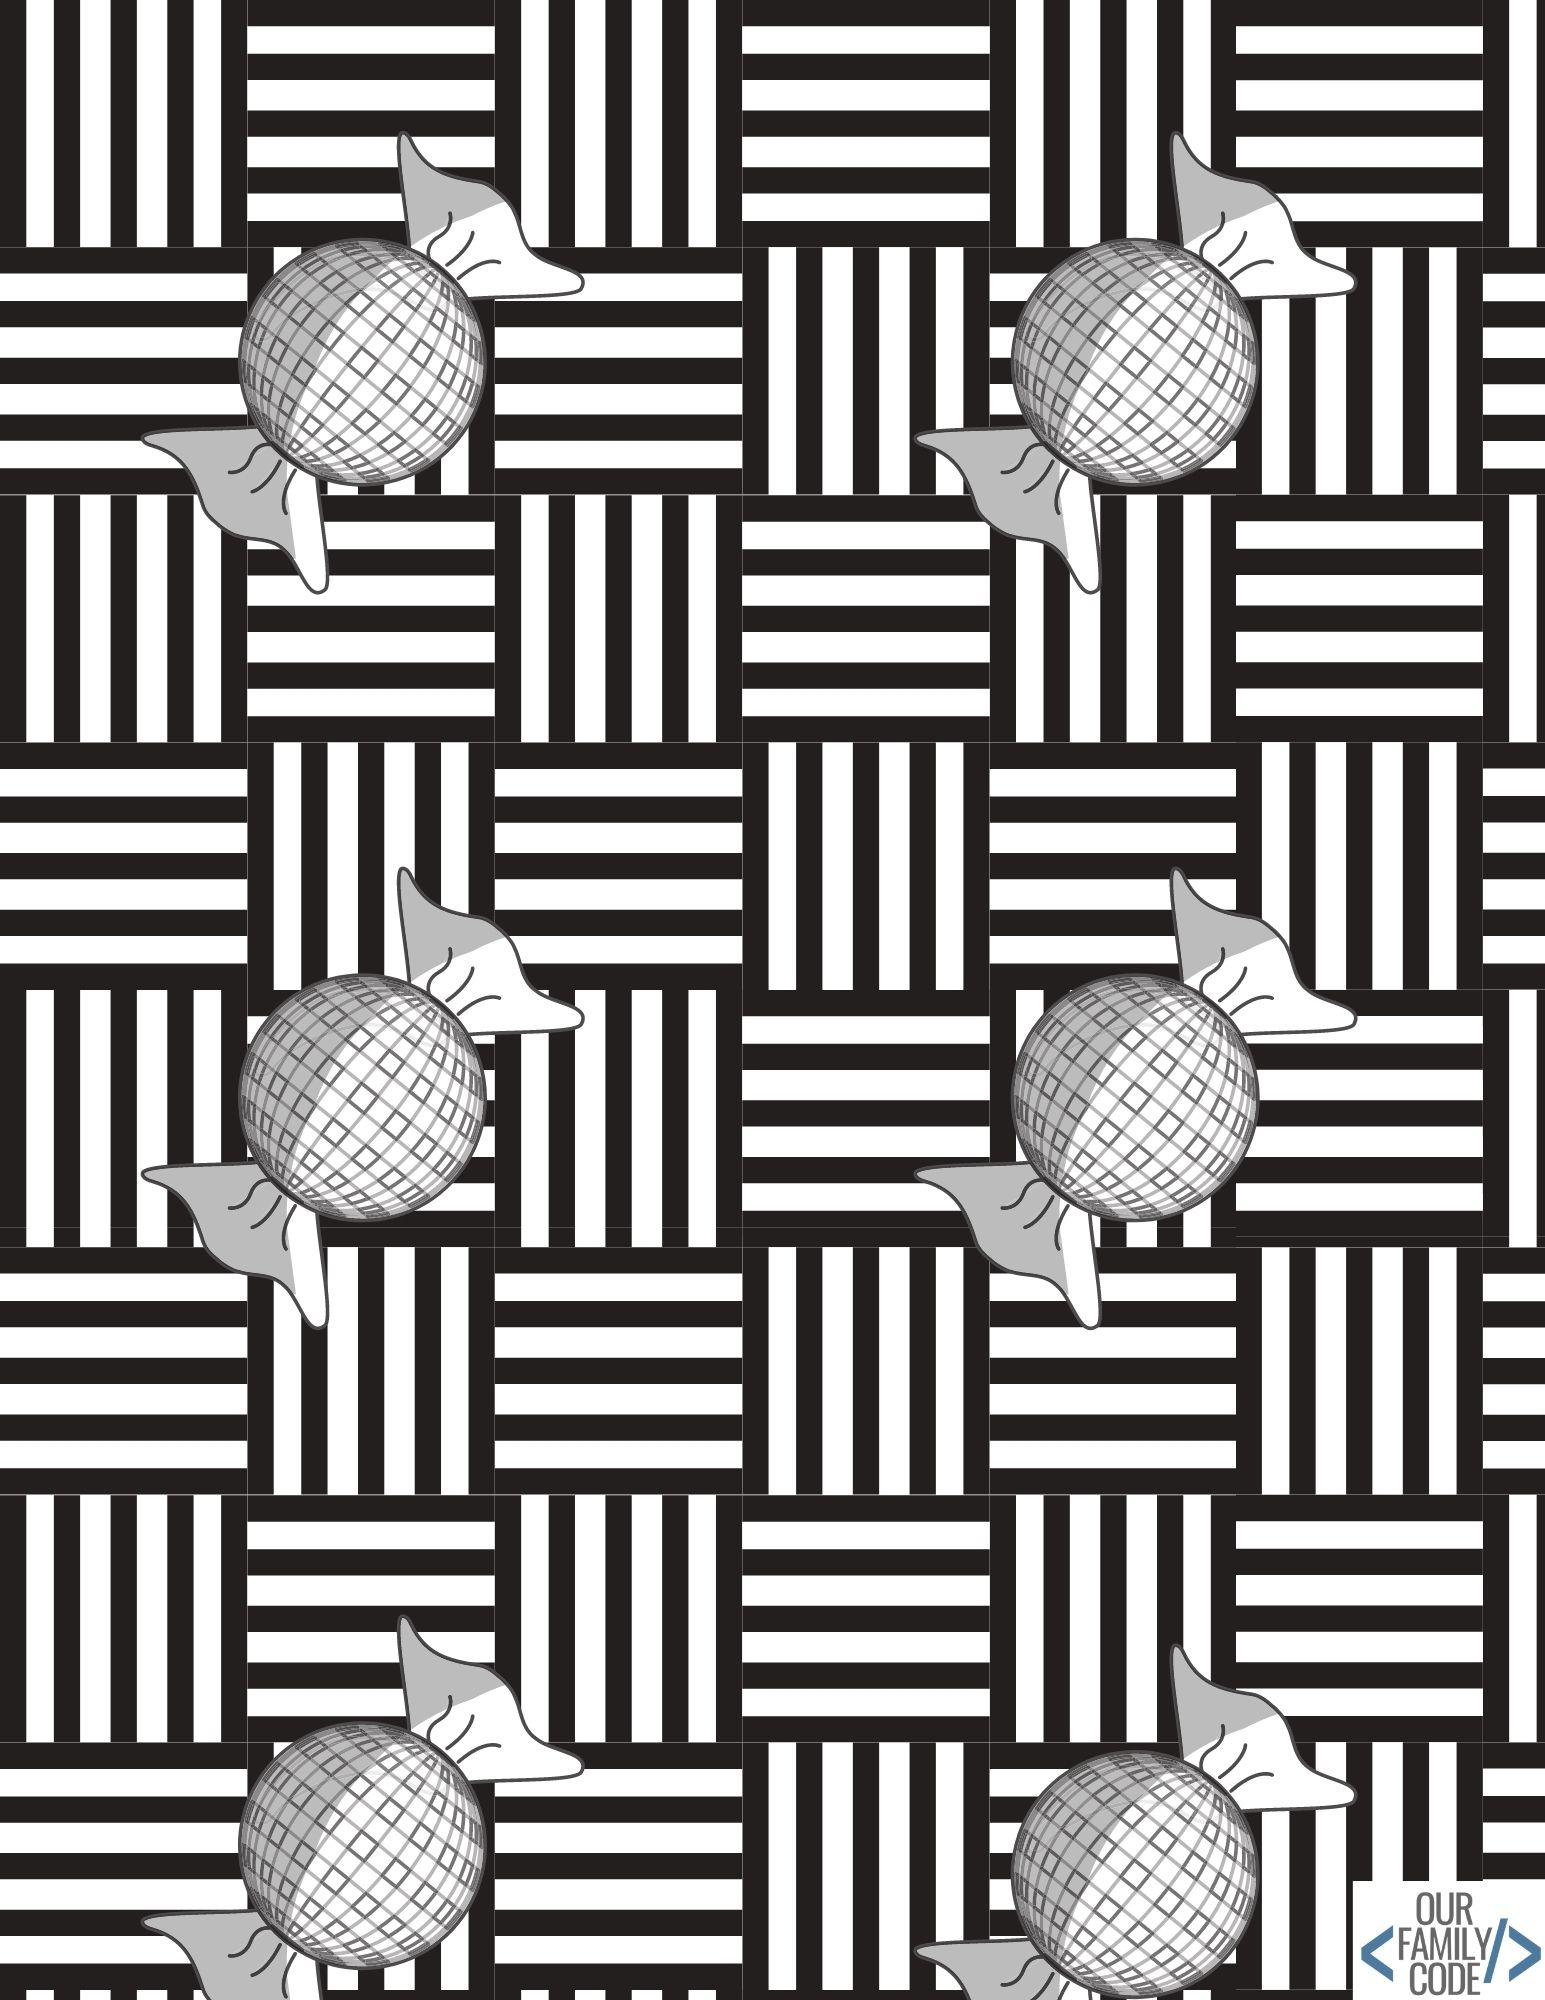
Charlotte helped us create the coloring book when she was six and had very strong opinions about which pictures belonged in it. Halloween was approaching, so candy made its way into quite a few of her choices.
Start with one project rather than printing everything at once. Jump to the handprint instructions, spiderweb worksheet, spinning toys, or free downloads.
What Is Op Art?
Op Art is an art movement associated with the 1960s that explores how abstract patterns affect what we see. The National Galleries of Scotland’s Op Art guide explains how contrast and repeated forms can produce sensations of warping, swelling, or vibration.
For kids, begin with the difference between the paper and the picture. The paper stays flat, but the arrangement of marks can make part of the drawing seem rounded, raised, or difficult to judge.
Our handprint and pumpkin projects are accessible optical illusion activities inspired by these visual ideas. Children do not need to copy a famous painting or know art-history vocabulary to start noticing how a pattern changes an image.
An optical illusion occurs when what an image appears to show differs from its physical features. Perception is how we interpret sensory information, including the light and patterns we see.
Invite children to describe what they notice before explaining what they should see. Different people may experience an effect differently, and a drawing that looks strongly three-dimensional to one child may seem less convincing to another.
Optical Illusion Art Supplies
For the drawings, gather white paper, a pencil, a ruler, and colored pencils or crayons. A black marker is useful for making clear outlines, but you can start with the materials already in your art basket.
For the spinning toys, add scissors, tape or glue, and a suitable stick such as a chopstick. Have an adult help with cutting or attaching pieces when needed, and keep the stick away from faces while the toy is moving.
The free downloads include two optical illusion worksheets and the coloring book. You can use the templates for a quick start or draw your own version on blank paper.
This post contains affiliate links. As an Amazon Associate, Our Family Code earns from qualifying purchases. Please see our Disclosure Policy for details.
How to Make an Optical Illusion Handprint
1. Trace Your Hand Lightly
Place a hand on the paper with the fingers spread comfortably apart and trace around it in pencil. Lift the hand away so you have a clear outline to work inside.
Keep the outline light because it is a guide for the curved lines, rather than the main feature of the finished artwork. A younger child can have an adult trace while they choose the colors and complete the pattern.
2. Plan the Horizontal Lines
Use a ruler to mark evenly spaced horizontal guides across the page. Begin with a comfortable spacing so there is room to draw curves through each finger and across the palm.
As you work across a row, keep the line straight outside the hand. Where the line reaches the hand outline, replace the straight section with a gentle arch that rises inside the shape and returns to the same row at the opposite edge.

3. Repeat the Curves Through the Hand
Continue that straight-outside, curved-inside pattern across the remaining rows. Each arch should join the background line at the outline so the design reads as a continuous set of stripes.
The curves suggest a raised surface while the straight background gives you something to compare it with. Pause occasionally and look at the whole drawing instead of focusing only on the next small section.

4. Add a Repeating Color Pattern
Choose a small set of colors and repeat them through the spaces between your lines. Try two colors first, then make a second drawing with a different palette if you want to compare the results.
Keep the sequence going across the hand and background rather than treating them as unrelated pictures. The continuous pattern helps connect the curved and straight sections of the design.
Turn the Handprint Technique into Pumpkin Art
Draw a simple pumpkin outline and use the same straight-and-curved line routine. The curves can rise inside the pumpkin while the lines outside it stay straight.
This makes an easy October variation without requiring a new set of supplies. Compare the finished pumpkin with the handprint and ask which shape made the line transitions easier to draw.

You can also try a heart or another broad shape with fewer narrow sections. Leave enough room inside the outline for the curves to be visible, especially when drawing with a thick marker.
Make Spiderweb Optical Illusion Art with Worksheet 1
Our first worksheet provides a web-like structure that children can color to explore curved lines and repeated sections. It is a useful starting point for a Halloween art session when you want more time for coloring and less time drawing the framework.
Look at the template together before adding color and choose a repeating sequence. Follow a section of the web outward, keeping track of where the pattern starts again.


Compare the design before and after coloring and describe what changed. Ask whether some areas seem to stand out, curve inward, or become easier to follow as the colors repeat.

Download Optical Illusion Worksheet 1. Use the template as a guide while letting each child choose their own colors.
Draw Your Own Optical Illusion with Worksheet 2
The second worksheet uses connected points and curved bands to create another coloring pattern. Print it if you want to begin immediately, or make your own starting framework with five to ten dots on a page.
Connect nearby dots with curves and draw additional curved bands between them. Let some lines continue off the page toward imagined points beyond the edge, then choose colors for the spaces you have created.

Begin with a few dots spaced well apart so the design does not become crowded. Add more bands only when there is room to color them comfortably.

Download Optical Illusion Worksheet 2. Compare your printed and hand-drawn versions to see how different spacing changes the pattern.
Make Optical Illusion Spinning Toys
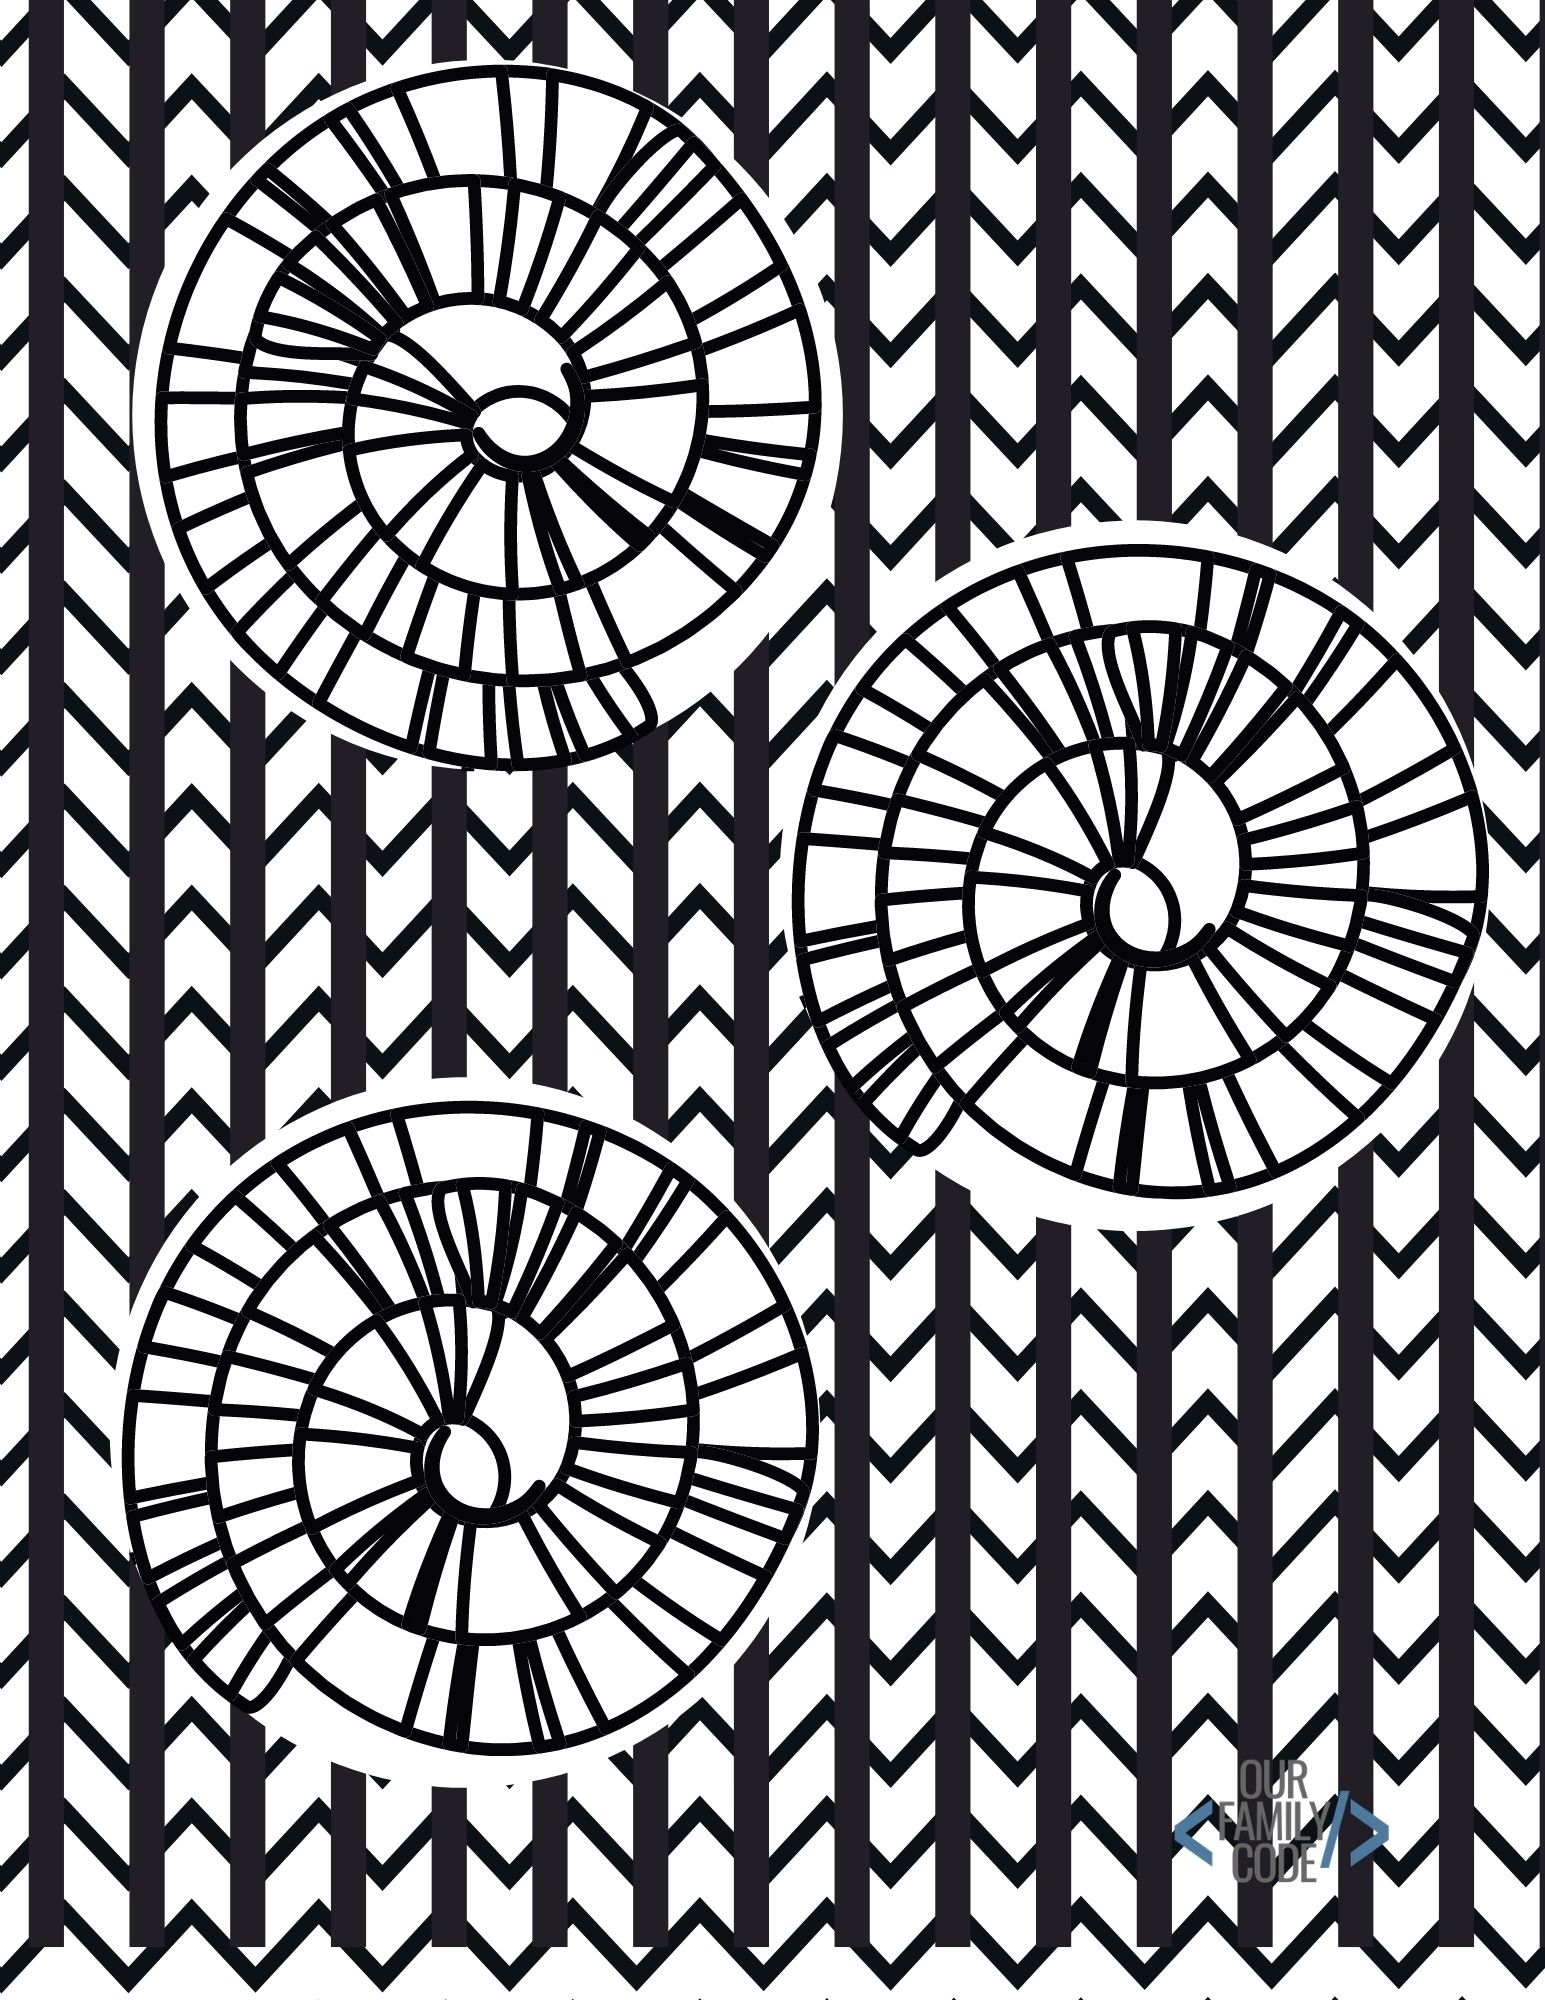
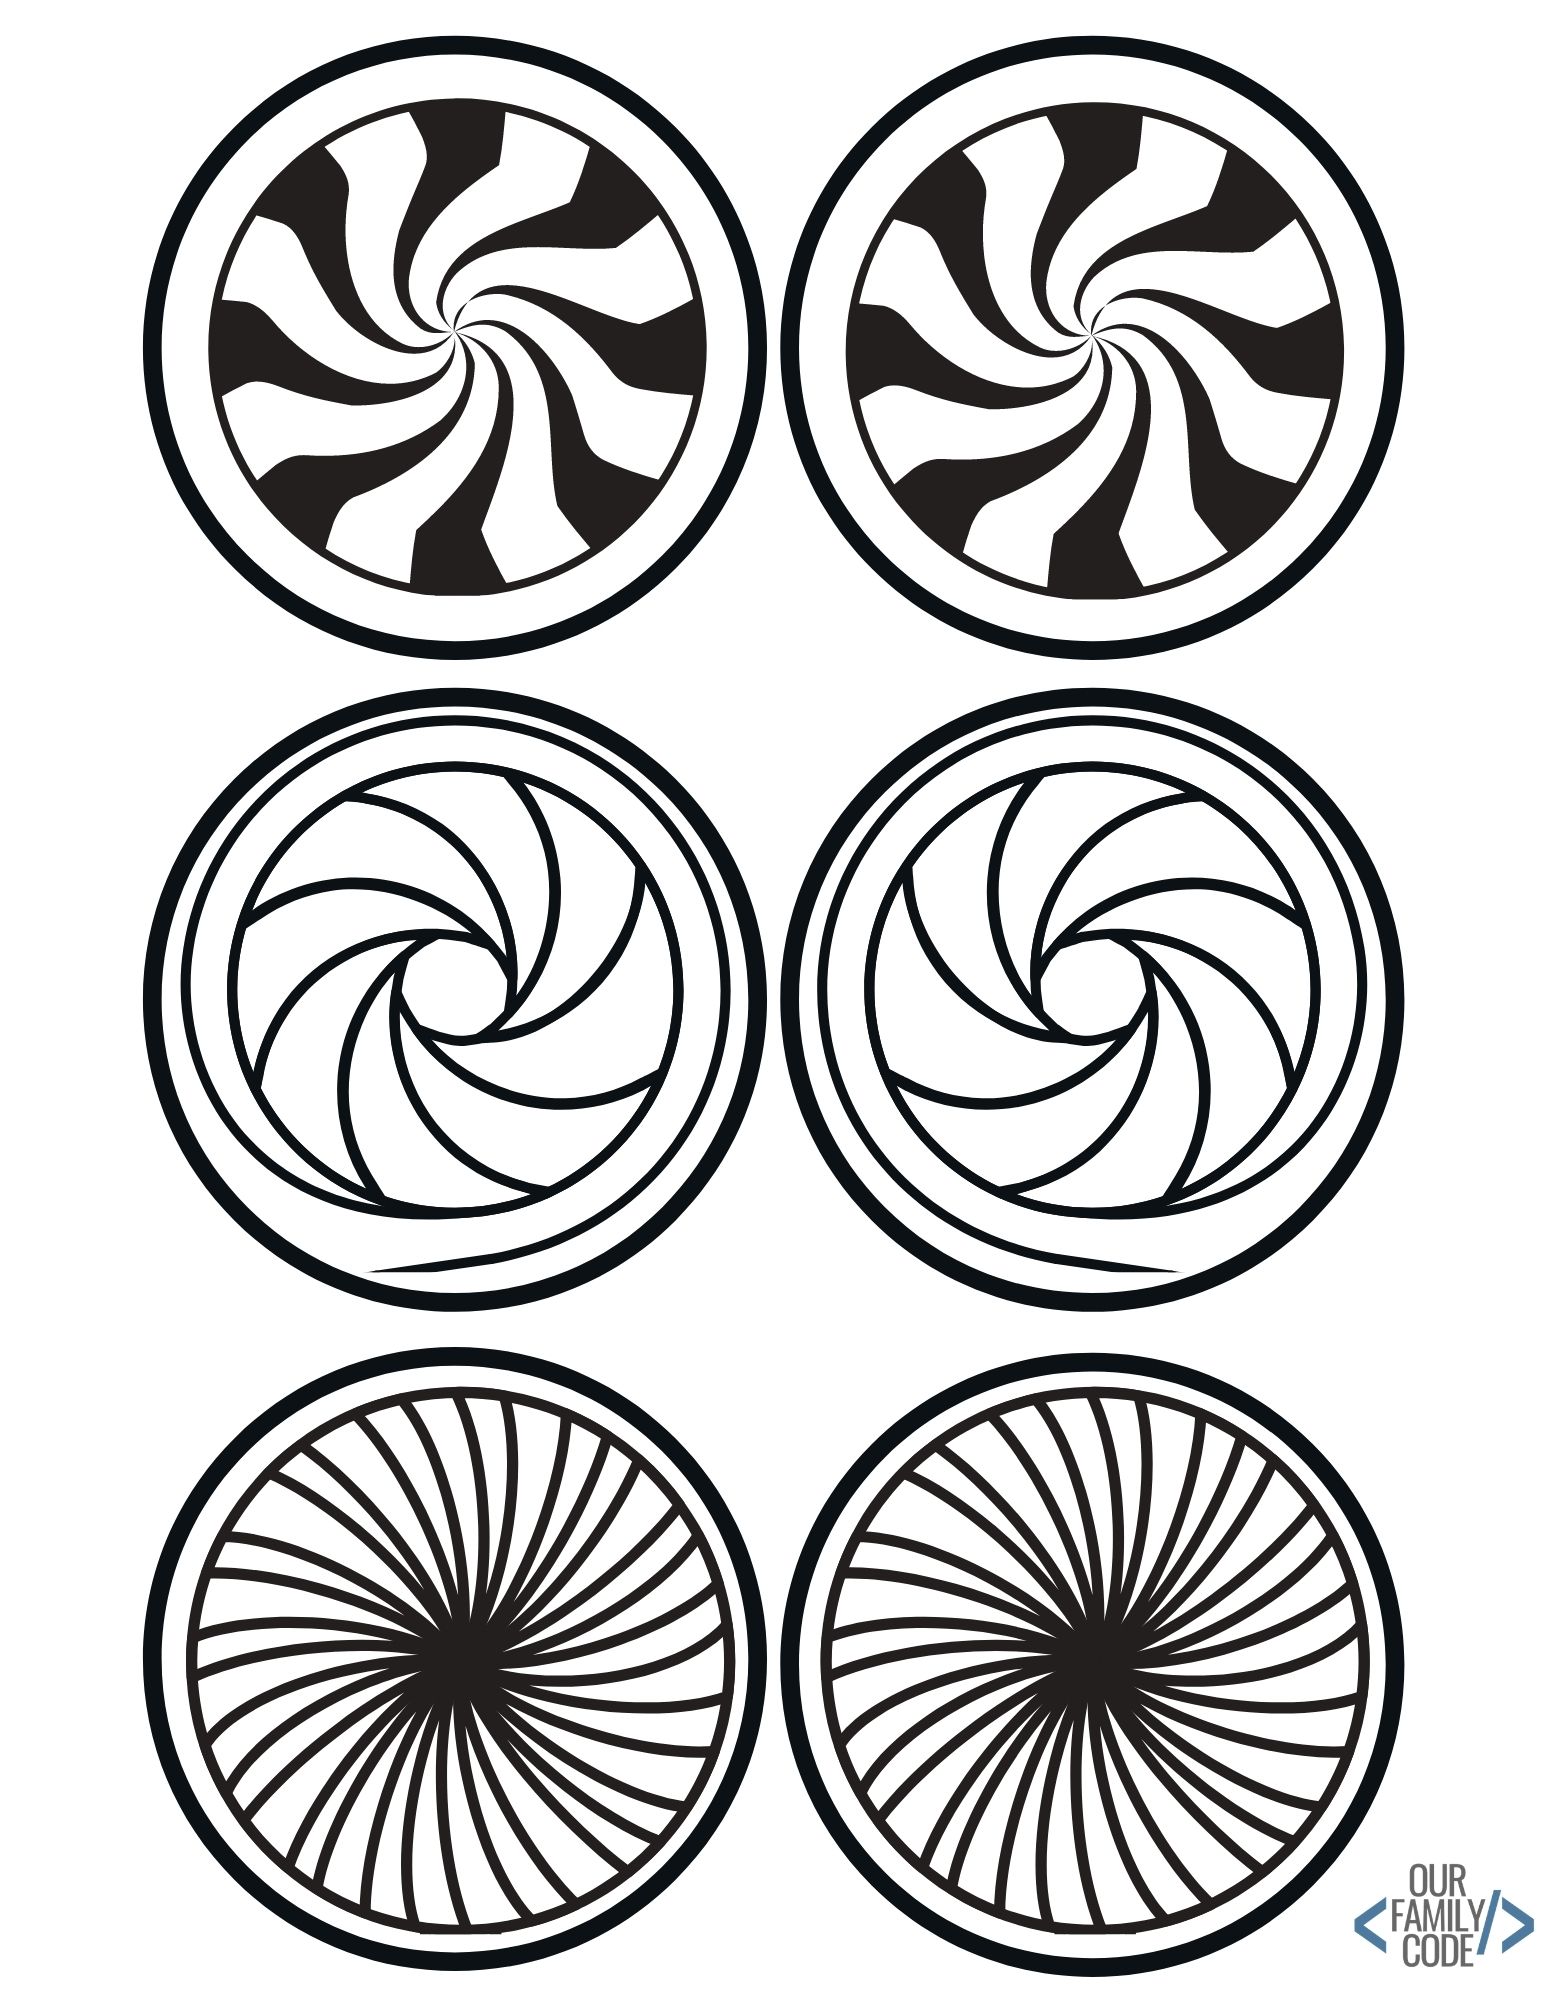
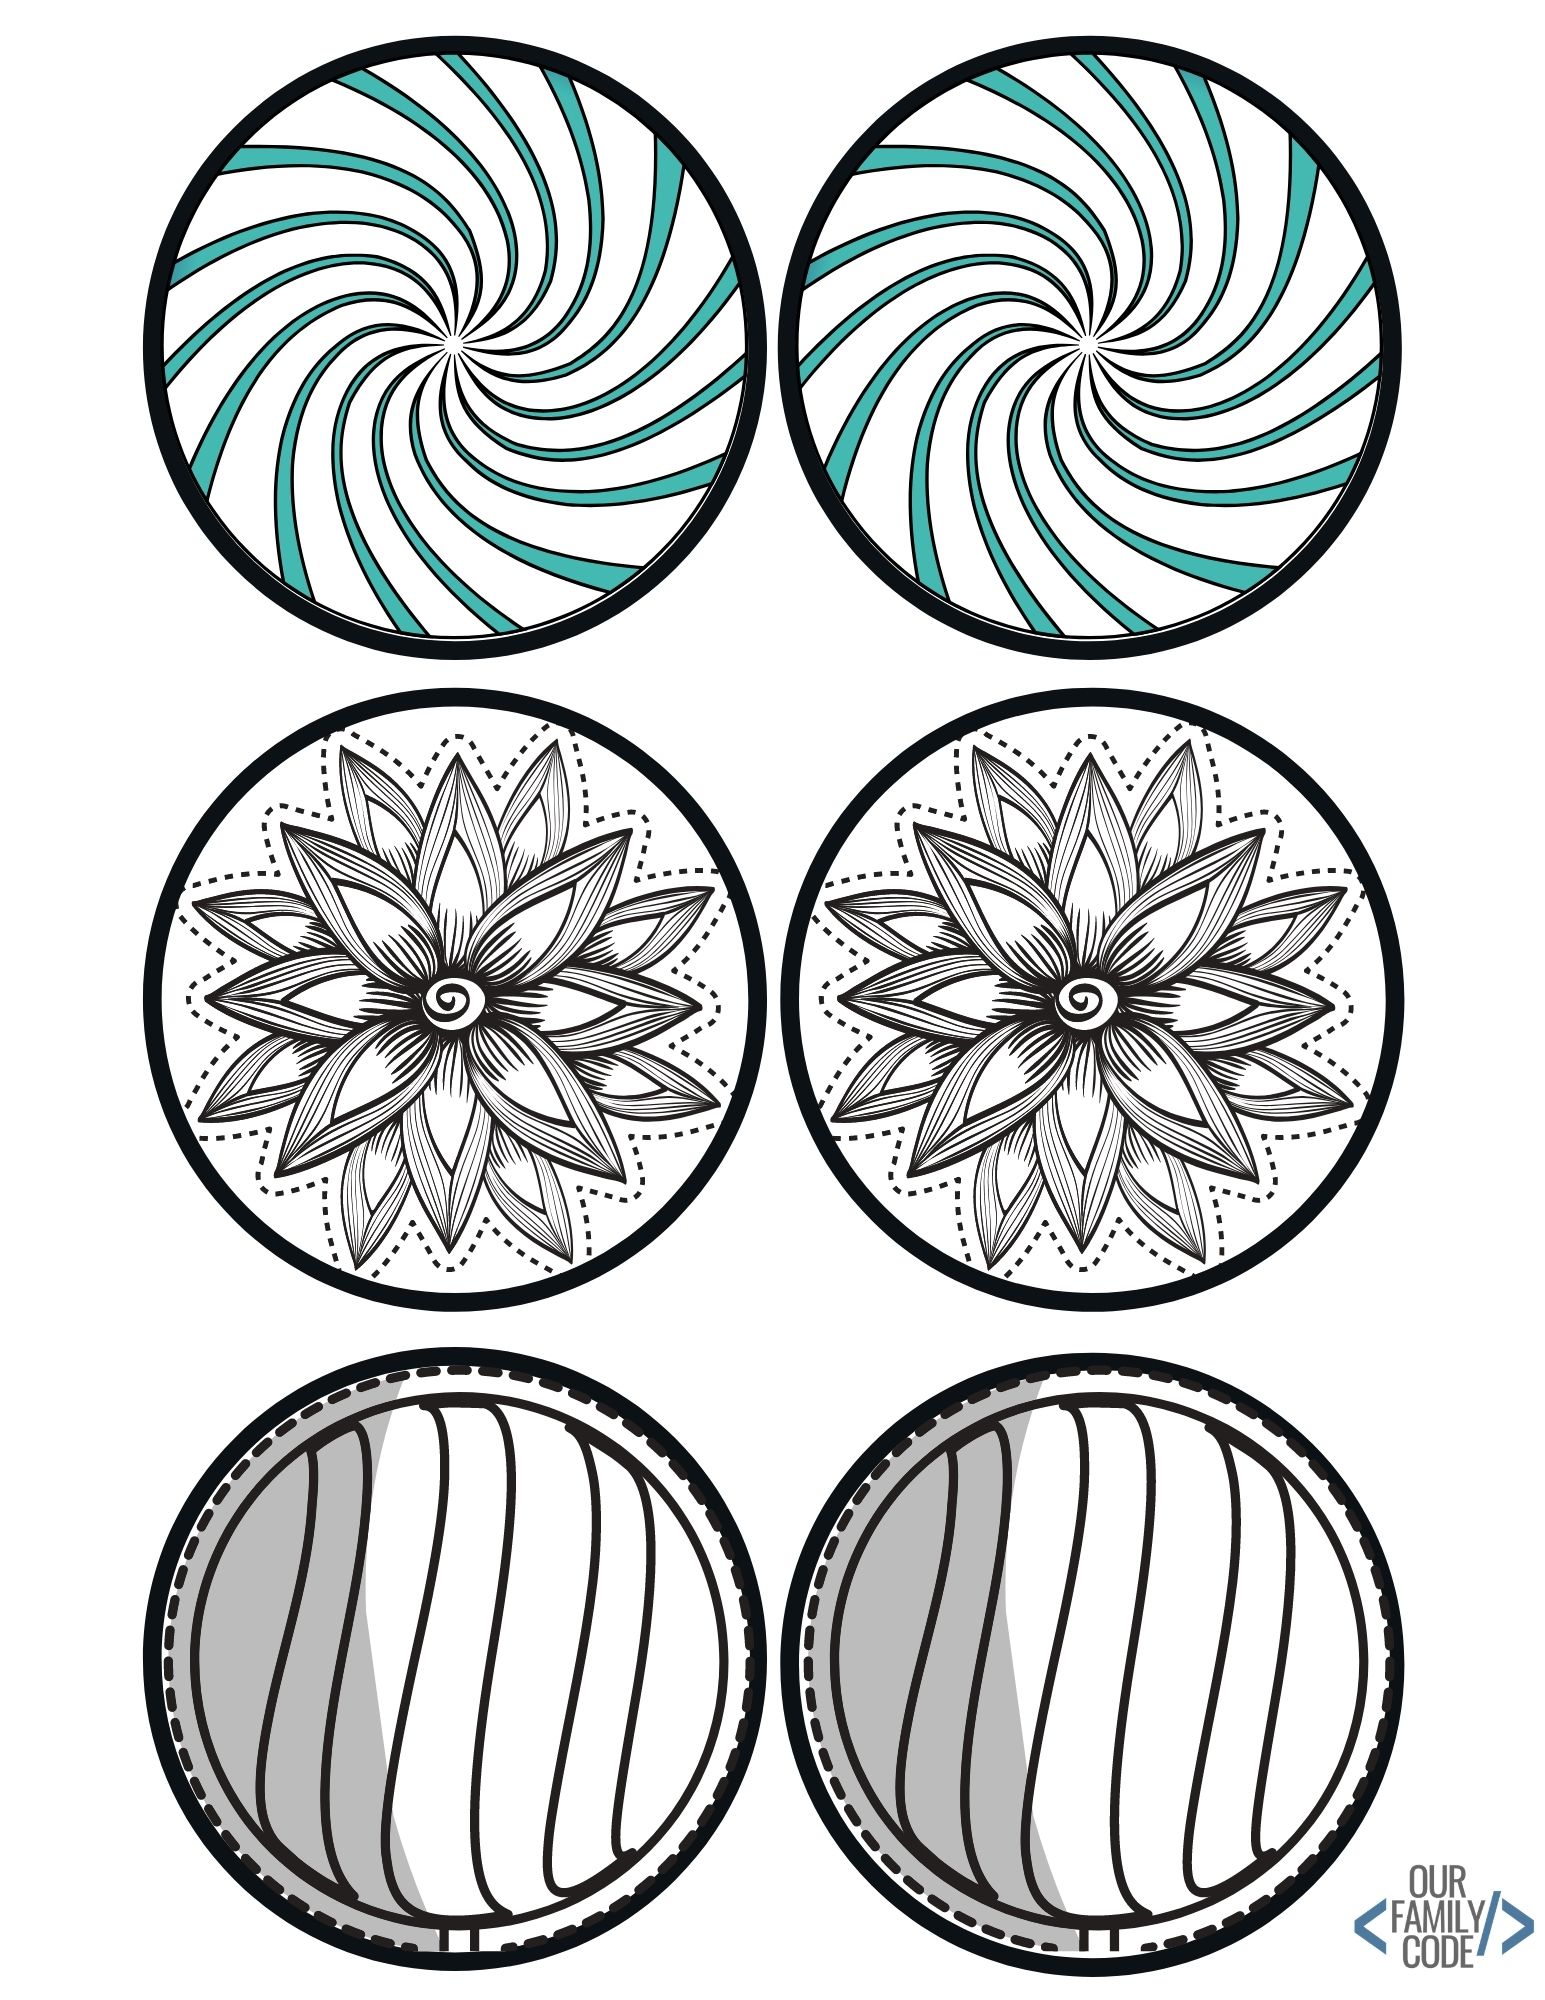
Our original project also included small spinning toys made from colored circular designs. These toys physically rotate, so their changing appearance involves real motion as well as the way we see a rapidly changing pattern.
Choose a circular design from the coloring book and color the sections. If you are using two faces, try different color arrangements on each side rather than placing every color in an identical position.

Cut out the shapes and use the original construction photos as a guide for attaching the faces around a stick. Secure the pieces, allow any glue to dry, and rotate the stick gently to observe the pattern.


Try a slower turn and then a slightly faster one, keeping the toy away from faces. Describe whether the colors remain easy to distinguish or appear to blend; the effect will depend on the pattern, colors, and speed.
A thaumatrope is a related rotating picture toy that usually places complementary images on opposite sides, such as a bird on one side and a cage on the other. Our patterned spinners are a different design, so we do not need to label them thaumatropes or promise that every pattern creates the same effect.
Explore the Art and Math in the Patterns
This project gives children a practical reason to notice spacing, repetition, curves, and contrast. It also connects art with geometry as they compare shapes and think about how lines divide a page.
Choose one feature to change between two drawings, such as line spacing or the number of colors. Keeping the other features similar makes it easier to describe what that one change did to the finished picture.
As a software engineer and Maker Mom, I enjoy the rule-following part of this activity. A repeating color sequence gives kids a simple rule to apply, while their choice of shape and palette leaves plenty of room for creativity.
Try translating the coloring sequence into a short set of instructions for someone else. For example, specify which color comes first and what happens when the final color in the sequence has been used.

Troubleshooting Optical Illusion Drawings
If the hand looks flat, check whether the lines curve inside the outline and join the straight background at both ends. Very shallow curves or broken connections can make the raised-shape effect less noticeable.
If the pattern becomes difficult to follow, simplify the color sequence or use a larger drawing. Children may find two repeating colors easier to organize than a long sequence with very similar shades.
If a design feels visually uncomfortable, take a break or choose a calmer pattern with wider spaces. The goal is to investigate and enjoy the artwork, so there is no need to keep staring at an effect that someone dislikes.
Download the Free Optical Illusion Worksheets and Coloring Book
Choose the page that fits your activity and follow its download link. Print at actual size or use your printer’s fit setting if needed to keep the complete page inside the printable area.
Download Worksheet 1: Web-Style Optical Illusion
Download Worksheet 2: Curved-Line Optical Illusion
Download the Free Optical Illusion Coloring Book
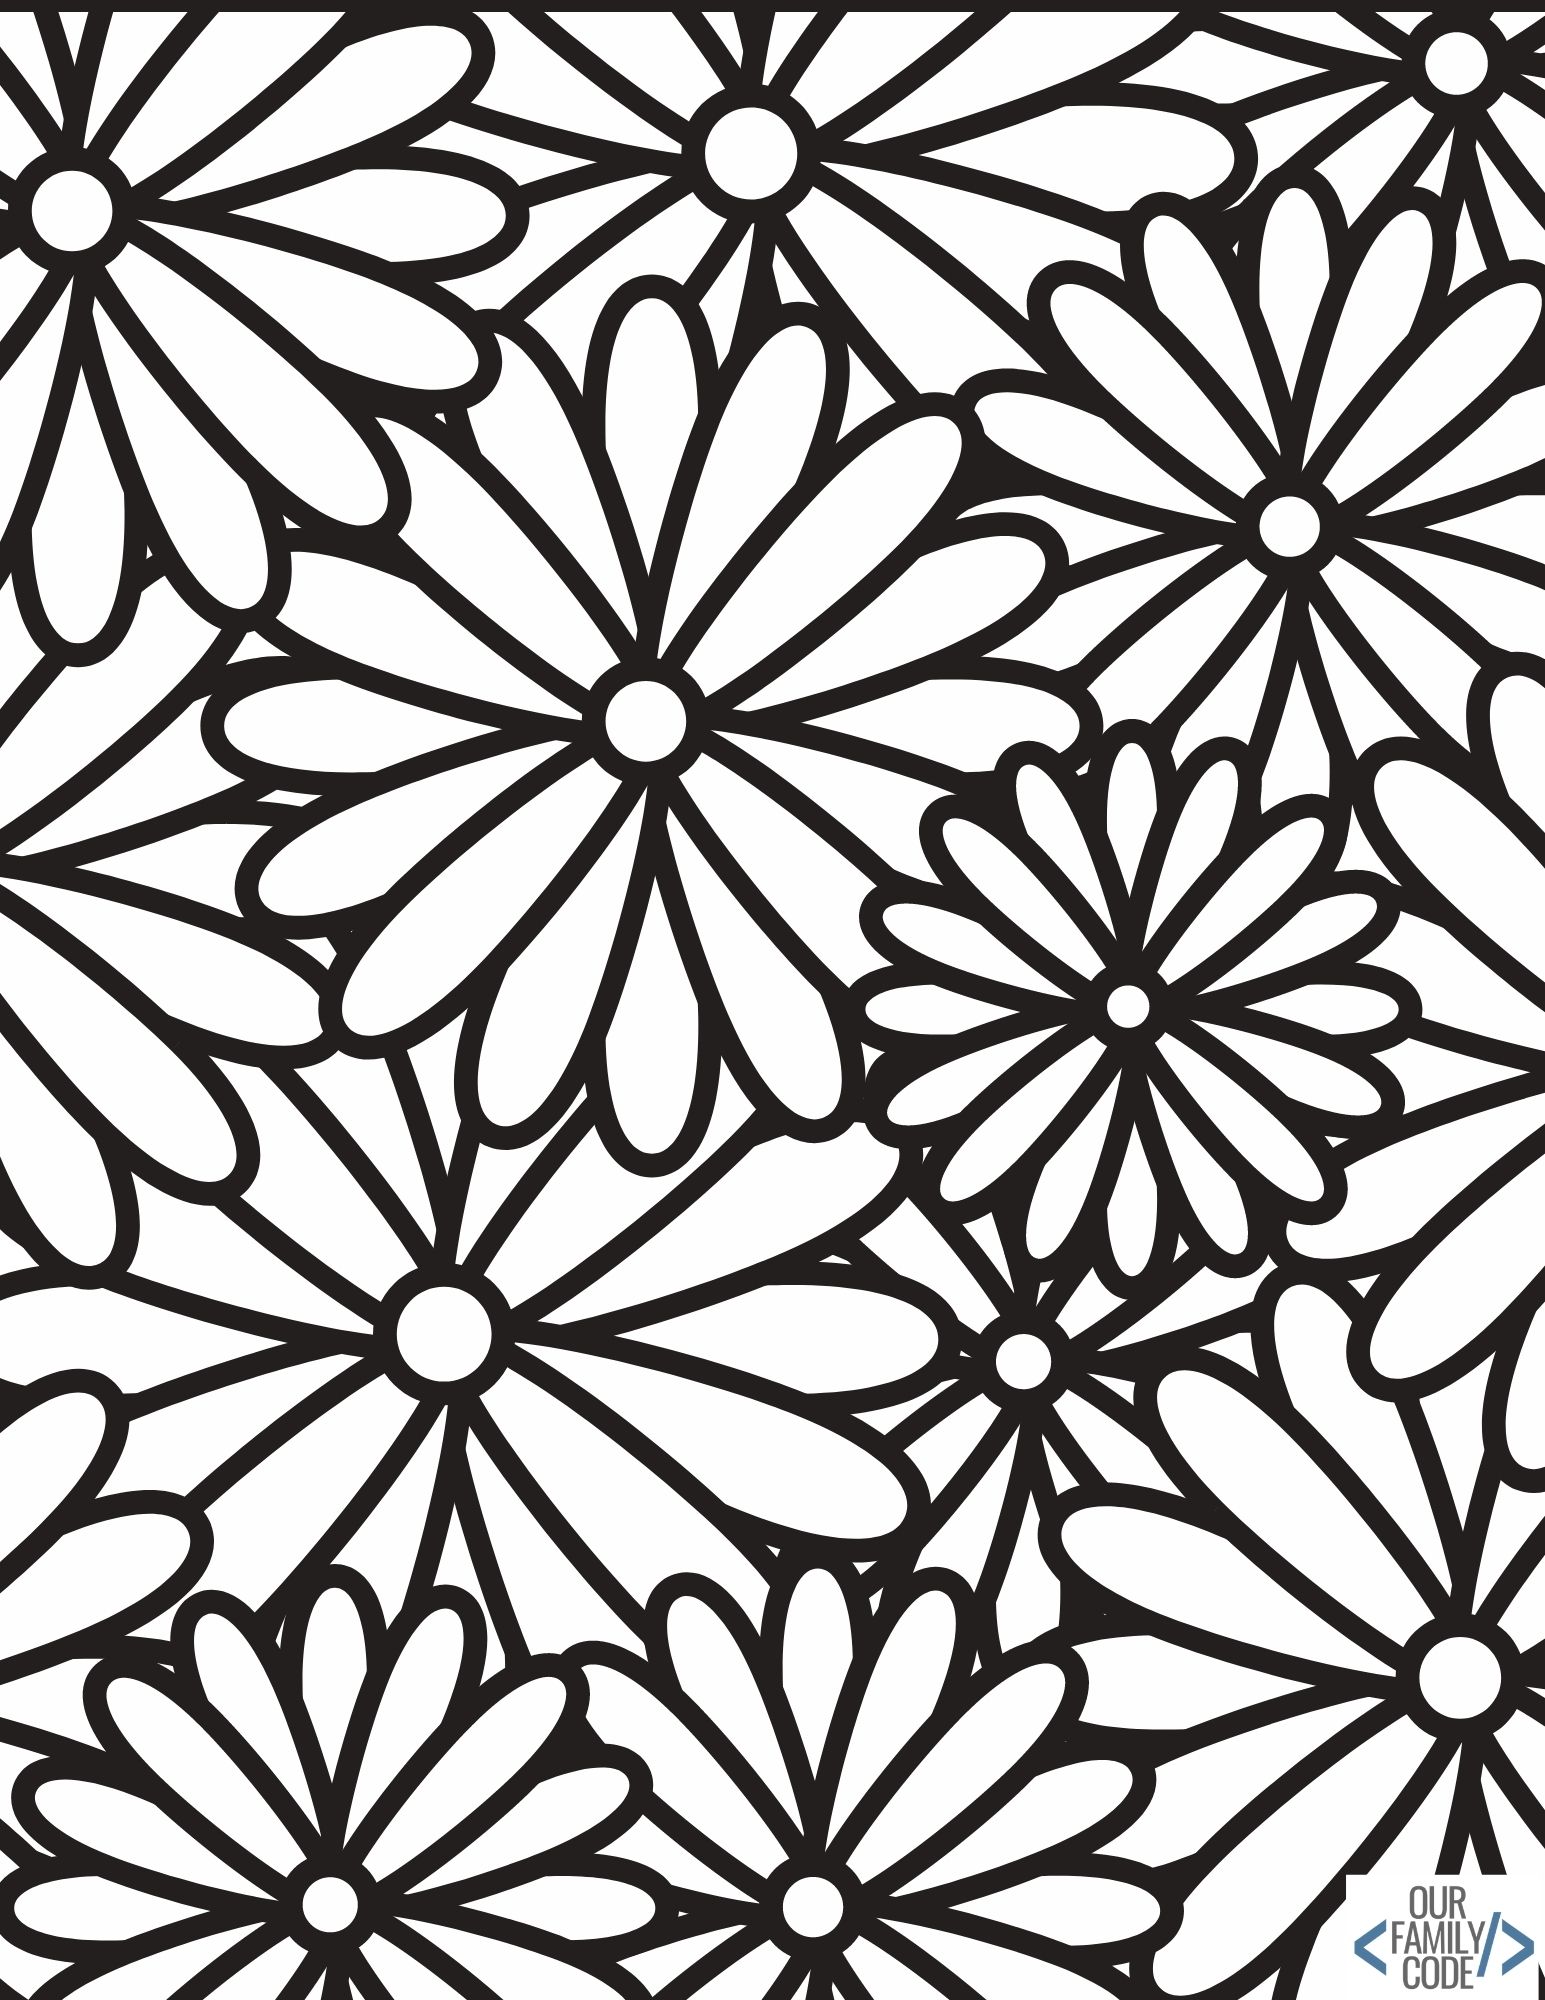
Charlotte helped choose the coloring-book designs when we originally made this project. Print individual pages as you need them, and compare the plain outlines with the finished color patterns.
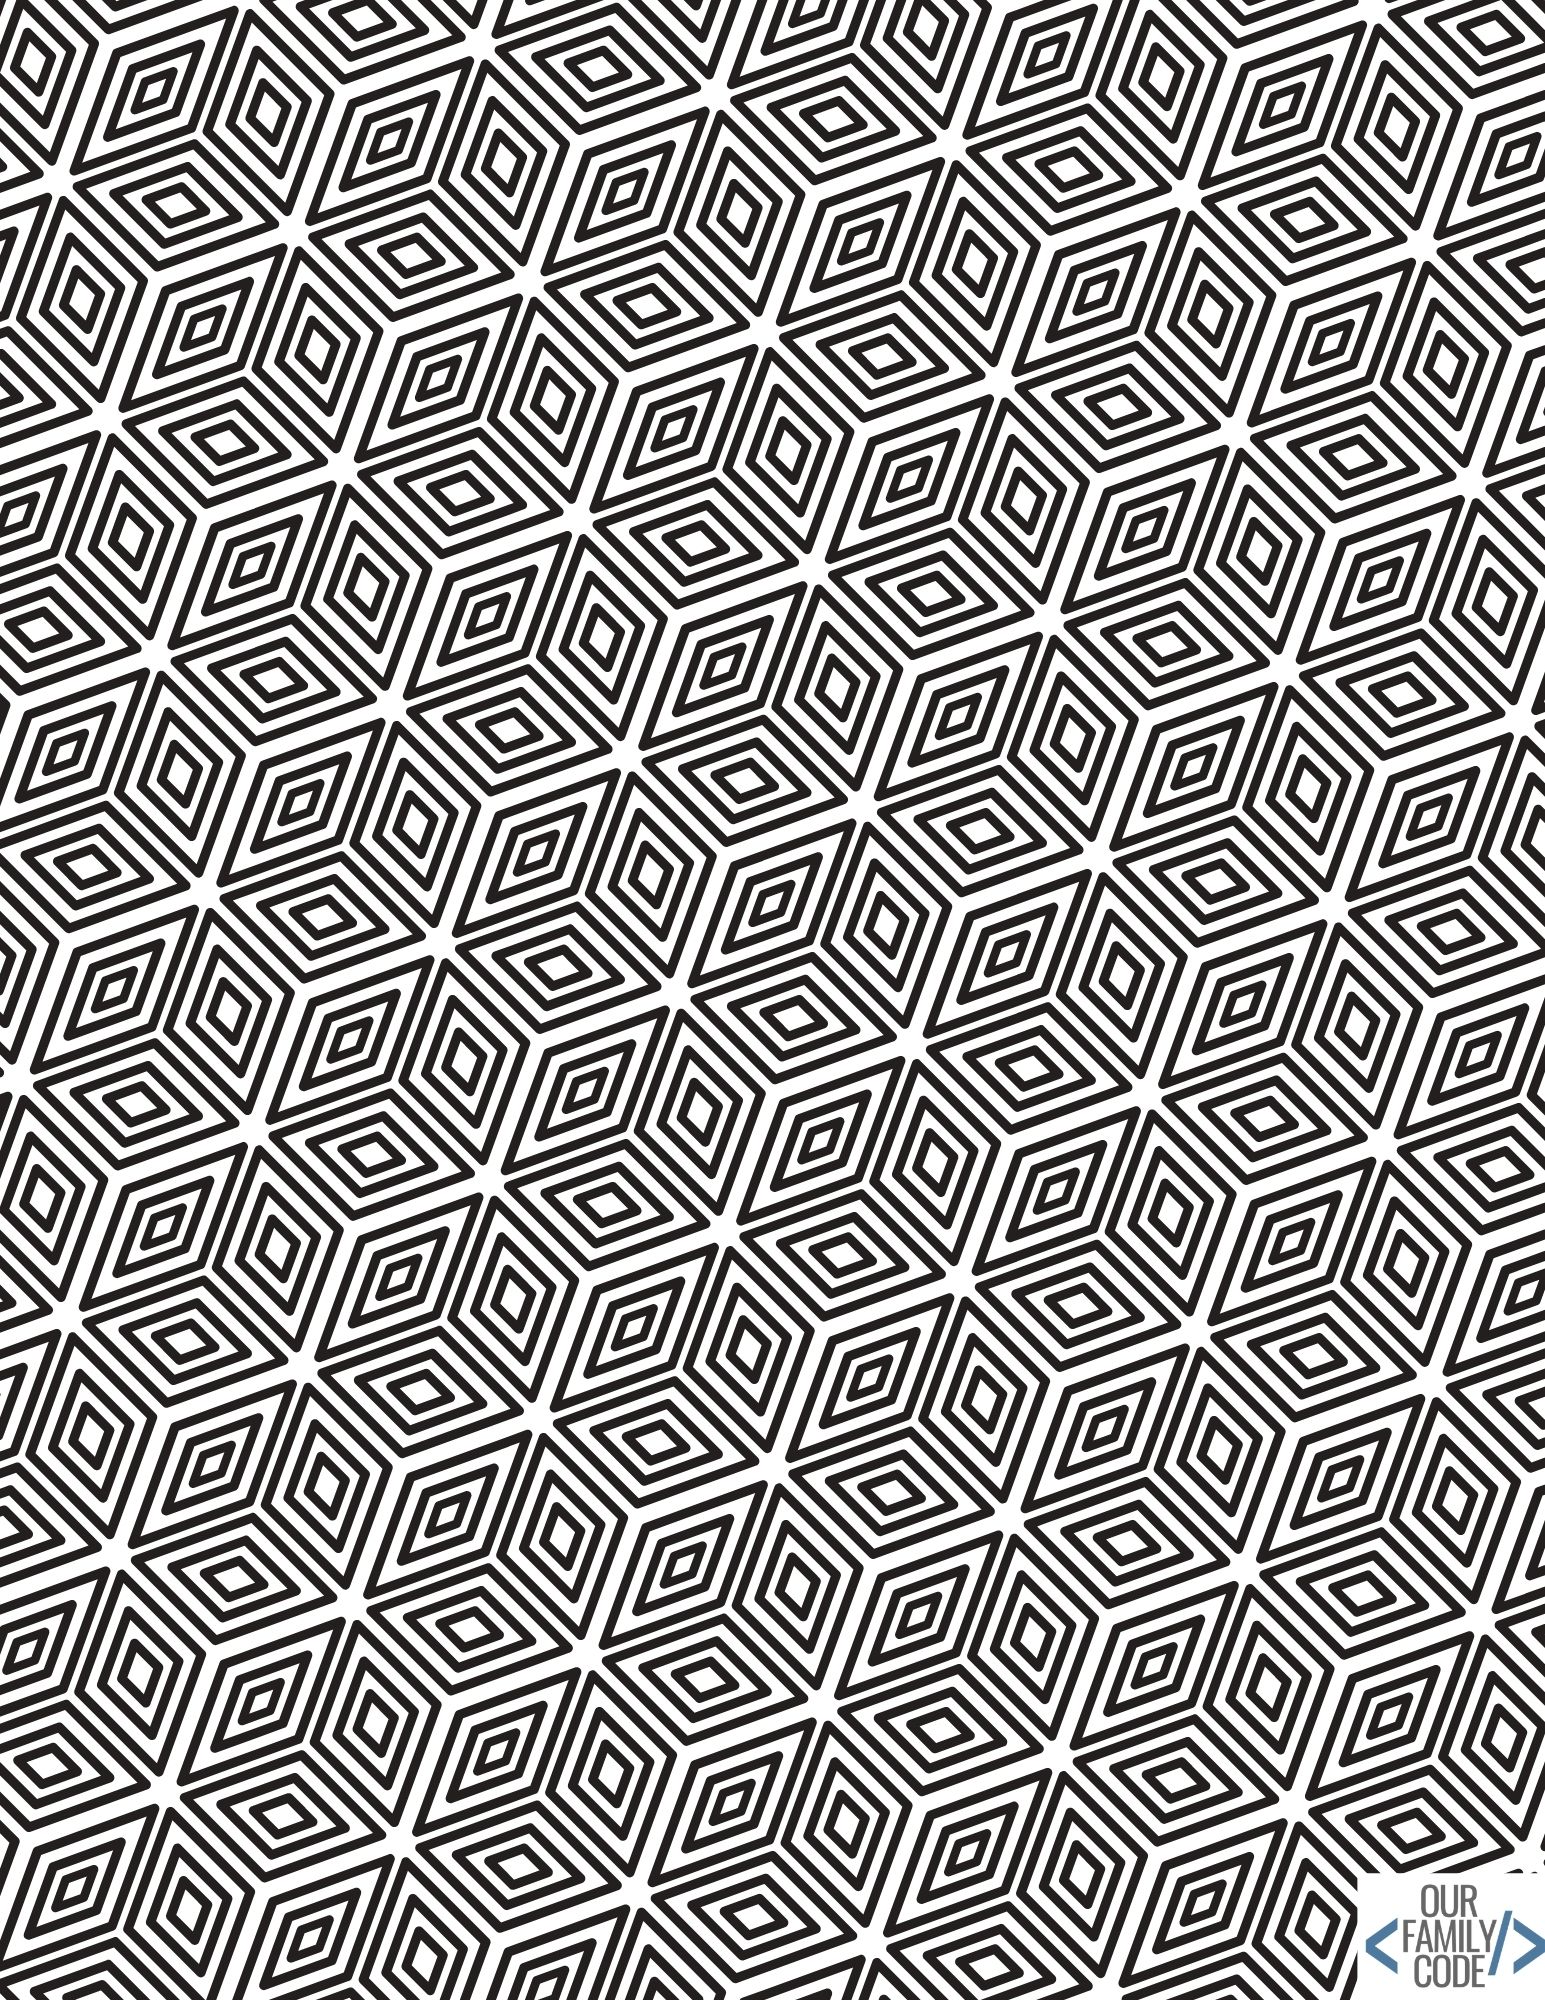
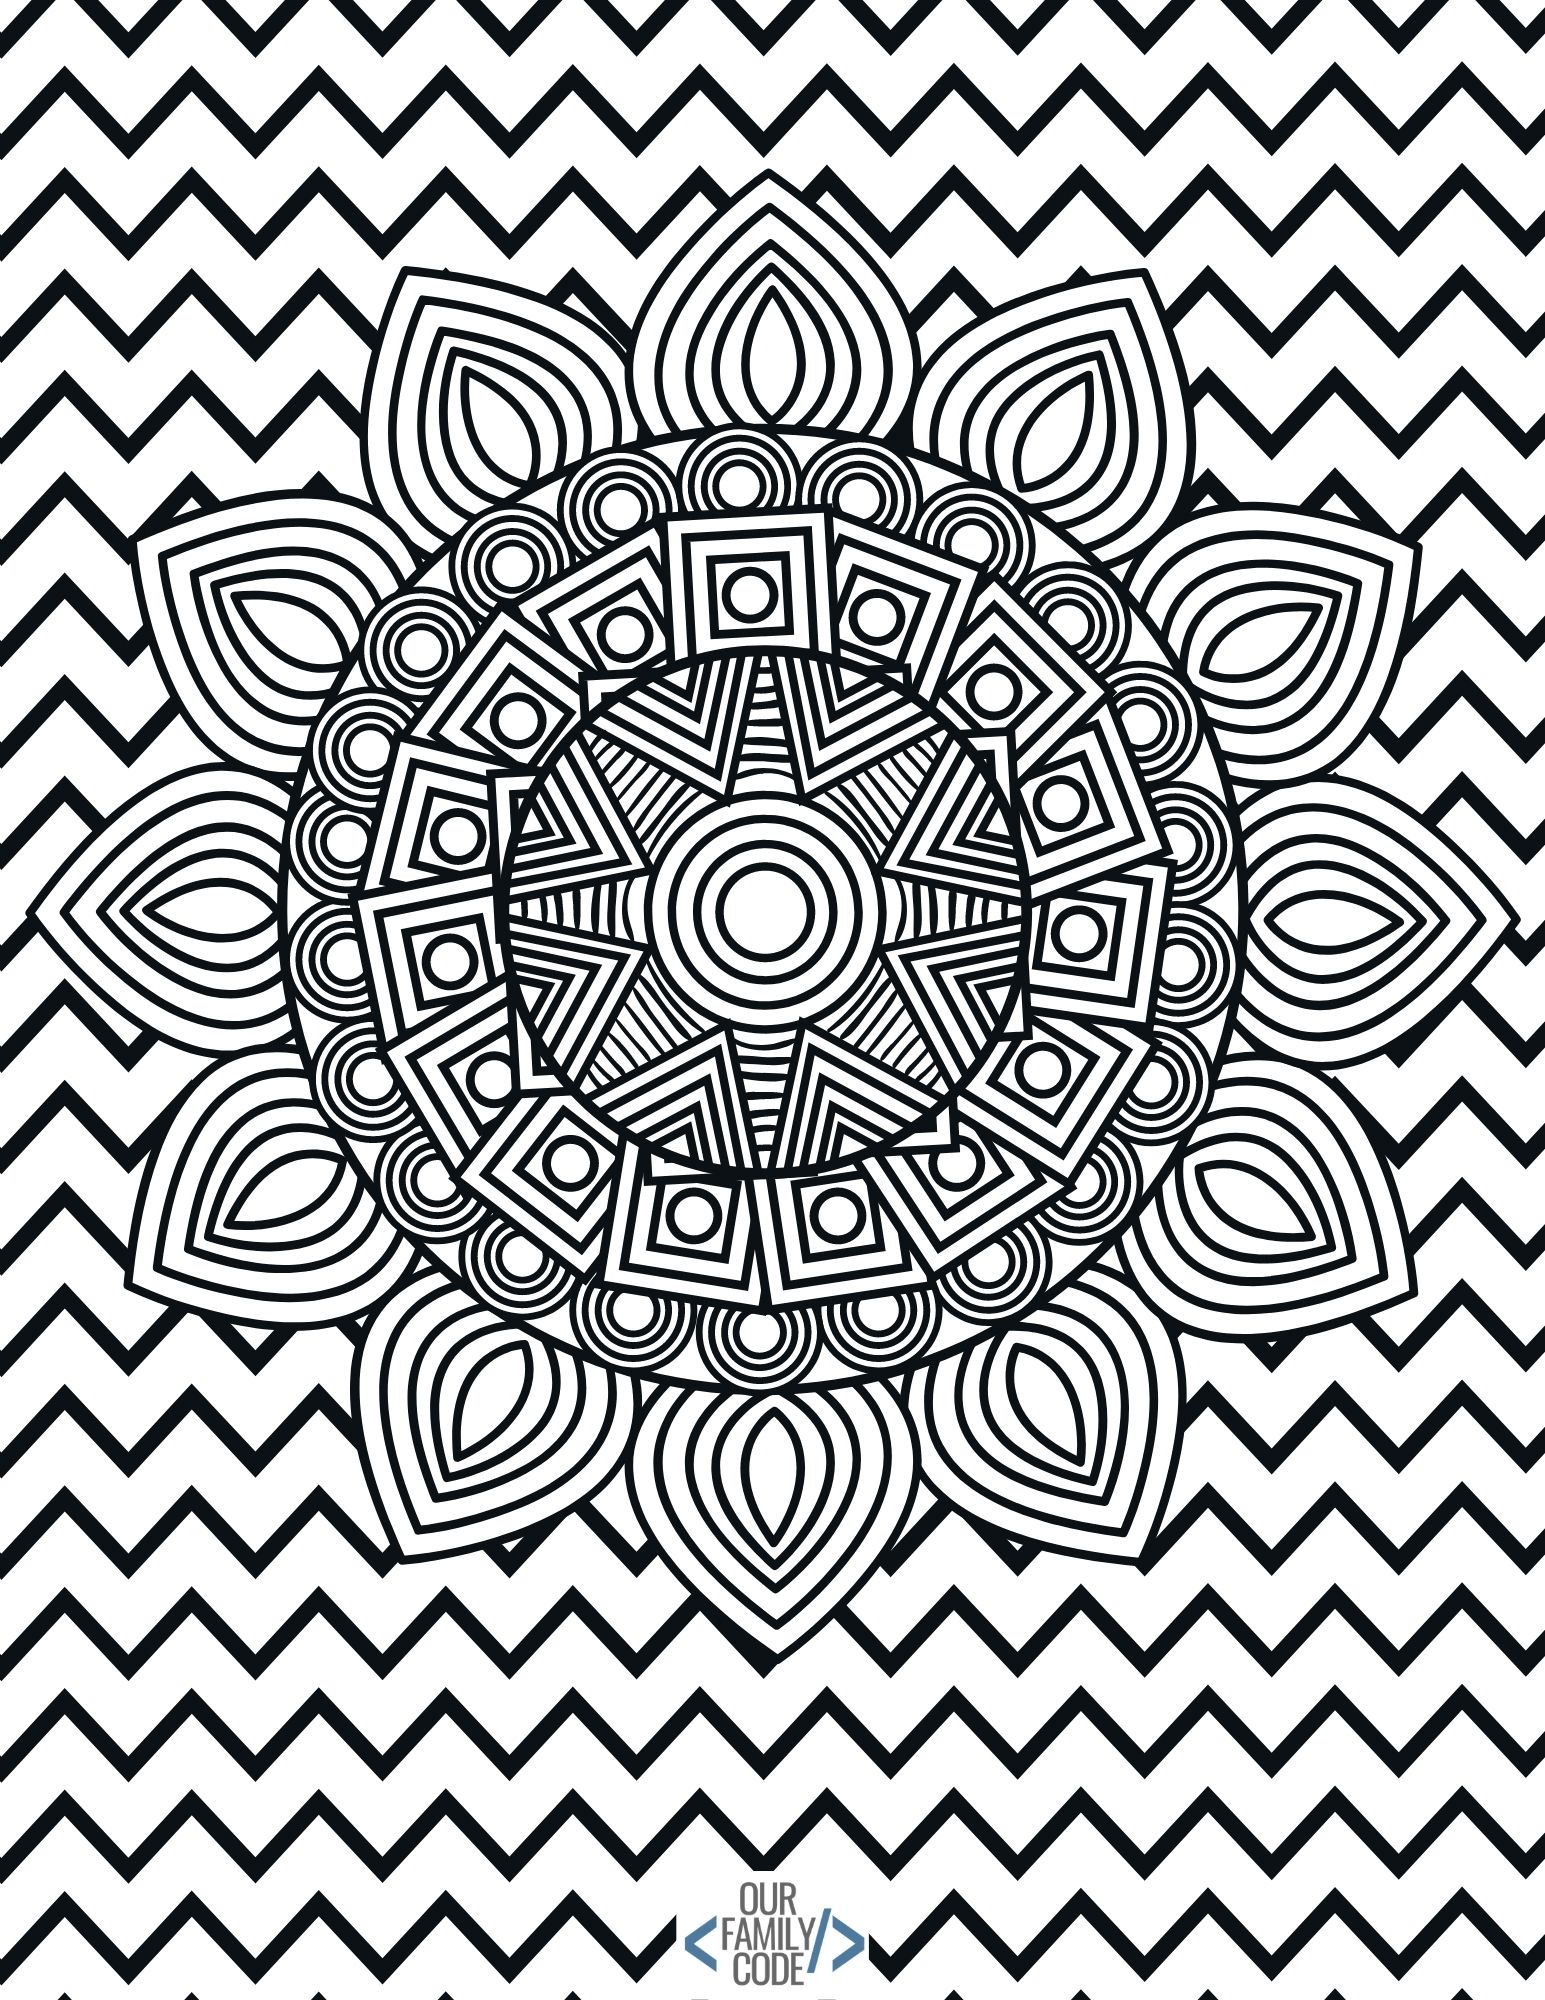
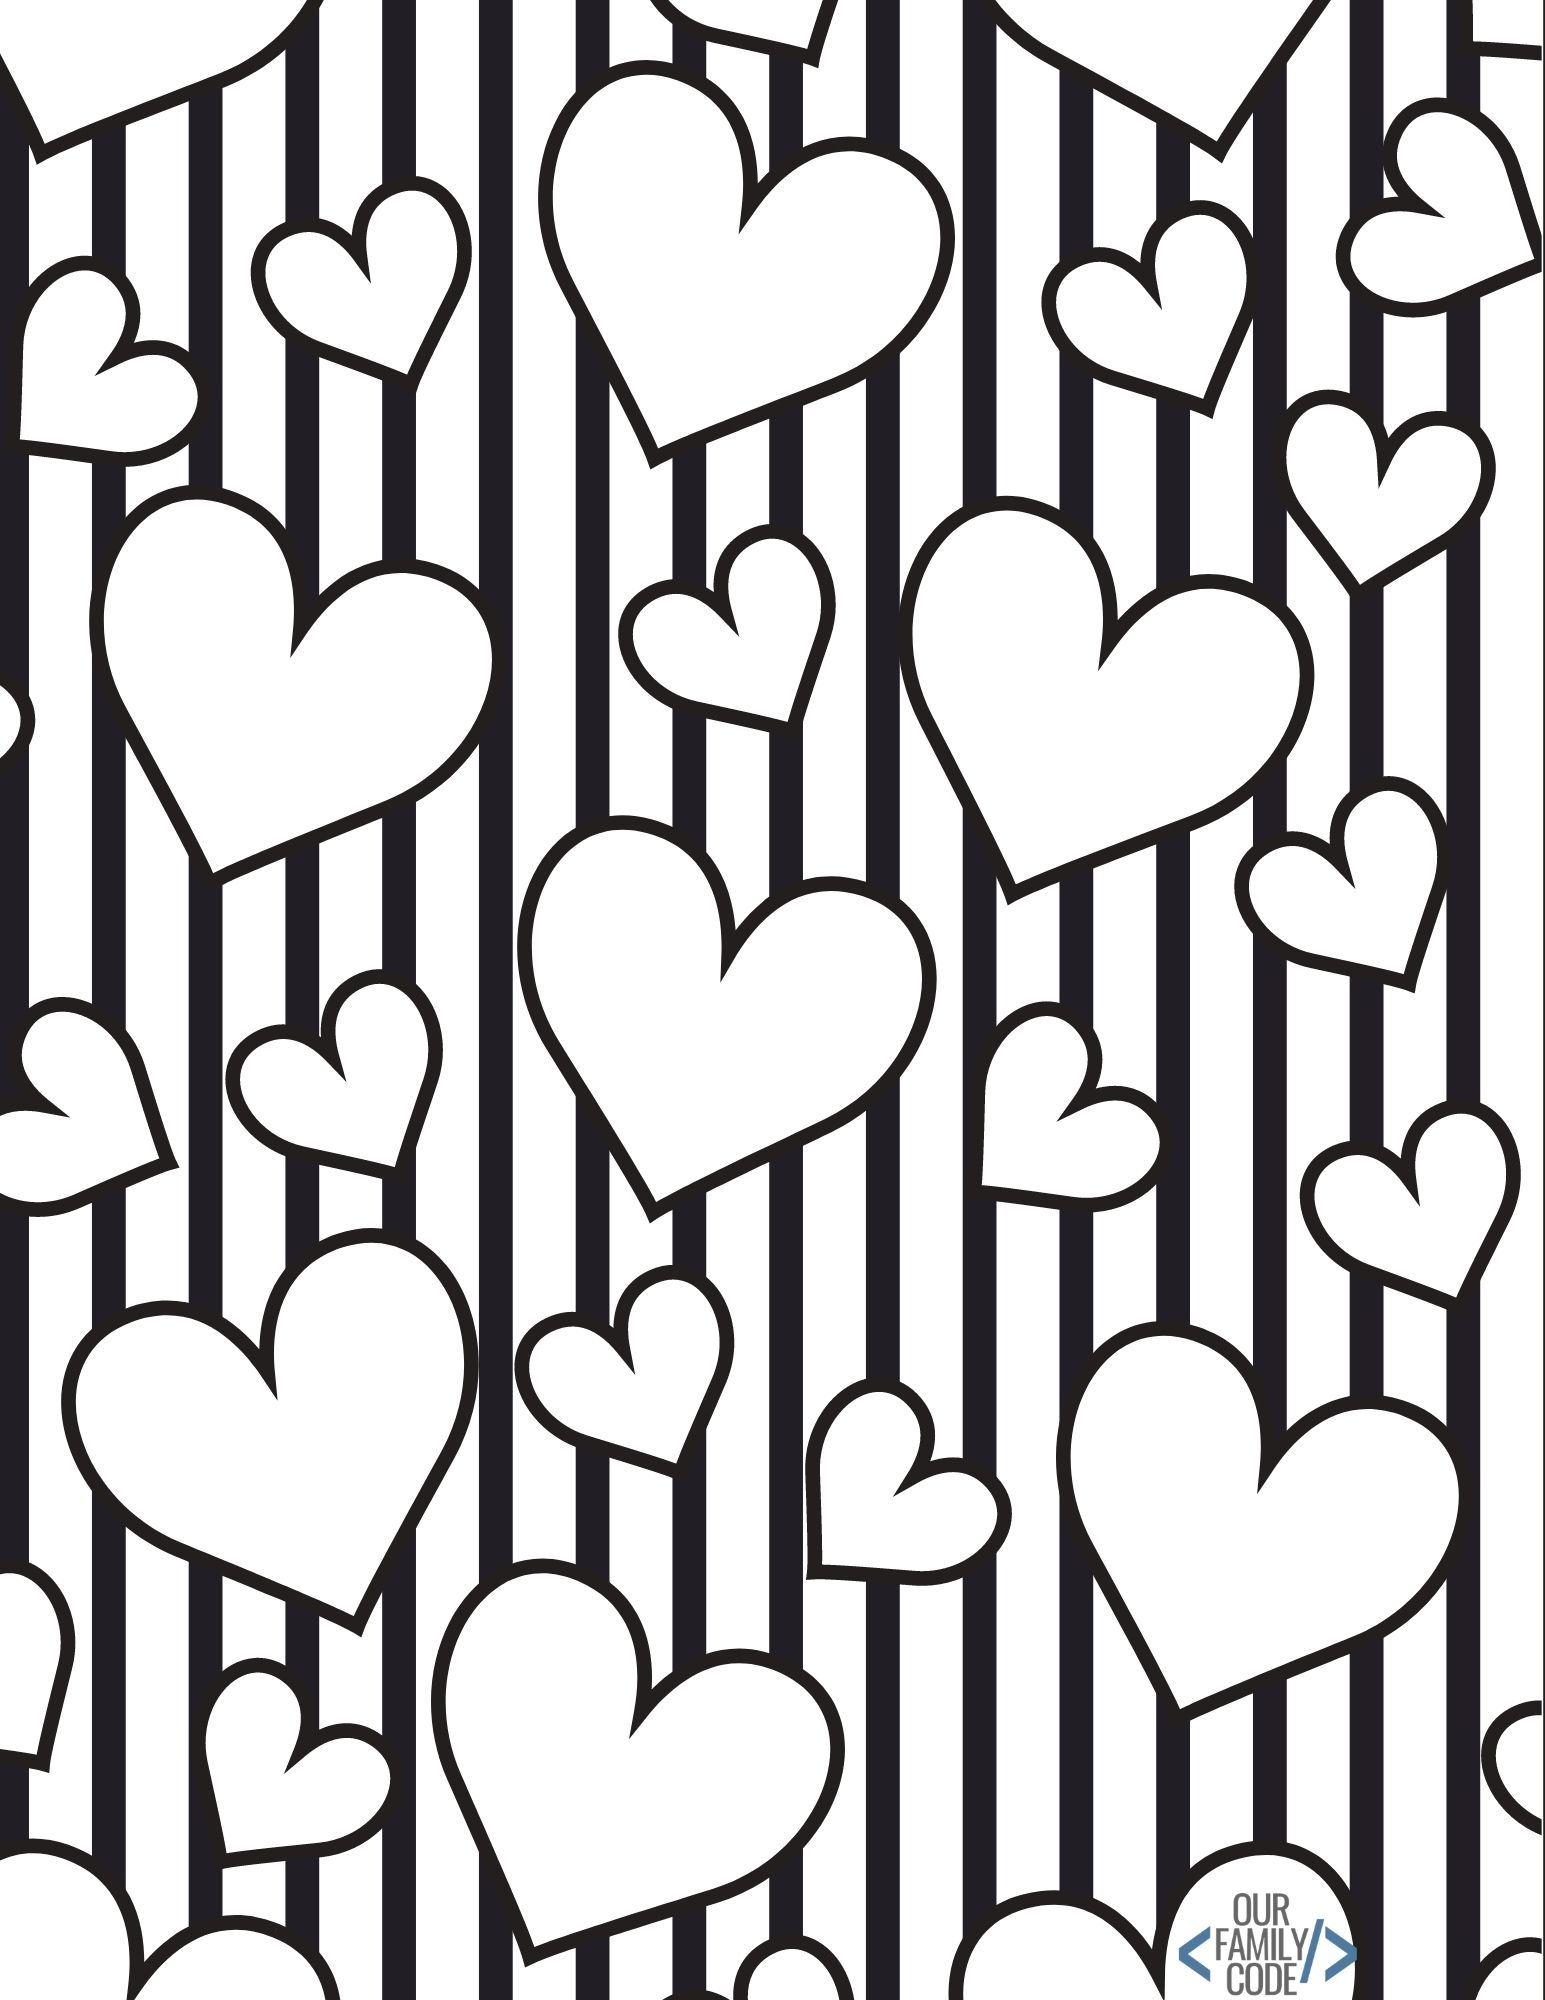
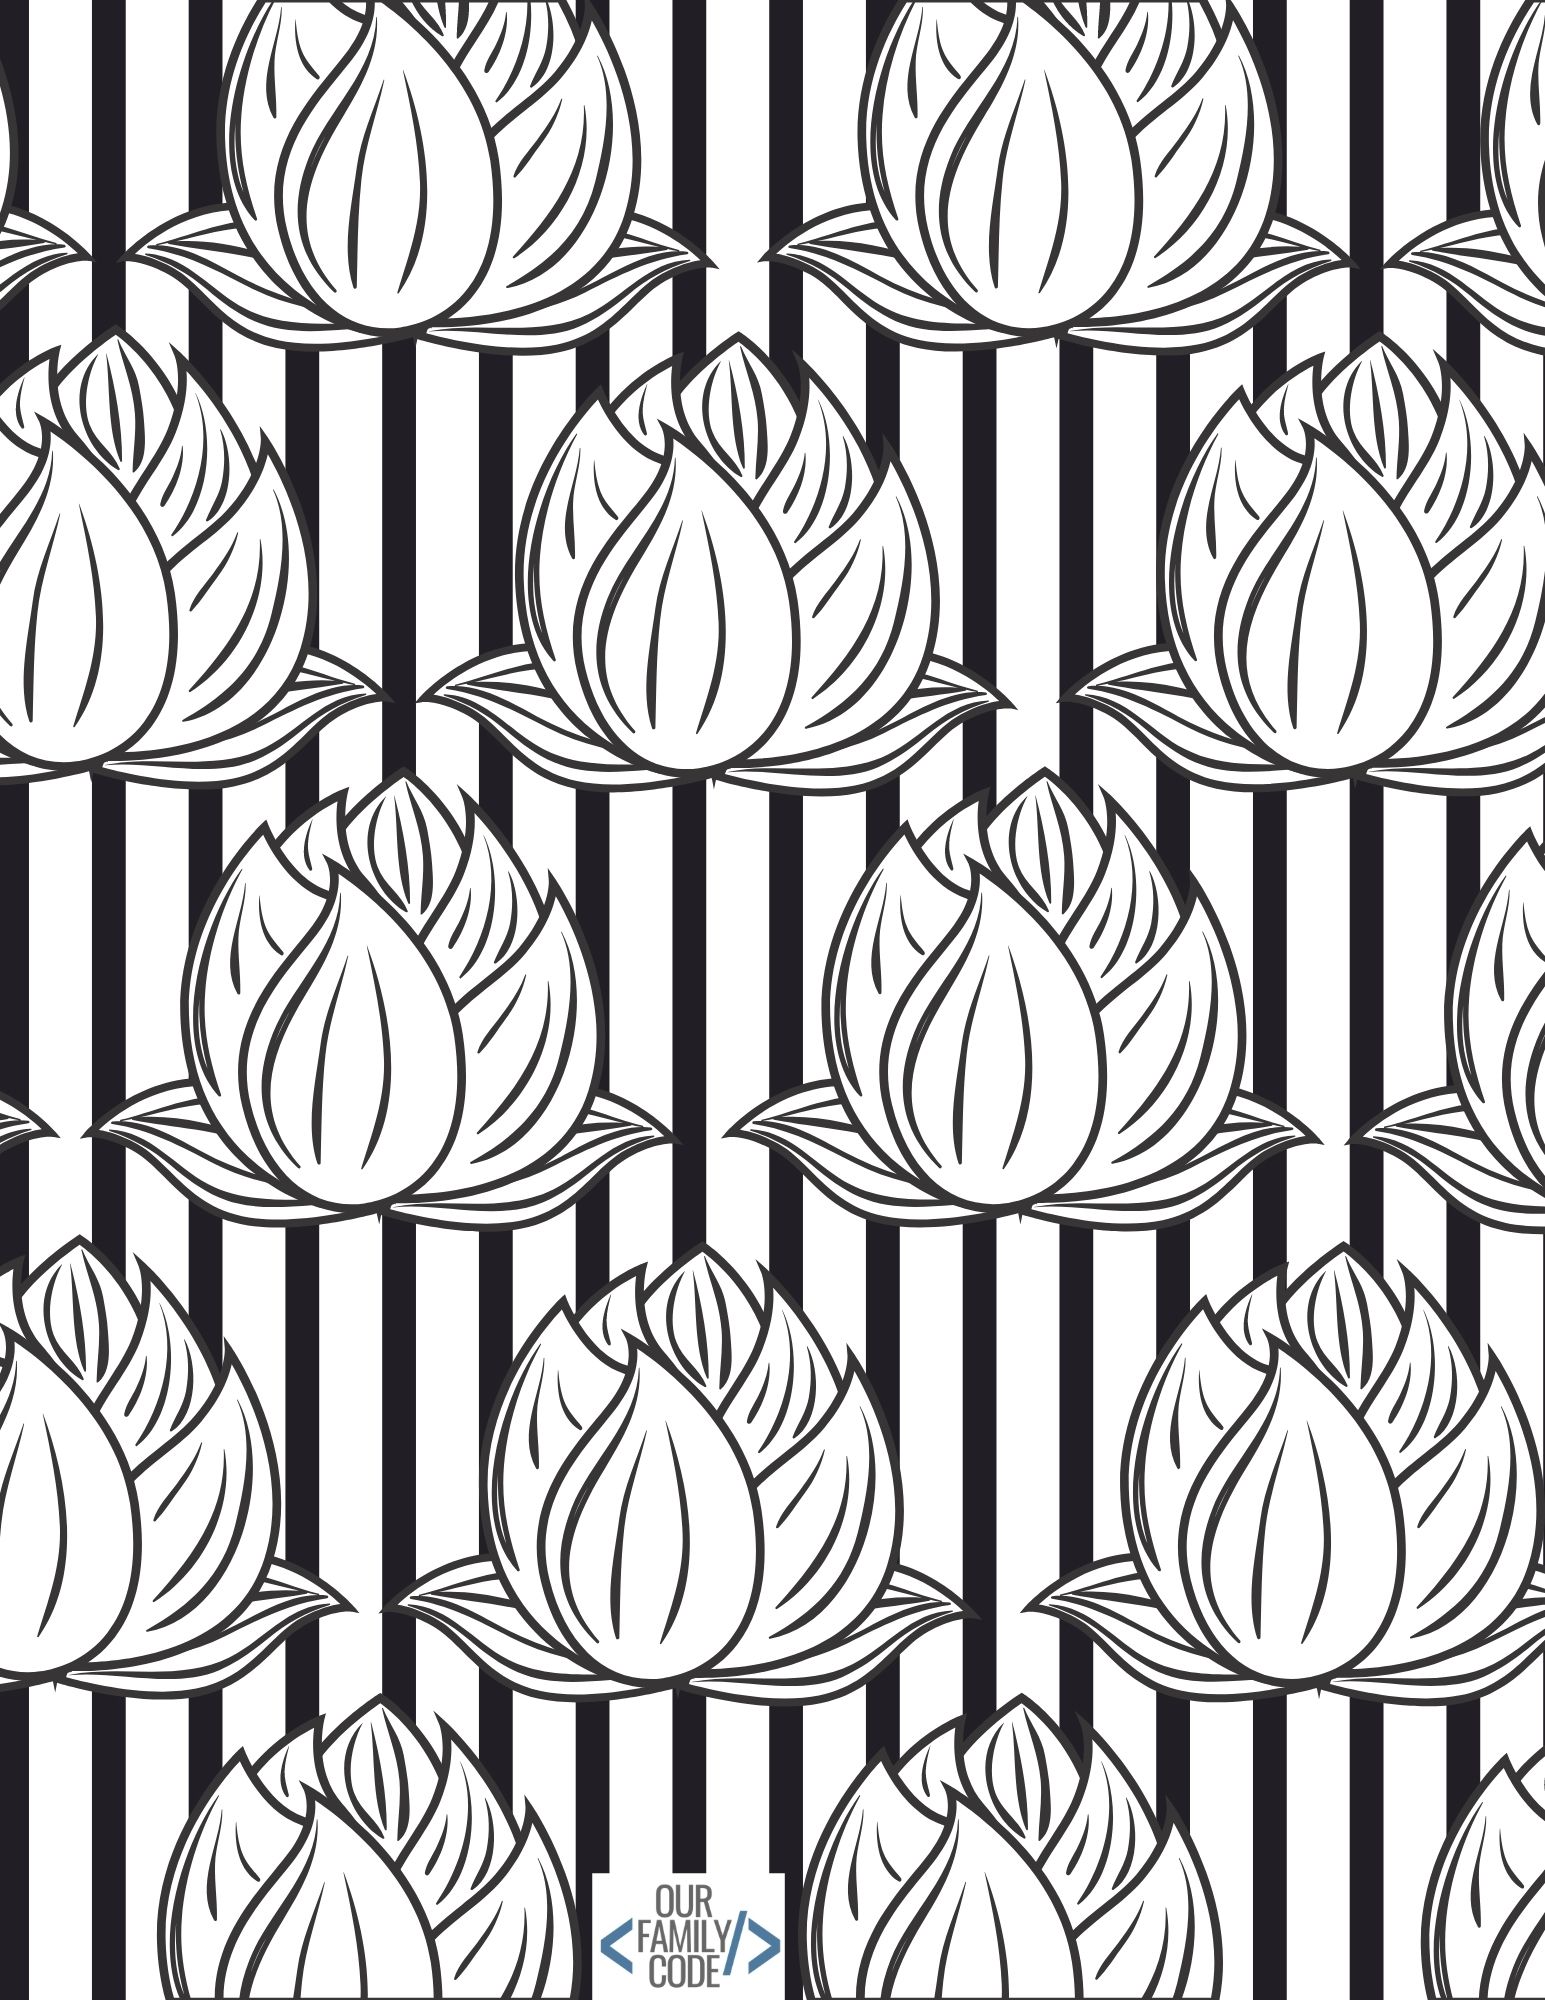
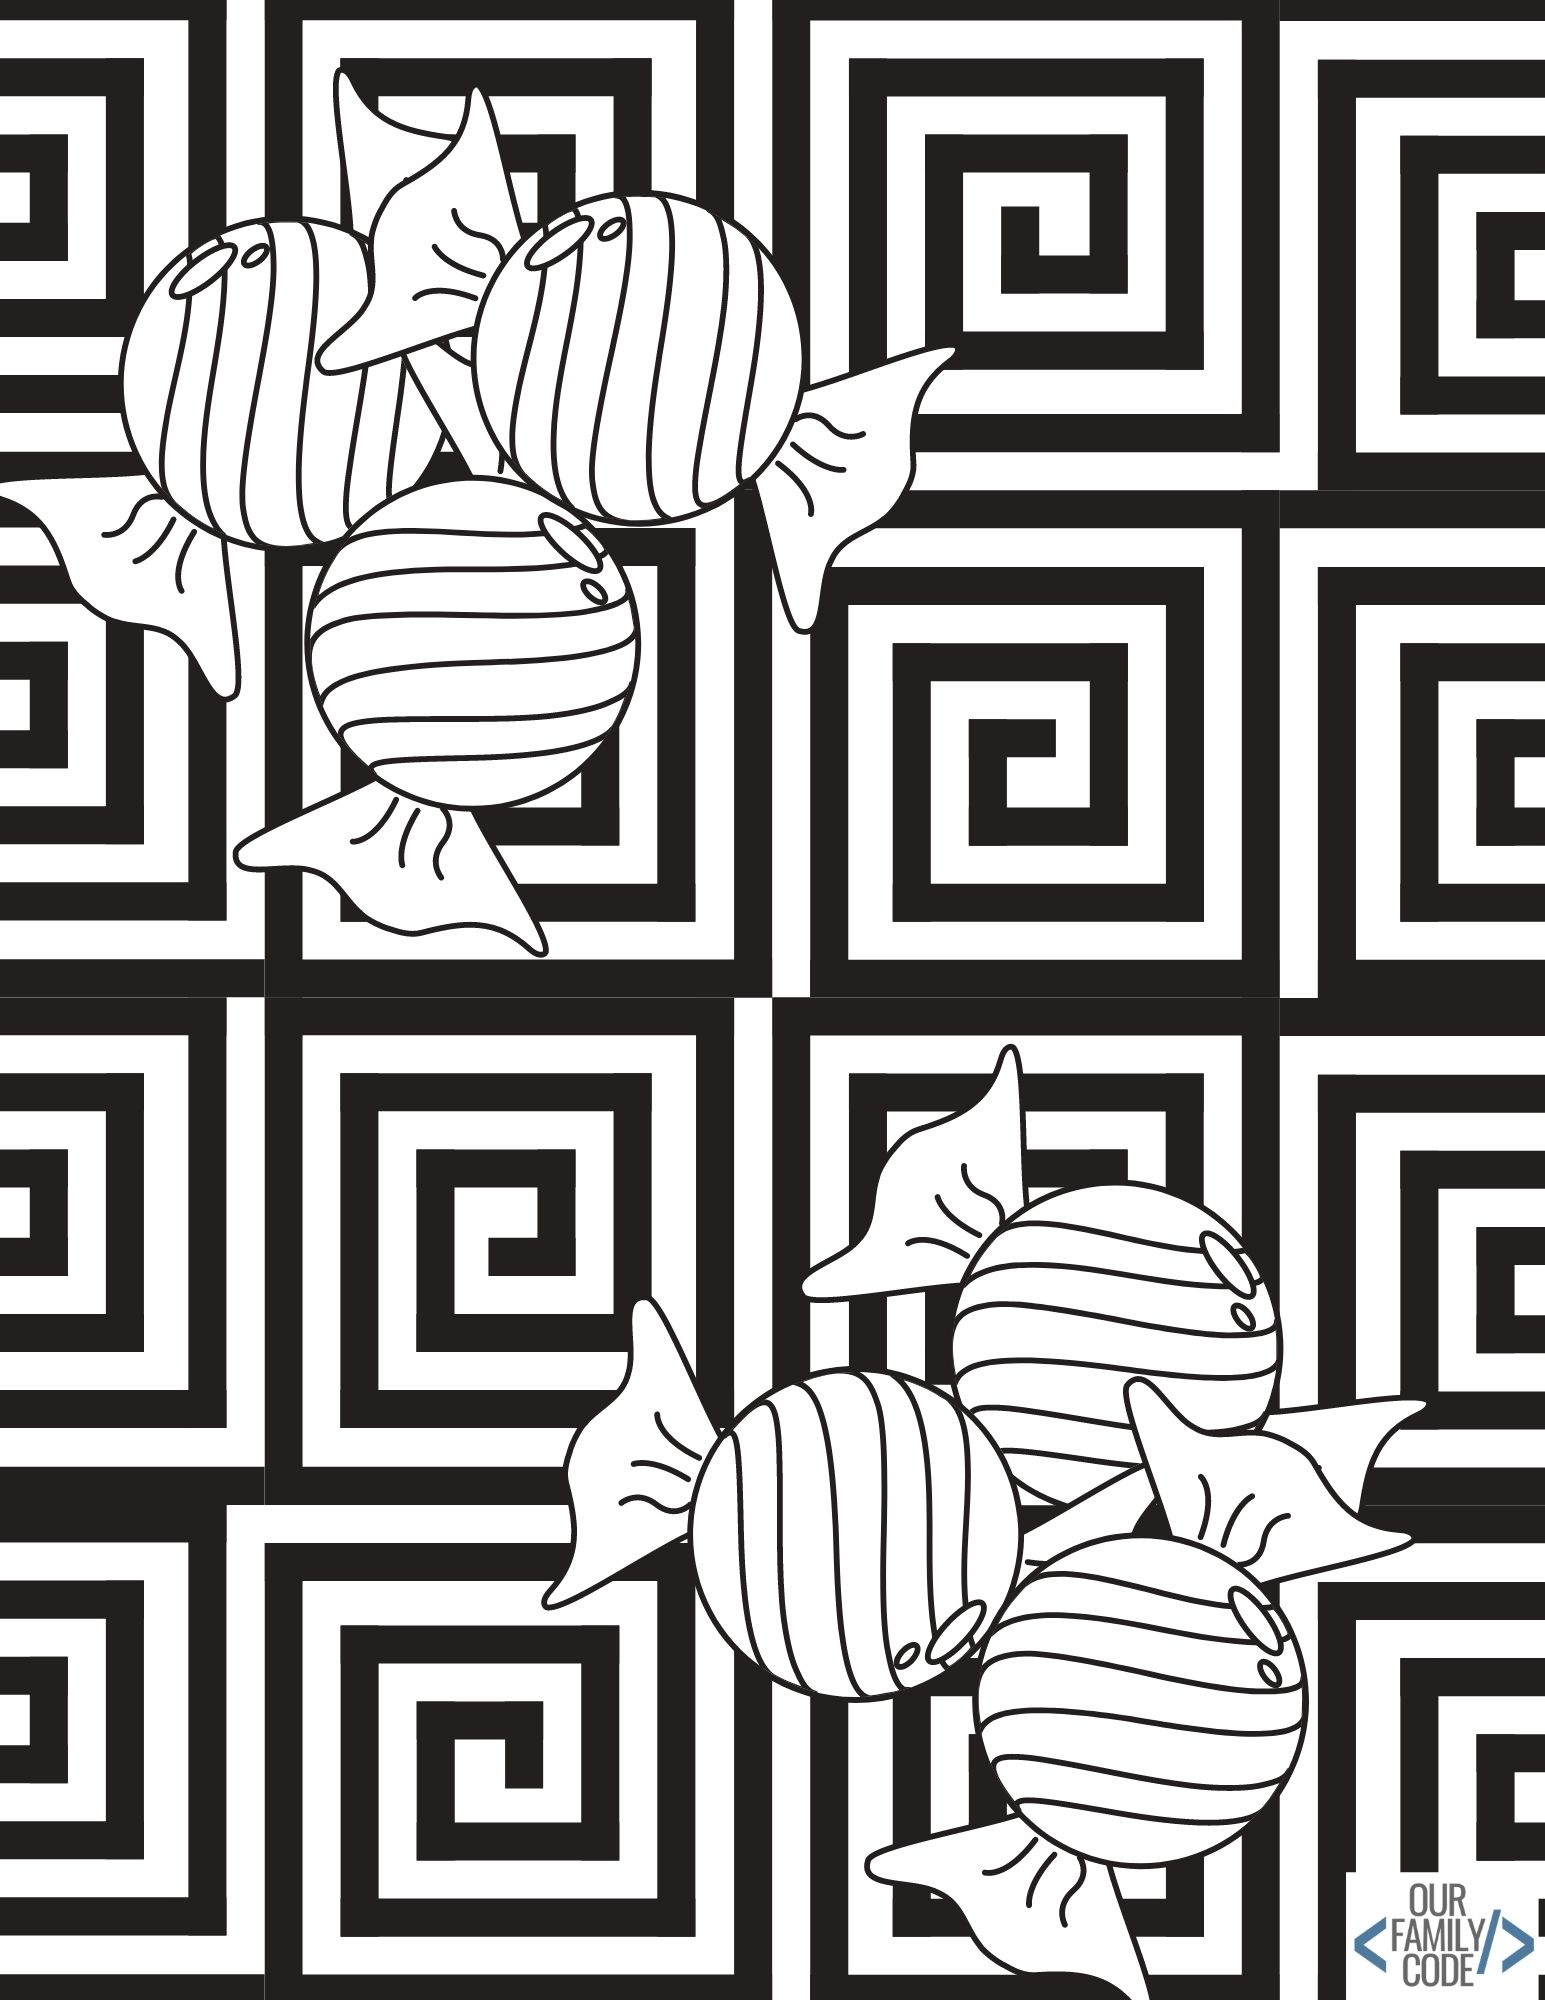
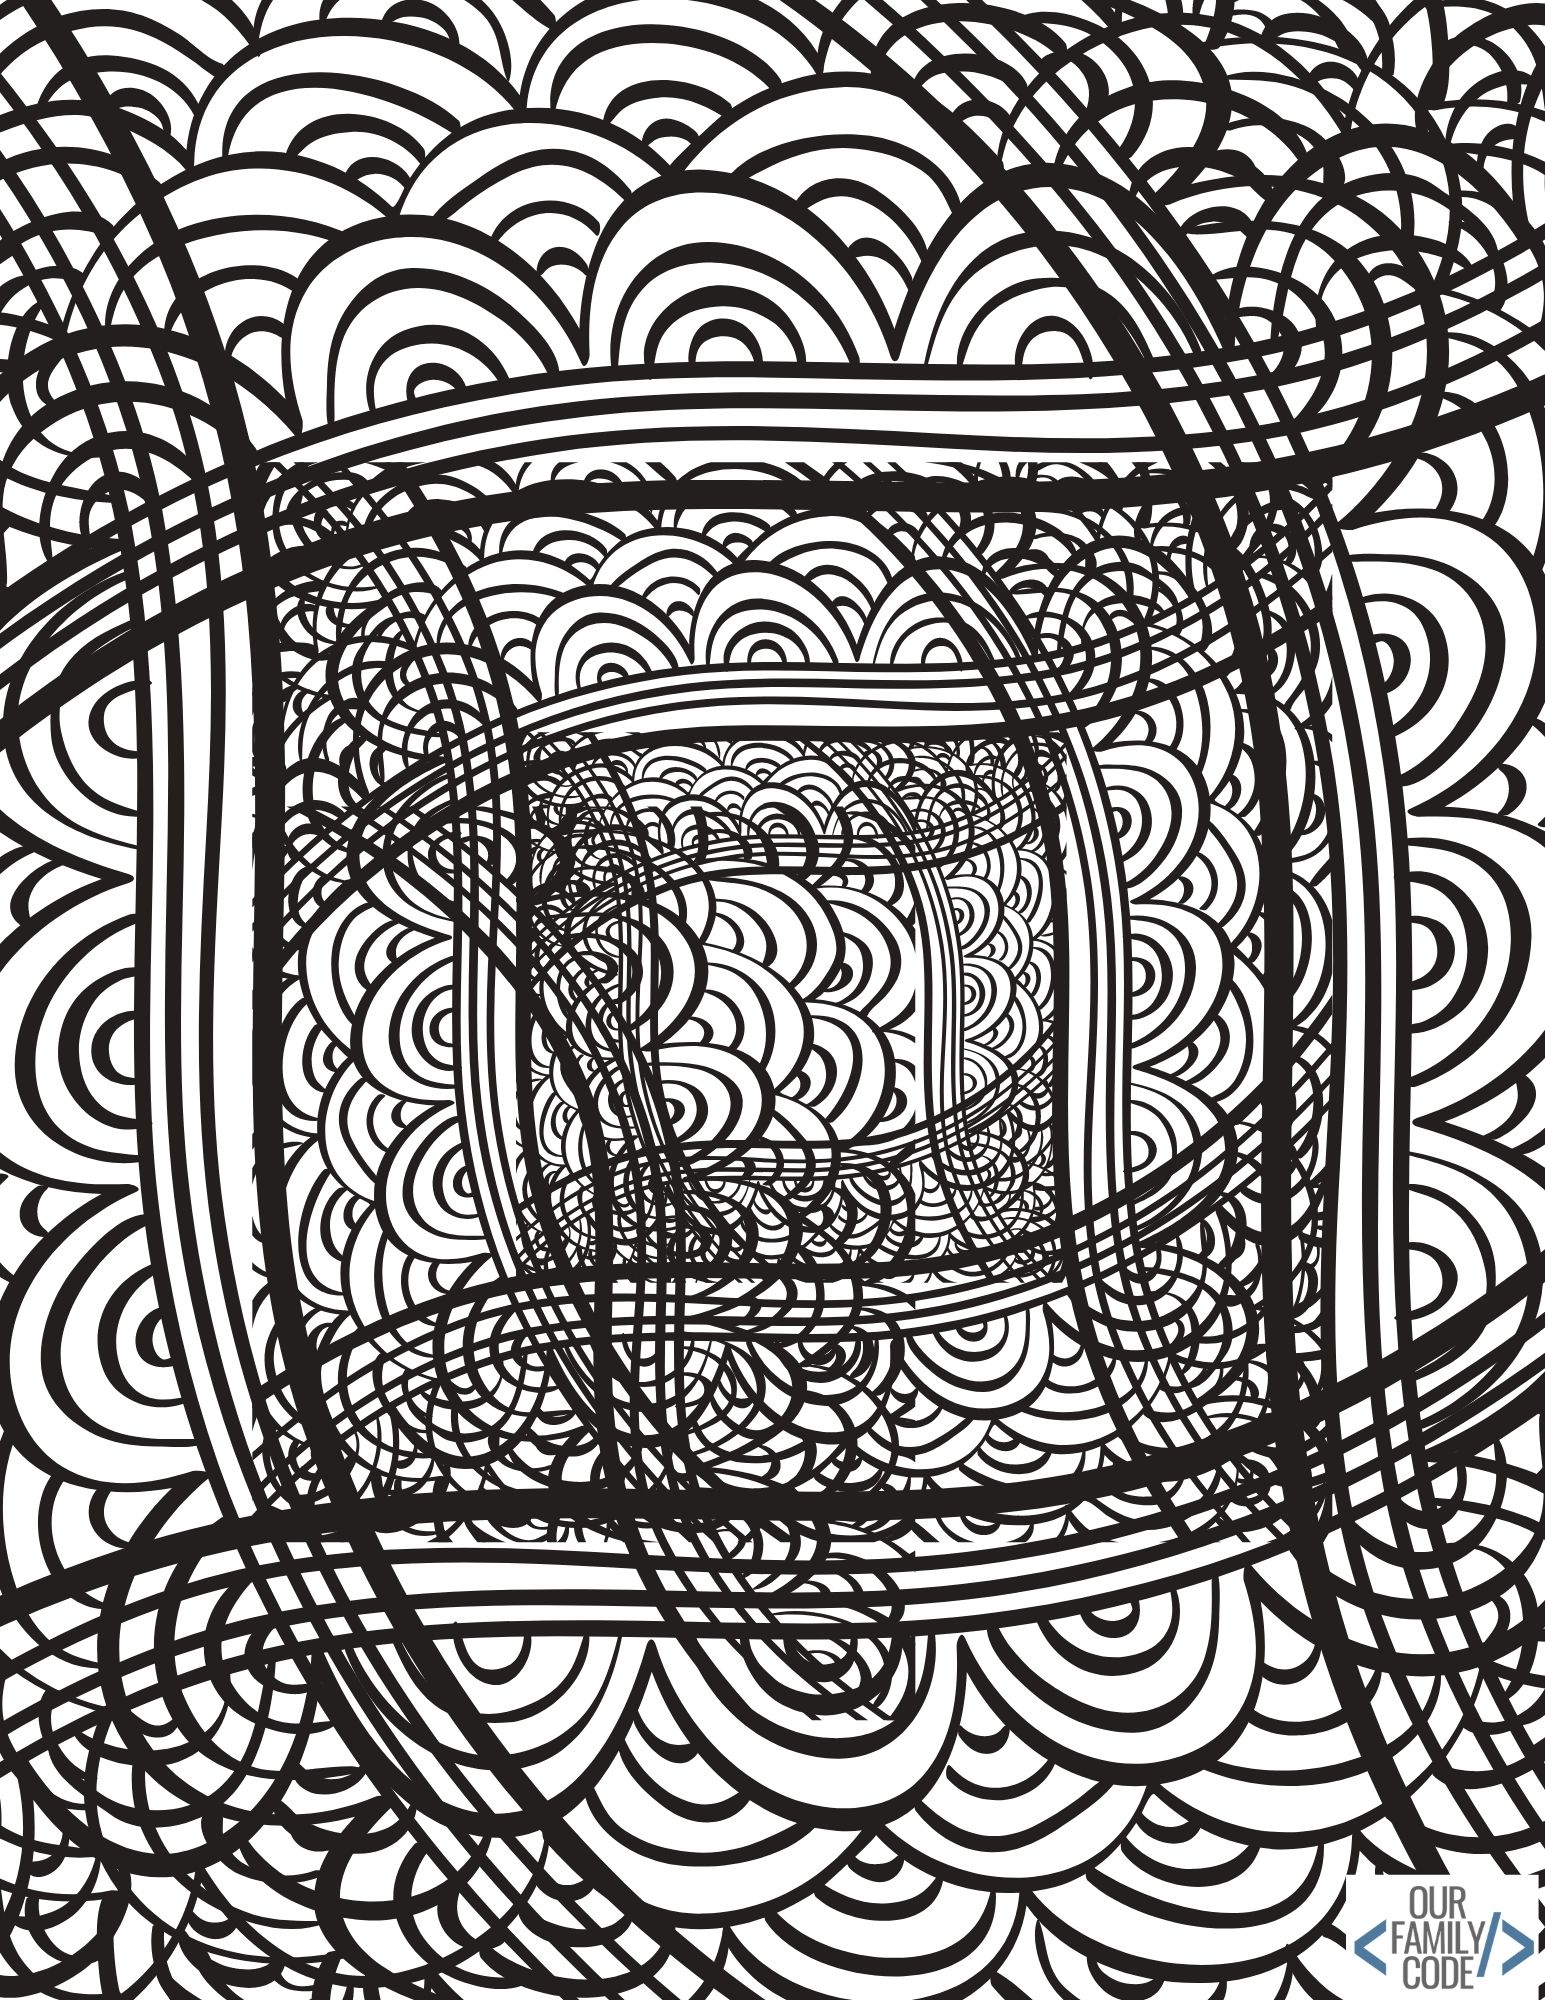
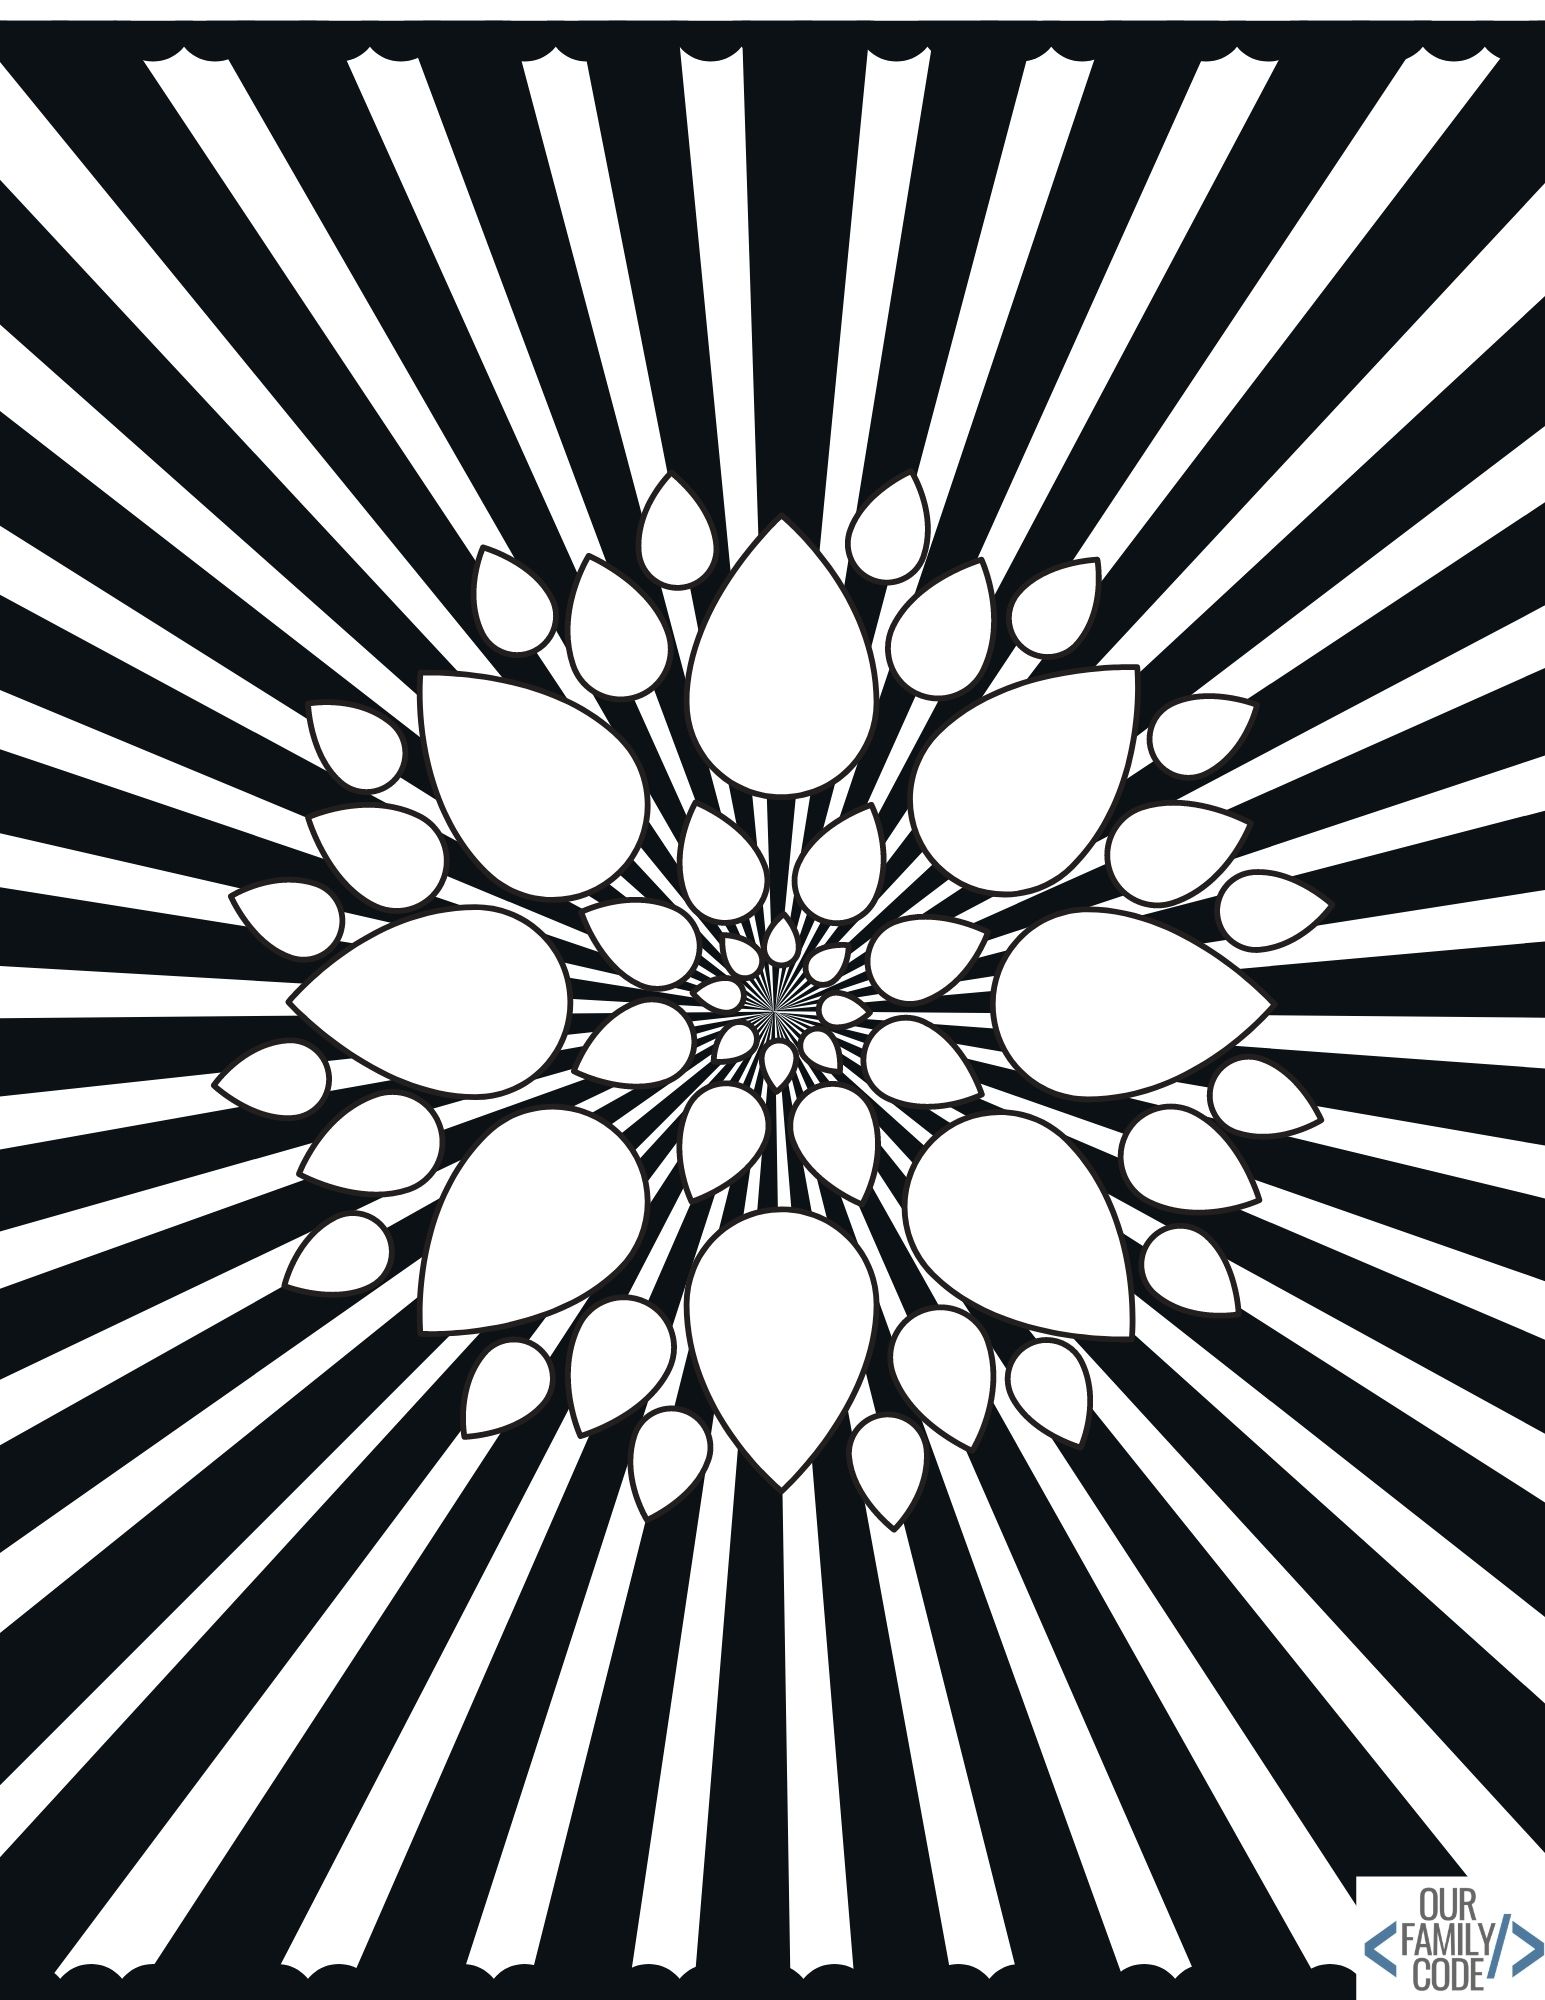
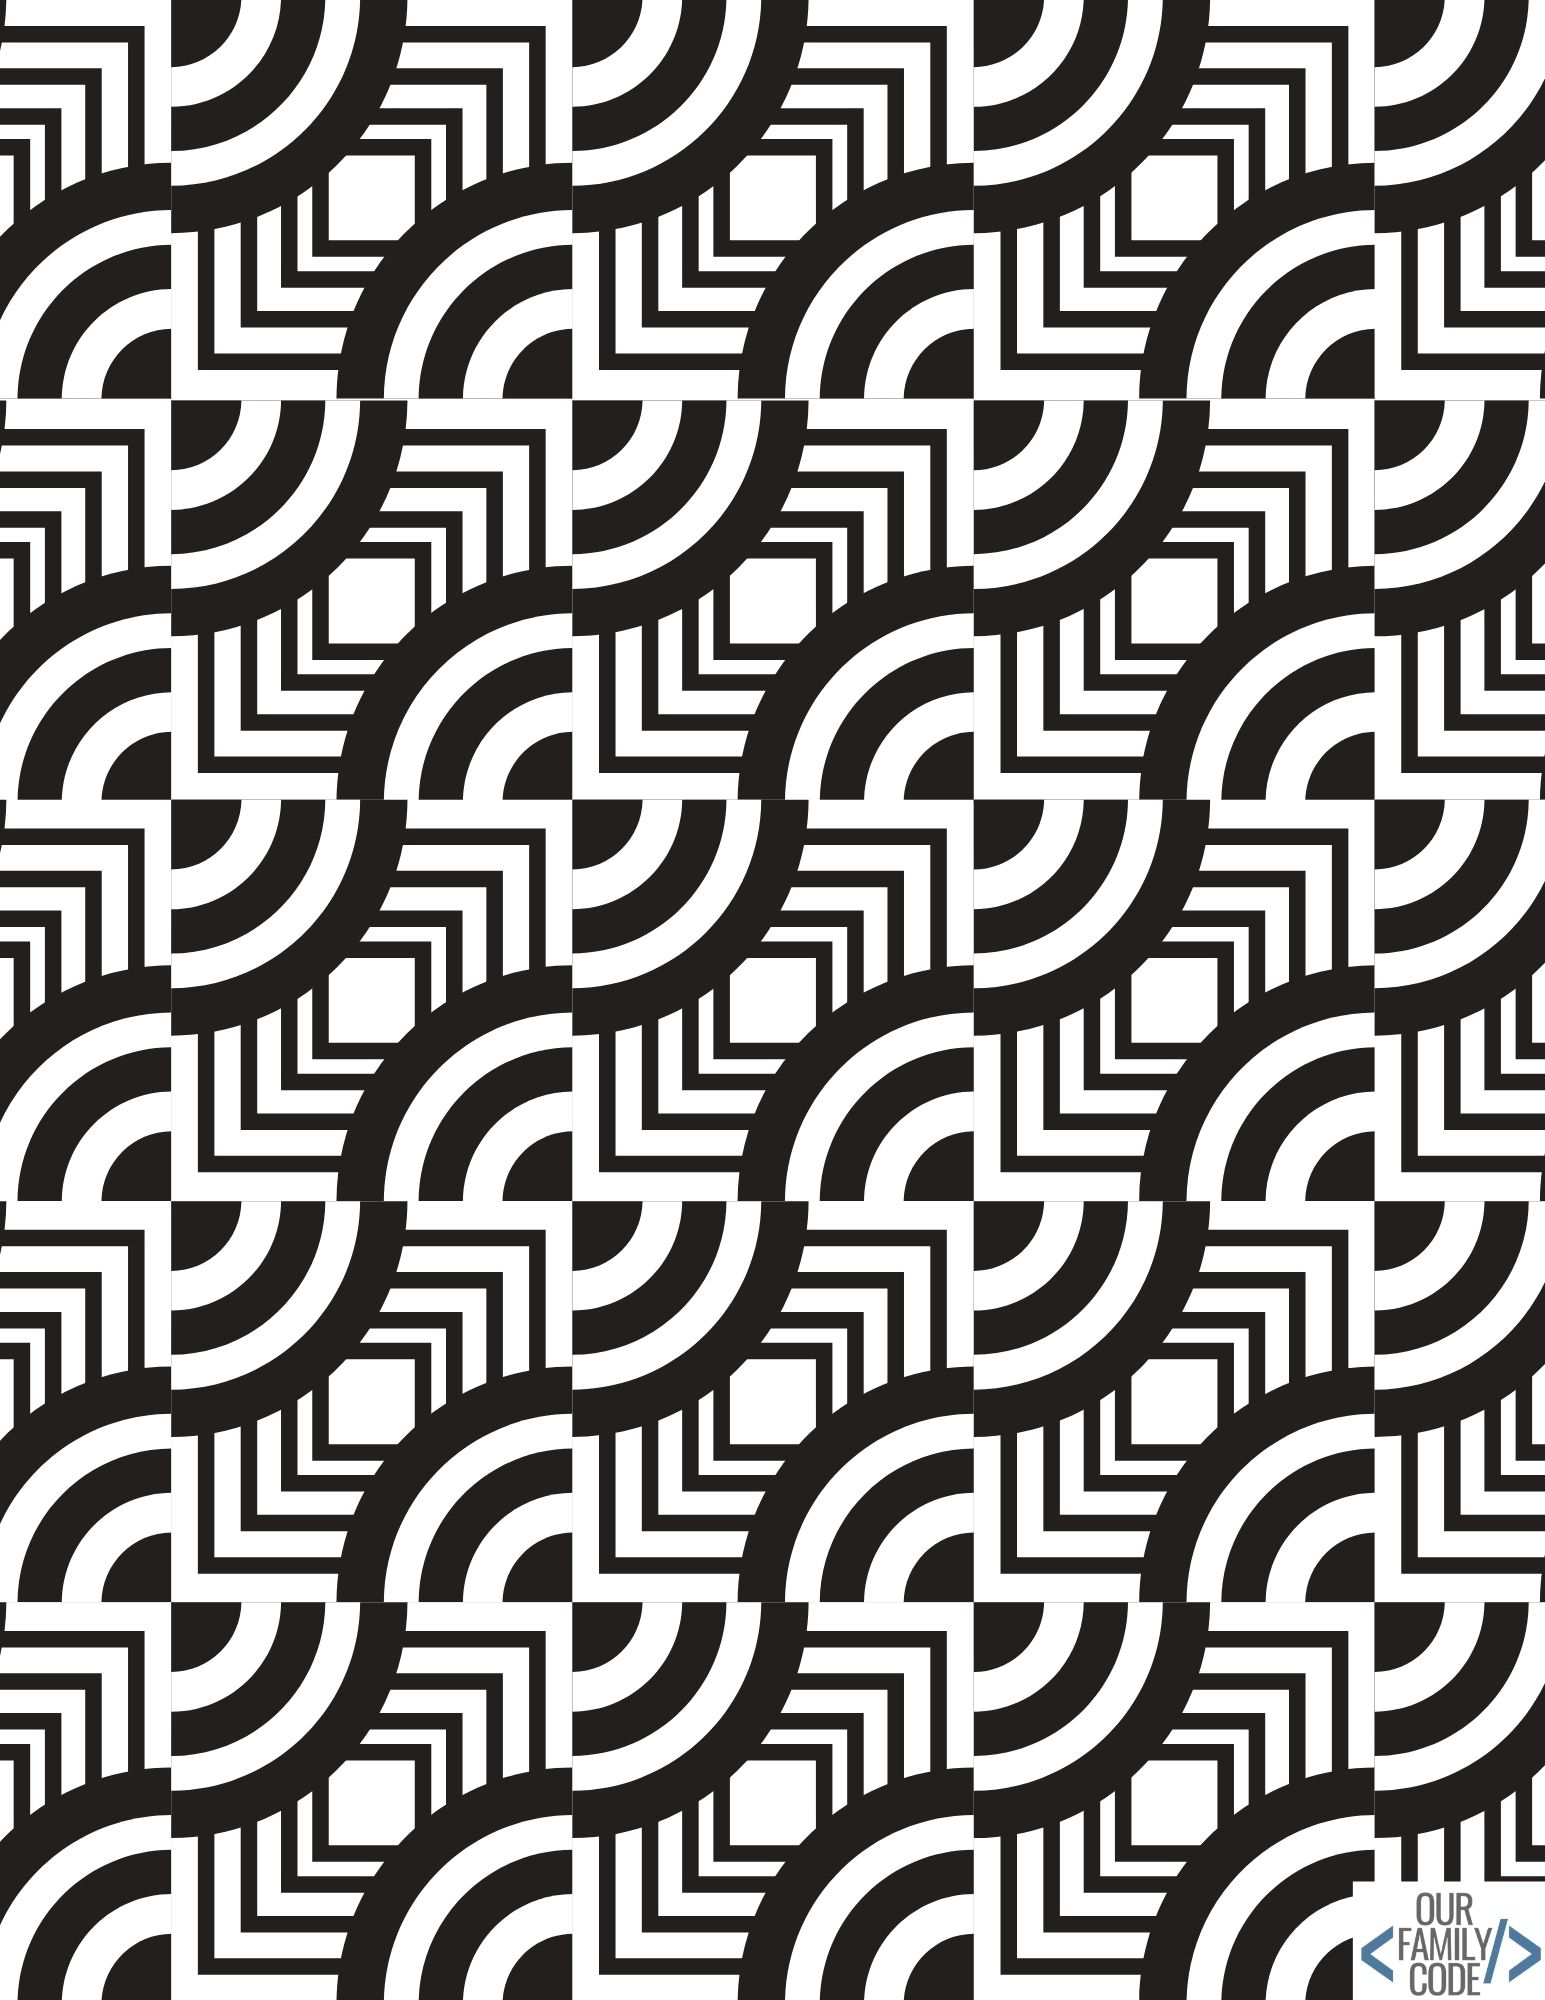
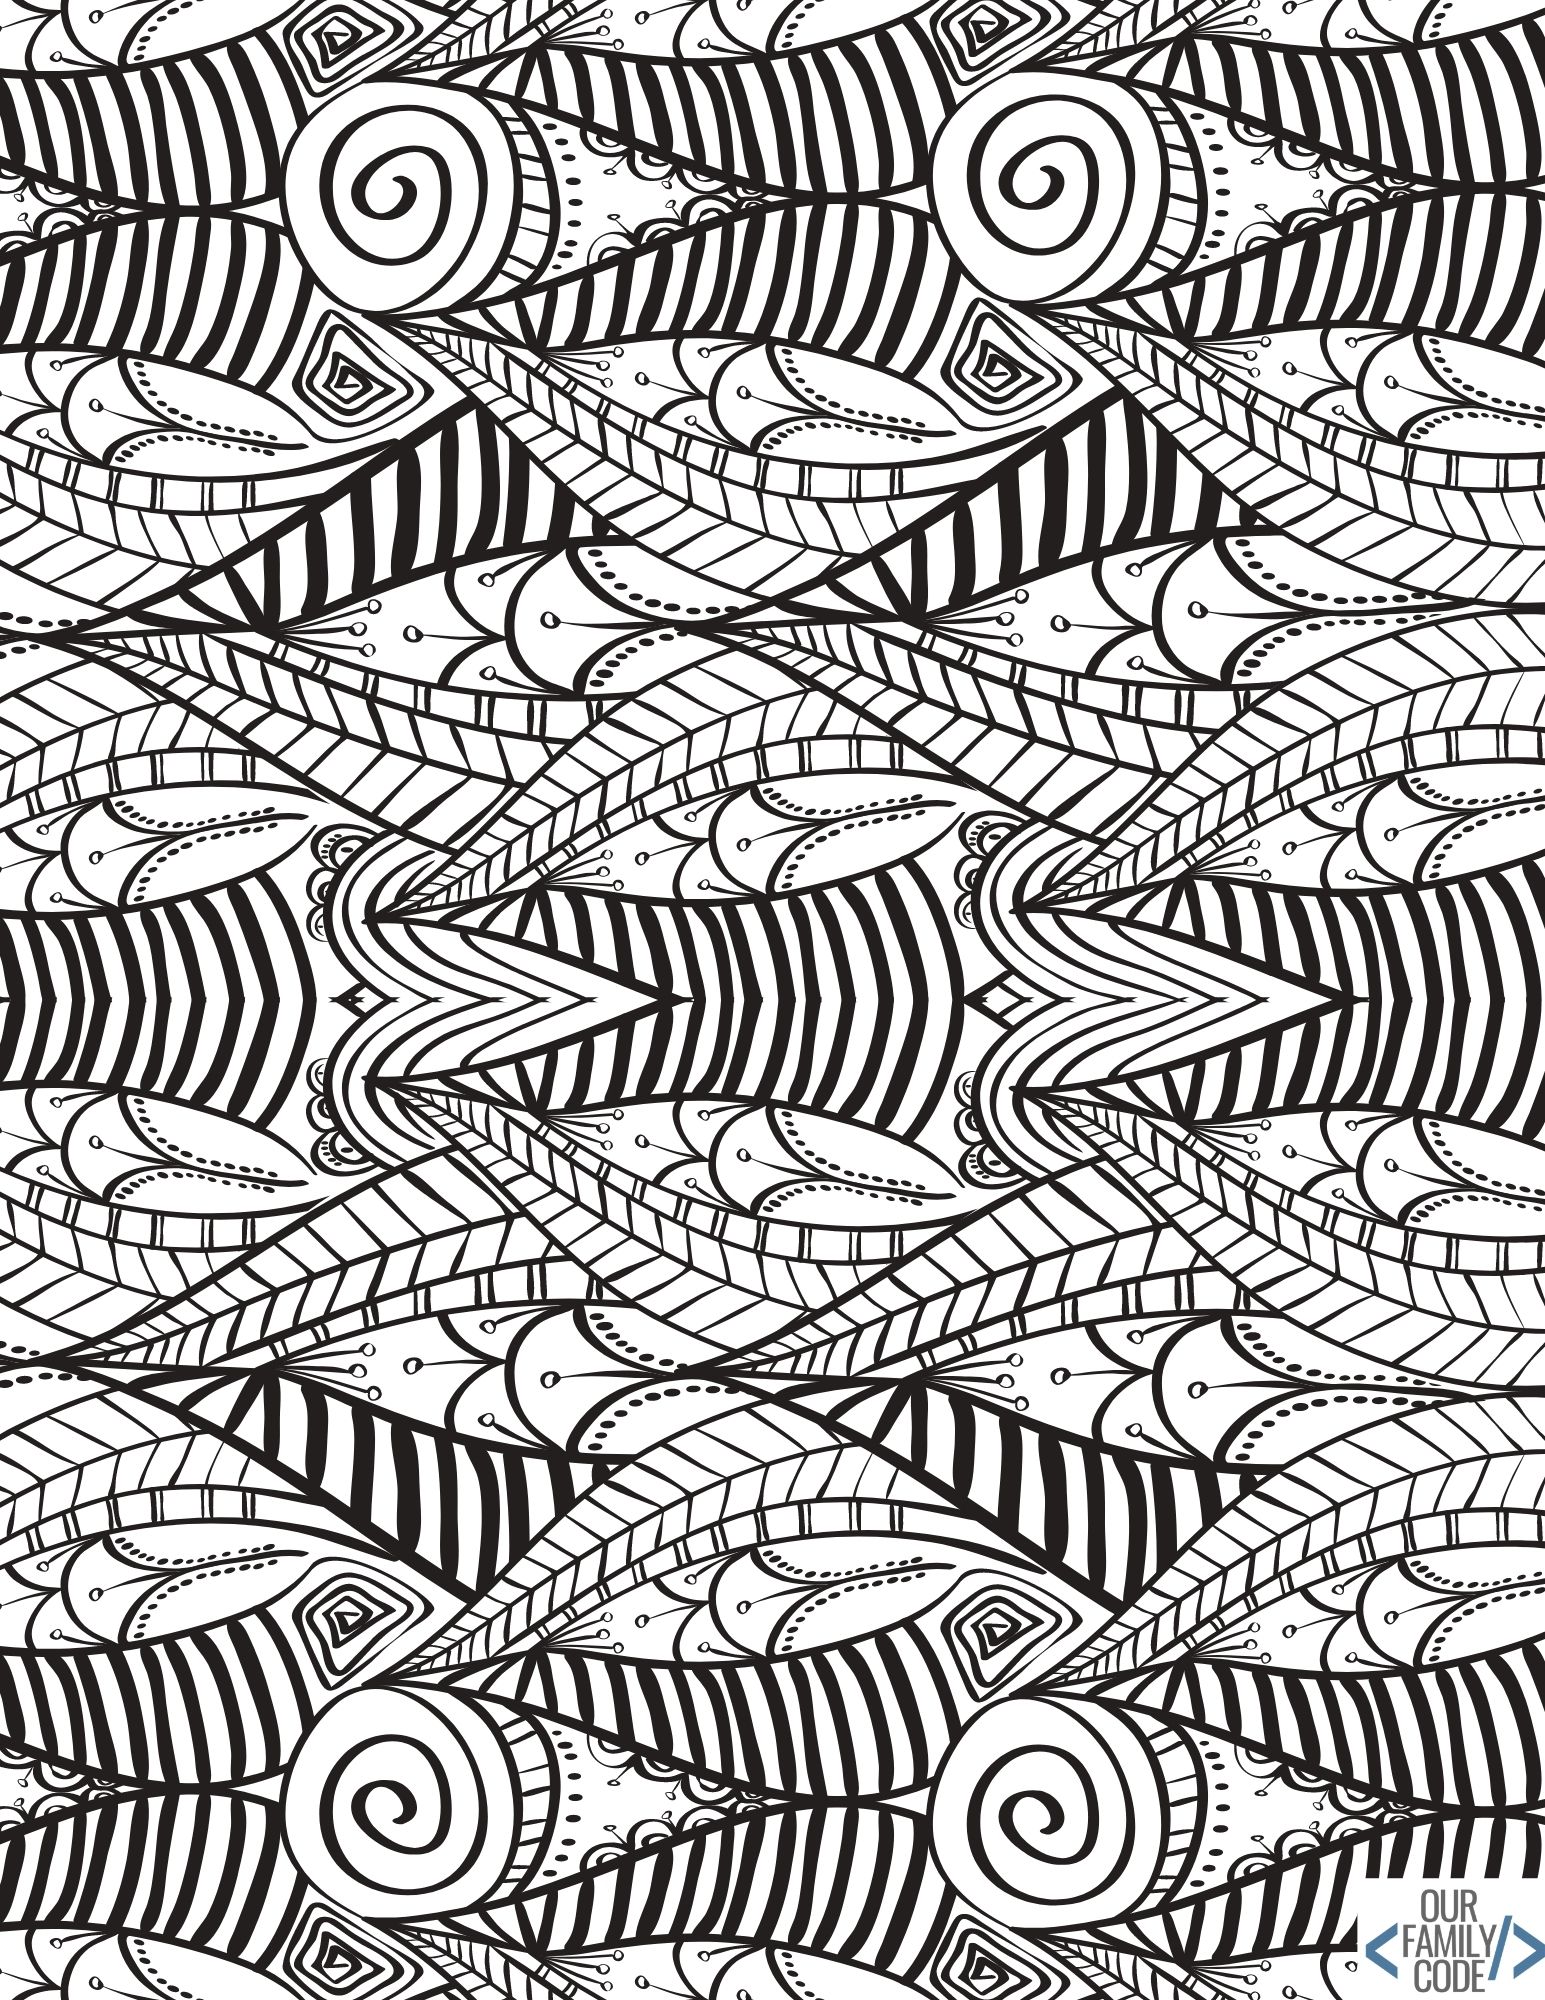
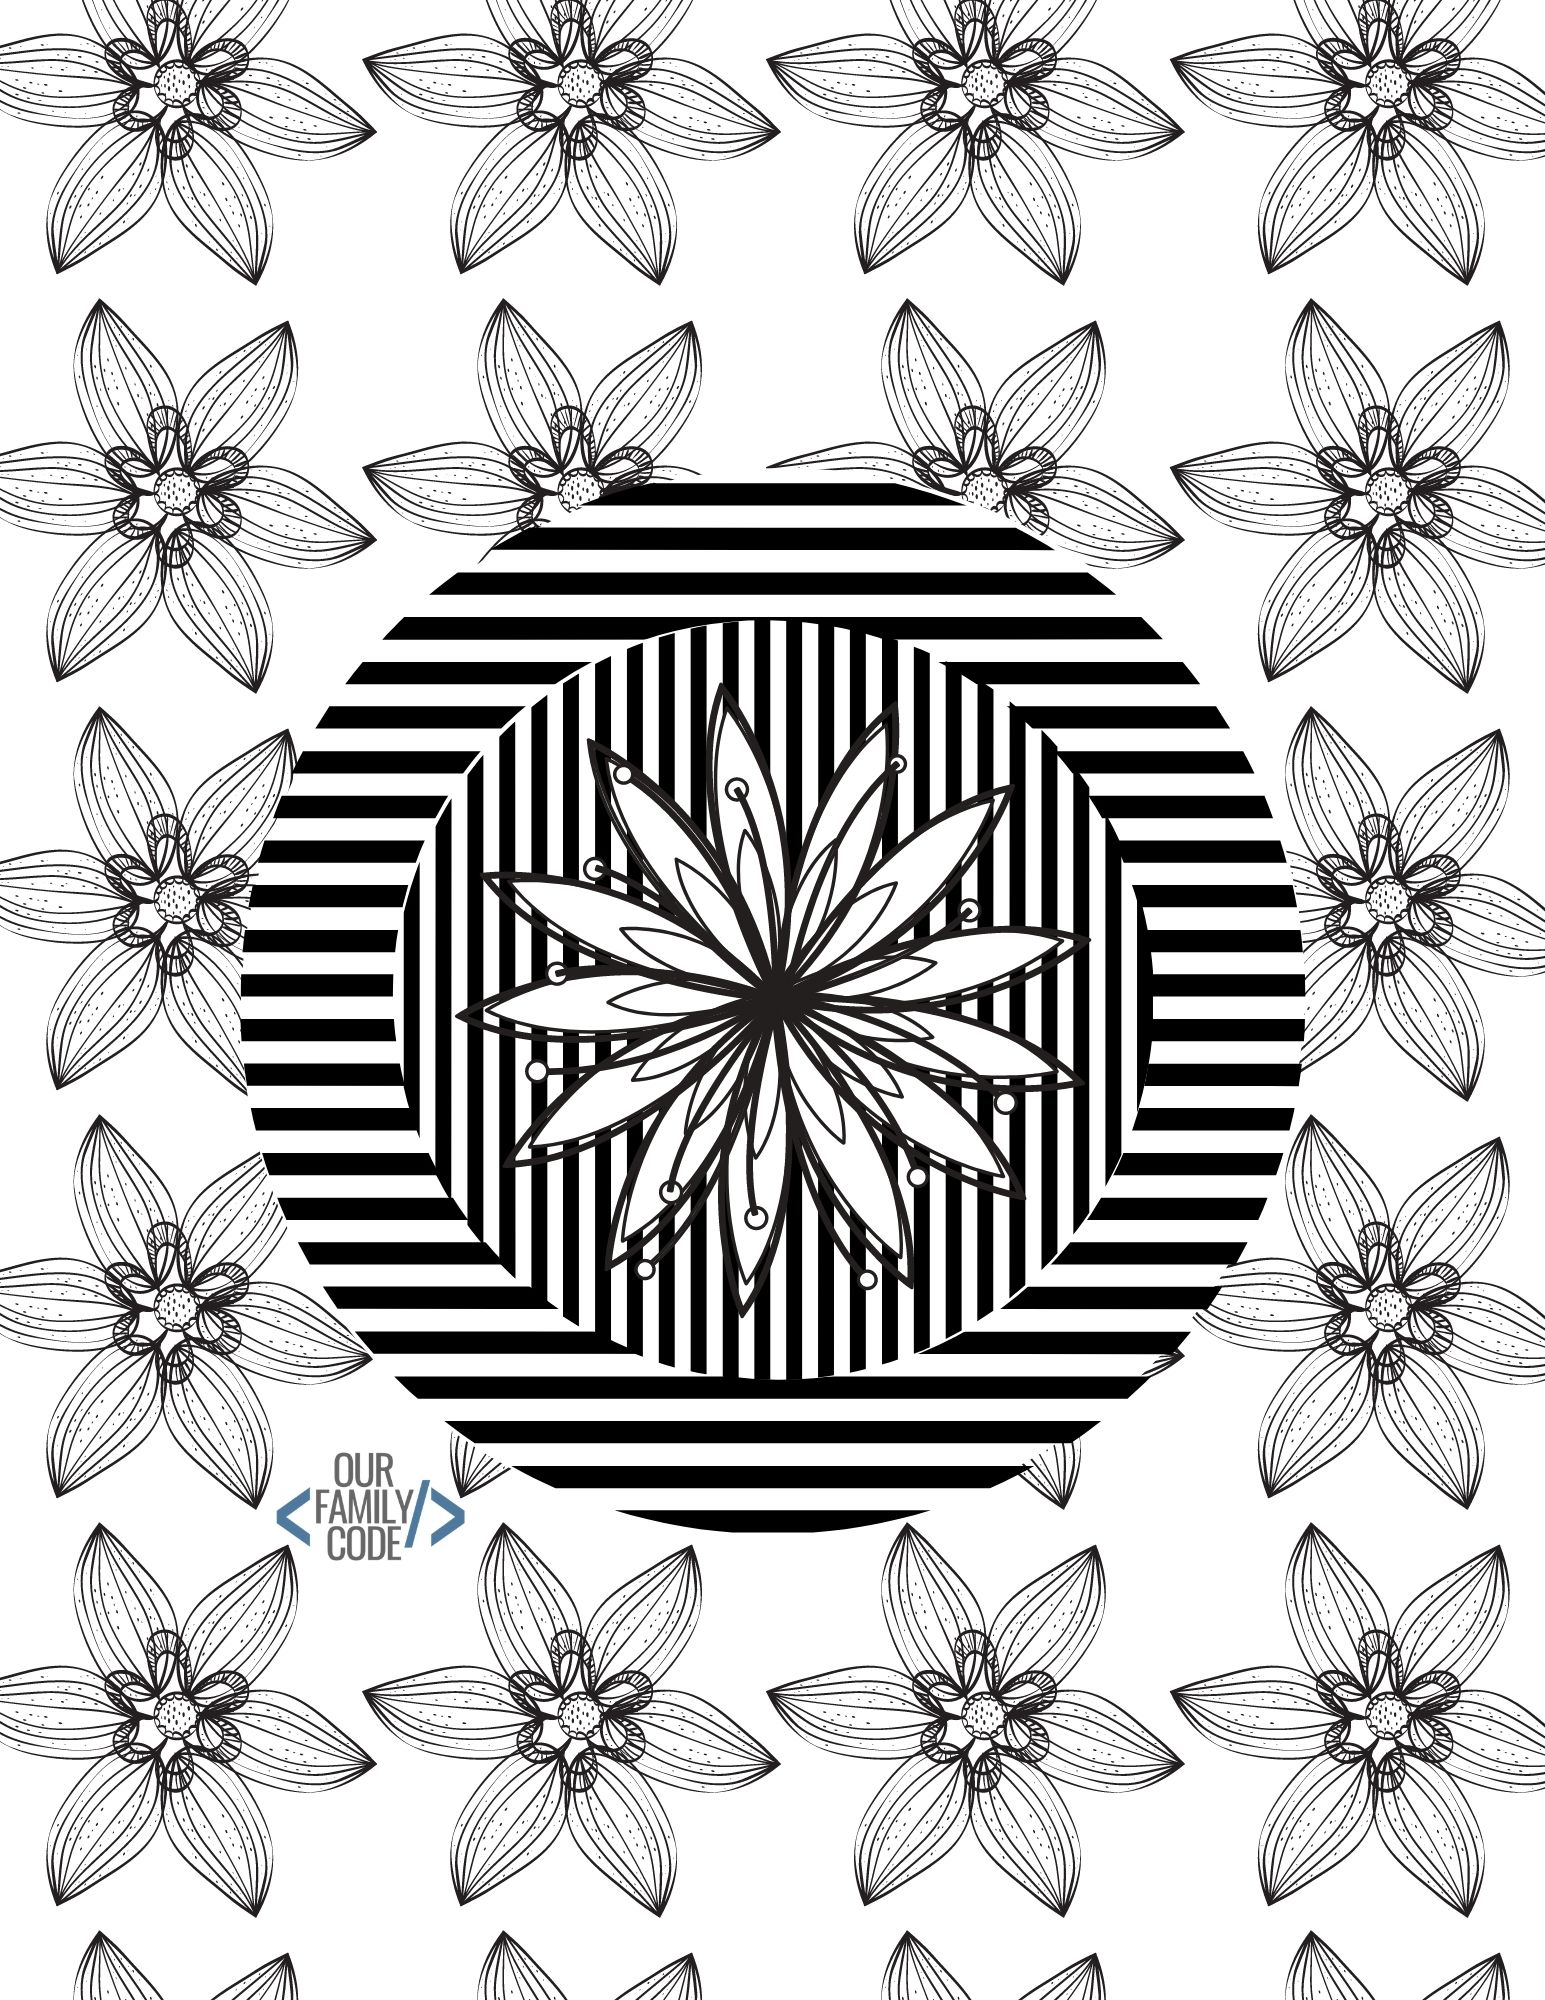
Preview the Optical Illusion Coloring Book
The original cover and page previews are below so you can look through the designs before printing. Choose a simpler pattern for a first try, then explore more detailed pages when your child wants another challenge.

Books and More STEAM Connections
Pair the activity with an art-themed read-aloud such as The Dot or Sky Color by Peter H. Reynolds. Our original reading list also included STEM Doodle Book by Sumita Mukherjee.
For a science connection, compare crayon-covered areas with uncovered paper in our Halloween crayon resist art activity. You can also explore a different visual approach with 3D writing.
Try photographing the stages of your drawing and arranging them into a short animation as a technology extension. Keep the camera position similar so the changing marks are easy to follow.
You Might Also Like
Plan more October projects with our 31+ Halloween STEM and STEAM activities or try cotton swab pumpkin art with younger children.
Explore oil resist tessellation art, straw painting, and squeegee art butterflies for more ways to combine art with hands-on investigation.
This activity is also part of our 31 Days of Low-Prep STEAM Activities. Browse our STEAM activity hub for science, technology, engineering, art, and math ideas.

Save these optical illusion art activities and free coloring pages for later!

More Science and Art Activities
Keep exploring with the twelve activities from our original related-project collection. Choose an activity based on the materials, theme, and kind of investigation your child wants to try.
Gravity Paint Pours
Watch how paint travels across a surface as you change its position. Compare the patterns and make a colorful record of the movement.
Chalk Pastel Leaf Rubbings
Capture the texture of real leaves on paper. Compare leaf shapes and the results of using different papers.
Oil Resist Tessellation Art
Combine repeating geometric shapes with a resist-art technique. Look for the rule that allows your pattern to repeat.
Sharpie Art with Science
Explore how a solvent changes marker ink in this art investigation. Follow the project’s materials and adult-supervision guidance.
3D Drawings and Anaglyph Art
Try another way of creating an impression of depth on paper. Use the linked tutorial and printable resources to get started.
Squeegee Art Butterflies
Move paint with a squeegee to make colorful butterfly art. Compare the patterns created by different color choices and strokes.
Salt Painting
Observe how colored water moves through a glued salt design. Keep the art and the observations together as you try different colors.
Constellation Art
Turn star patterns into an art project. Compare the pattern in your artwork with the constellation reference used in the activity.
Plastic Bottle Butterflies
Reuse a plastic bottle to make butterfly artwork. An adult can prepare the cut pieces while children work on the design.
Chalk Pastel Glue Resist Lion
Draw a lion with raised glue outlines and chalk pastel color. Let the glue dry before adding the pastel.
Plastic Bottle Sun Catchers
Turn reused plastic bottles into a colorful display. Follow the tutorial for preparing and decorating the pieces.
Blow Painting with Straws
Move paint across paper using air through a straw. Compare how the paint paths change with your direction and distance.
Meet Toni, the Maker Mom behind Our Family Code

Hey there, I’m Toni! I’m a software engineer and Maker Mom that finds my joy in unleashing my children’s curiosity by exploring STEAM concepts with my fantastic five!
When I’m not chasing toddlers or raising tweens, you can find me tearing things up and putting them back together over here at Our Family Code.
I am the owner and content creator of multiple educational websites designed to increase access to STEAM & STEM education with a focus on teaching computer science and coding to kids of all ages!


