Learn about mummification by making apple mummies with the Ancient Egypt science experiment!
It’s Halloween time and we just finished reading Mummies in the Morning from the Magic Tree House book series by Mary Pope Osborne.
This apple mummy activity is a great way to observe how Ancient Egyptians made mummies by comparing and contrasting different desiccants and methods to preserve bodies and remove moisture from objects.
This post contains affiliate links. As an Amazon Associate, Our Family Code earns from qualifying purchases. Please see our Disclosure Policy for more details.
This activity is part of our Magic Tree House book activity series. In the story, Mummies in the Morning, Jack and Annie find a mummified body in a gold coffin inside of a pyramid.
In his book, Jack reads how the Ancient Egyptians preserved dead bodies with salt and covered them with oil before removing the brains. These facts disgust Annie and she runs away!
In this science experiment, we sought to figure out the best way to remove moisture from apples in the same way that Ancient Egyptians removed moisture from bodies in order to make mummies!
Our hypothesis: We believed that the 1/2 baking soda, 1/2 salt, and gauze apple mummy would be the most effective way to remove moisture and preserve our mummies!
Apple Mummy Science
Desiccants are chemicals that pull water out of things, speed the drying process, and kill microbes that cause decay. Salt is a well known desiccant.
Ancient Egyptians used natron, a naturally occurring desiccant to mummify bodies. Mummies were dried for approximately 40 days before they were entombed!
Make Apple Mummies with These Supplies!
- 4 Apples
- Salt
- Baking Soda
- Measuring Cup
- Plastic Bags
- Rolled Gauze
- Knife
- Pumpkin carving tools or peeler
- Box or a dark space to entomb some mummies!
How to Make Apple Mummies – Stage One
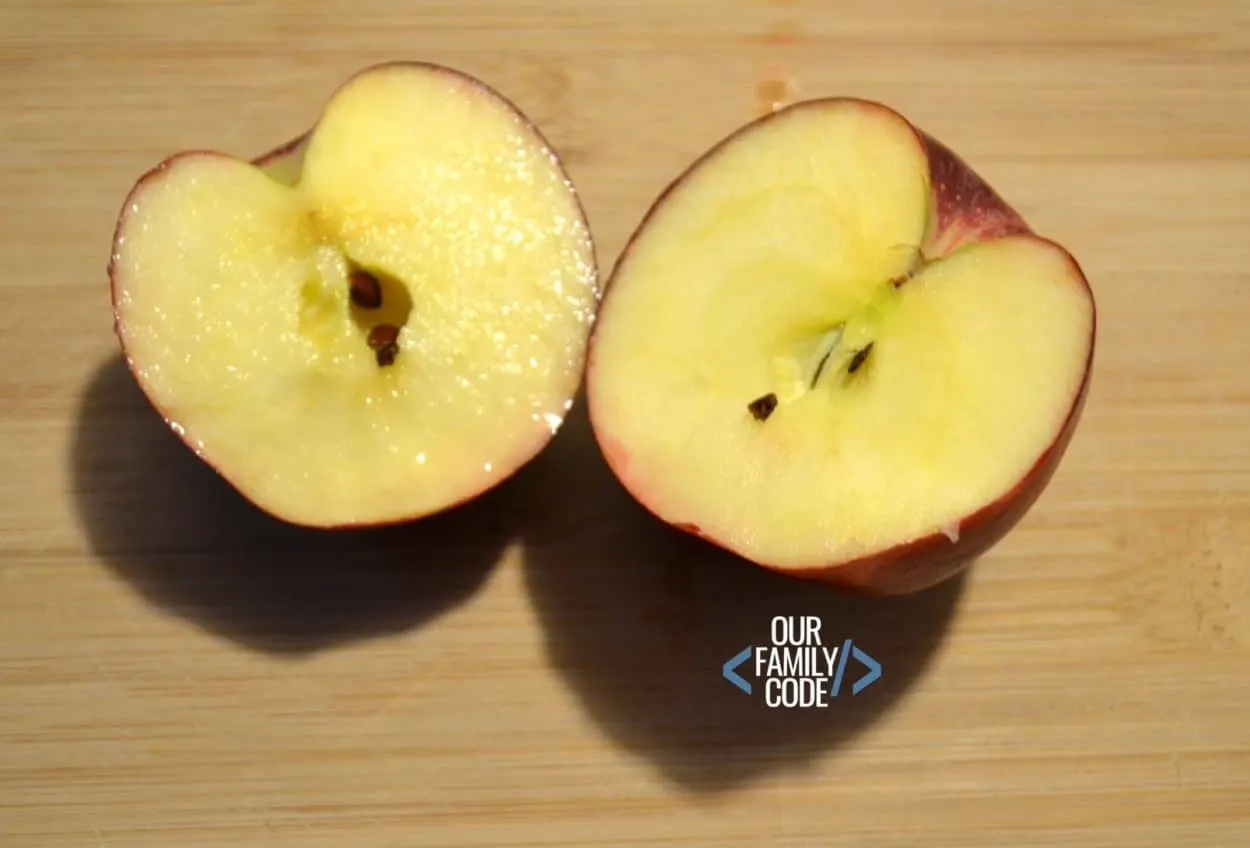
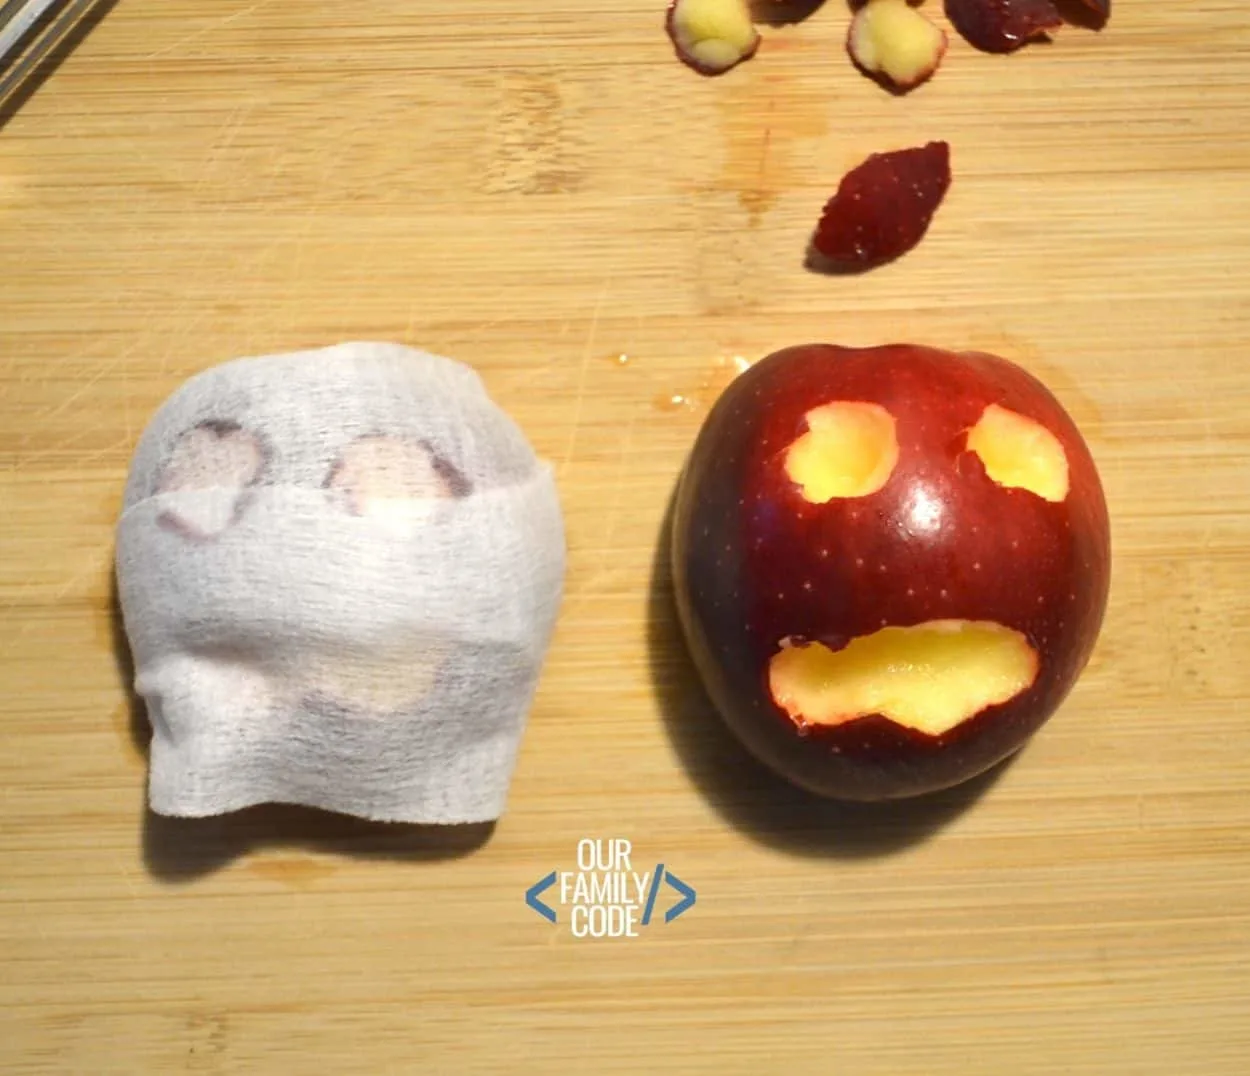
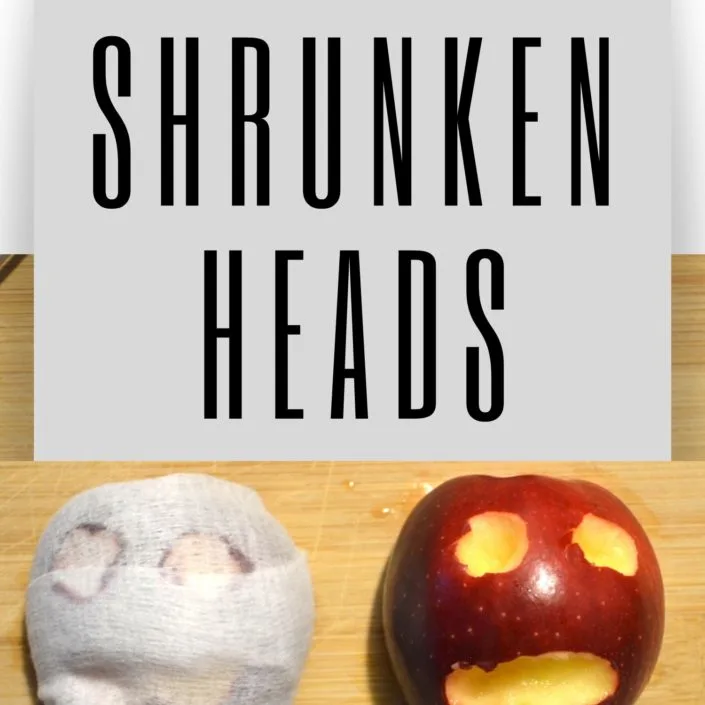
We chose to cut our apples in half because it’s the perfect time of year to turn our apples into shrunken heads with science!
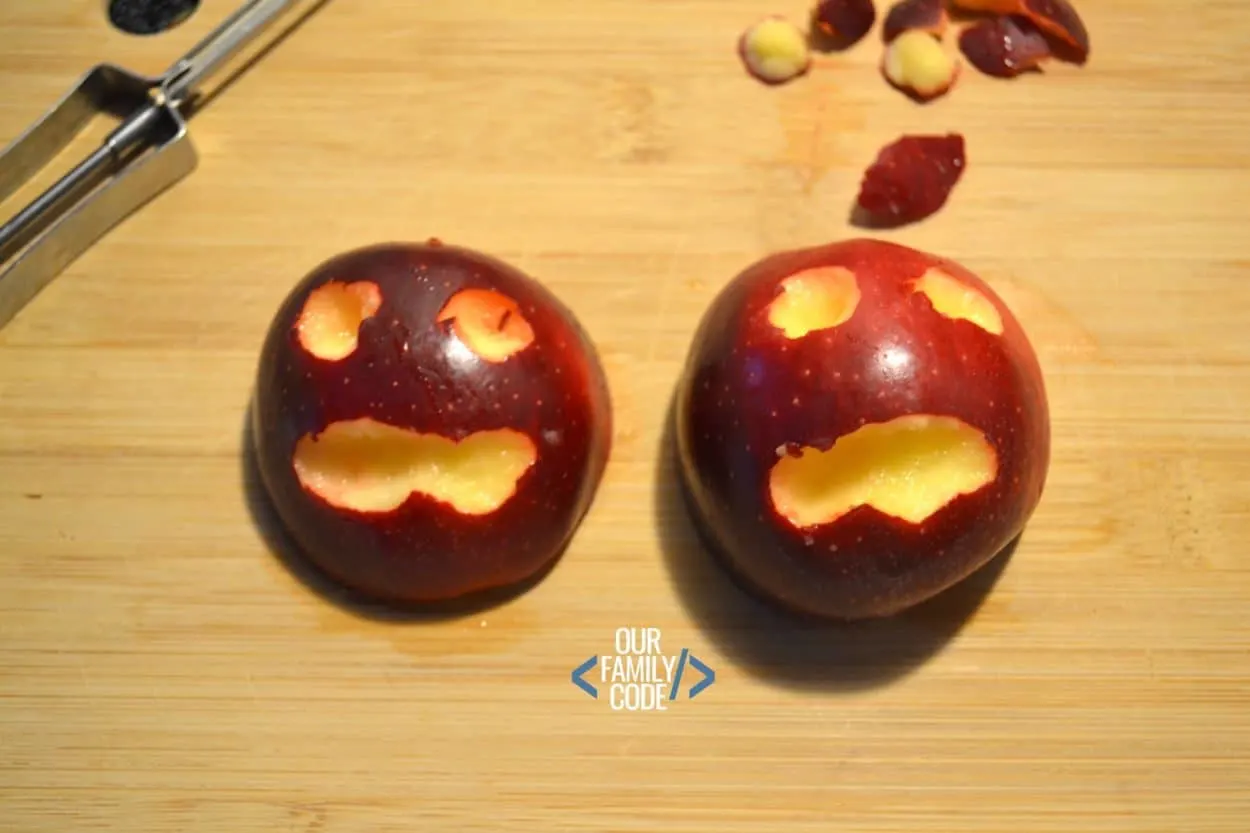
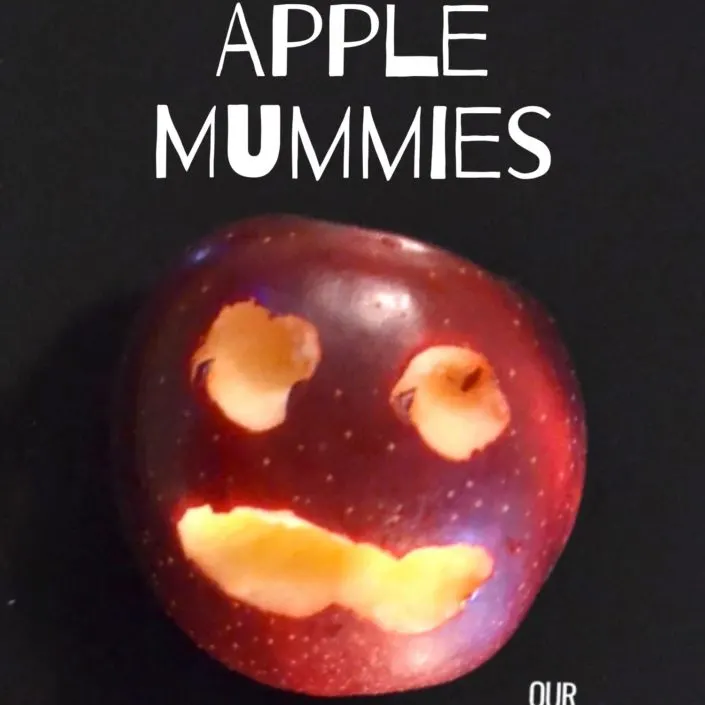
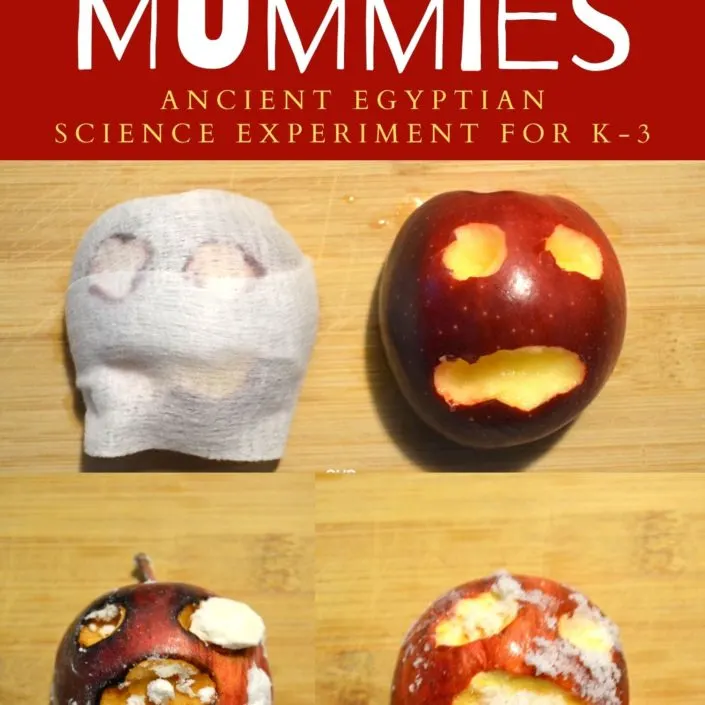
Use a regular peeler or pumpkin carving tools to carve faces in your apple halves.
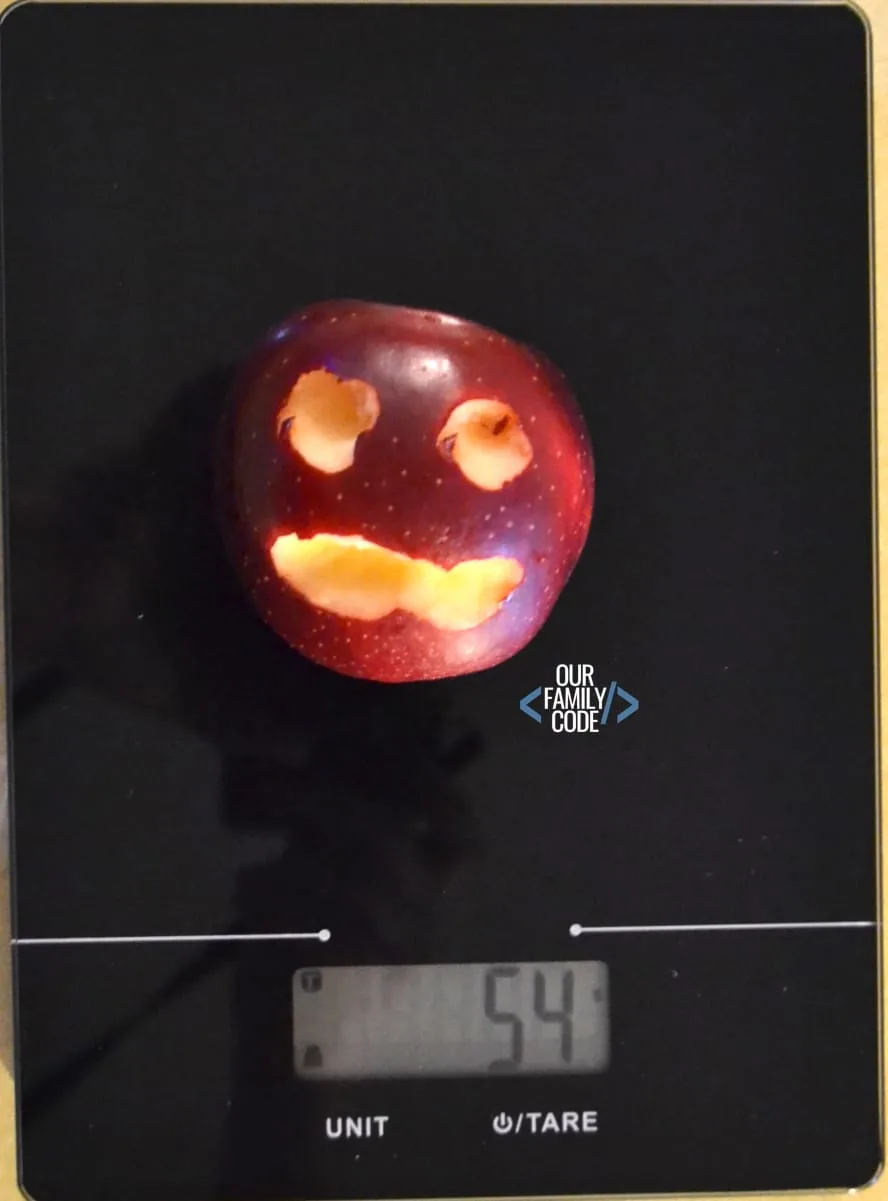
Weigh your apples mummy halves with a kitchen scale. We chose to measure our apples in grams and we recorded the starting weight on our plastic tomb bags.
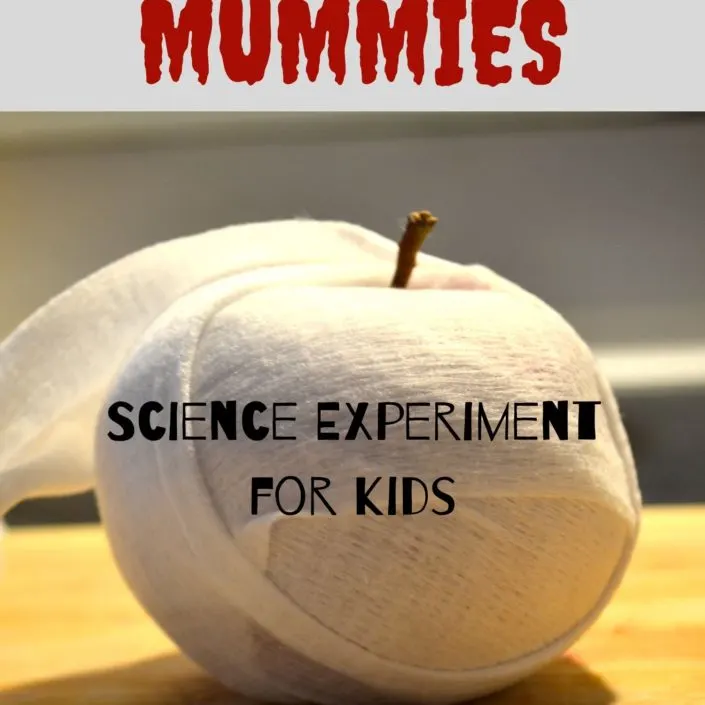
You will use two halves for each substance. One apple will be wrapped in gauze and the other will be without gauze.
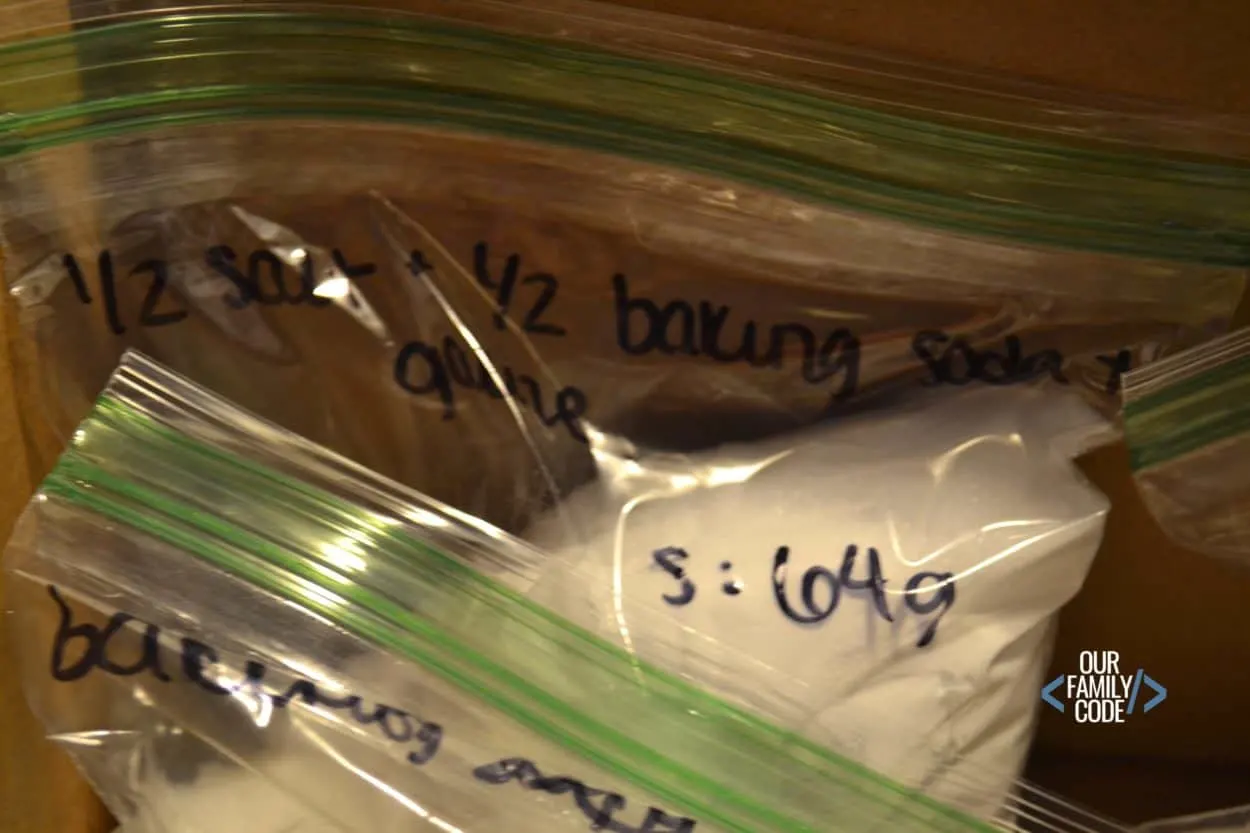
Notice how we wrote exactly what was used to preserve the apple mummy half in each bag. We used an “S” to designate our starting weight.
This will be different for every apple half unless you are the best apple magician in the world, you probably won’t end up with the same weight for each apple mummy half.
We used 1 cup for each baggie. For the 1/2 salt and 1/2 baking soda mixture, we used a 1/2 cup each so the total in the bag remained 1 cup.
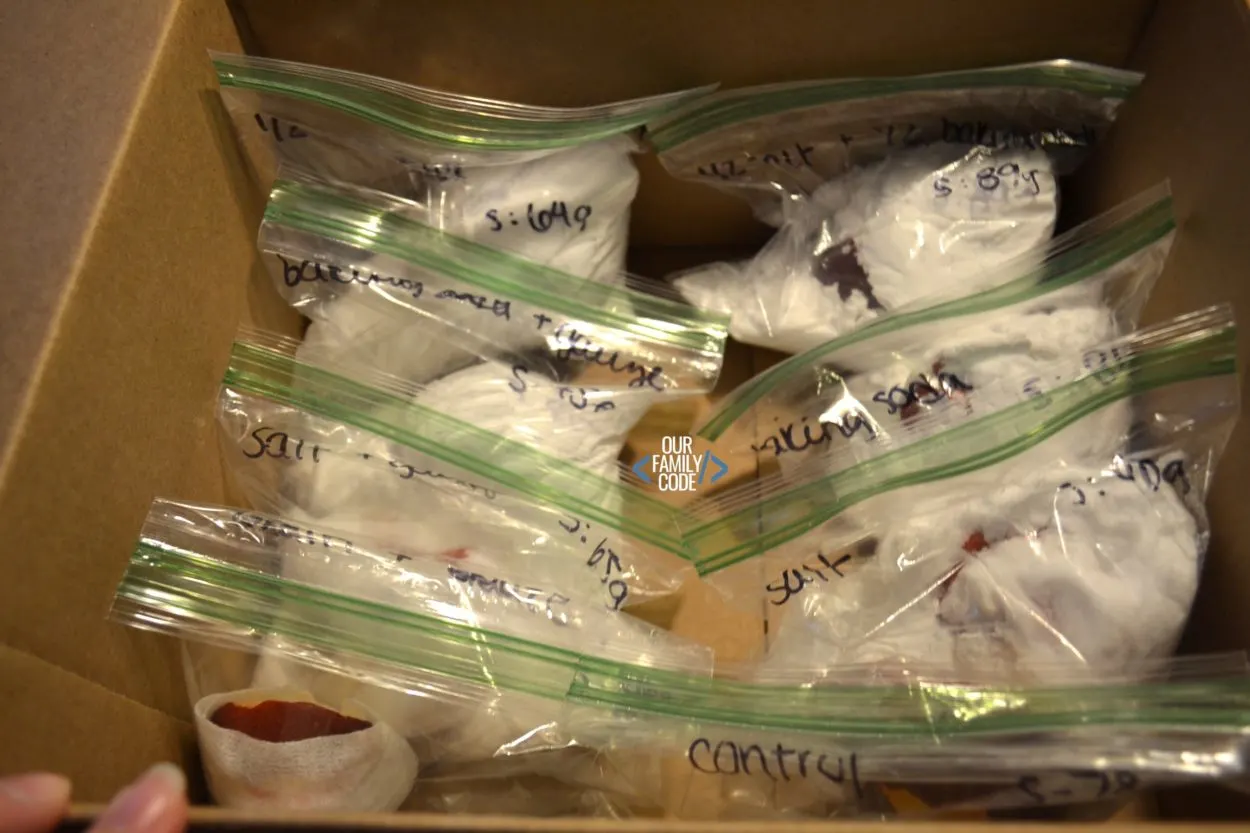
We arranged our apple mummy tomb bags by placing all of the apple mummies wrapped in gauze along the left side of the box and all of the plain apple mummies along the right side.
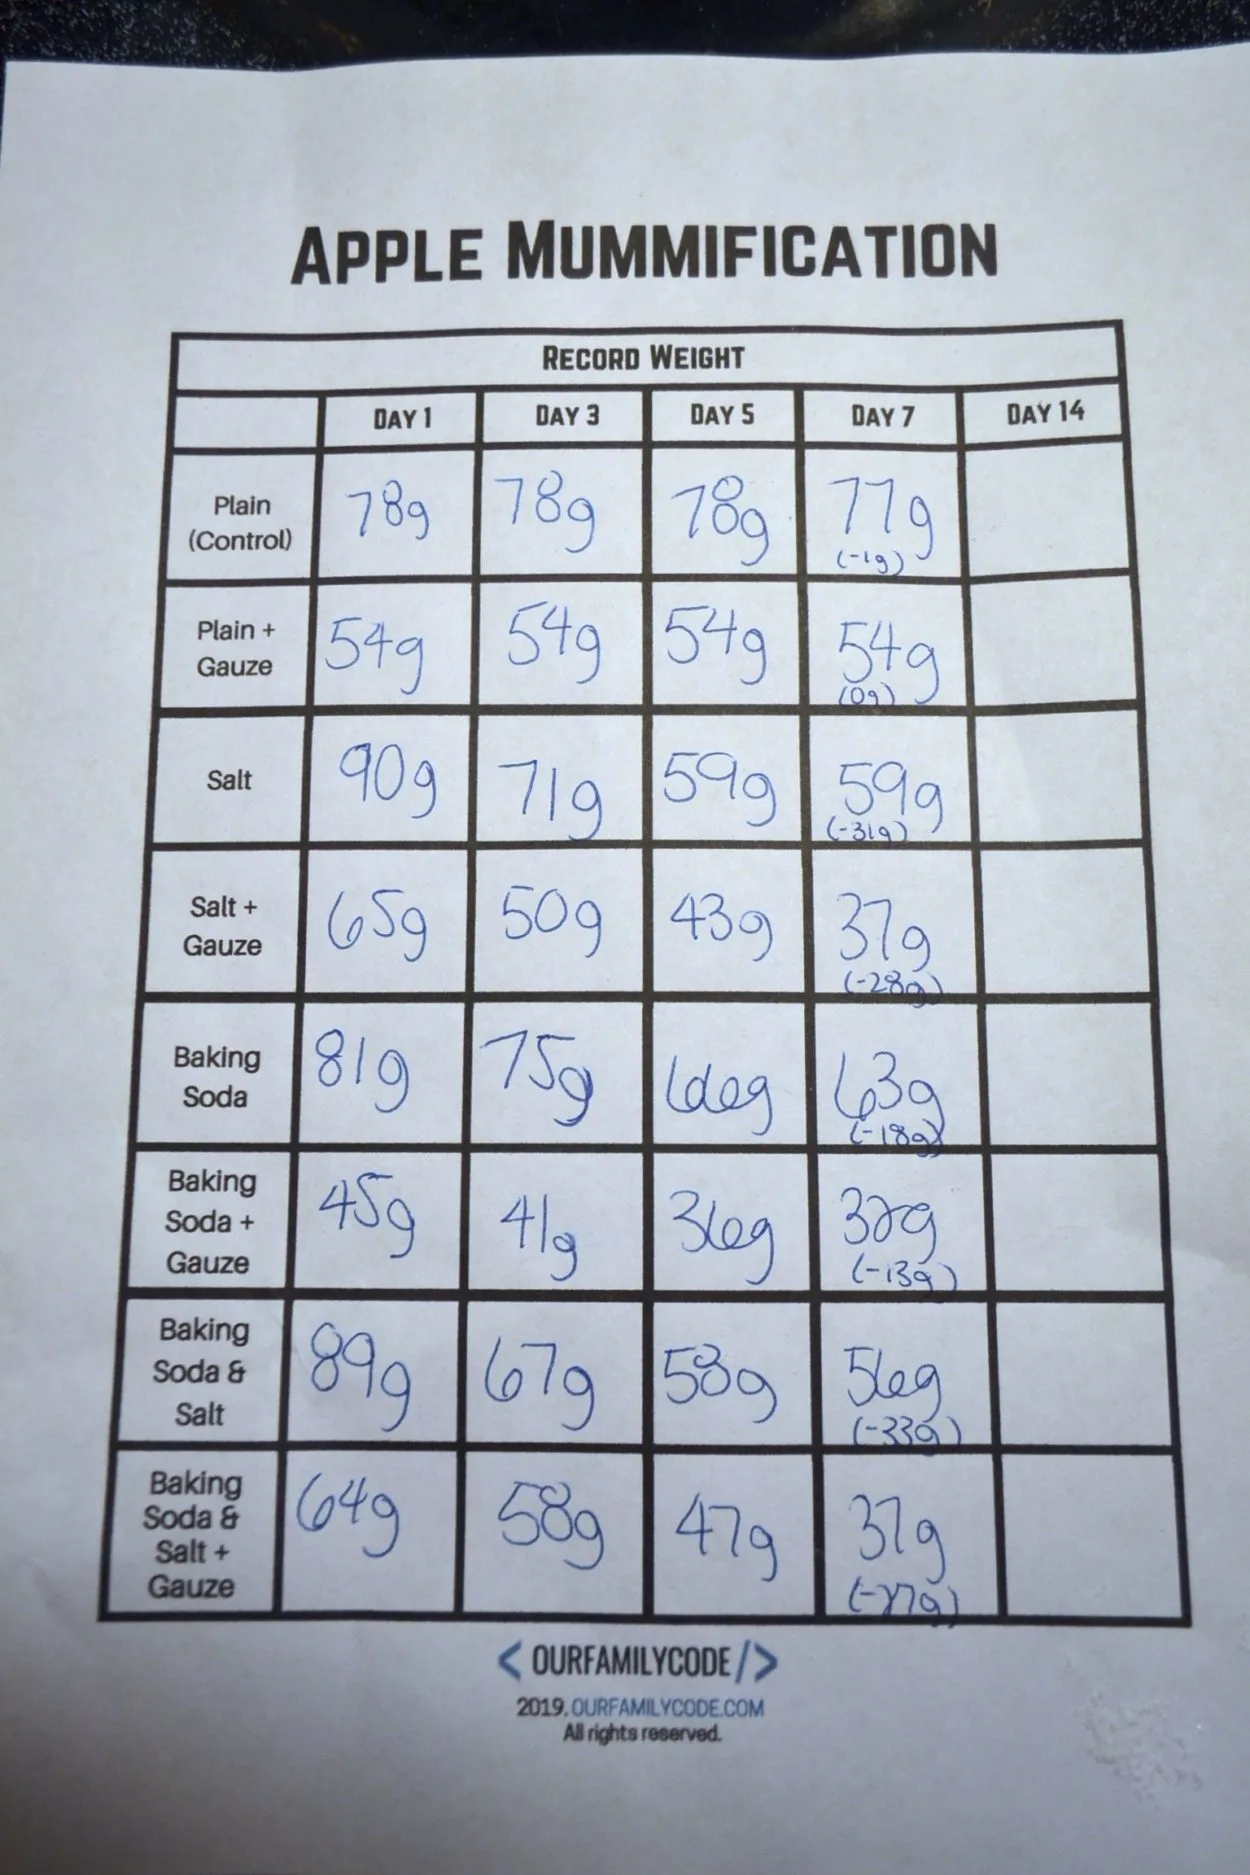
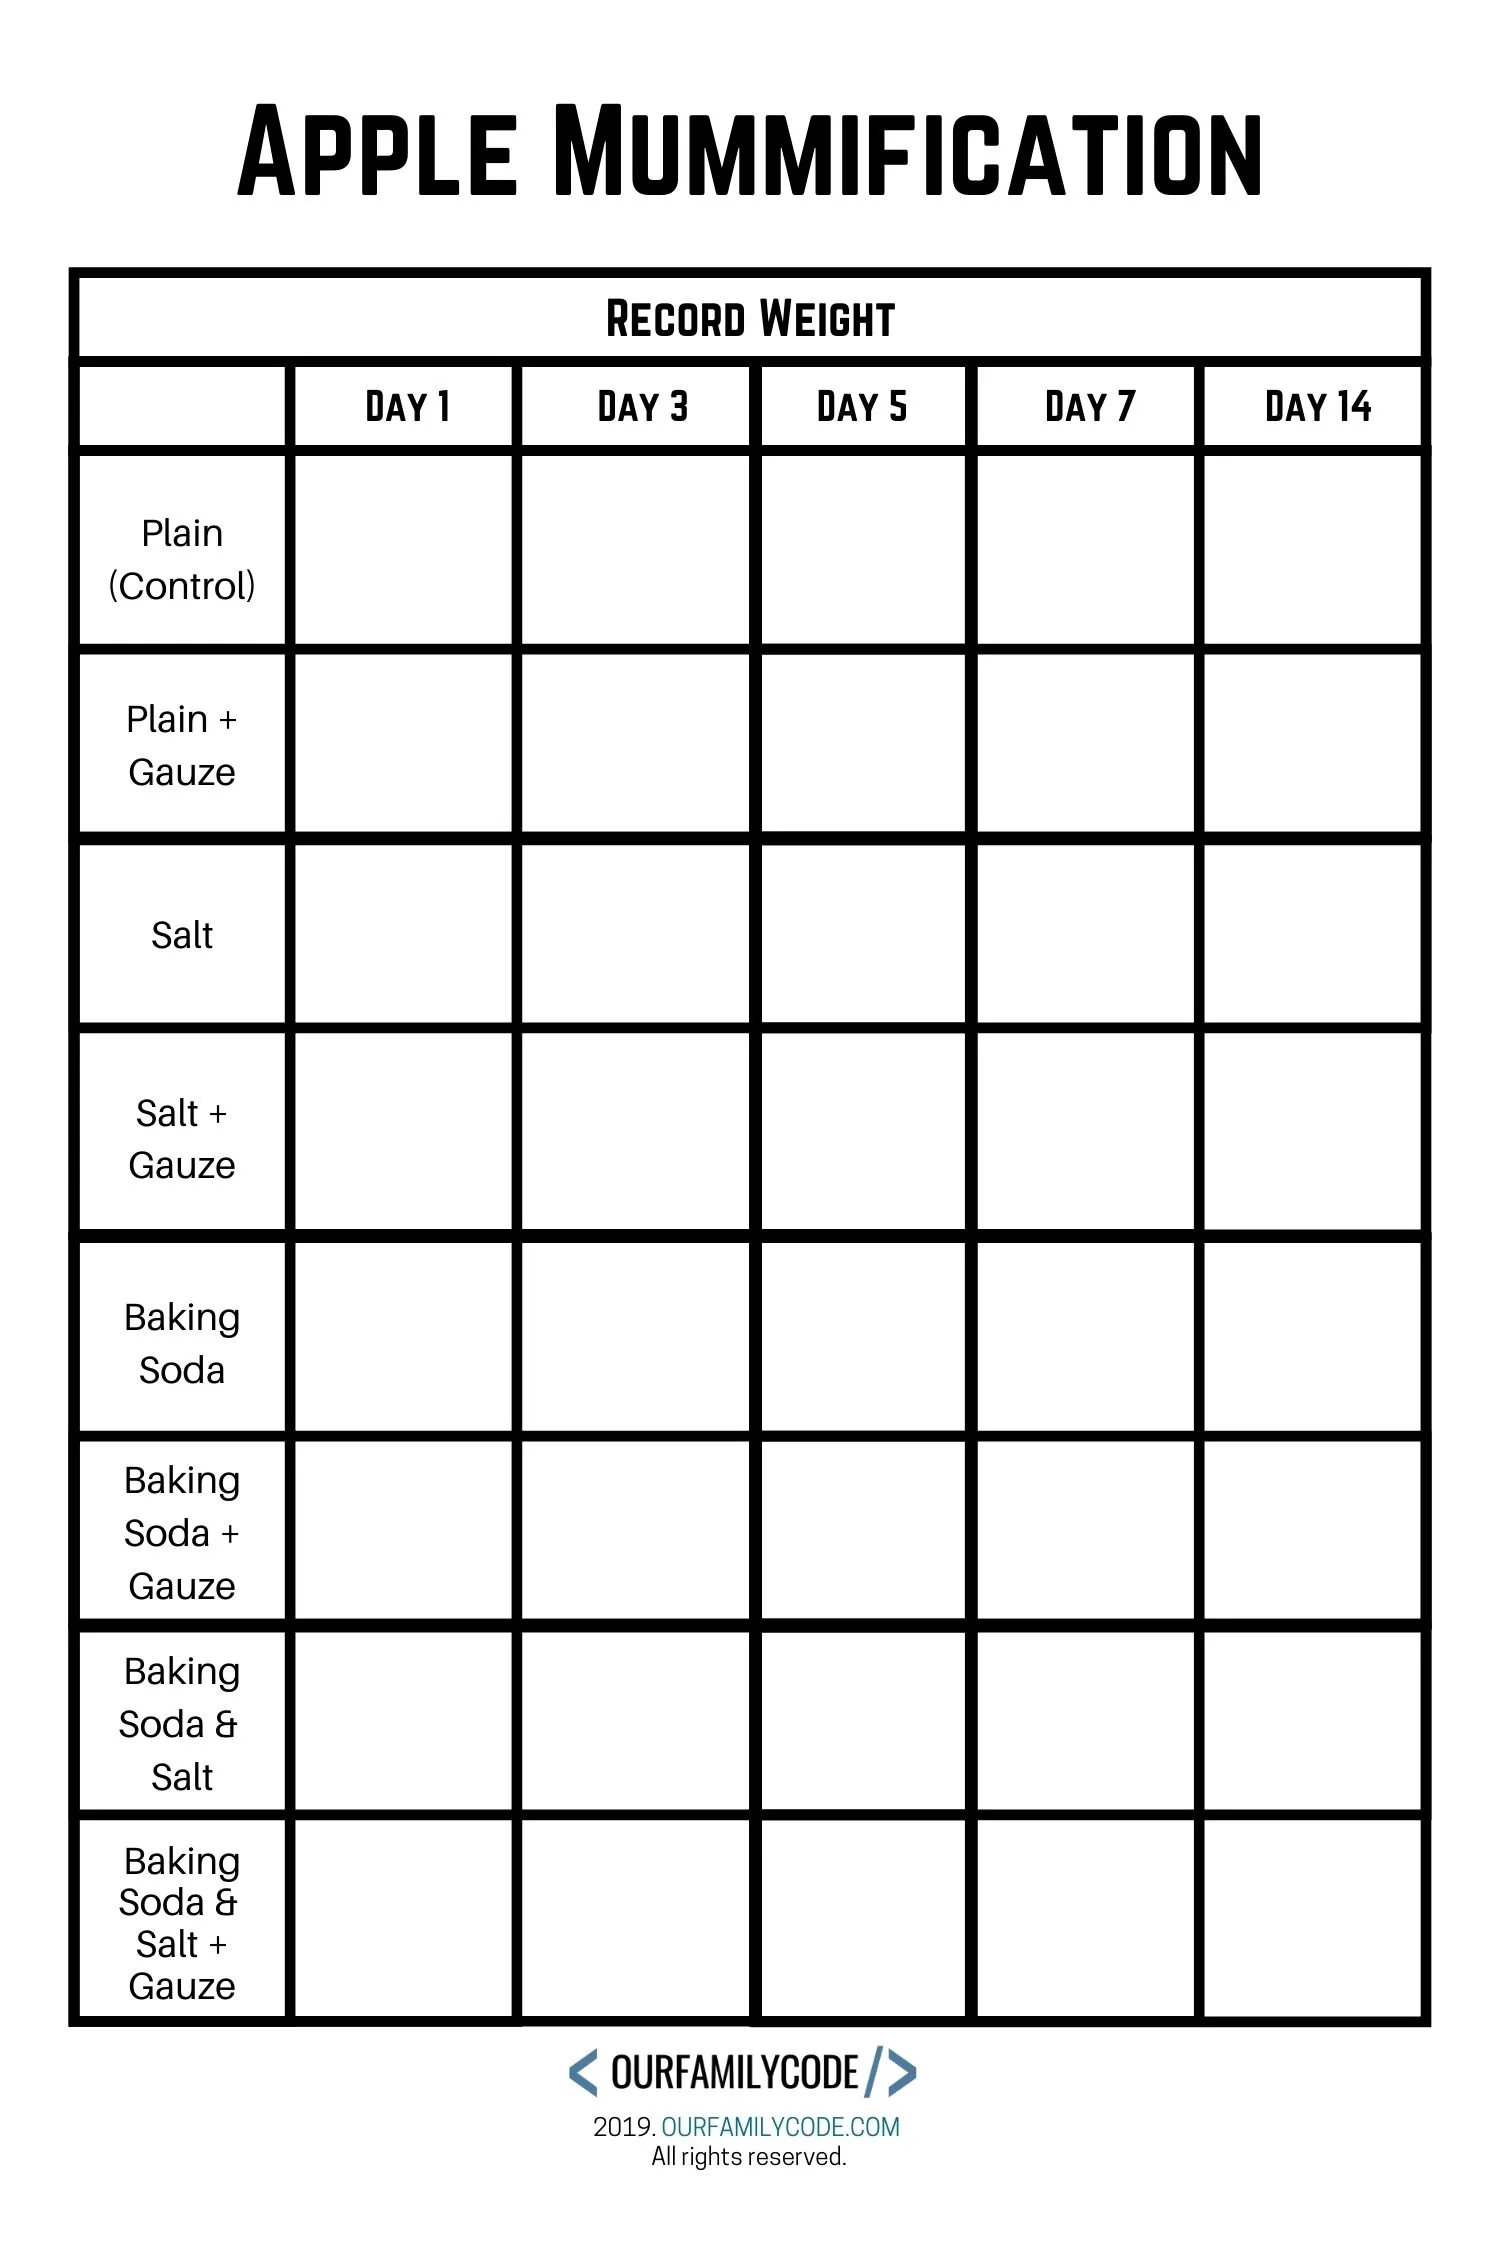
Our bags followed the order listed on the Apple Mummification worksheet (grab your free copy at the end of this post!)
How to Make Apple Mummies – Stage Two
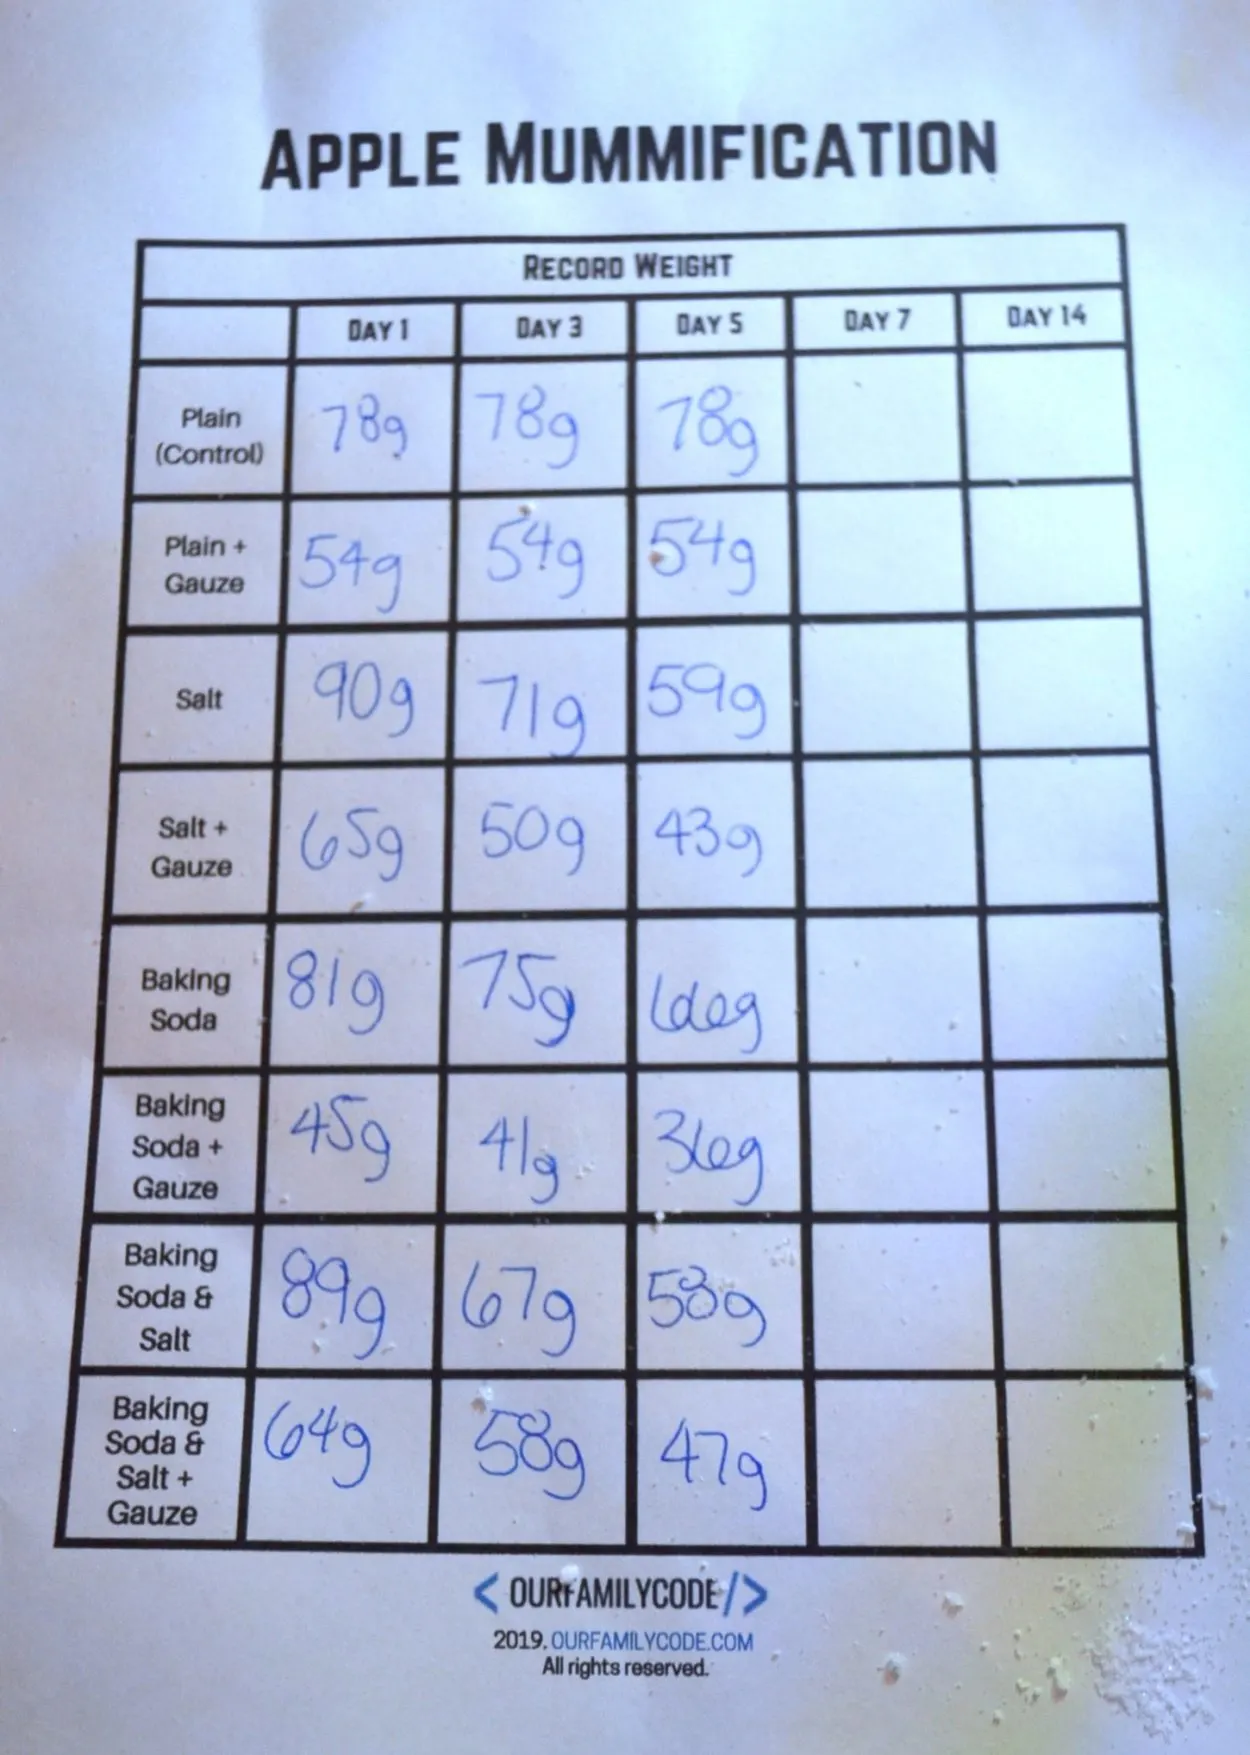
Starting on Day 3, remove your apples one by one following the order listed on the Apple Mummification worksheet (download your copy below!) Record the weight (we recorded ours in grams) on your worksheet.
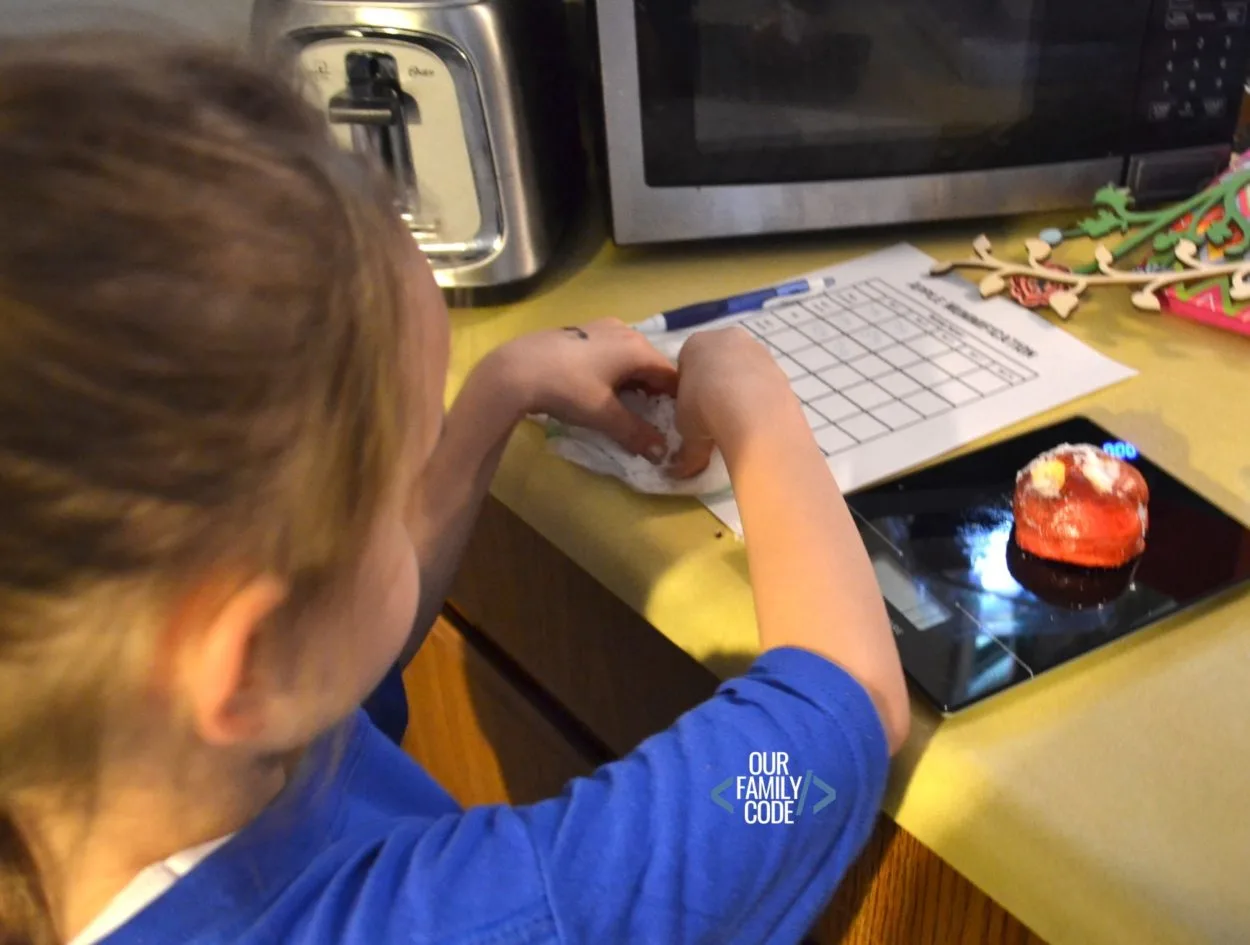
Observe the physical changes that have occurred for each apple. We observed that some of our apples already felt lighter and more wrinkled than others. Do these changes correlate with a change in weight?
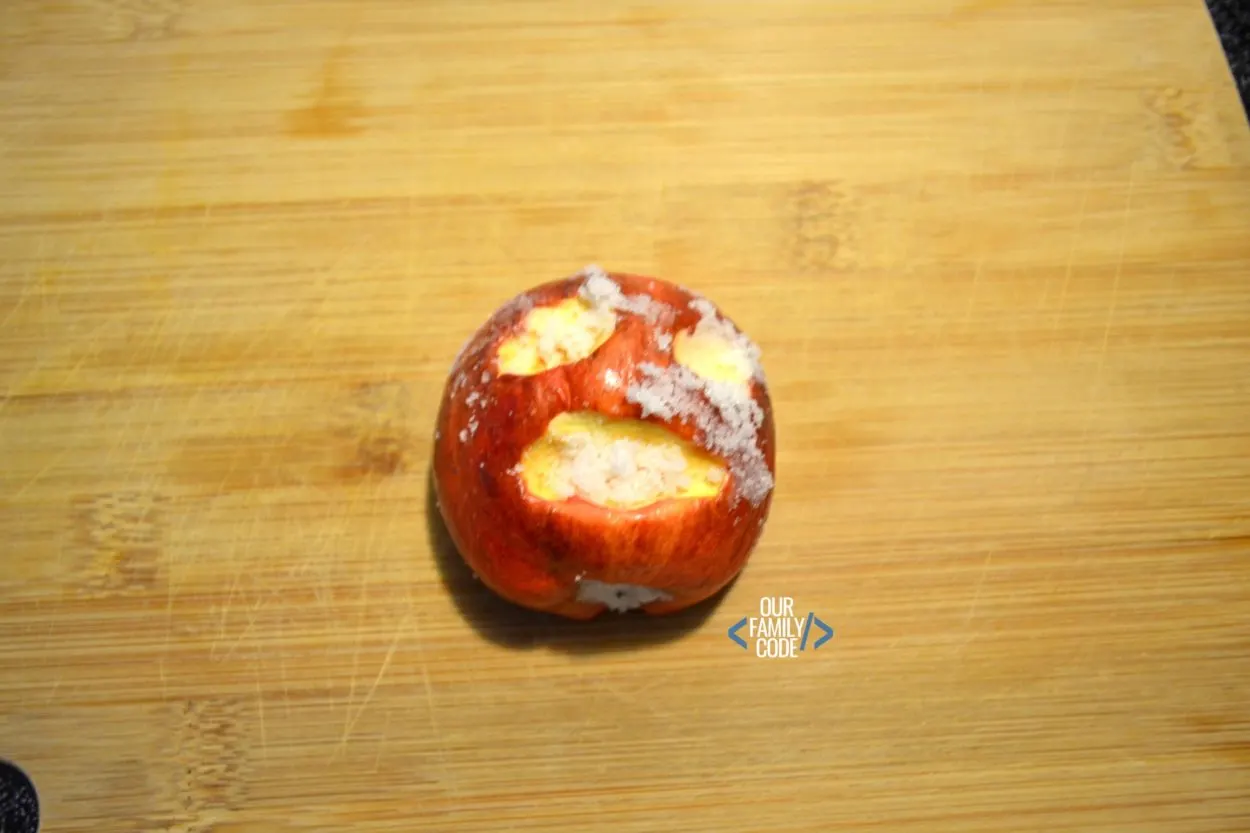
This is what our salt apple mummy looked like after 3 days in its tomb!
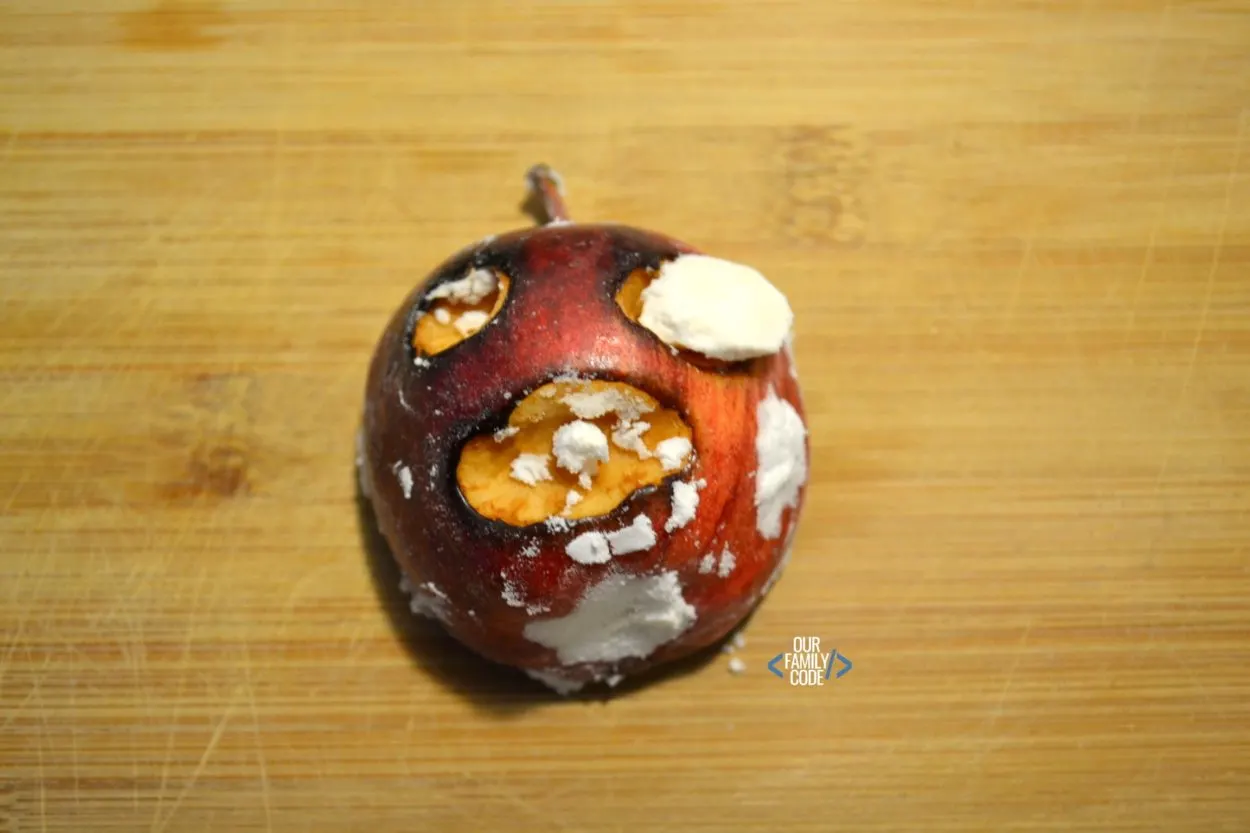
This is what our baking soda apple mummy looked like after 3 days in its tomb!
Repeat this procedure for Day 5, Day 7, and Day 14! Record the changes on your Apple Mummification worksheet (grab your free download below!)
Apple Mummies – Day 5
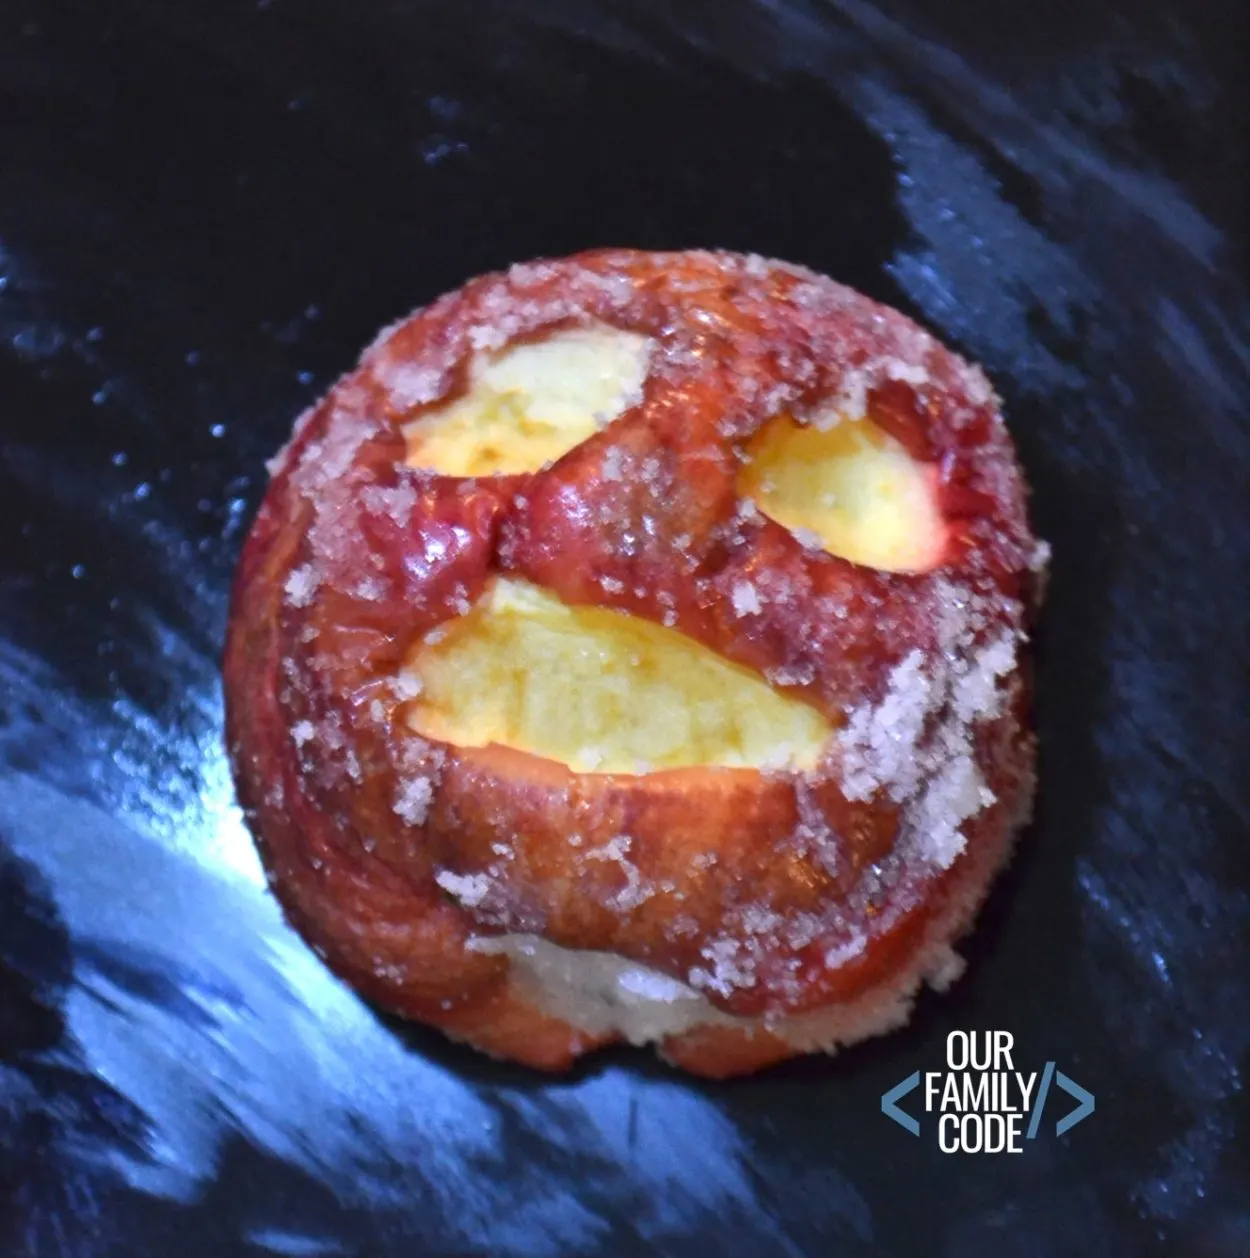
We had some considerable results on day 5! This is what our salt apple mummy looked like after 5 days in its tomb!
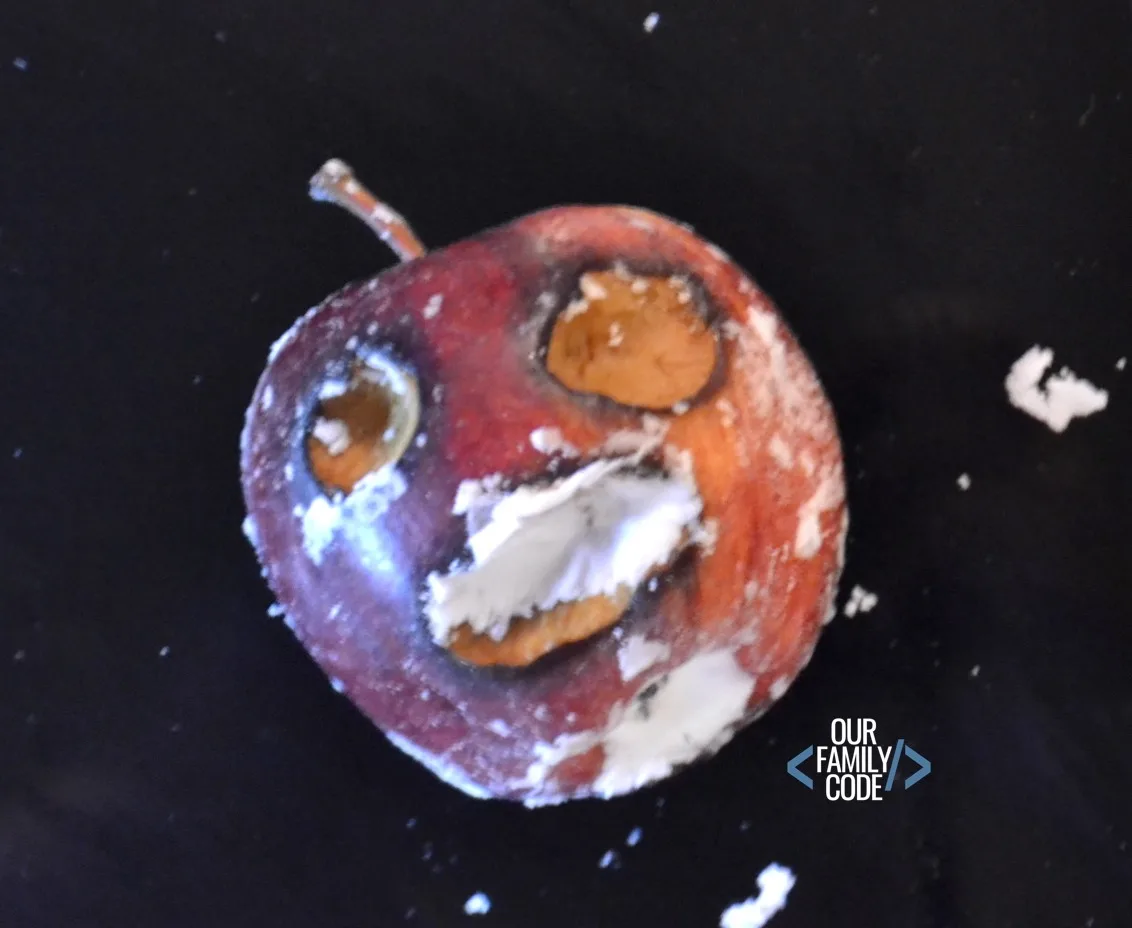
This is what our baking soda apple mummy looked like after 5 days in its tomb!
This is what our 1/2 salt 1/2 baking soda apple looked like after 5 days in its tomb!
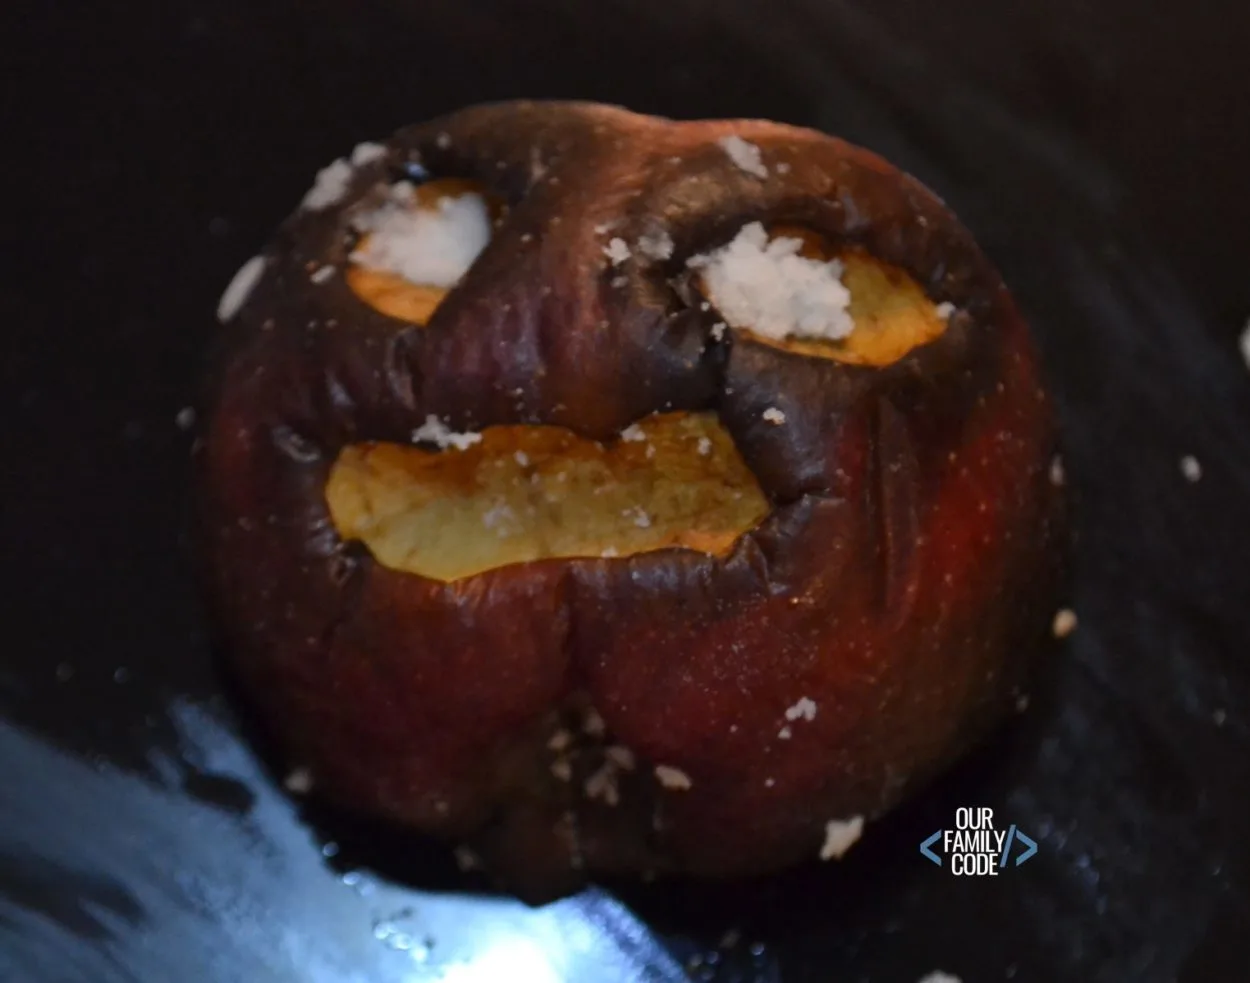
Repeat this procedure for Day 7 and Day 14! Record the changes on your Apple Mummification worksheet (grab your free download below!)
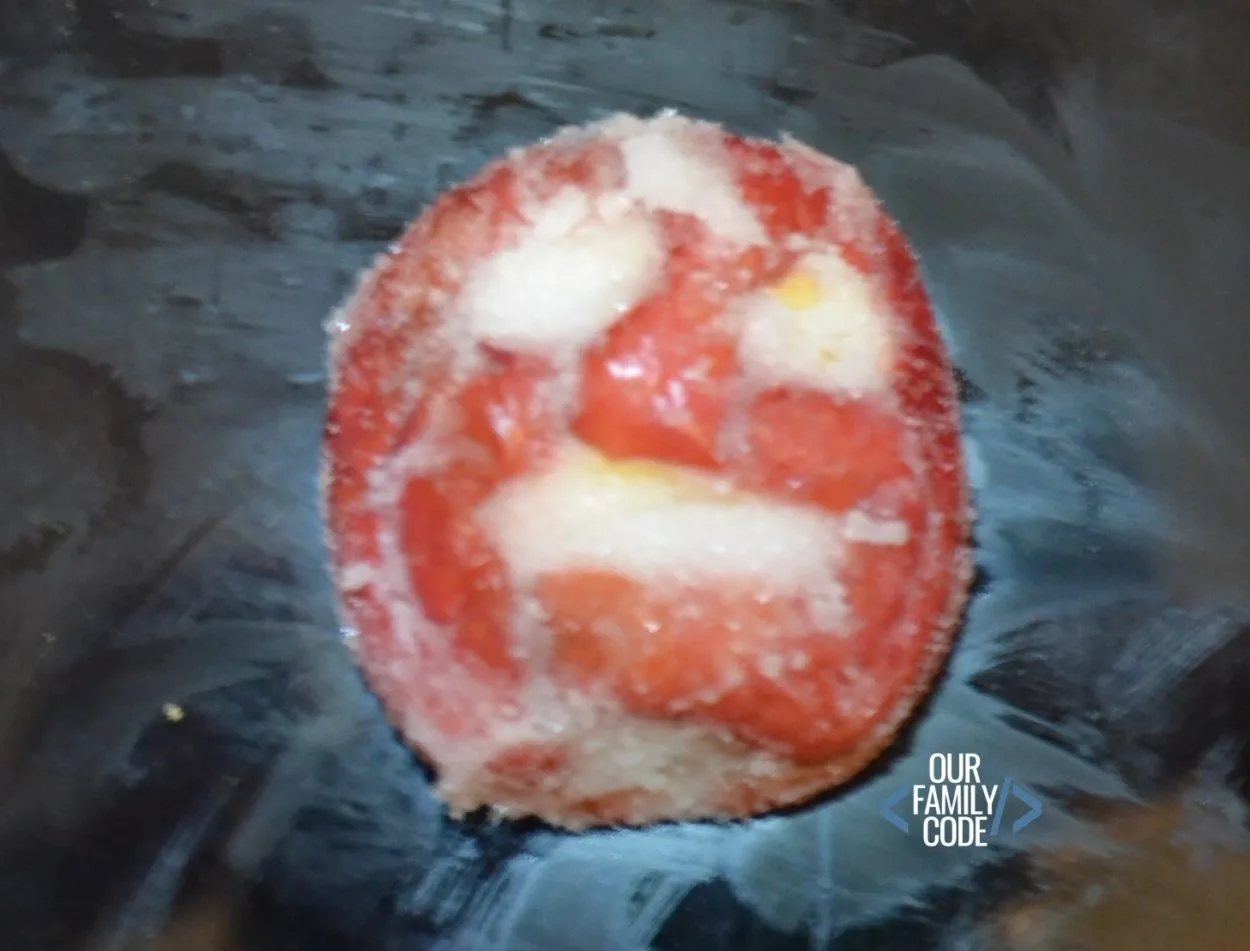
Apple Mummies – Day 7
On Day 7, we were still having some doubts about our hypothesis, but we started noticing some changes that had occurred that led us to believe that we might see a favorable result in another week. Check out our results below!
Check out what our salt apple mummy looked like after 7 days in its tomb!
This is what our baking soda and salt apple mummy looked like after 7 days in its tomb!
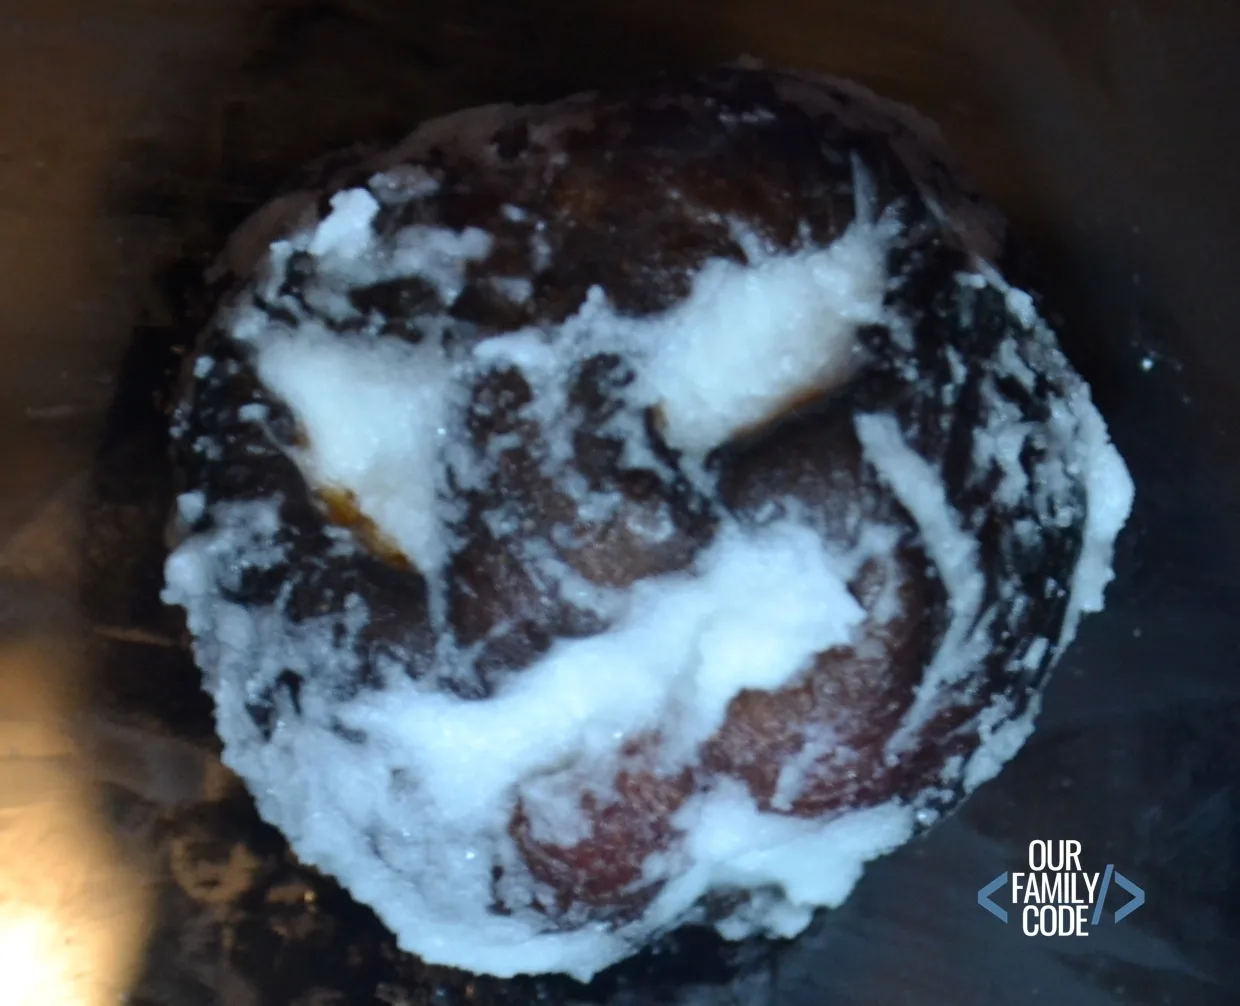
Repeat this procedure for Day 14! Record the changes on your Apple Mummification worksheet (grab your free download below!)
Apple Mummies – Day 14
It was pretty exciting to see the whole experiment come together on day 14! Check out our results below!
This is what our salt apple looked like after 14 days in its tomb!
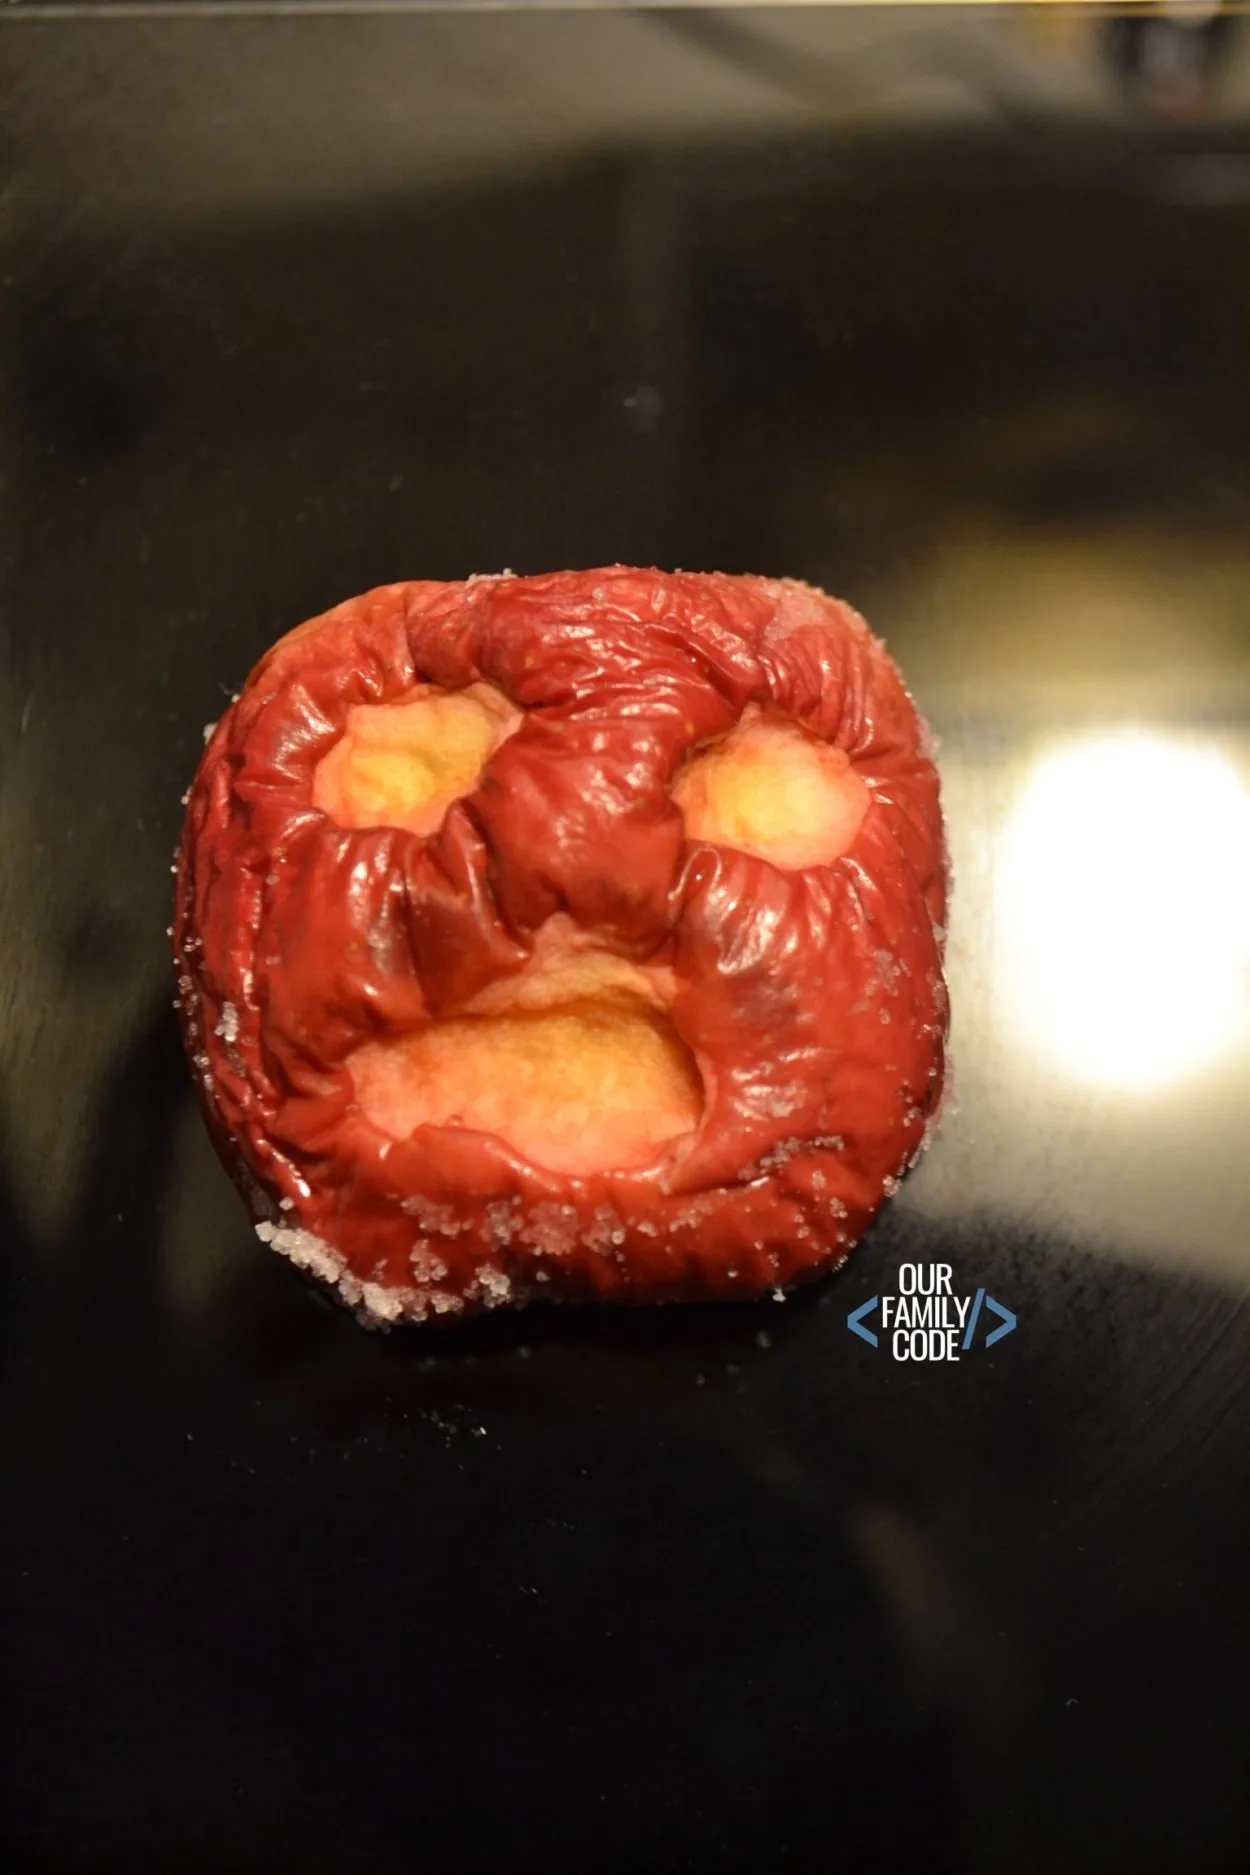
Check out what our baking soda apple mummy looked like after 14 days in its tomb!
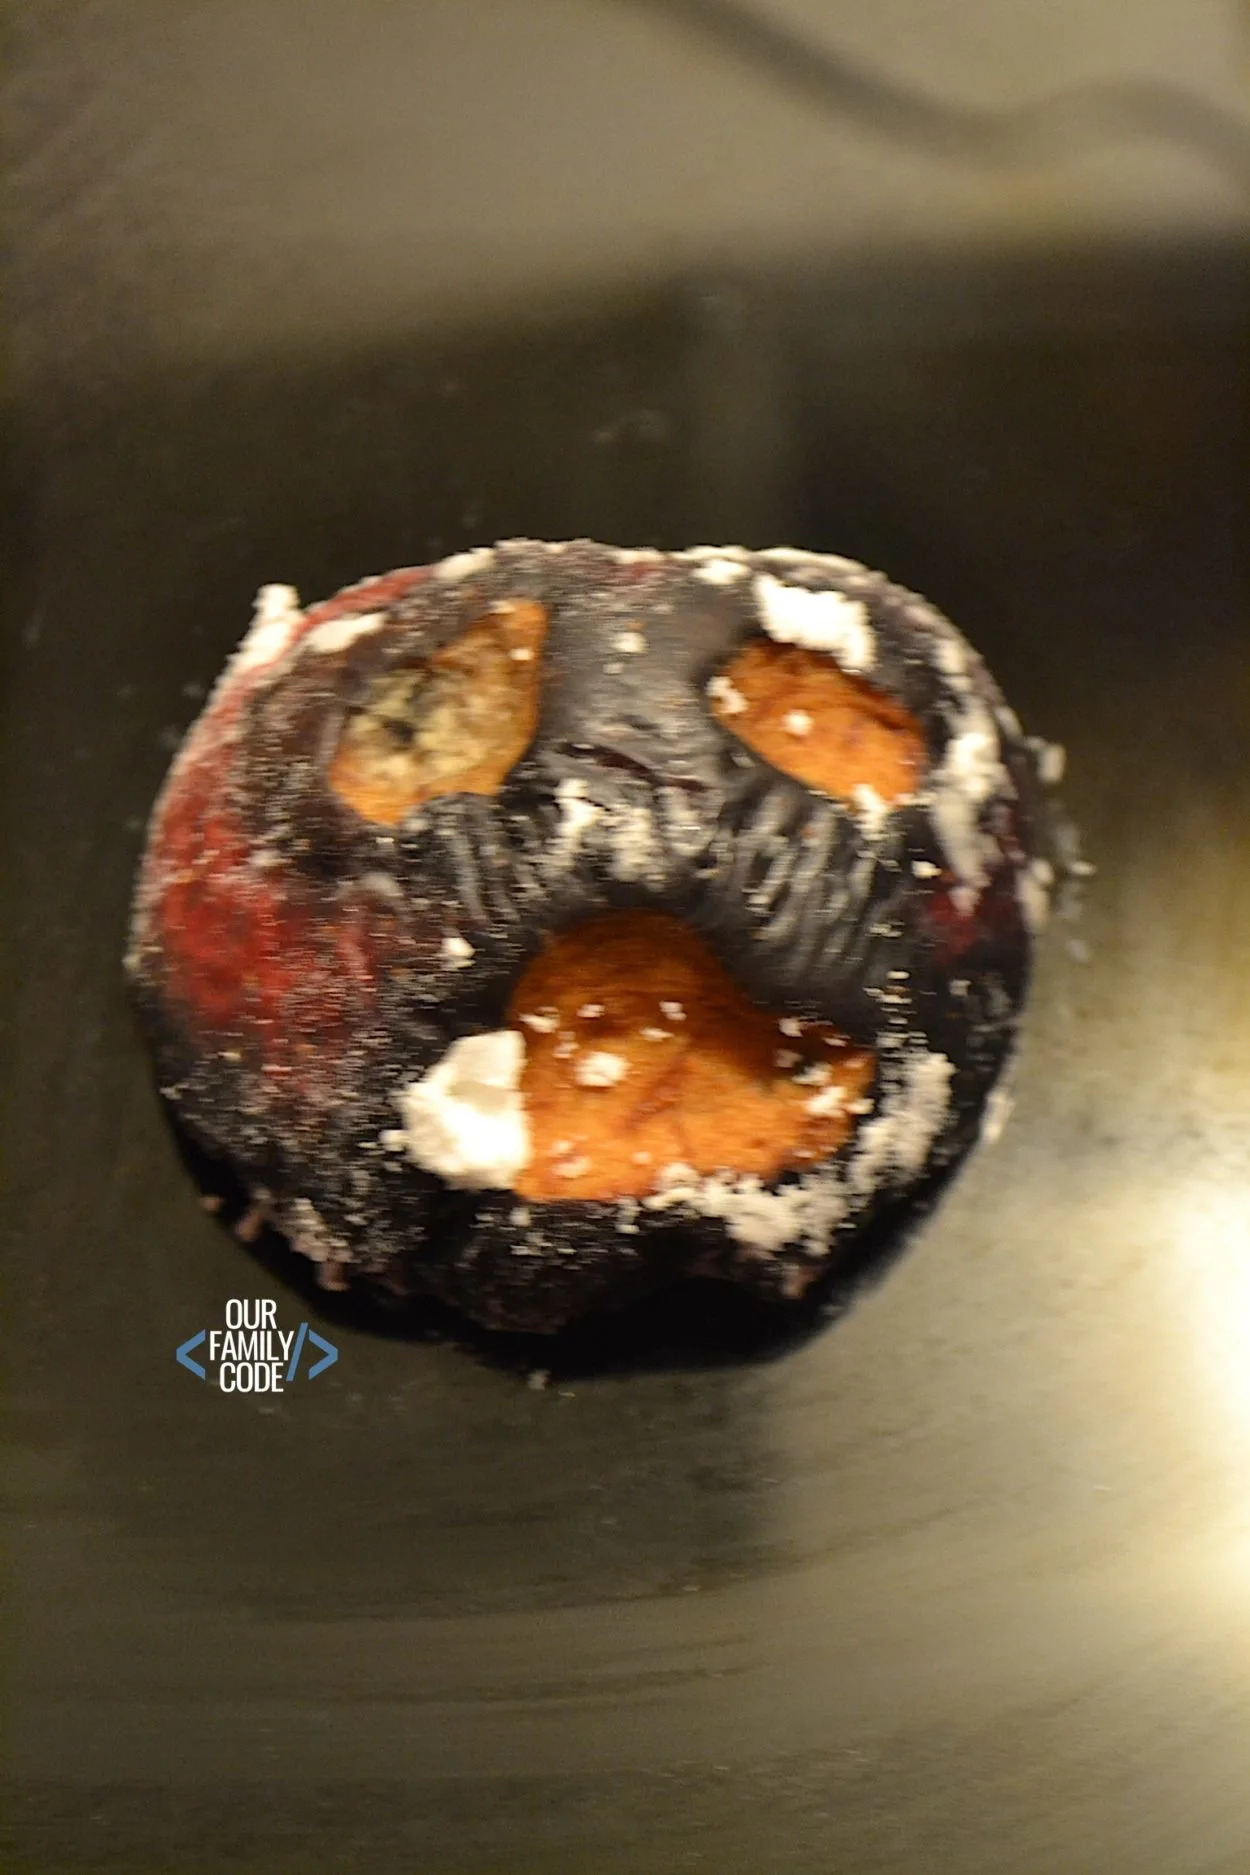
Here what our 1/2 baking soda + 1/2 salt apple mummy looked like after 14 days in its tomb!
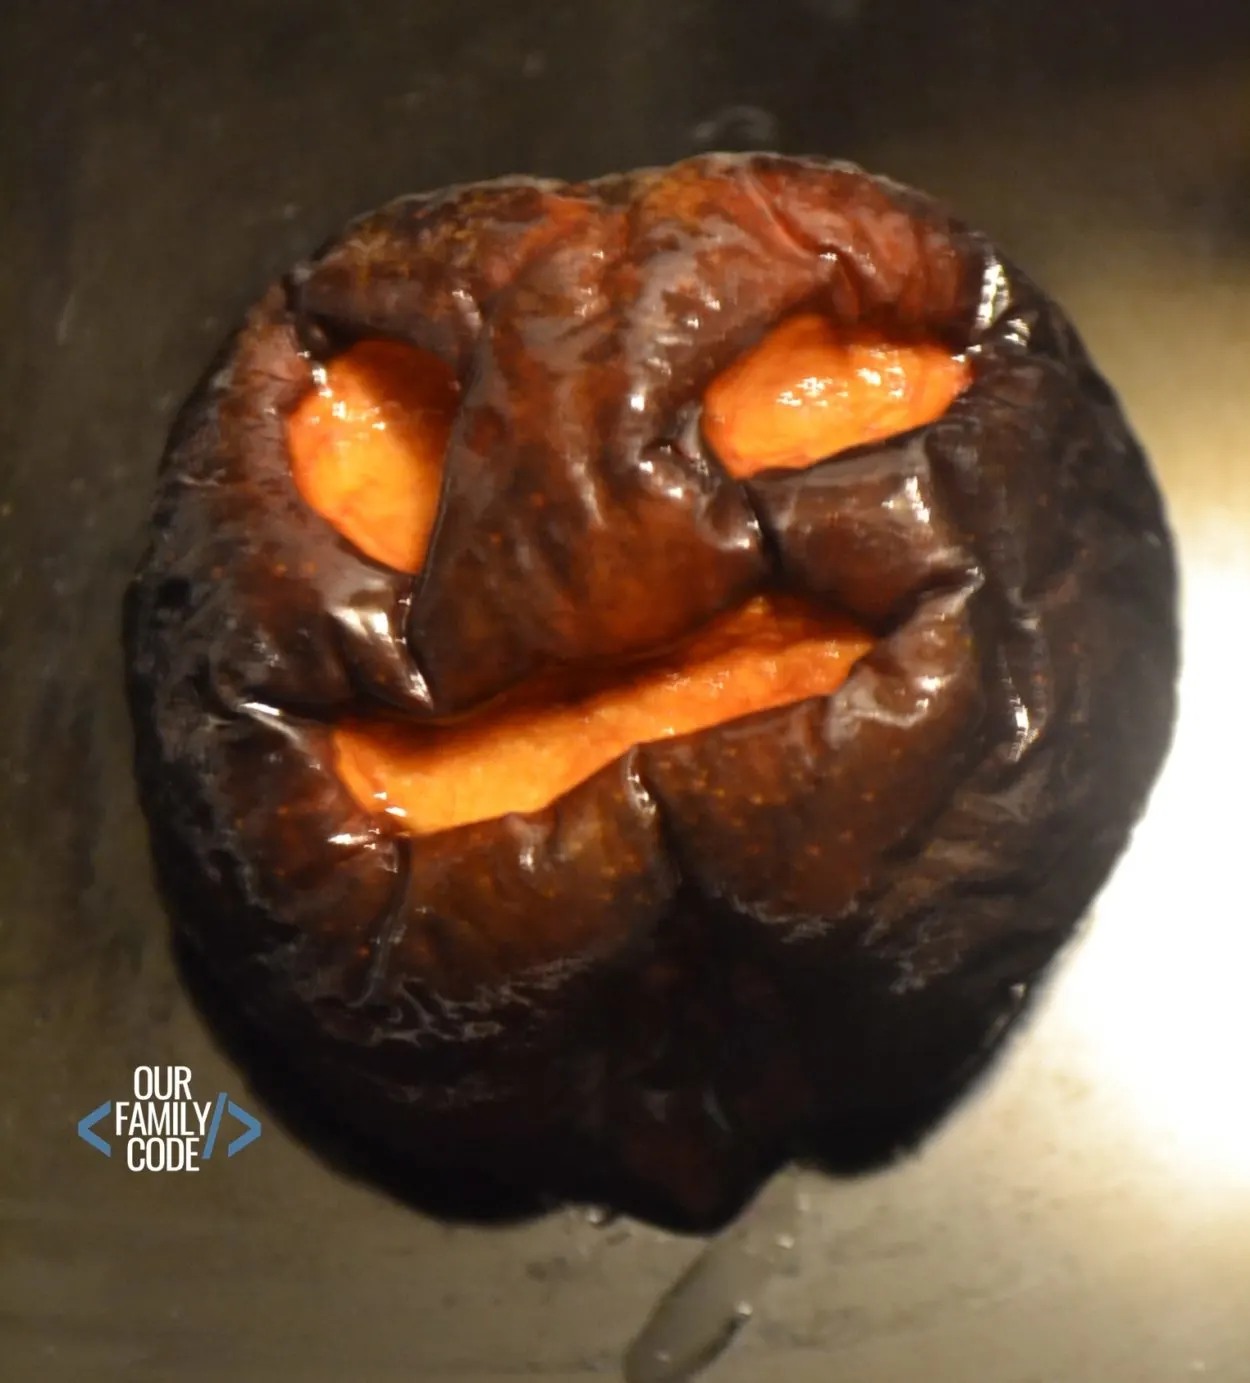
This is what our 1/2 baking soda, 1/2 salt, and gauze apple mummy looked like after 14 days in its tomb!
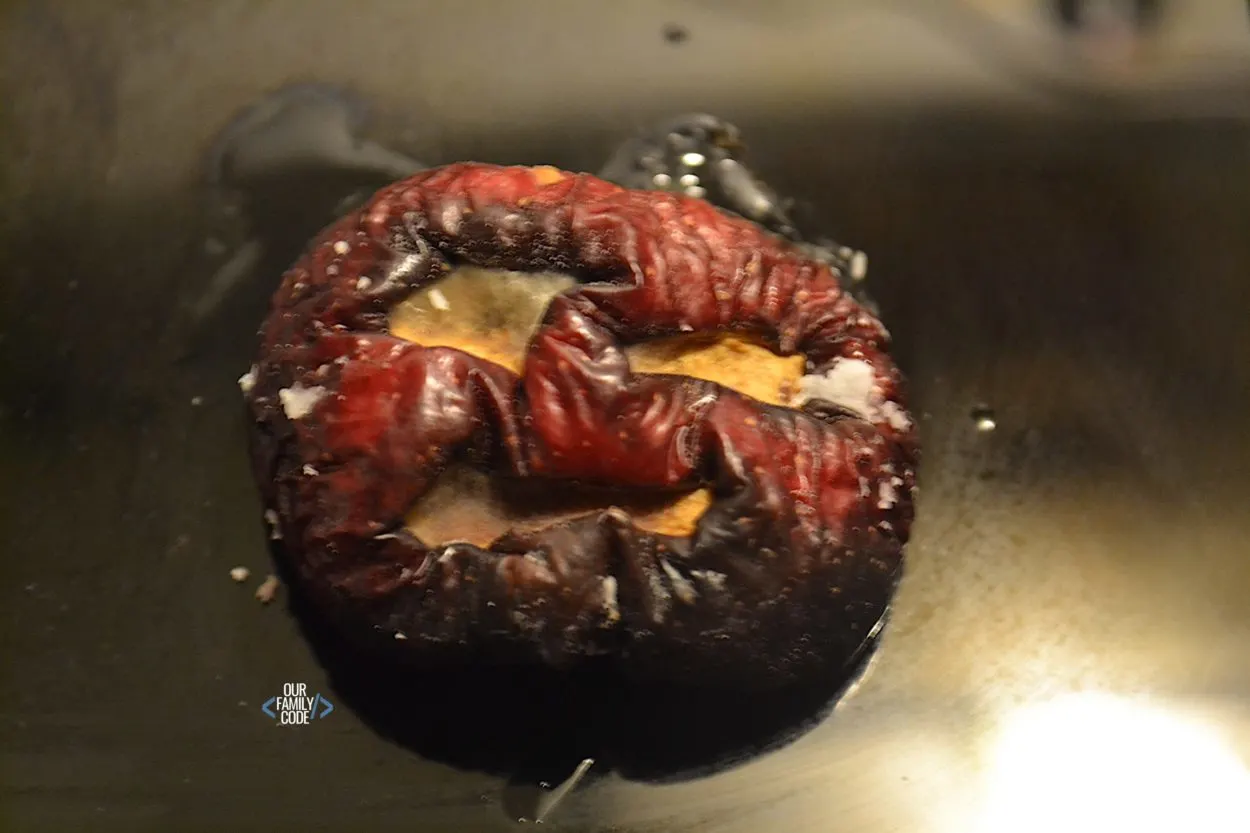
Record your results on your Apple Mummification worksheet (grab your free download below!)
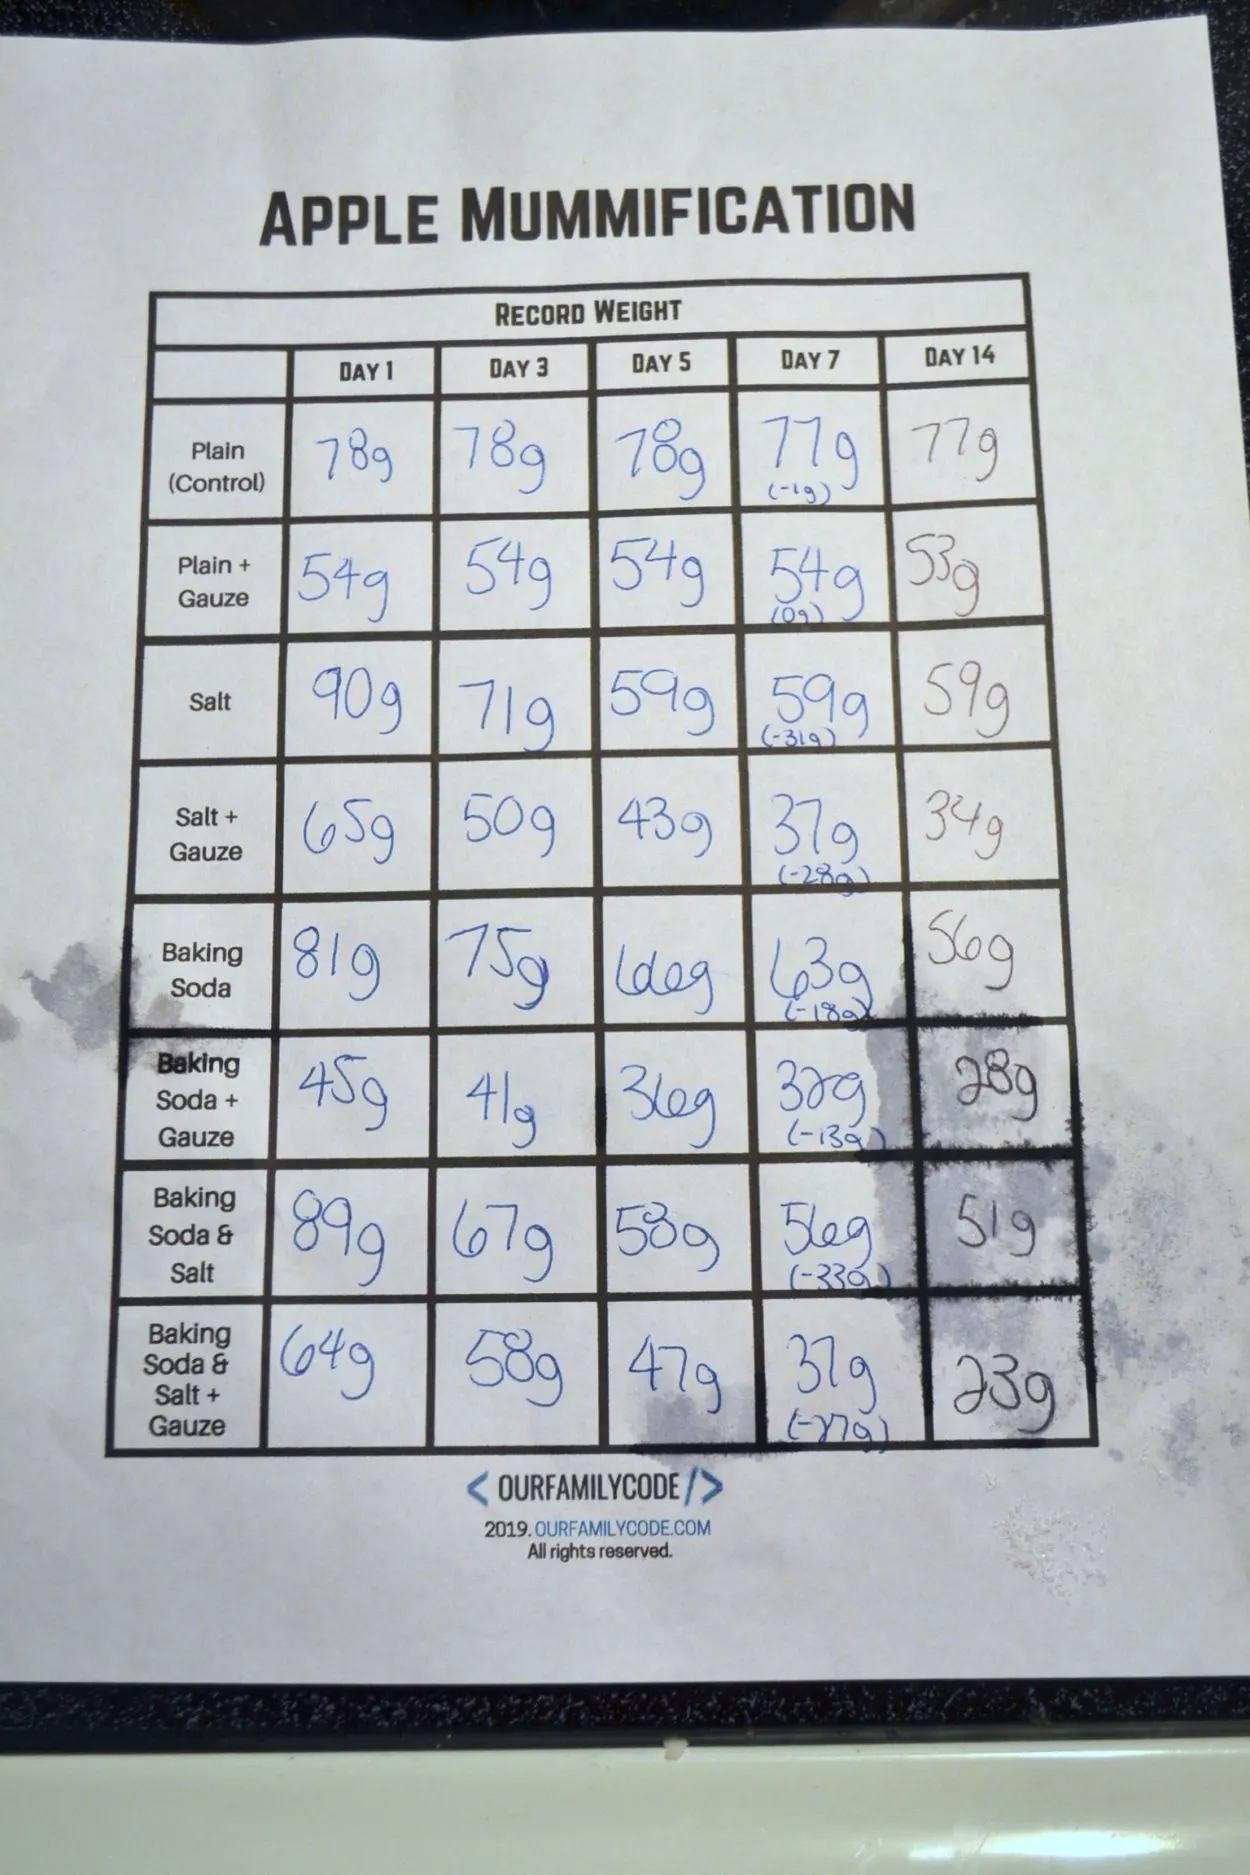
Apple Mummy Math
We decided to put more math into our activity and calculate the amount of apple weight lost during the experiment period in order to mathematically determine the most effective way to preserve our apple mummies.
To calculate this, divide Day 14 by Day 7 and then subtract 1 to get the percentage lost.
| Apple | Day 1 | Day 14 | % of Apple Weight Lost |
| Control | 78g | 77g | 1.3% |
| Plain + Gauze | 54g | 53g | 1.85% |
| Salt | 90g | 59g | 34.4% |
| Salt + Gauze | 65g | 34g | 47.69% |
| Baking Soda | 81g | 56g | 30.86% |
| Baking Soda + Gauze | 45g | 28g | 37.78% |
| 1/2 Baking Soda, 1/2 Salt | 89g | 51g | 42.7% |
| 1/2 Baking Soda, 1/2 Salt, Gauze | 64g | 23g | 64.1% |
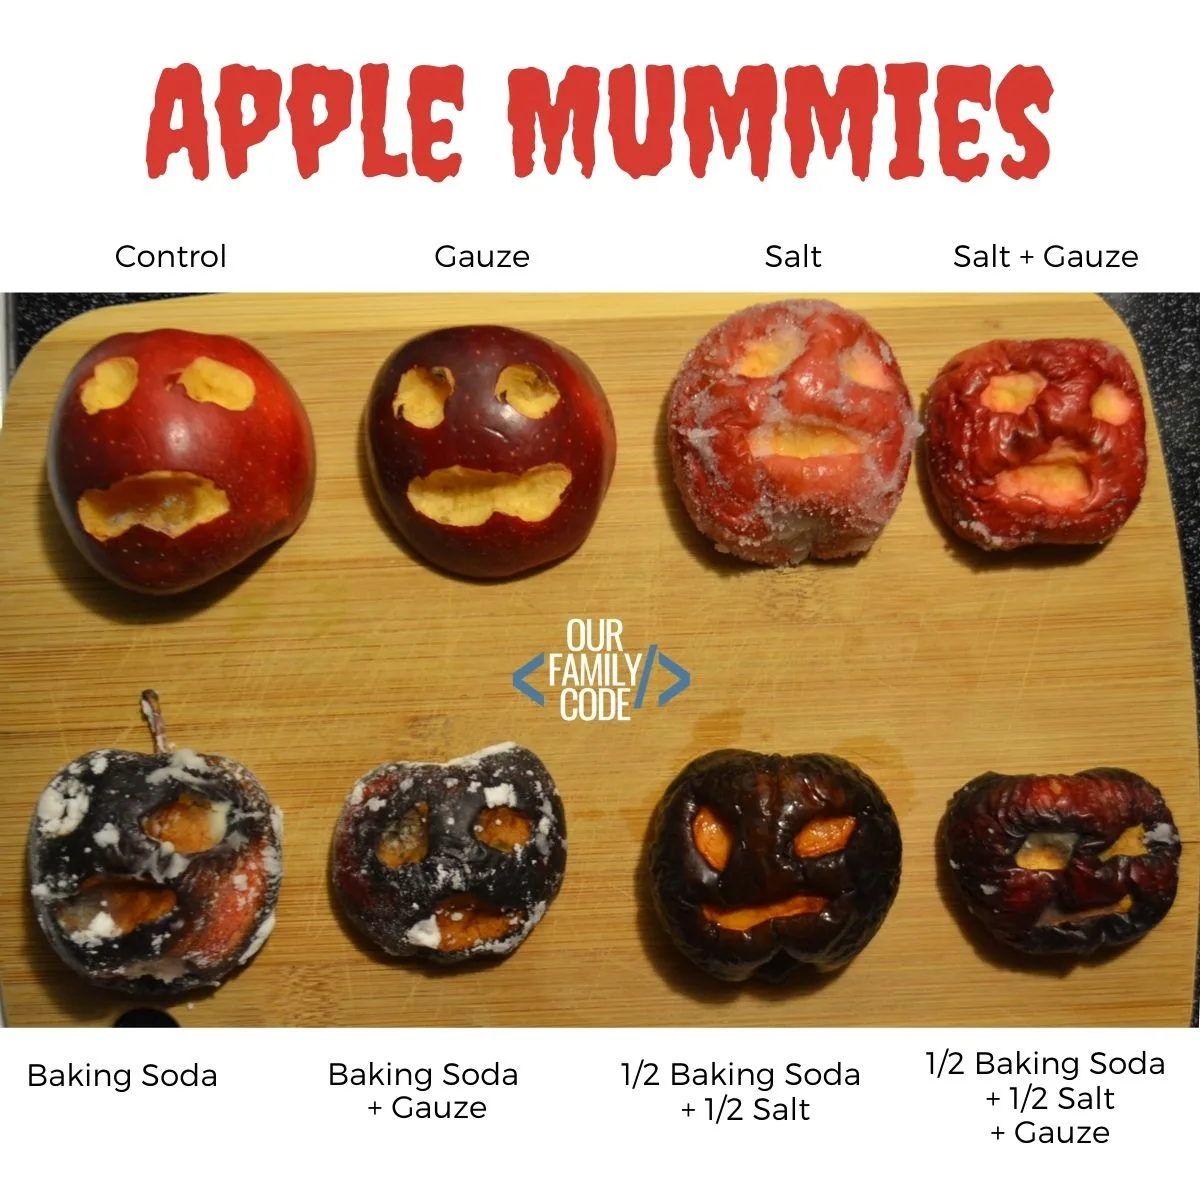
What method worked best to preserve your apple mummy?
CLICK HERE TO DOWNLOAD THE FREE APPLE MUMMIFICATION WORKSHEET
Find more Magic Tree House Activities!
- Can You Build a Working Drawbridge? Castle STEAM Challenge
- Deciphering Dinosaur Names with Greek and Latin Words
- Ahoy Algorithms Treasure Hunt Unplugged Coding Activity
Find more Halloween Activities!
- 13 Nights of Halloween STEAM Activities!
- How to Make Spooky Ghost Sounds STEM Activity
- Learn about Static Electricity with this Zombie Crossing Activity!
PIN THIS IMAGE TO SAVE THIS ACTIVITY!
Food Science Activities
Find more activities that use food to explore Science, Technology, Engineering, Art, and Math!
STEAM Food Activities for Kids
You and your kids are going to love these STEAM food activities for kids! Kids loves to bake, which is why is makes sense to take their baking curiosity and explore food through hands-on science, technology, engineering, art, and math activities.
Pumpkin Balance Stack STEAM Challenge
This pumpkin balance activity is great for kids of all ages! Can you complete the Balancing Pumpkins STEAM Challenge? How many pumpkins can you stack?
Popcorn STEAM: Learn about Heat Transfer
This heat transfer popcorn STEAM activity explores conduction, convection, and radiation as well as physical change and ends with tasty popcorn!!
Exploding Pumpkin STEAM Challenge: 4 Explosive Pumpkin Activities
Take on the exploding pumpkin STEAM challenge with 4 different ways to explode a pumpkin with chemical reactions and force! These activities are sure to inspire some fall STEAM fun!
Explore the 5 Senses with this Preschool Pumpkin Science Activity
This 5 senses preschool pumpkin science activity introduces scientific inquiry to young learners and helps get everyone excited about Fall!
Is Sour Candy Acidic? Candy pH Science Activity for Kids
In this yummy experiment, we are testing to see if sour candy is acidic with a simple acid-base reaction.
Dancing Cranberries Fall Preschool Science Experiment
Experiment with dancing cranberries with this super simple preschool science activity while observing concepts like floating and sinking.
Salt Water Density STEAM Experiment: Can a Carrot Float?
Investigate & observe the density of a carrot, salt water, and regular water. Watch the magic carrot in action in this easy salt water density activity for kids!
How to Clean Pennies Chemistry Experiment
Can you turn a dull penny into a pretty penny? Learn how to clean pennies with this at home chemistry experiment!
Meet Toni, the Maker Mom behind Our Family Code

Hey there, I’m Toni! I’m a software engineer and Maker Mom that finds my joy in unleashing my children’s curiosity by exploring STEAM concepts with my fantastic five!
When I’m not chasing toddlers or raising tweens, you can find me tearing things up and putting them back together over here at Our Family Code.
I am the owner and content creator of multiple educational websites designed to increase access to STEAM & STEM education with a focus on teaching computer science and coding to kids of all ages!
You can also find out more about me by visiting ToniGardner.com!








Cristin
Monday 27th of April 2020
Hi! I can't wait to try this experiment with my students this week! I am wondering how much you add to each baggie/apple - how much salt, baking soda, etc. I couldn't find that listed. Thanks for your help!
Toni
Monday 27th of April 2020
We used 1 cup for each baggie. For the 1/2 salt and 1/2 baking soda mixture, we used a 1/2 cup each so the total in the bag remained 1 cup. This experiment is so much fun! I hope your students enjoy it!