Learn about rotational symmetry with Frozen snowflake symmetry resist winter art!
This is a great winter math + art project to do on a snow day this season!
This activity is ideal for teaching kids how to recognize lines of symmetry and observe the difference between lateral and rotational symmetry concepts.

This post contains affiliate links. As an Amazon Associate, Our Family Code earns from qualifying purchases. Please see our Disclosure Policy for more details.
What is Rotational Symmetry?
Rotational symmetry occurs when an object looks the same after it is rotated.
In the case of snowflakes, rotational symmetry occurs 6 times since most snowflakes have six points. The center of the snowflake can be referred to as the center of rotation.
In order to qualify as rotational symmetry, a snowflake must be able to rotate by less than 360° and appear unchanged. Check out the following graphic to observe rotational symmetry.
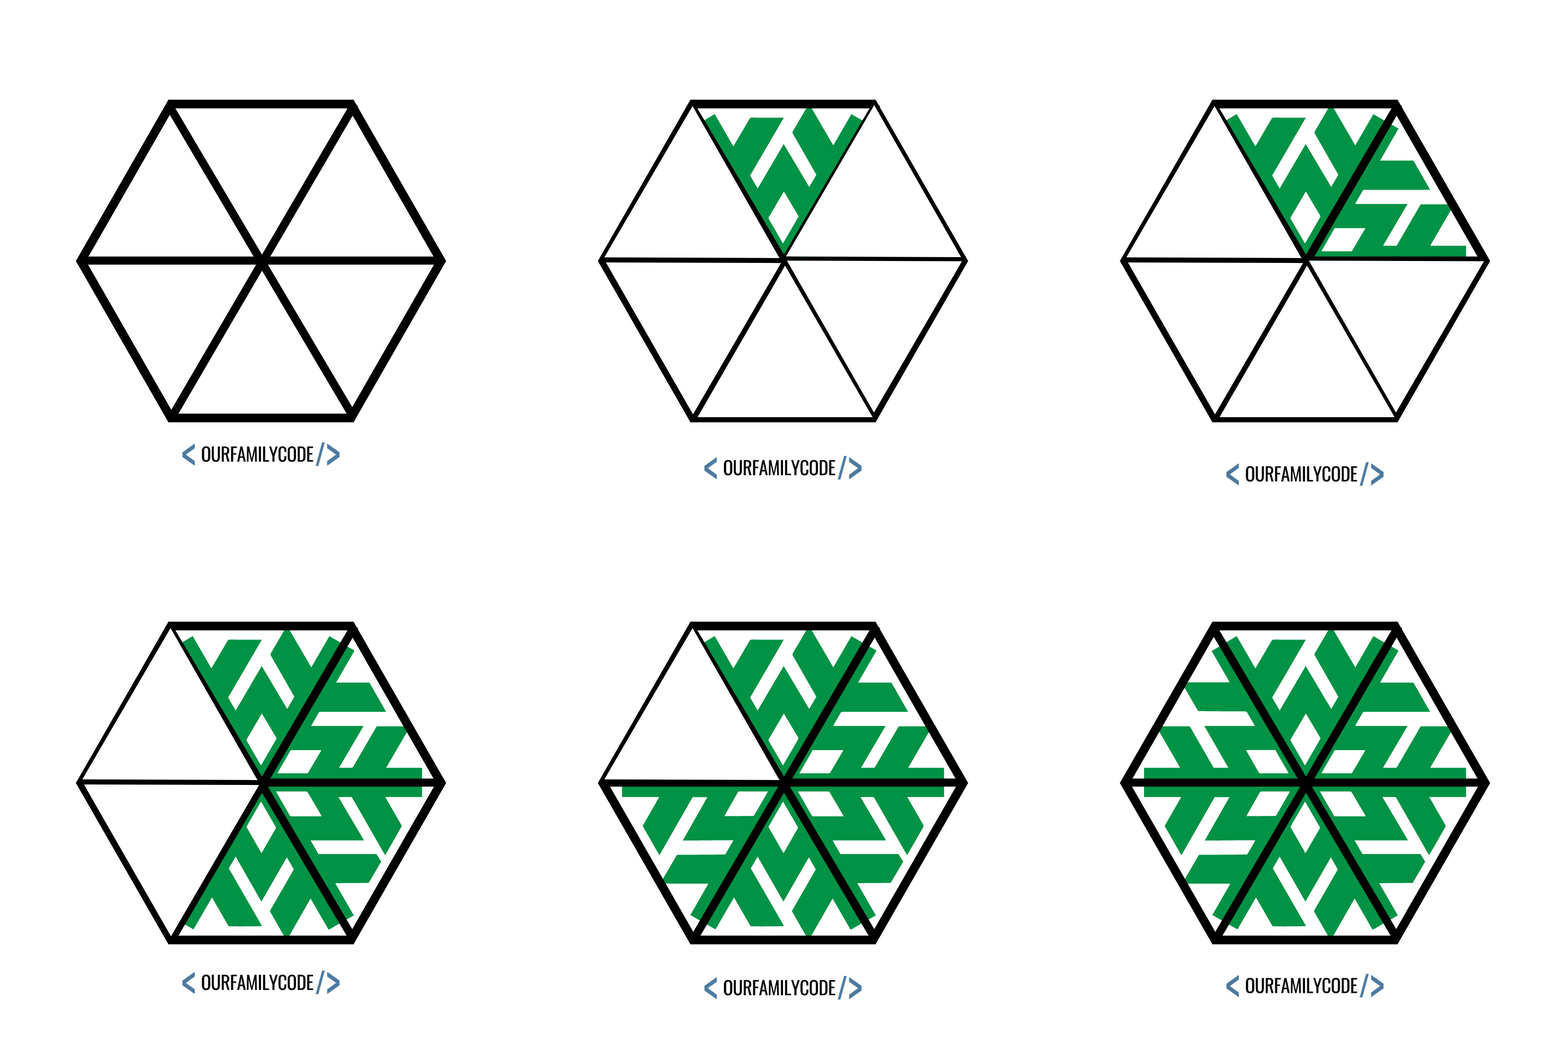
Snowflake Symmetry Winter Art Materials
- Wrapping paper (regular printer paper works too!)
- Scissors
- Construction Paper 12×18
- Tape
- Chalk Pastels (optional)
- Oil Pastels (optional)
How to Fold a Snowflake
Snowflakes have 6 points! Follow the steps below to fold your paper just right, so that it results in a six-point snowflake.
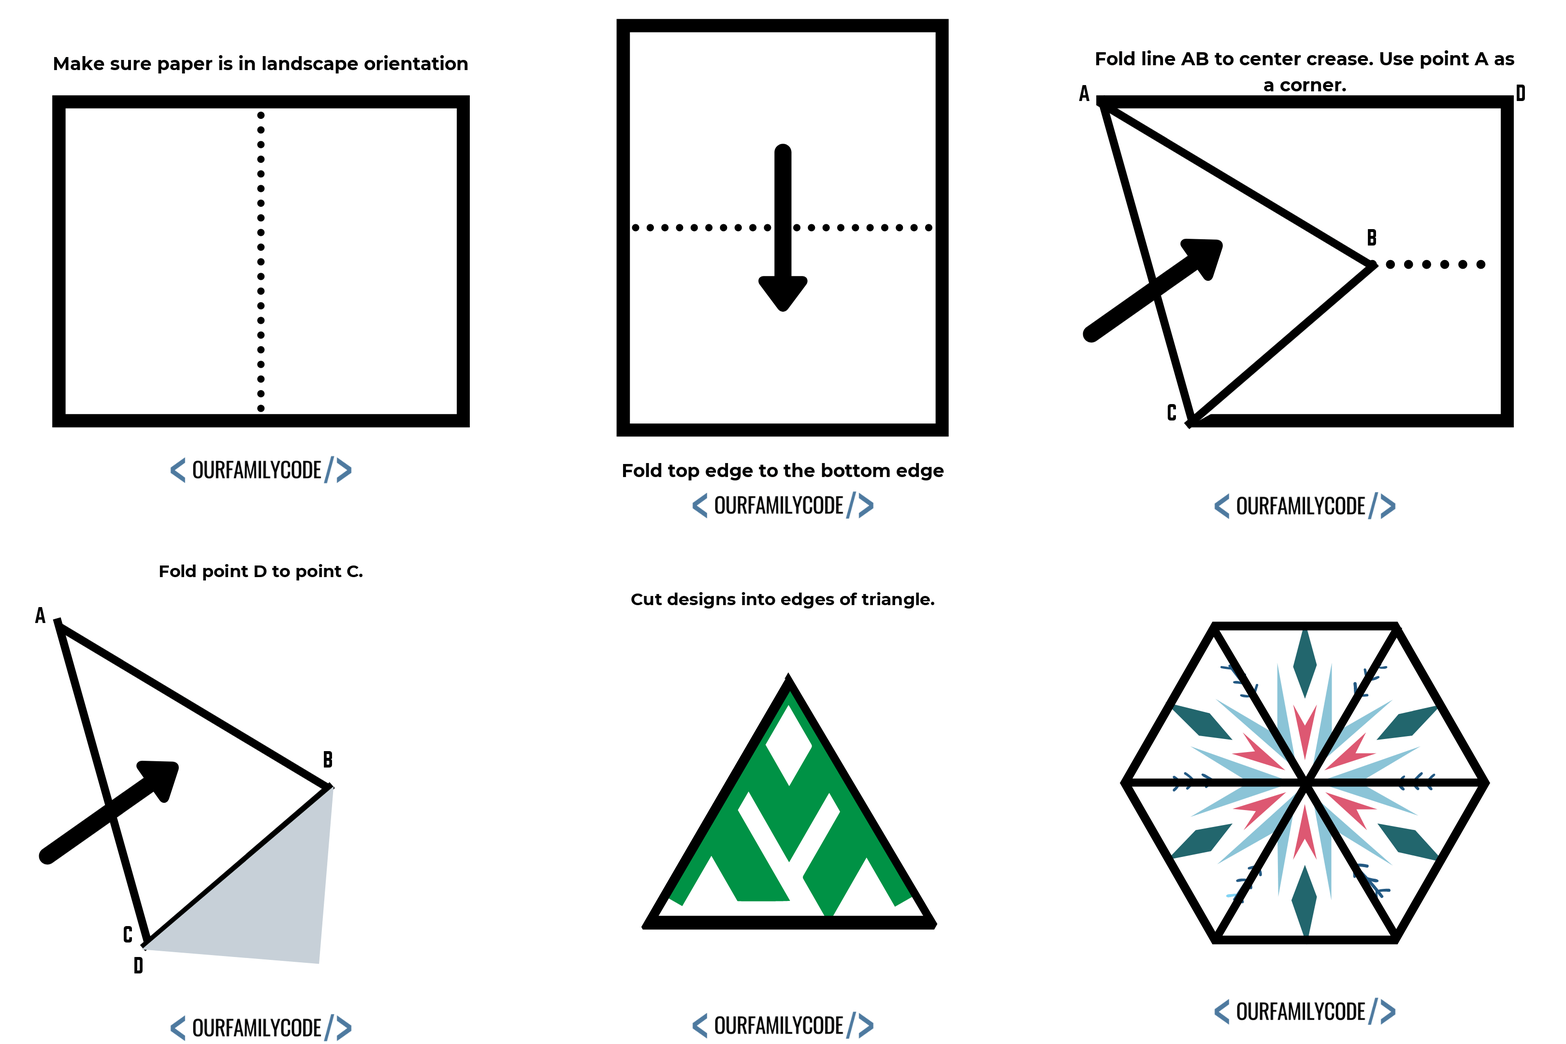
Frozen Snowflake Symmetry Winter Art
Cut a square of Christmas wrapping paper. You can also use plain white printer paper to make your snowflake. We used a 10X10 square of wrapping paper.
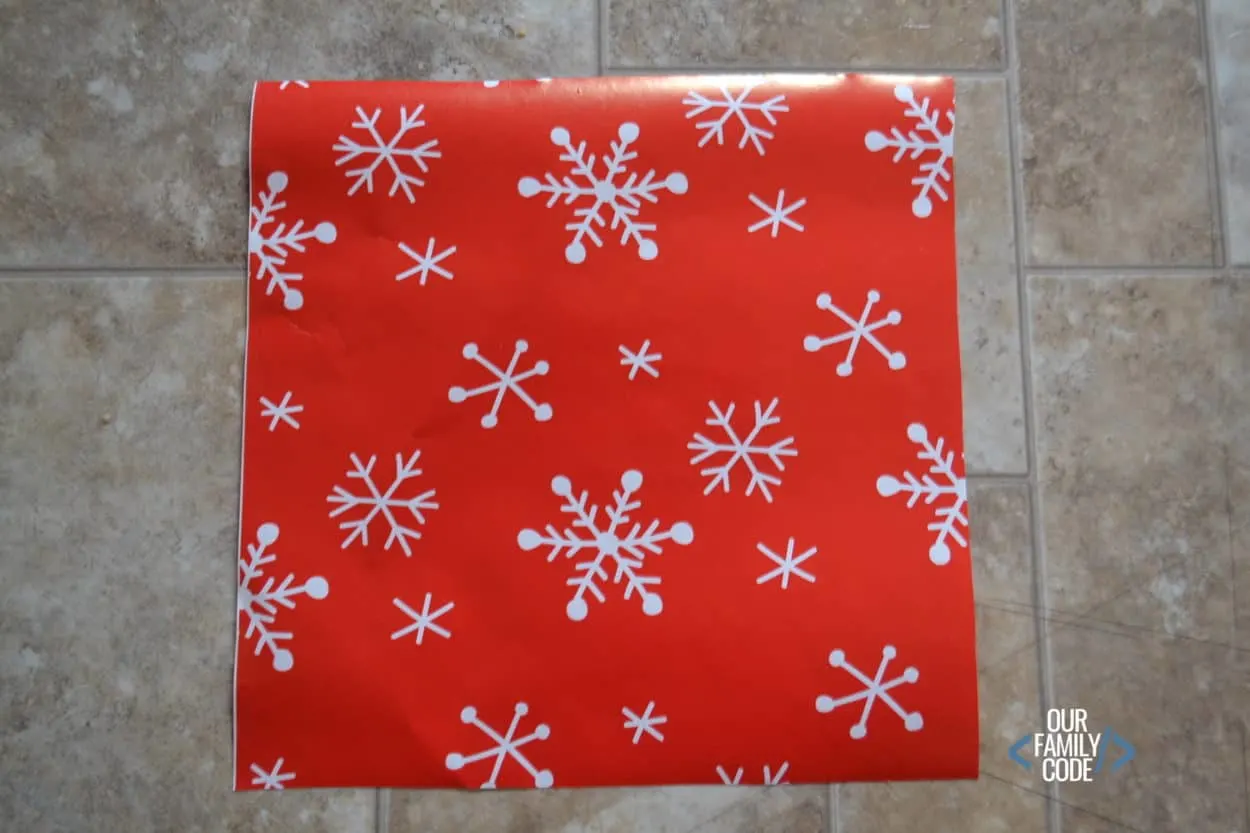
Begin with the decorated side of your paper facing down. Fold in half vertically.
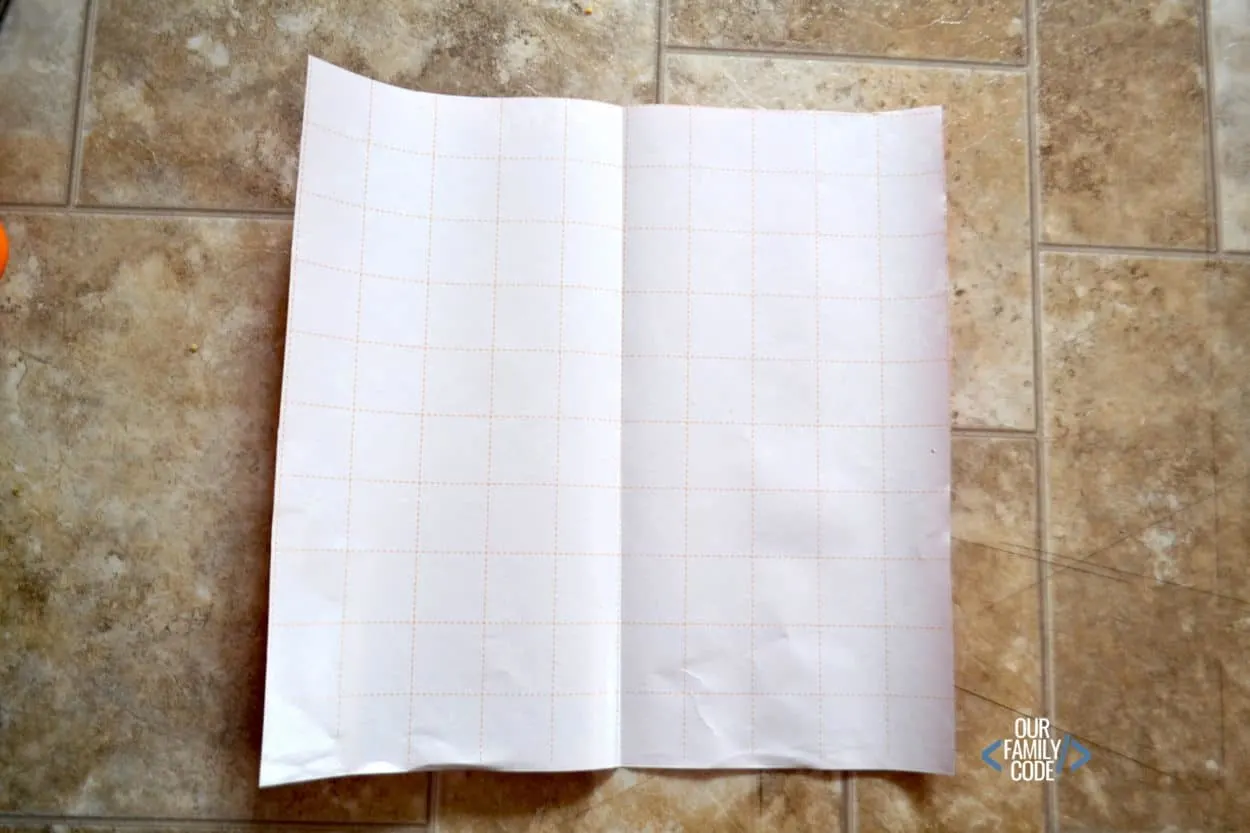
Your paper should be tall and skinny at this point.
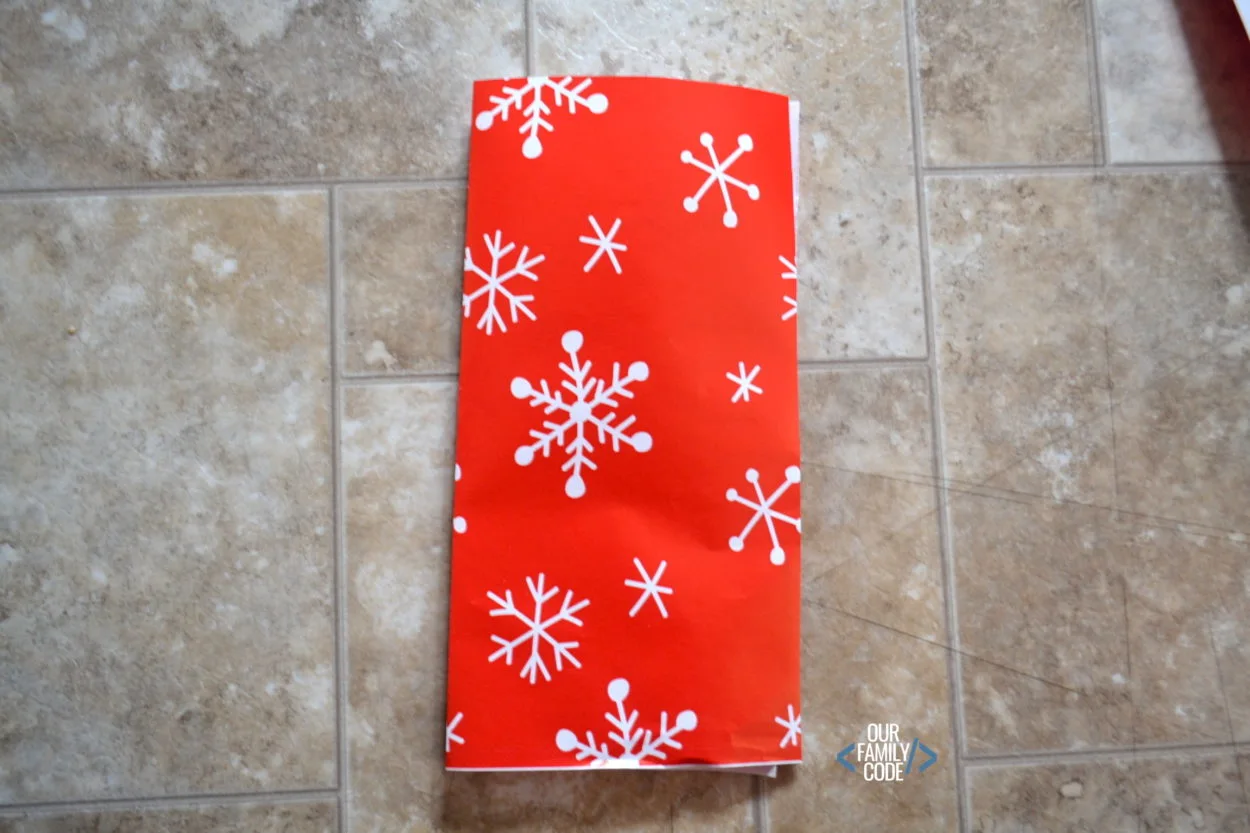
Fold down horizontally. Your paper should look like the following image.
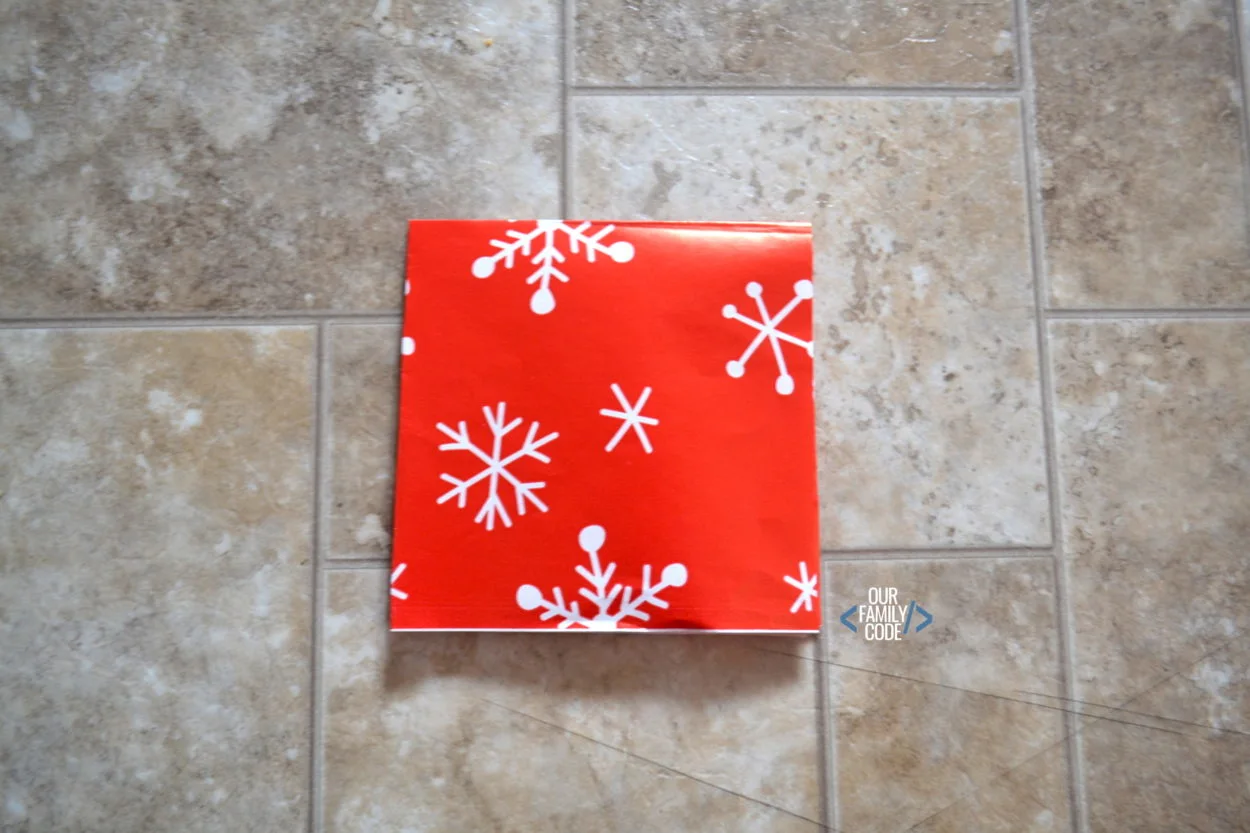
Fold down horizontally again and make a crease. Unfold your paper to the previous position.
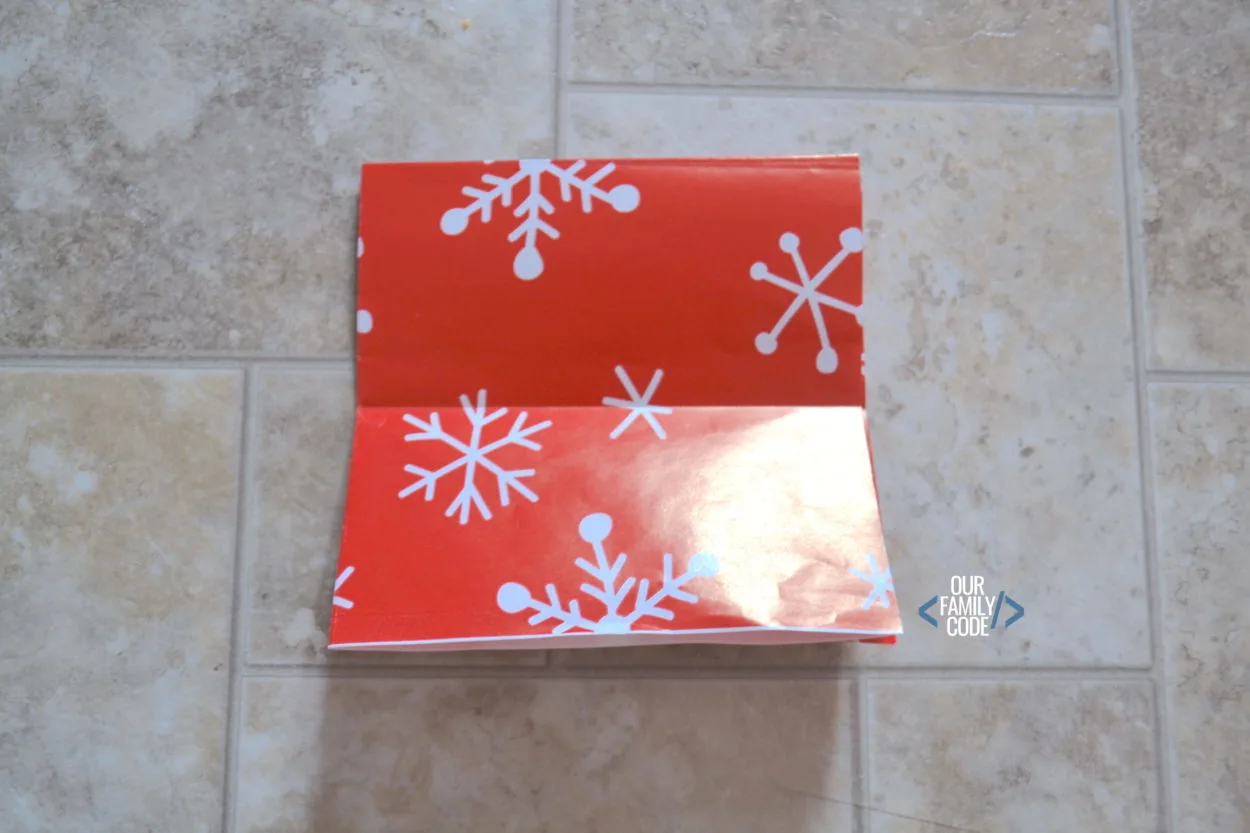
Fold the left bottom corner to the crease. This will create a corner at the top left point, which is under my middle finger in the picture!
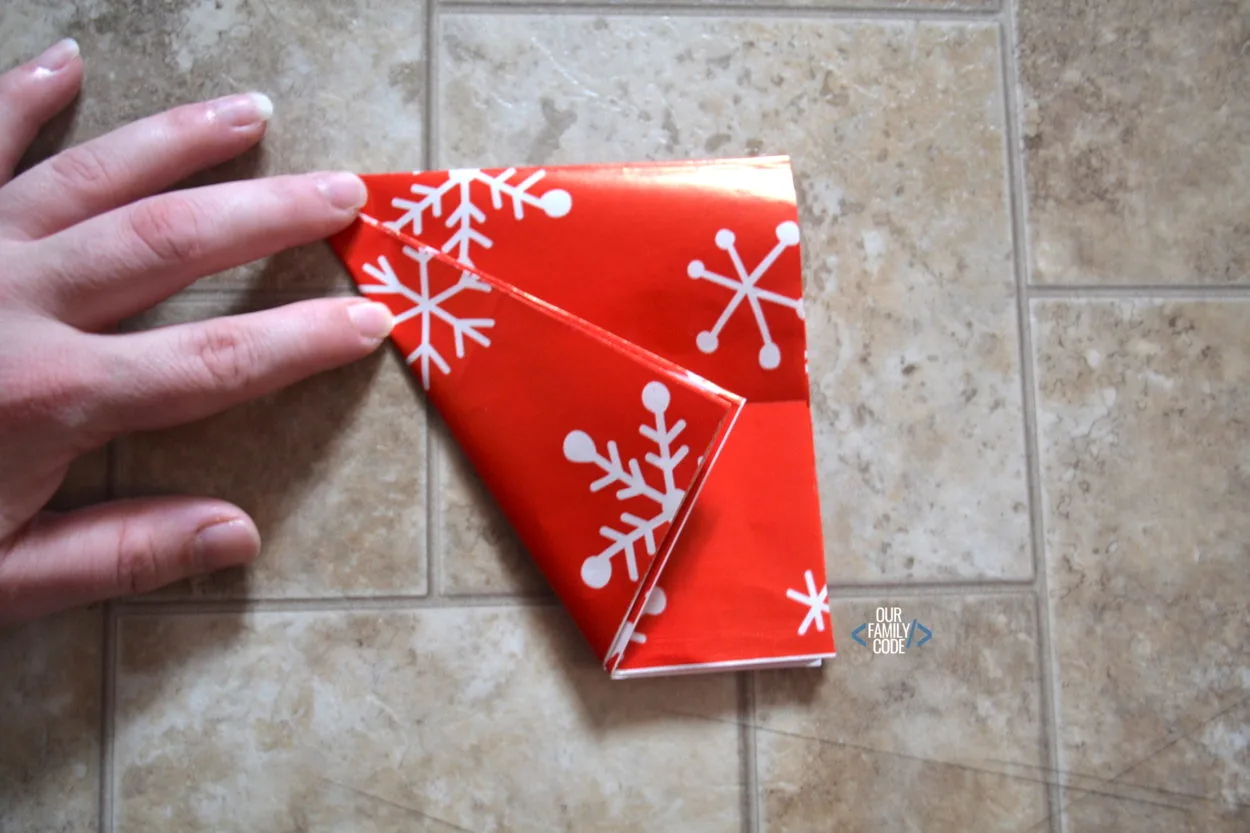
Fold the top right corner and line it up with the left side to create a triangle with some excess paper at the bottom.
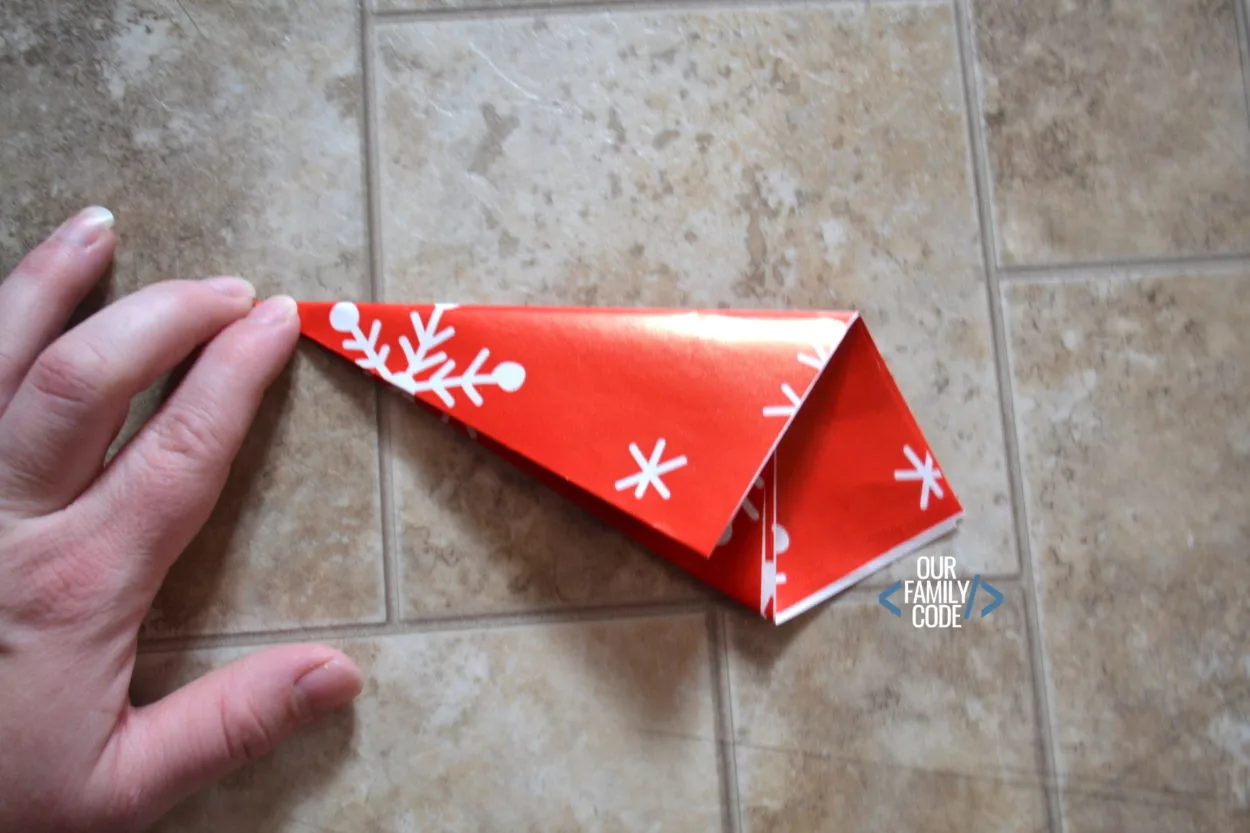
Cut off the excess paper. You have just created a section for your rotational symmetry exercise.
Cuts along the right and left sides of the triangle will form the design on the interior of the snowflake. Cuts made along the bottom of the triangle will appear on the outside edge of the snowflake.
If you cut the top point, you’ll create a shape in the middle of your snowflake.
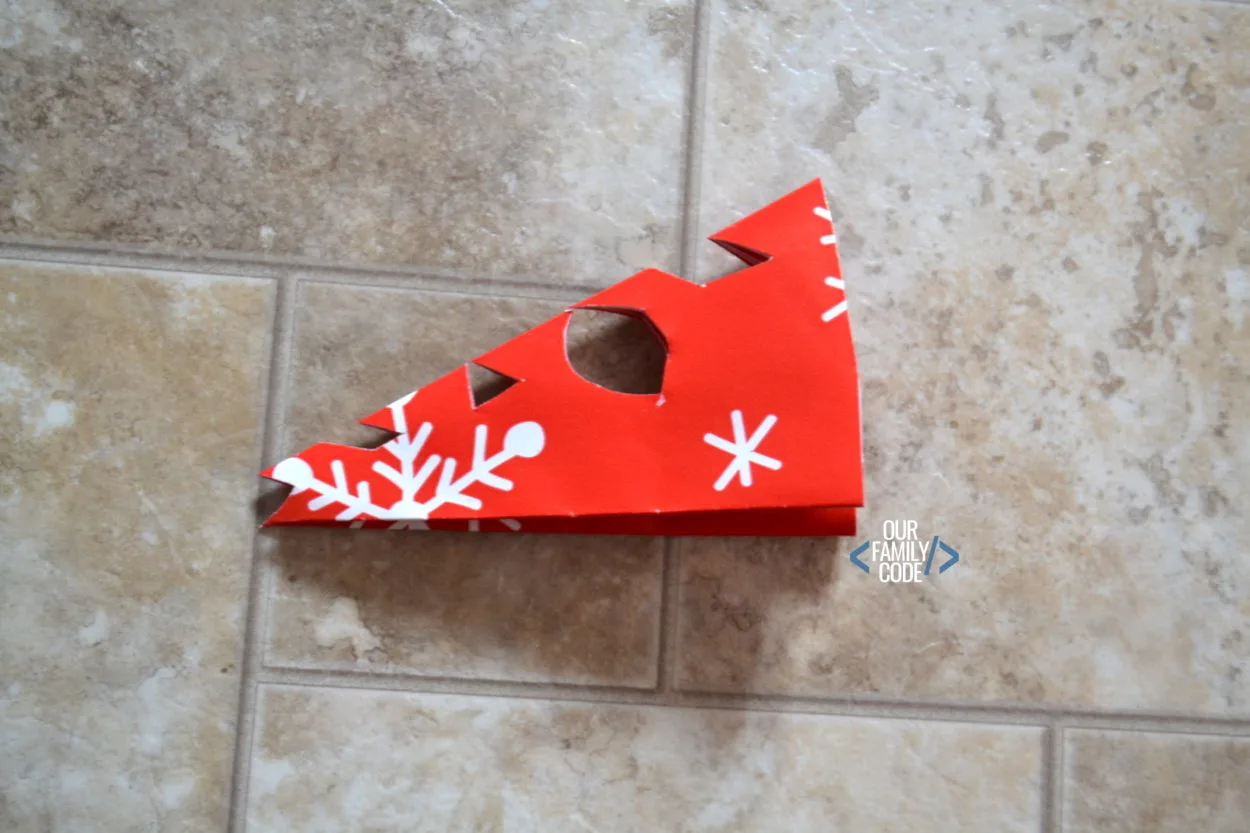
The cuts you are making along the edges of your triangle are an example of lateral symmetry. For example, you can form a diamond by cutting a triangle into the side.
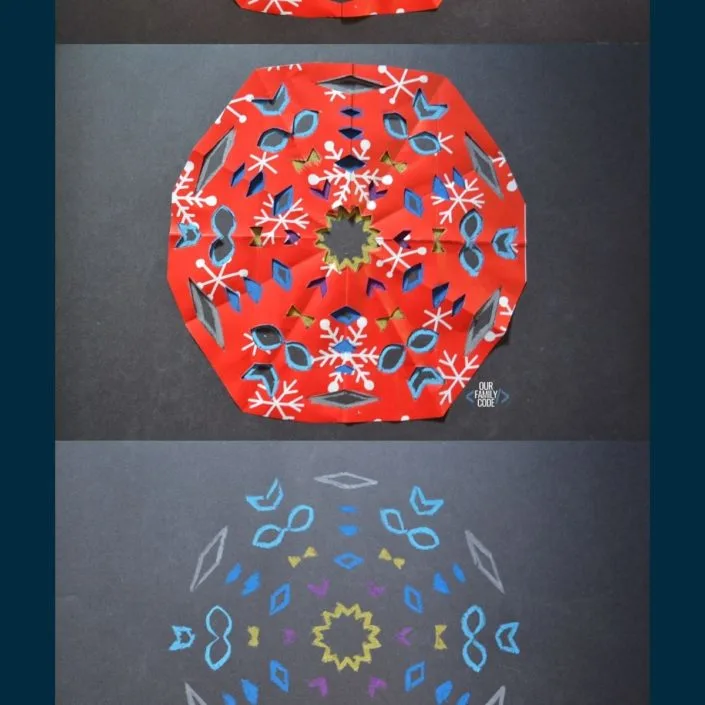
When you unfold your snowflake, you will observe rotational symmetry! How neat!
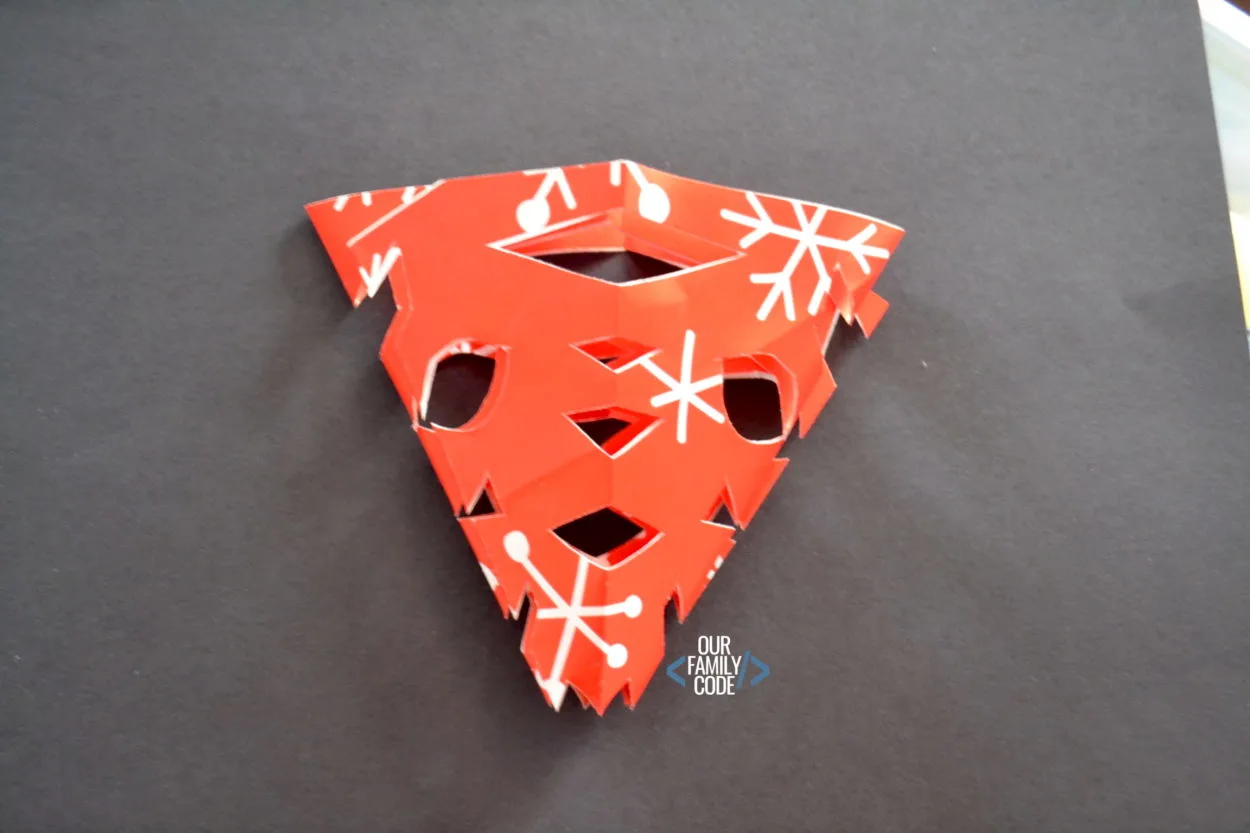
Unfold your snowflake and observe the individual designs created by lateral symmetry as well as the rotational symmetry of the overall snowflake design.
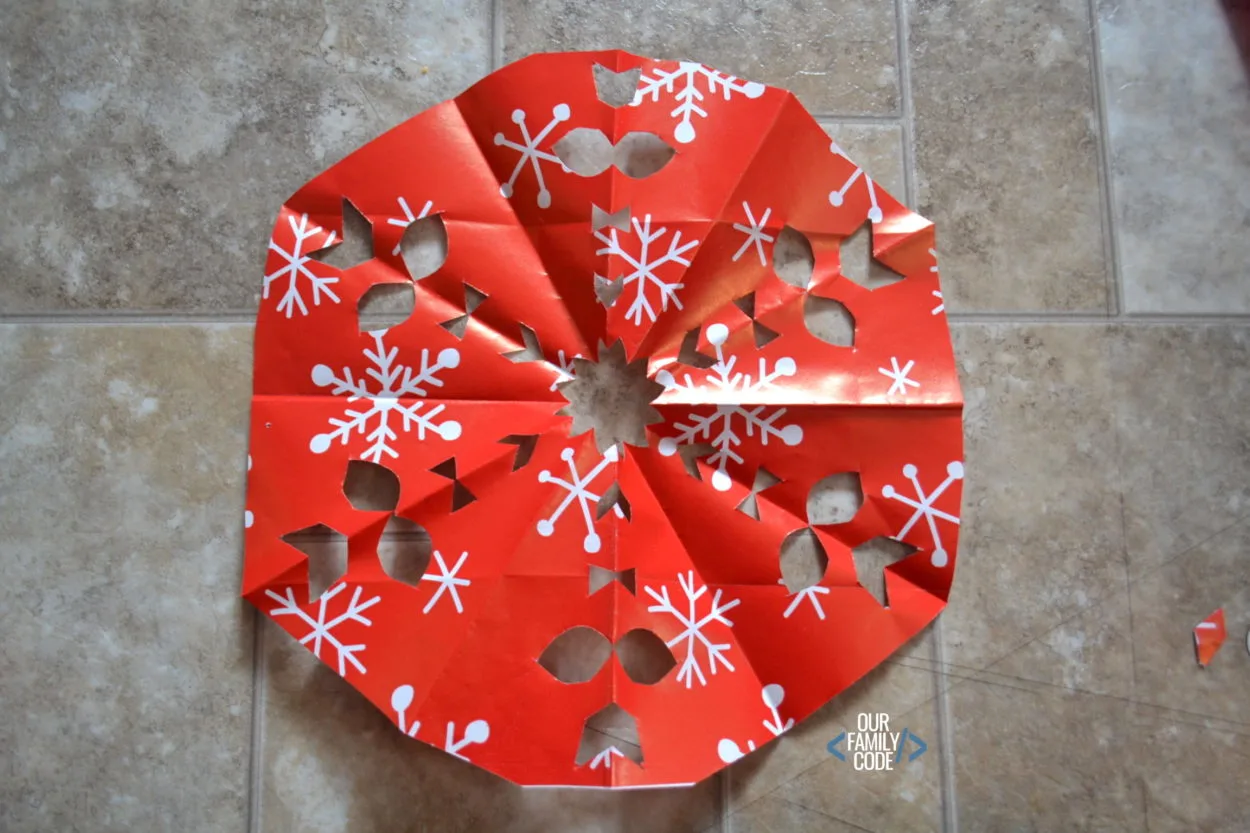
If you like, you can hang your snowflake up on the wall at this point. You can also use your snowflake as a stencil to create some pretty awesome resist art!!
Frozen Snowflake Symmetry Resist Art
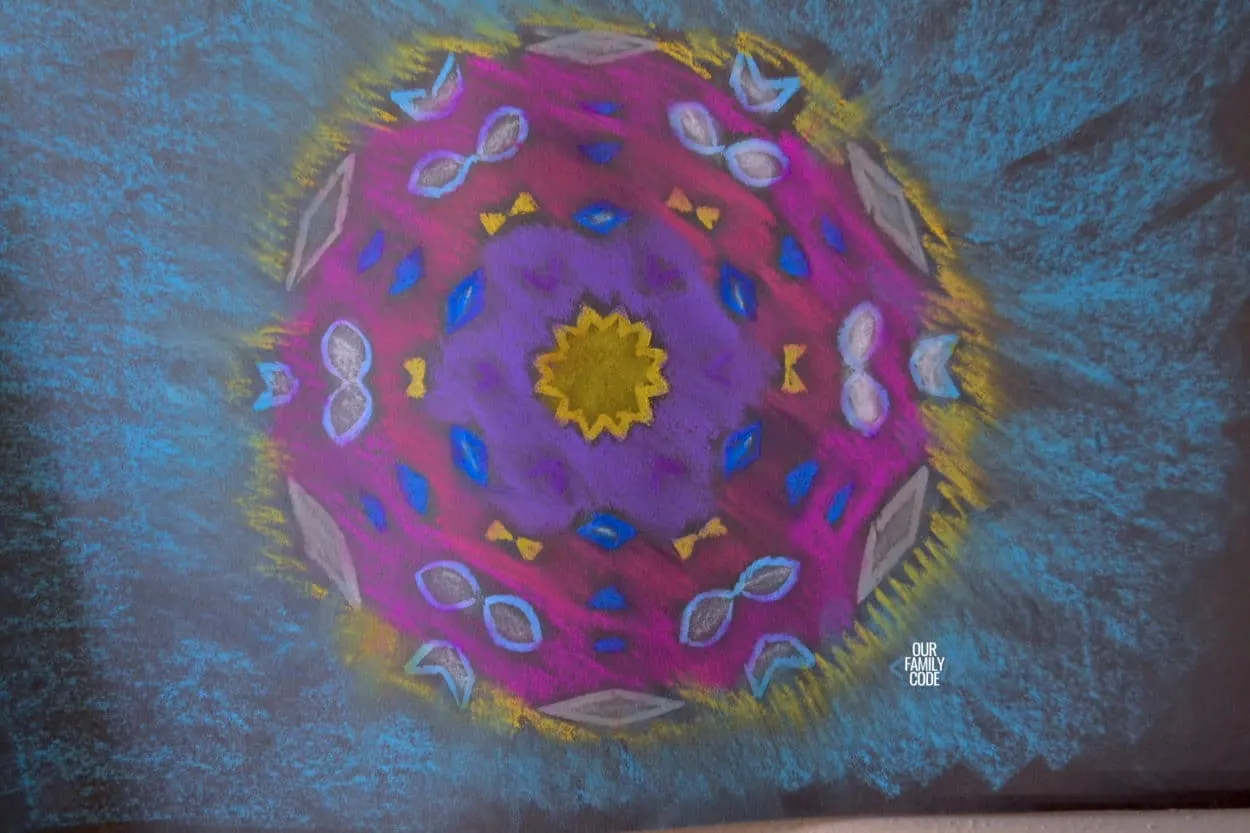
Tape your snowflake to a large piece of construction paper.
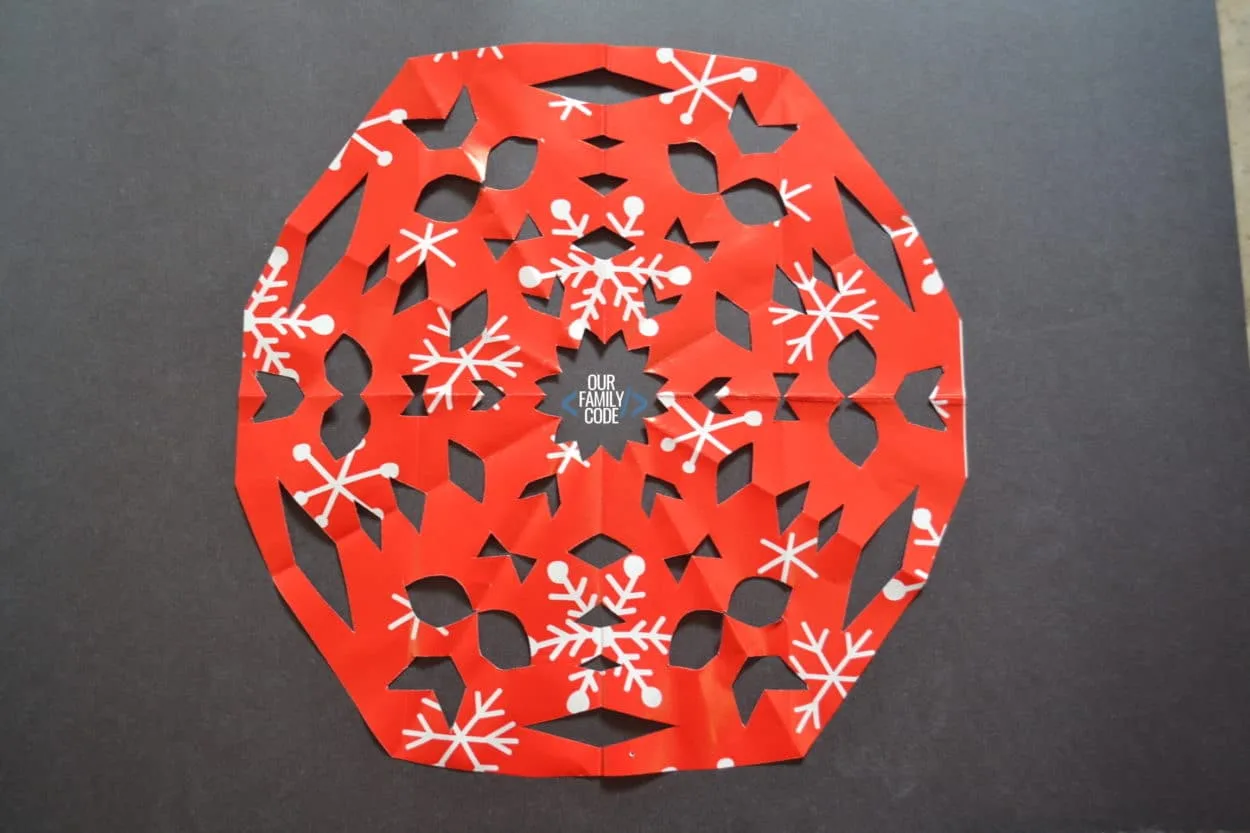
Use oil pastels to outline and color in parts of your snowflake.
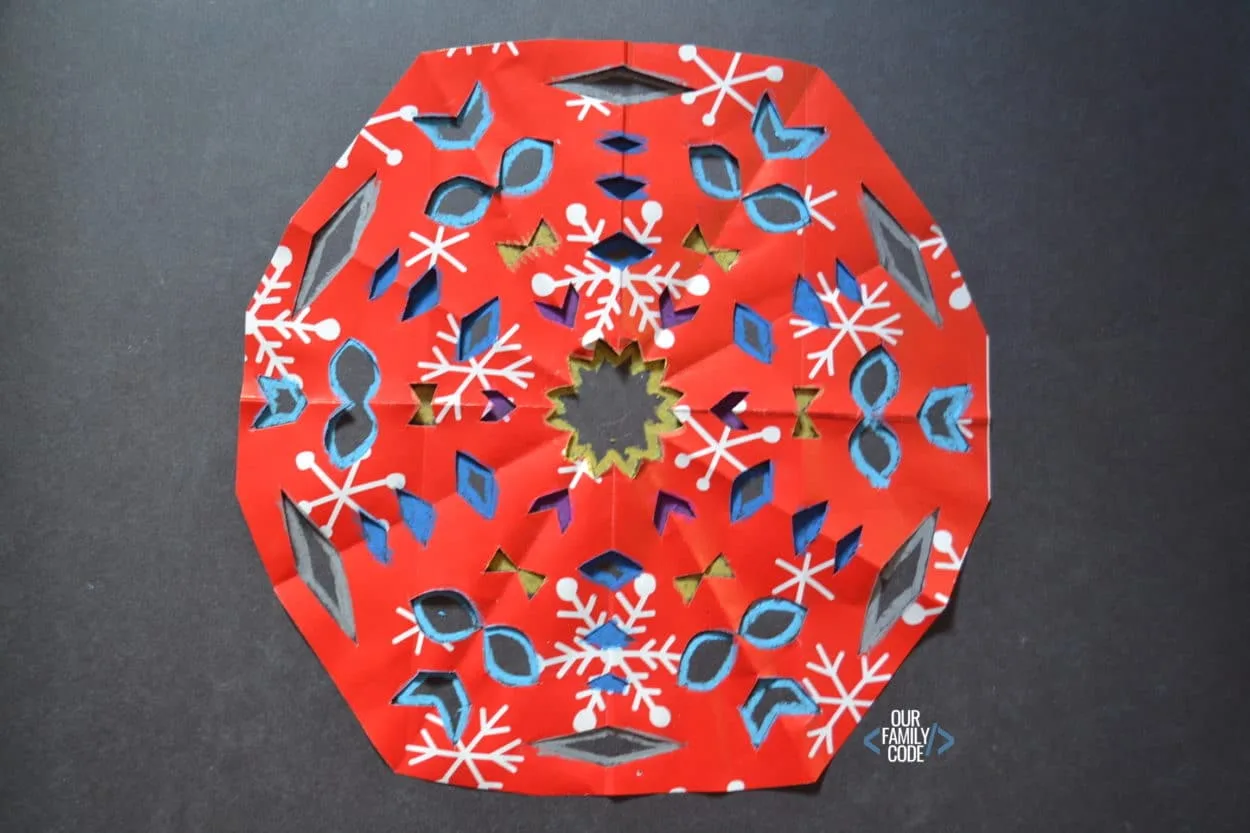
Remove wrapping paper snowflake stencil.
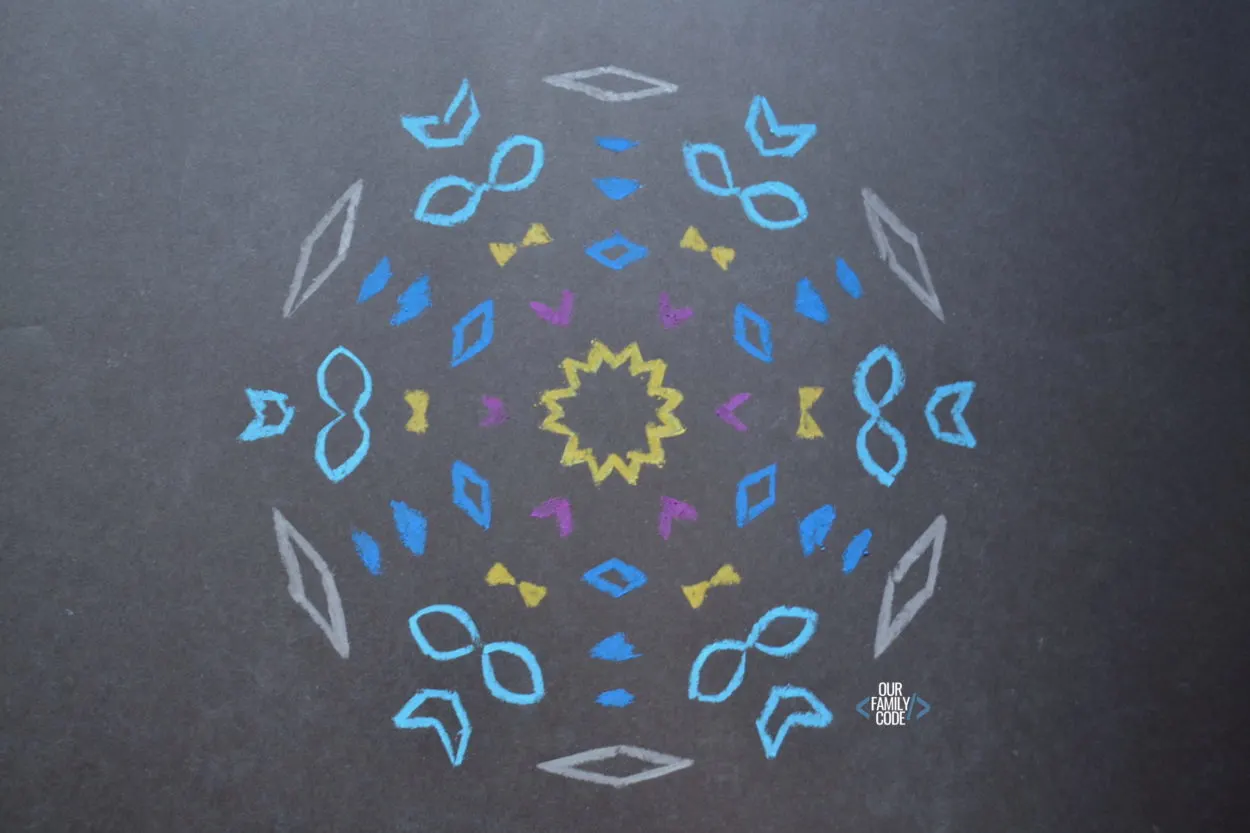
Use chalk pastels to color your snowflake and background.
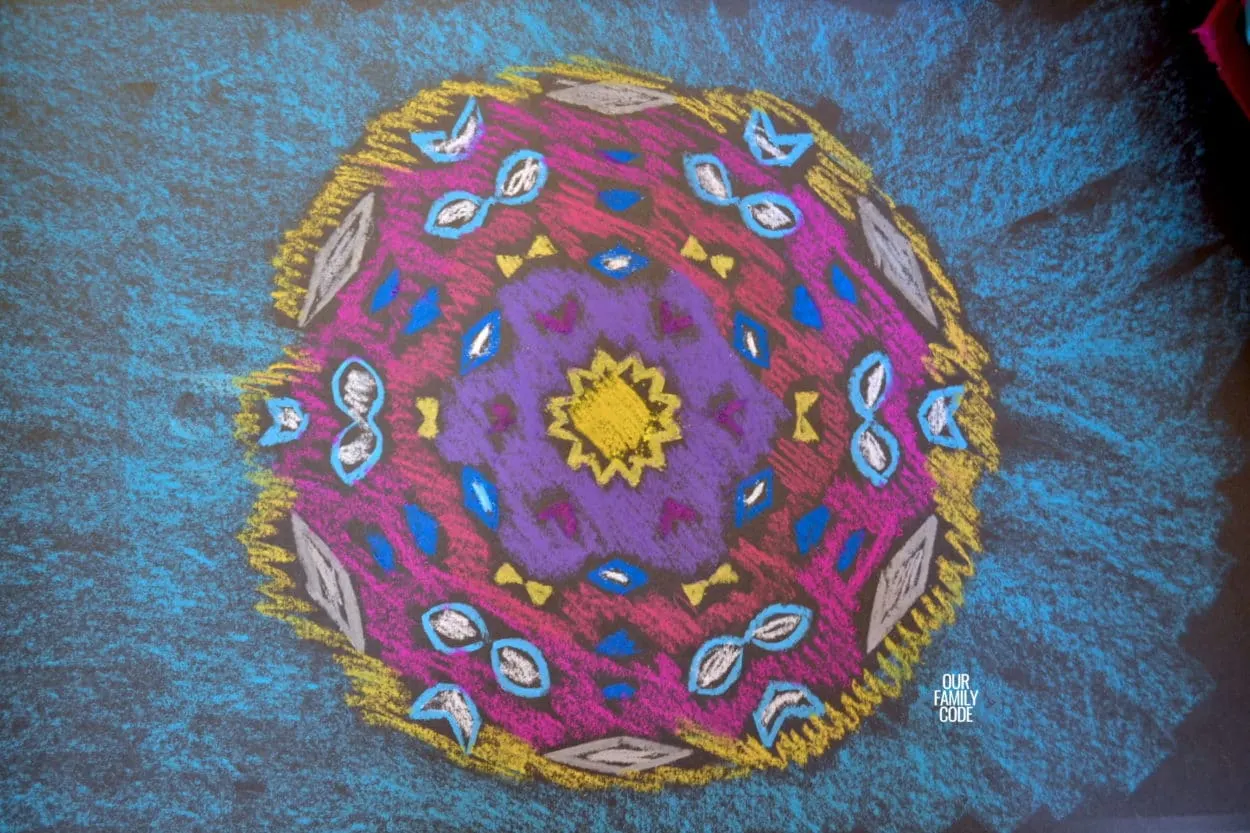
Blend your chalk as needed. We typically blend around the oil pastel colors that are lighter, but the oil pastels will create a boundary for the colors as you blend.
You can go back and touch up with your oil pastels after blending if you need to.
We are gearing up see Frozen 2 on November 22 and decided to make Frozen styled snowflake symmetry resist art!
Into the Unknown!!
More Frozen STEAM Activities
More Math + Art Activities
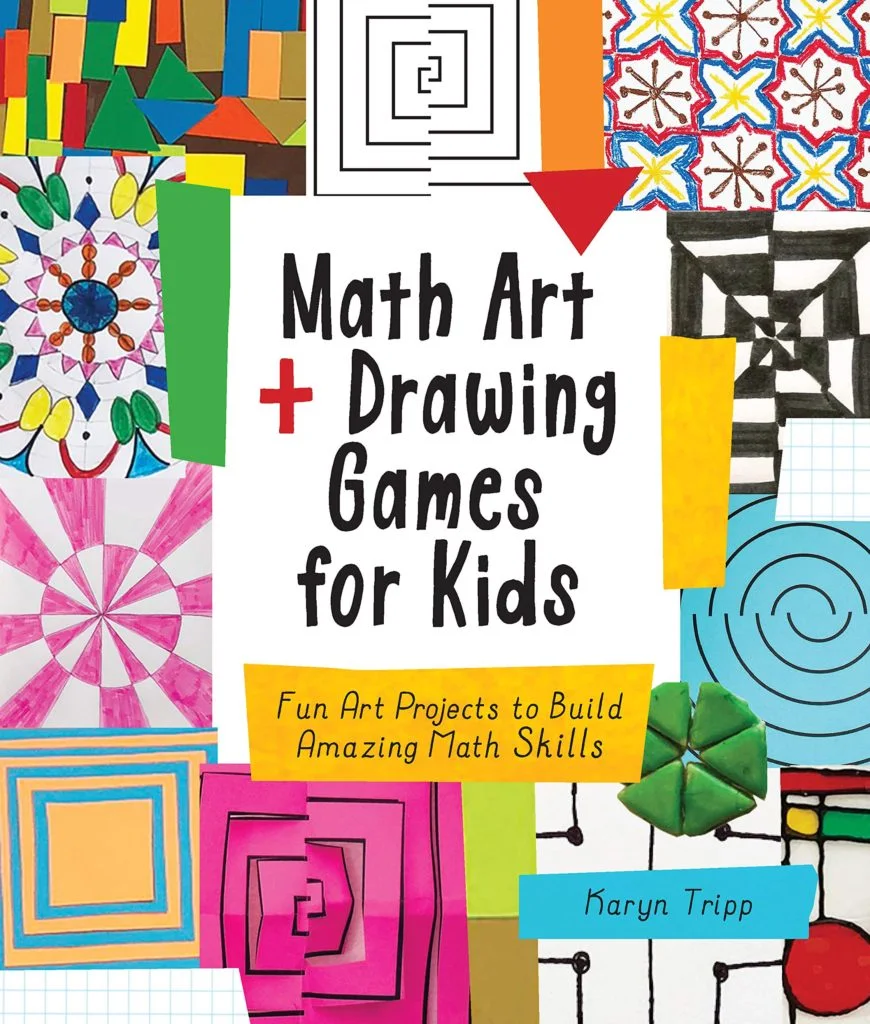
Our friend Karyn from Teach Beside Me just published an excellent math art book, Math Art and Drawing Games for Kids.
This book is filled with tons of incredible ideas to learn math through art and is great for both teachers and homeschoolers. You can purchase a copy by clicking the image.
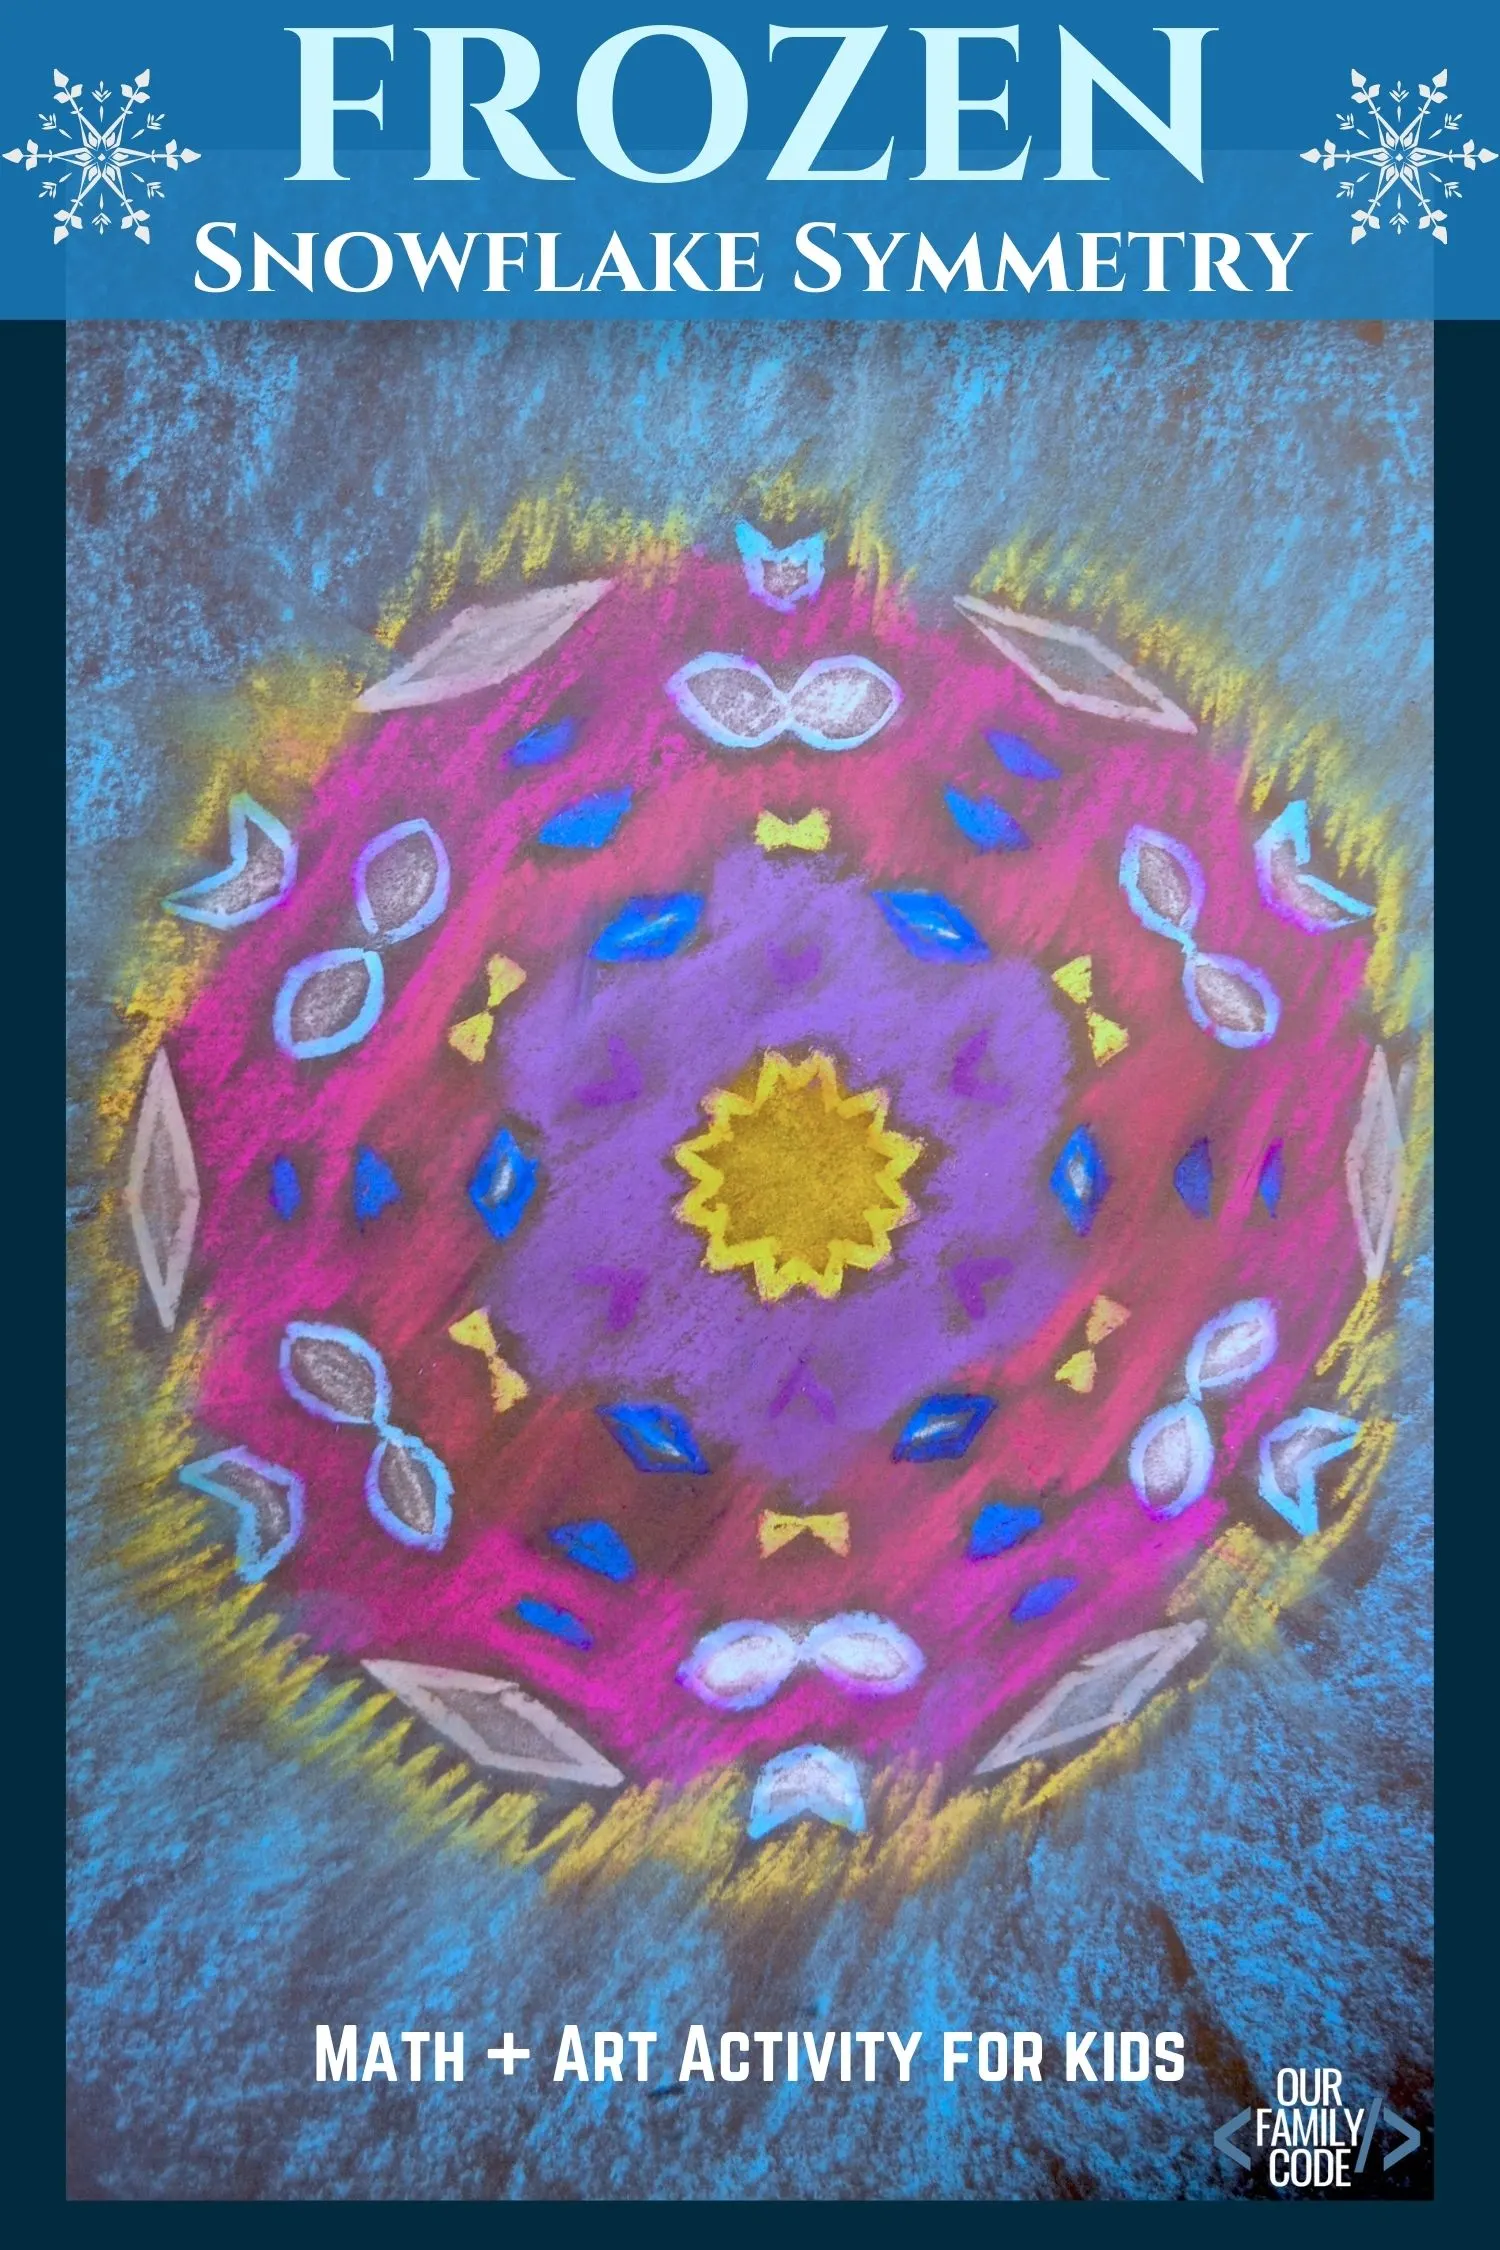
PIN THIS IMAGE TO SHARE THIS FROZEN SNOWFLAKE SYMMETRY RESIST ART!!
Meet Toni, the Maker Mom behind Our Family Code

Hey there, I’m Toni! I’m a software engineer and Maker Mom that finds my joy in unleashing my children’s curiosity by exploring STEAM concepts with my fantastic five!
When I’m not chasing toddlers or raising tweens, you can find me tearing things up and putting them back together over here at Our Family Code.
I am the owner and content creator of multiple educational websites designed to increase access to STEAM & STEM education with a focus on teaching computer science and coding to kids of all ages!
You can also find out more about me by visiting ToniGardner.com!




Karyn
Tuesday 12th of November 2019
What a fun project! Thanks so much for joining in on this series!