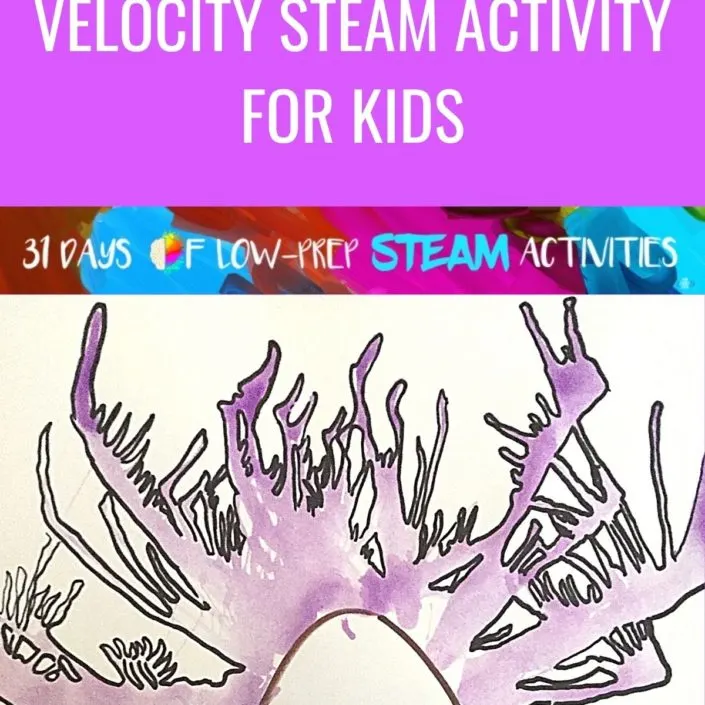
Make blow painting with straws to explore how velocity works by controlling gusts of wind in this STEAM activity for kids!
My girls love to make art. I often find them covered in markers and paint because they just want to create all of the time.
We set out to create a low-prep STEAM activity that would challenge them to think creatively about art and incorporate some scientific concepts into the mix. It’s fall in Wisconsin and we’ve had quite a few blustery days already, so we discussed wind velocity.
We decided to apply that knowledge to our art to observe and compare the impact of different velocities in a visual demonstration. We’ve seen many different ideas for blowing objects and paint with straws littered throughout Pinterest and the idea to learn about velocity by blow painting with straws was born!
Another bonus for my young kiddos is that learning to blow out a straw is a great skill for small kiddos to learn that helps to strengthen the small muscles around their mouth that help them form new sounds.
Now, I just need to come up with an activity that will strengthen the muscles in my chin area then I’d be golden. Ha!
This post contains affiliate links. As an Amazon Associate, Our Family Code earns from qualifying purchases. Please see our Disclosure Policy for more details.
Why STEAM Activities?
STEAM is the abbreviation for Science, Technology, Engineering, Art, and Math.
STEAM, like STEM, is an integrated approach to learning that encourages learners to make connections between the concepts they are learning and how they apply them to real-world problems.
STEAM helps students ask questions, problem solve, think creatively, and produce innovative solutions. Many schools have adopted STEAM learning activities into their curriculum, but it’s never too early to start building critical thinking skills.
We love to learn through play at our house and have a blast doing activities for toddlers all the way to tweens!
Looking for some more hands-on activities that incorporate Science, Technology, Engineering, Art, and Math (STEAM)? Then you have to check out STEAM Kids!
This book features more than 50 hands-on activities that are organized into easy to implement categories, so you know exactly what concepts your kids are learning!
Grab your copy from Amazon today or get instant access to this great book by purchasing a downloadable PDF!
Blow Painting with Straws Activity Terms
Velocity is the speed of an object or substance in a particular direction in this case we observed the speed of our paint! Wind is air that is moving, while gusts are short bursts of high-speed wind.
Force is a push or pull on an object or substance causing a change in motion or balance. Push is a force that moves objects away from you, while pull is a force that moves objects toward you.
Compare: to observe how things are different is to compare. We compared parts of our straw art by using terms such as, greatest and least to describe the amounts of paint on paper.
We also used terms like dark and light to describe how our spots looked and whether the amount of paint on we put on the paper correlated with the darkness or lightness of our spots.
Acceleration is the rate at which the speed or direction of an object or substance increases over time.
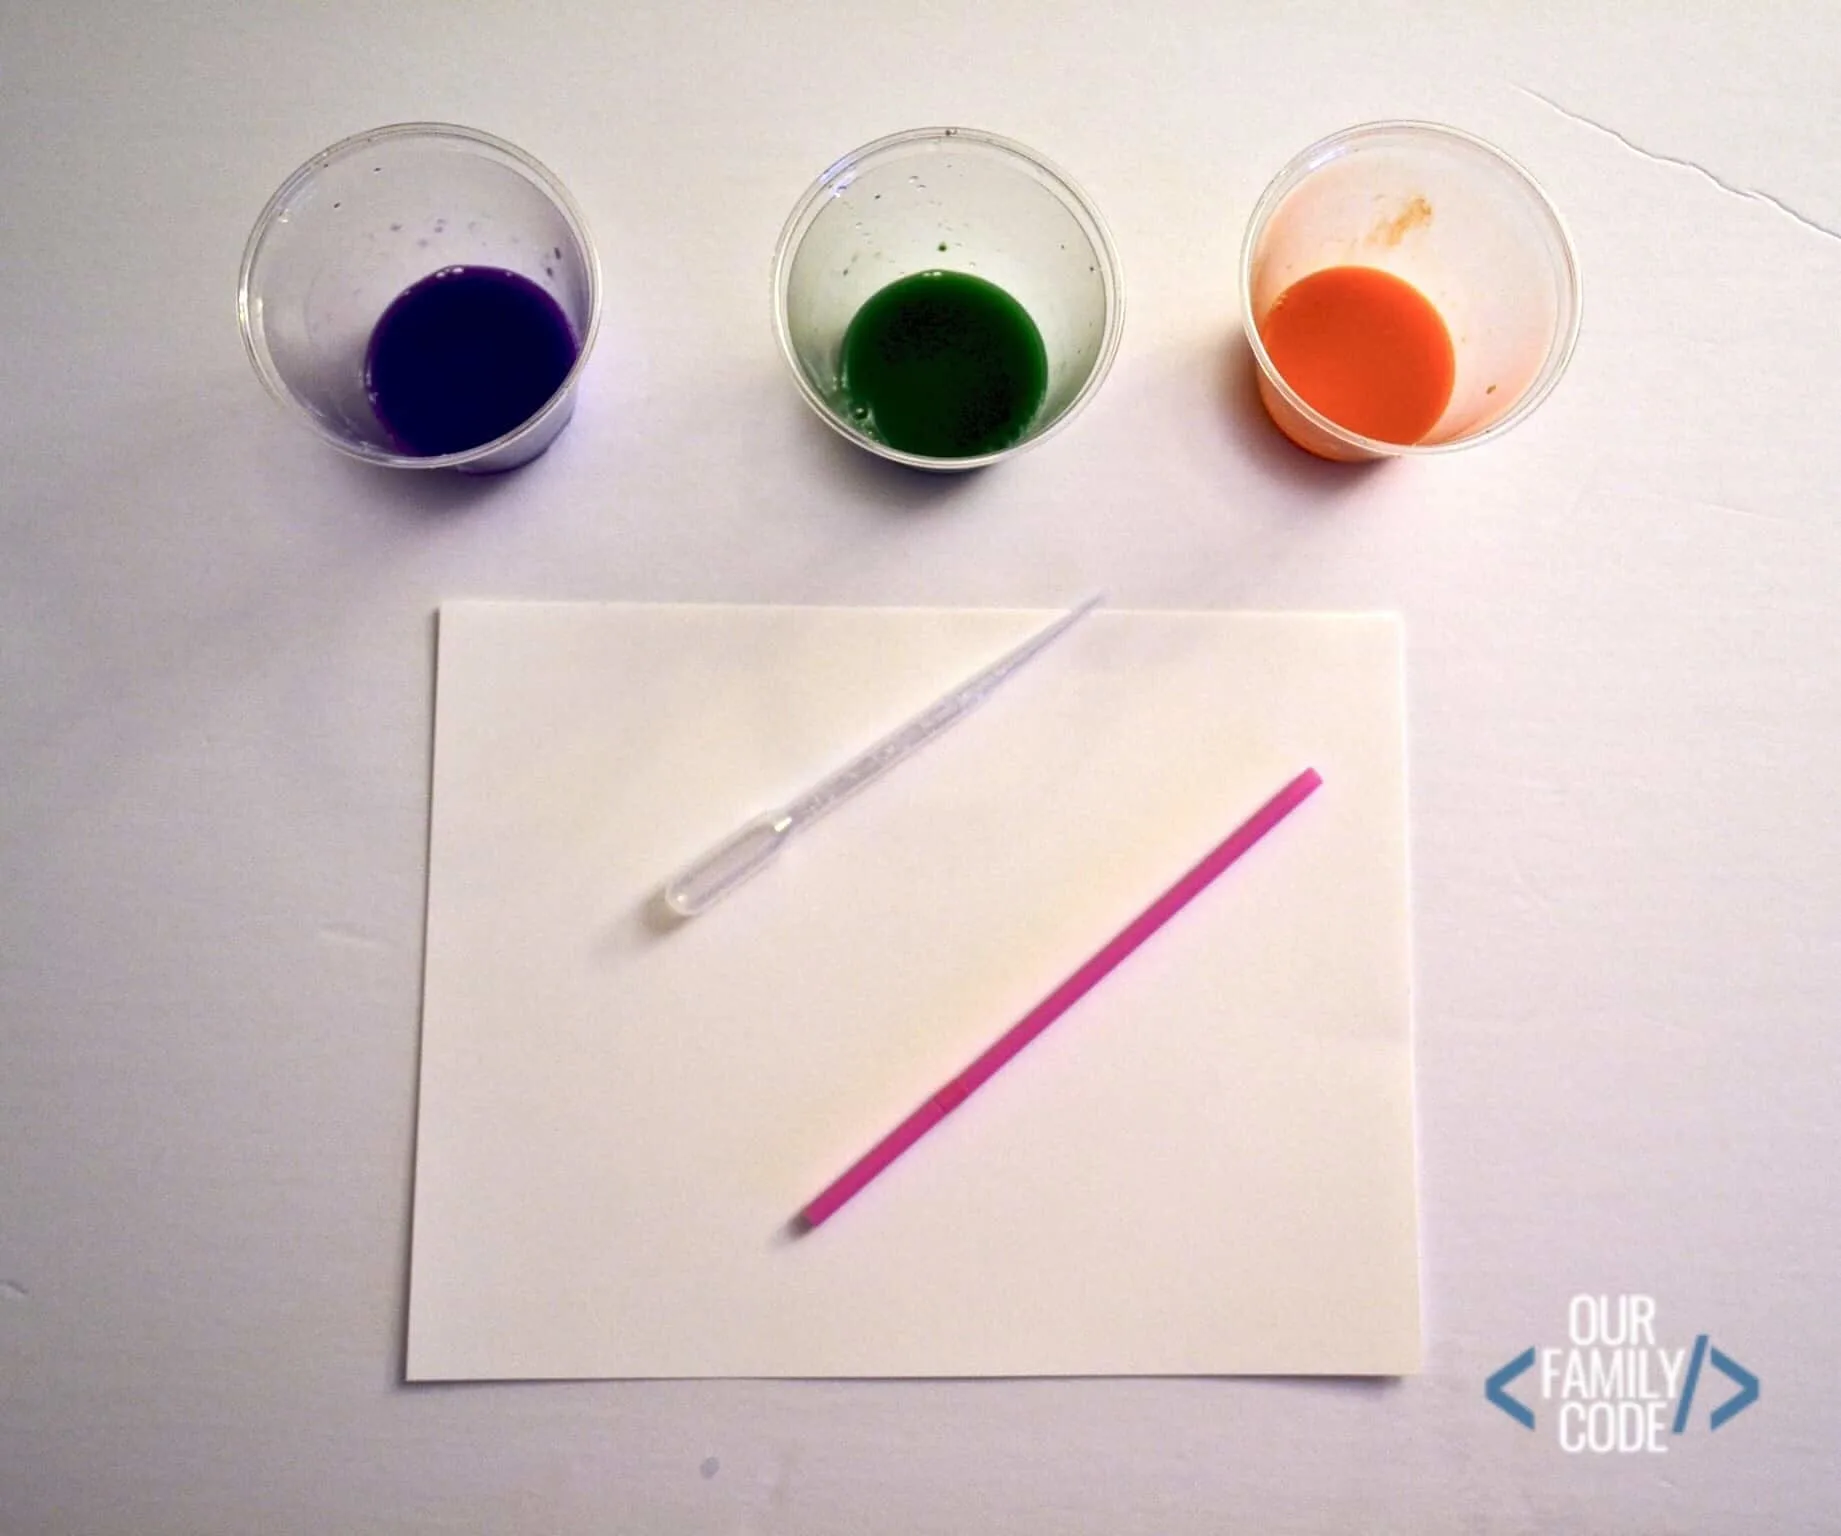
Blow Painting Straw Art Supplies
- Card stock or thick paper
- Eye dropper
- Straws
- Tempura Paint in various colors of your choice
- Water
- Black Permanent Marker

How to Make Blow Painting with Straws
To get started, mix your paints with a tiny bit of water to make it thinner. I used a 1:2 ratio of water and paint.
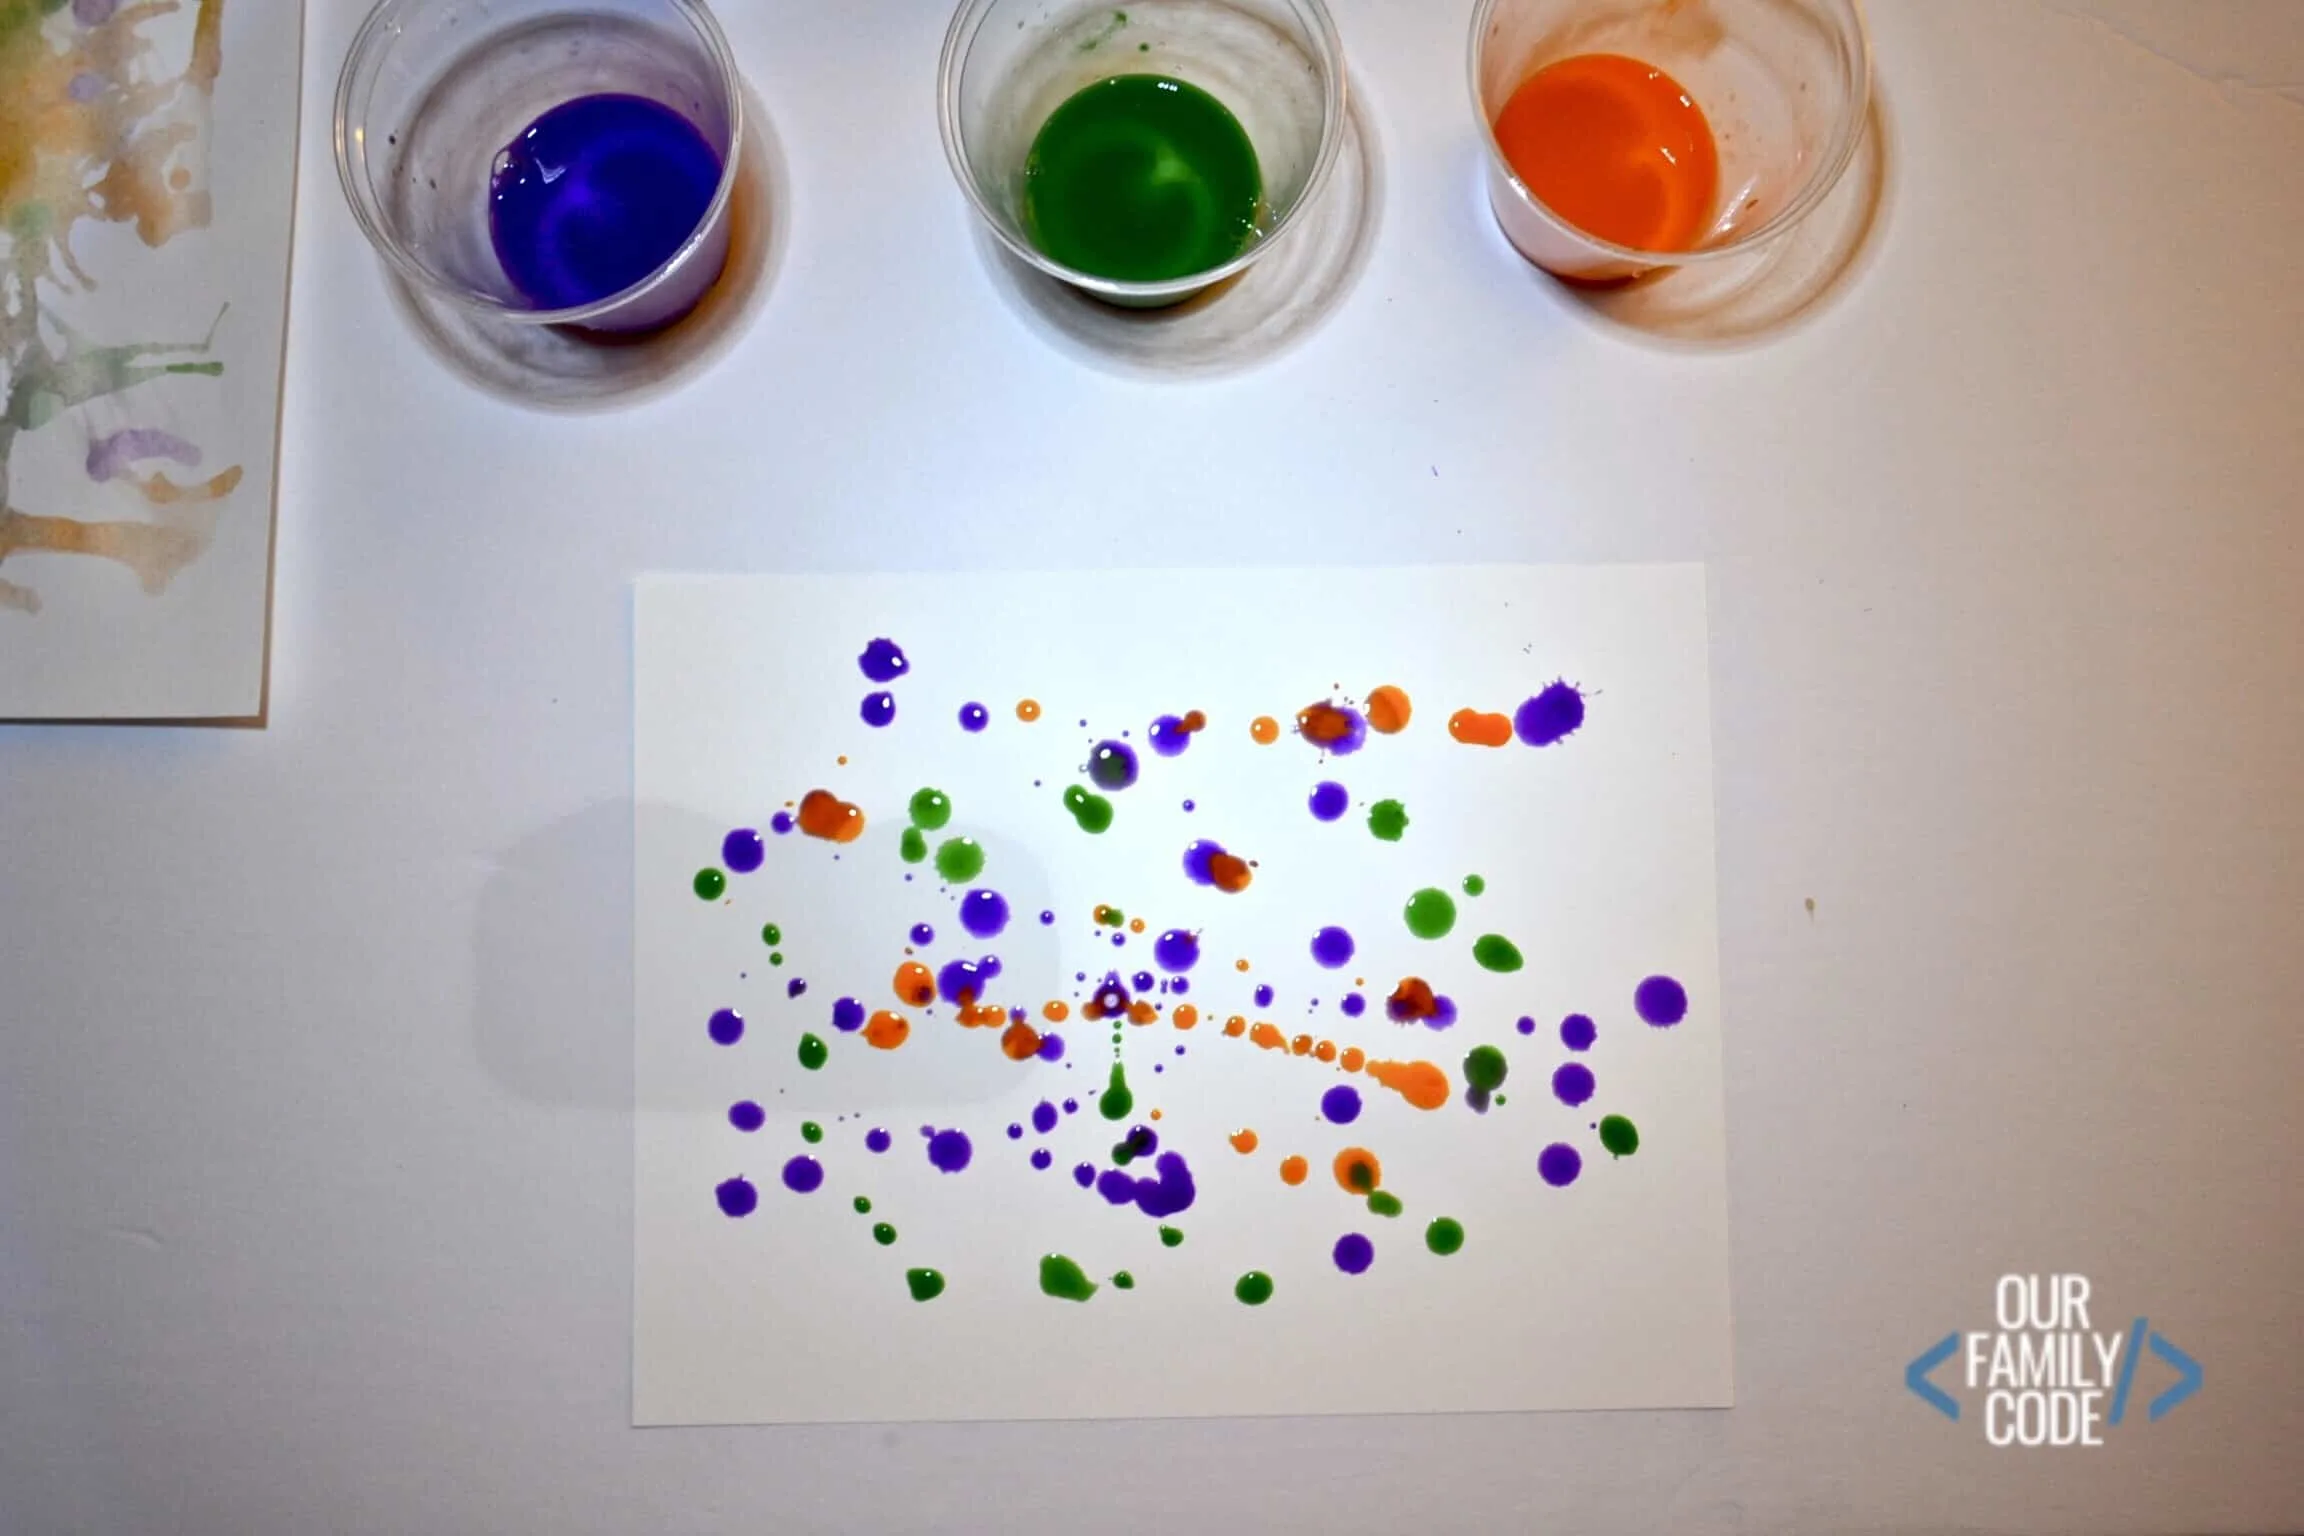
Drip drops of paint on your paper with a medicine dropper or a spoon.
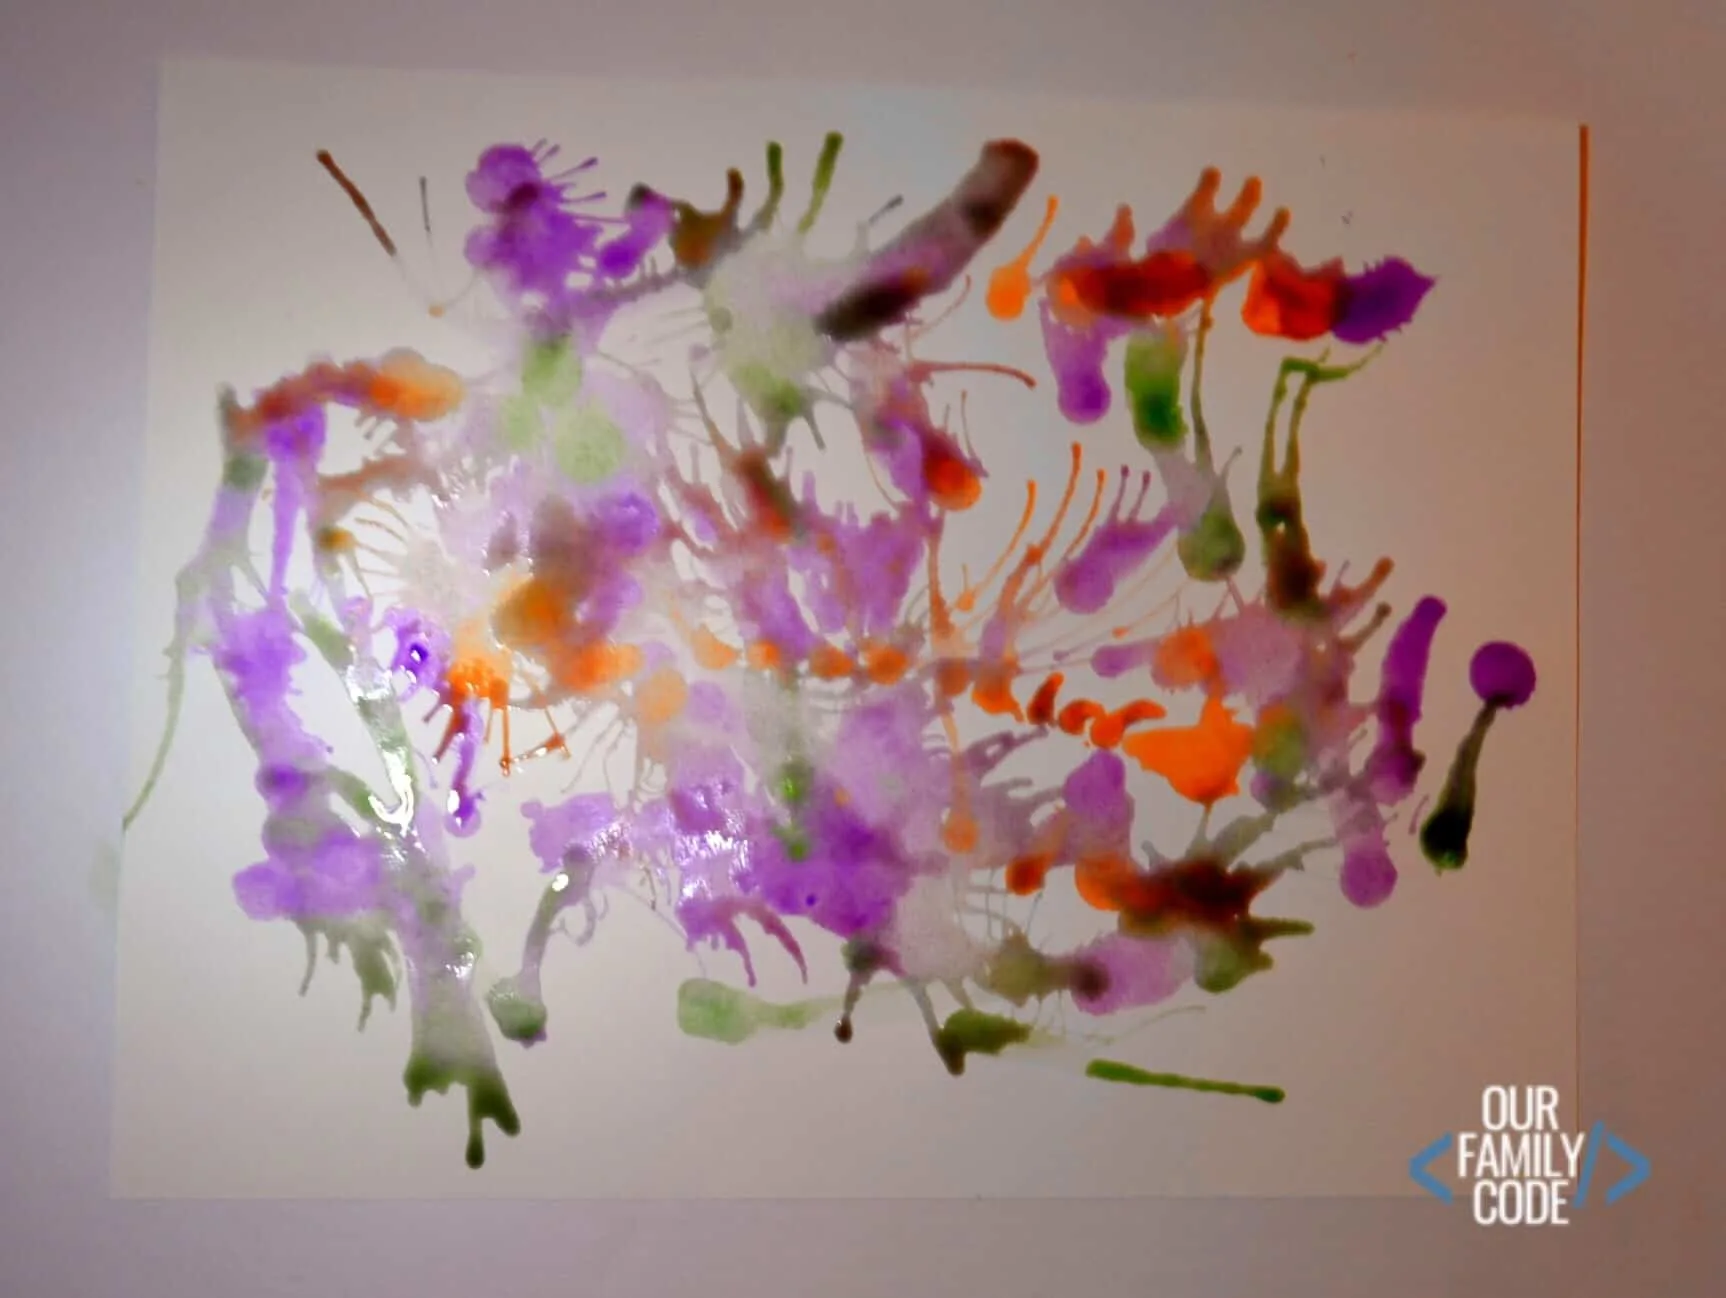
Use your straw to blow paint in one direction. What happens when wind is stopped by a surface?
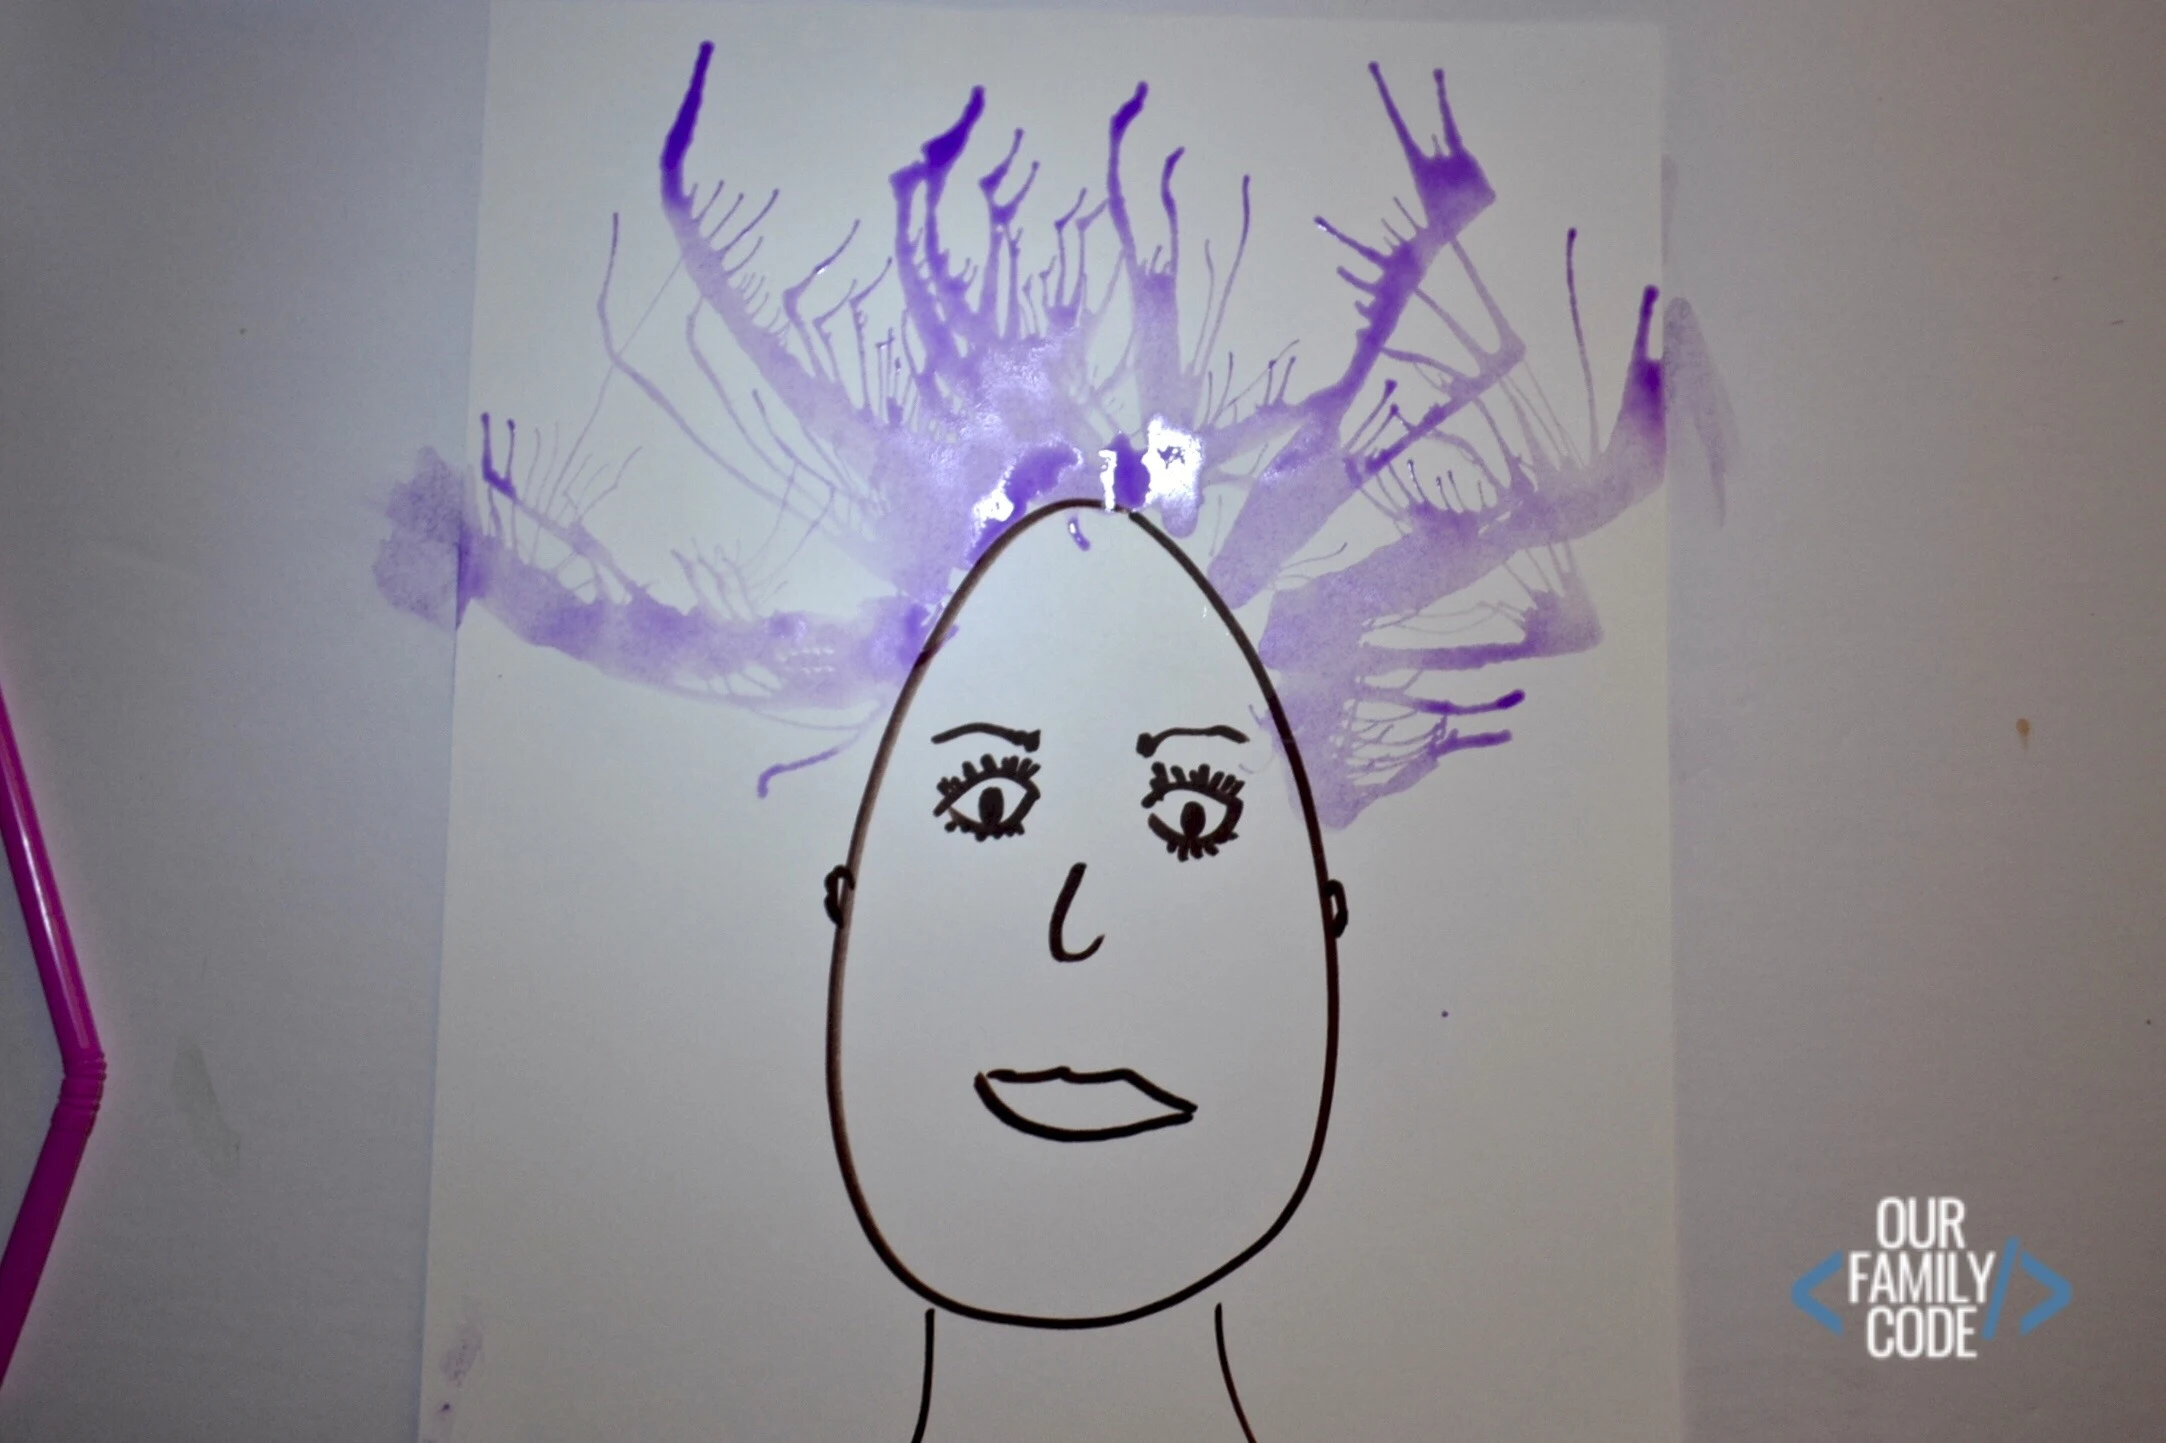
Use your straw to blow paint at a different angle. What happens to your paint?
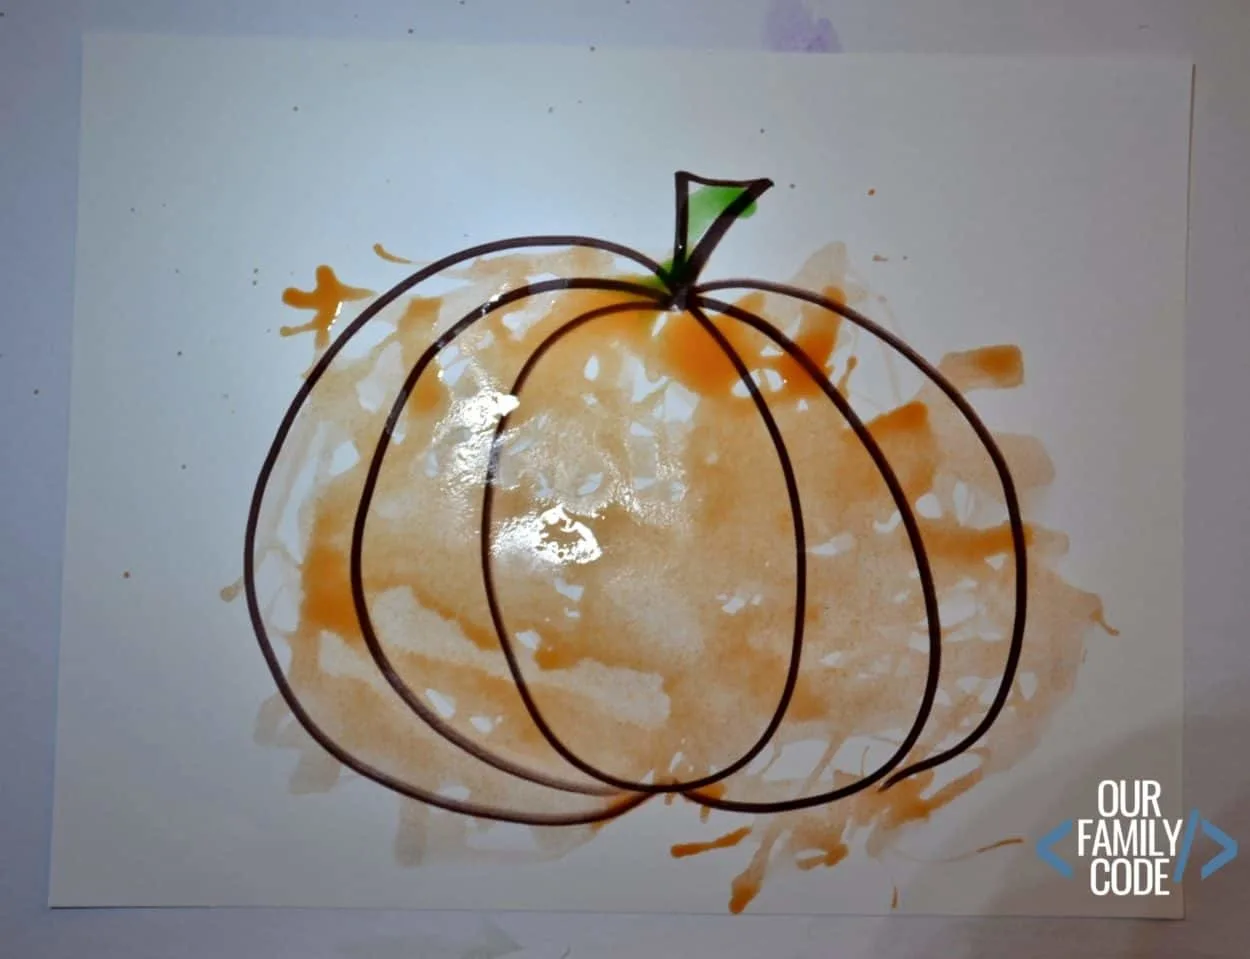
Let your picture dry. Outline the final picture in black permanent marker and use your imagination to identify any pictures you see!
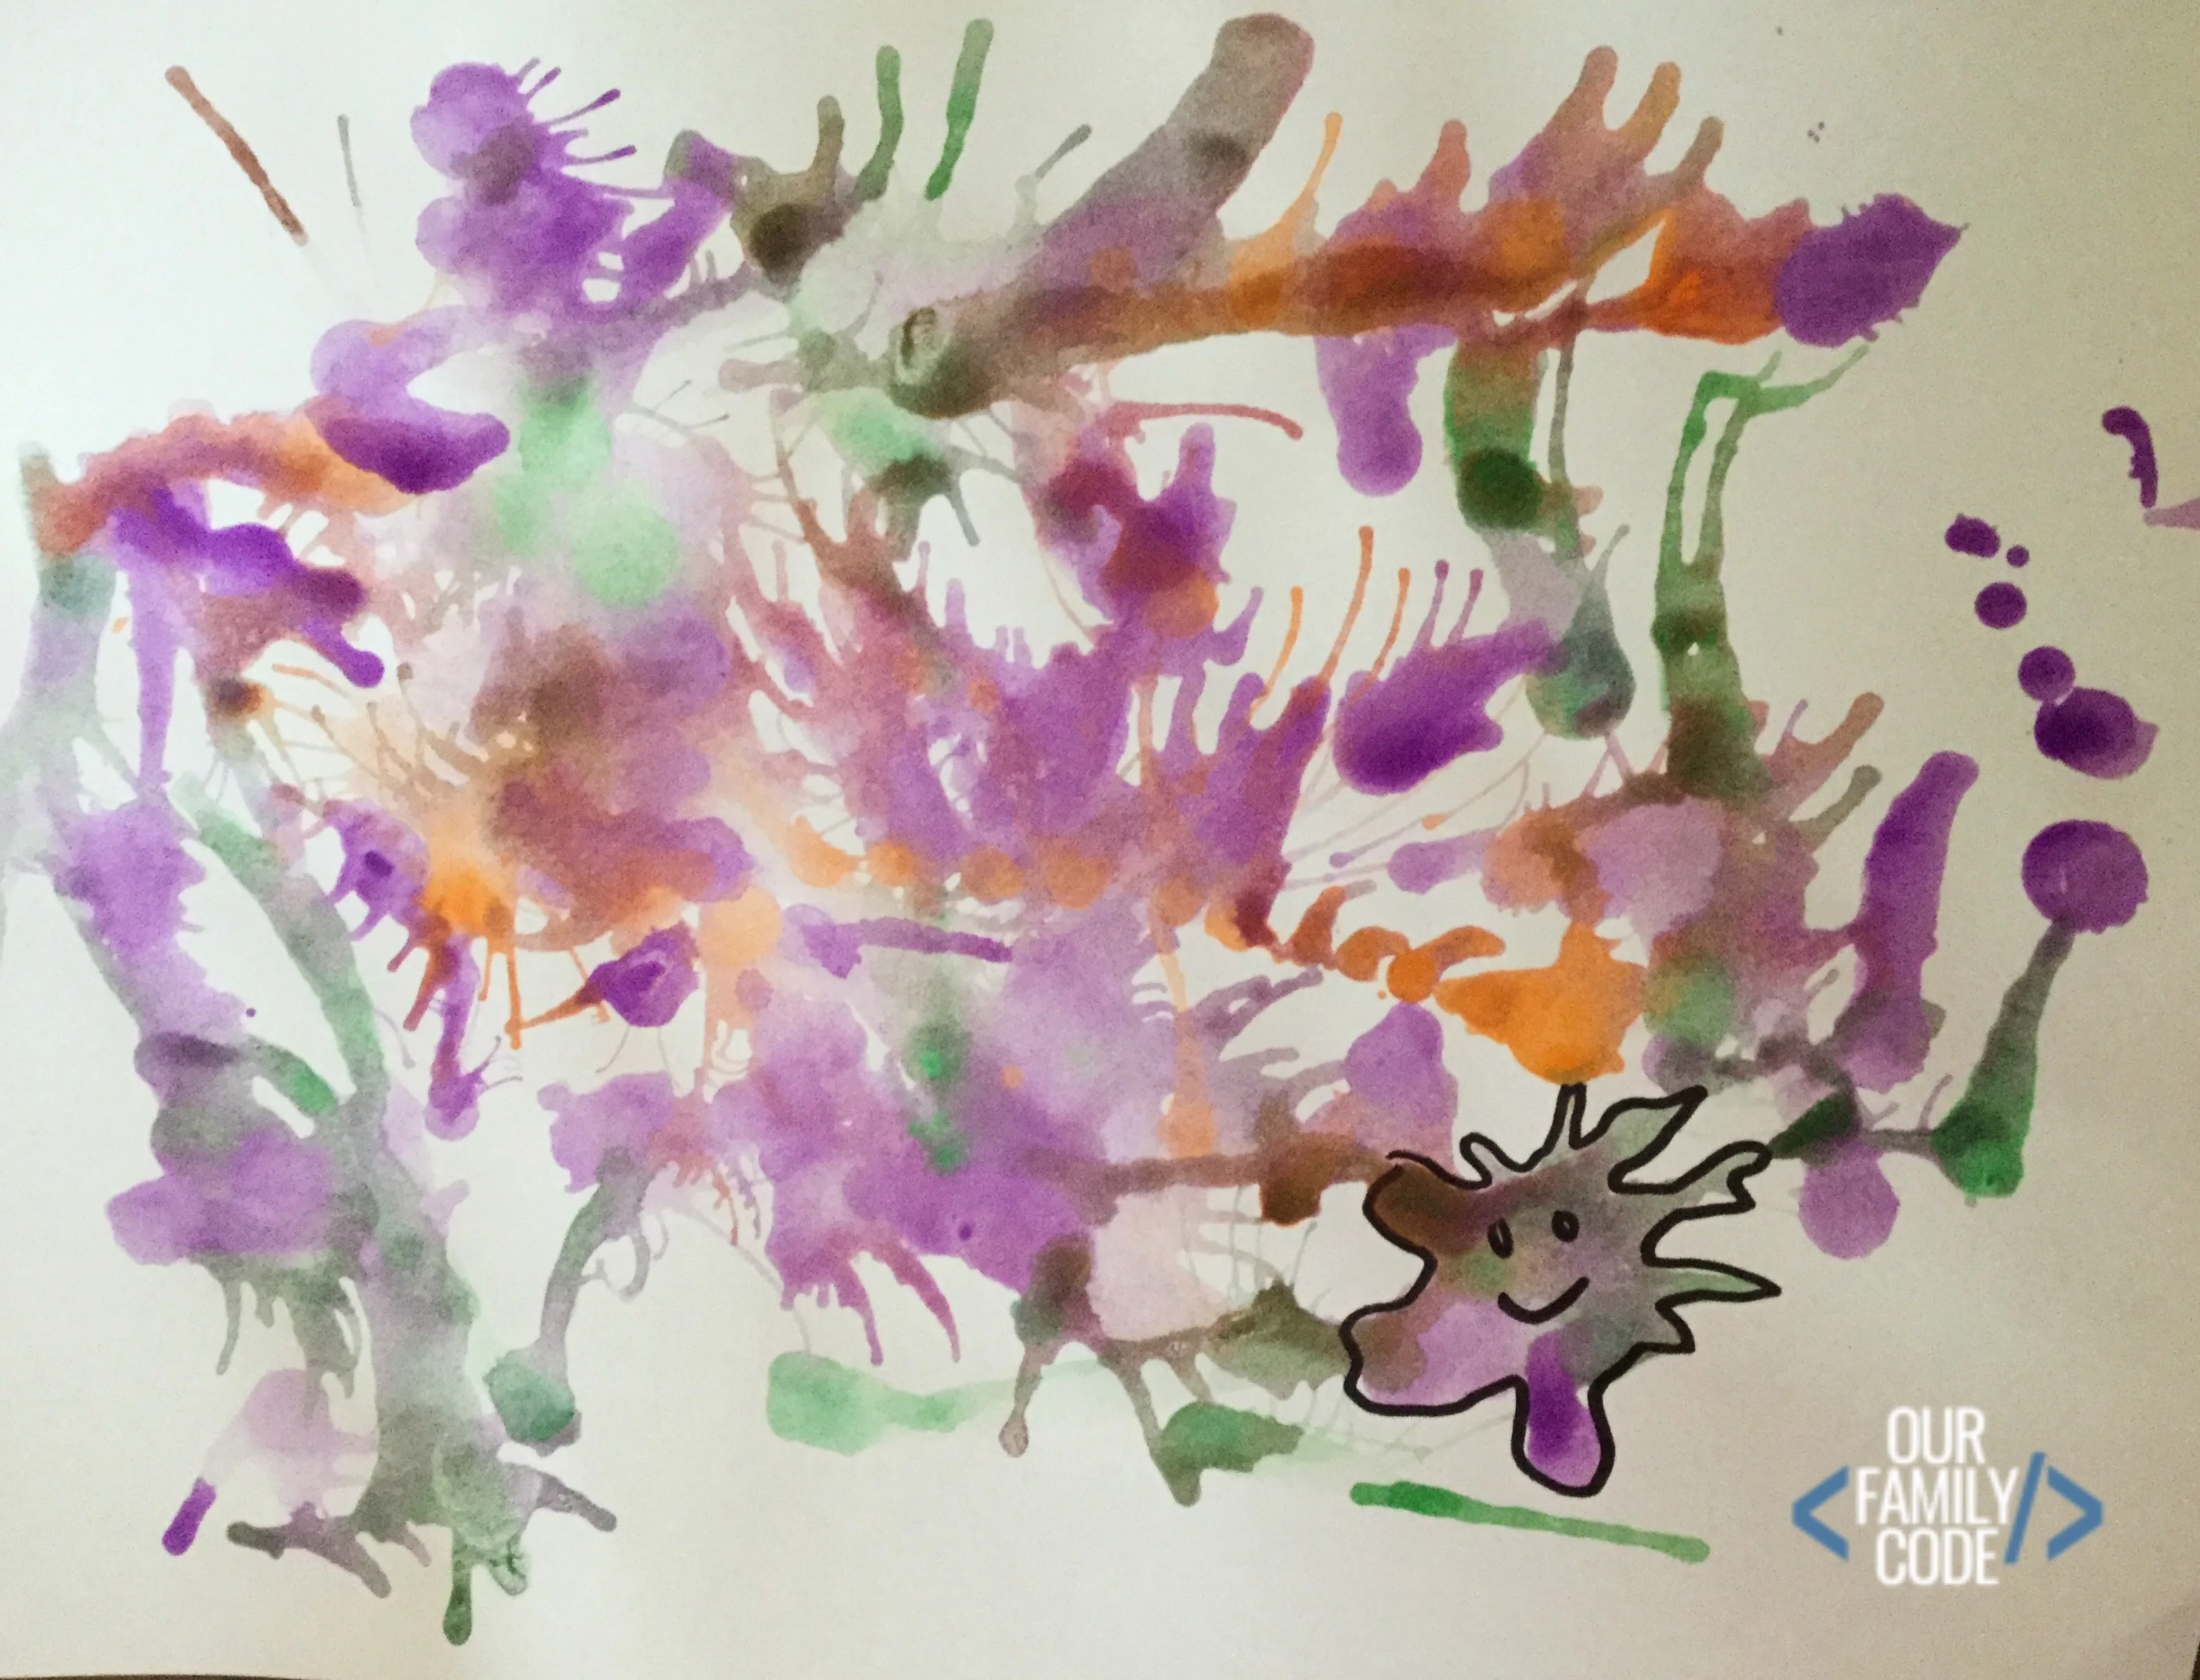
Blow Painting with Straws Velocity STEAM Activity
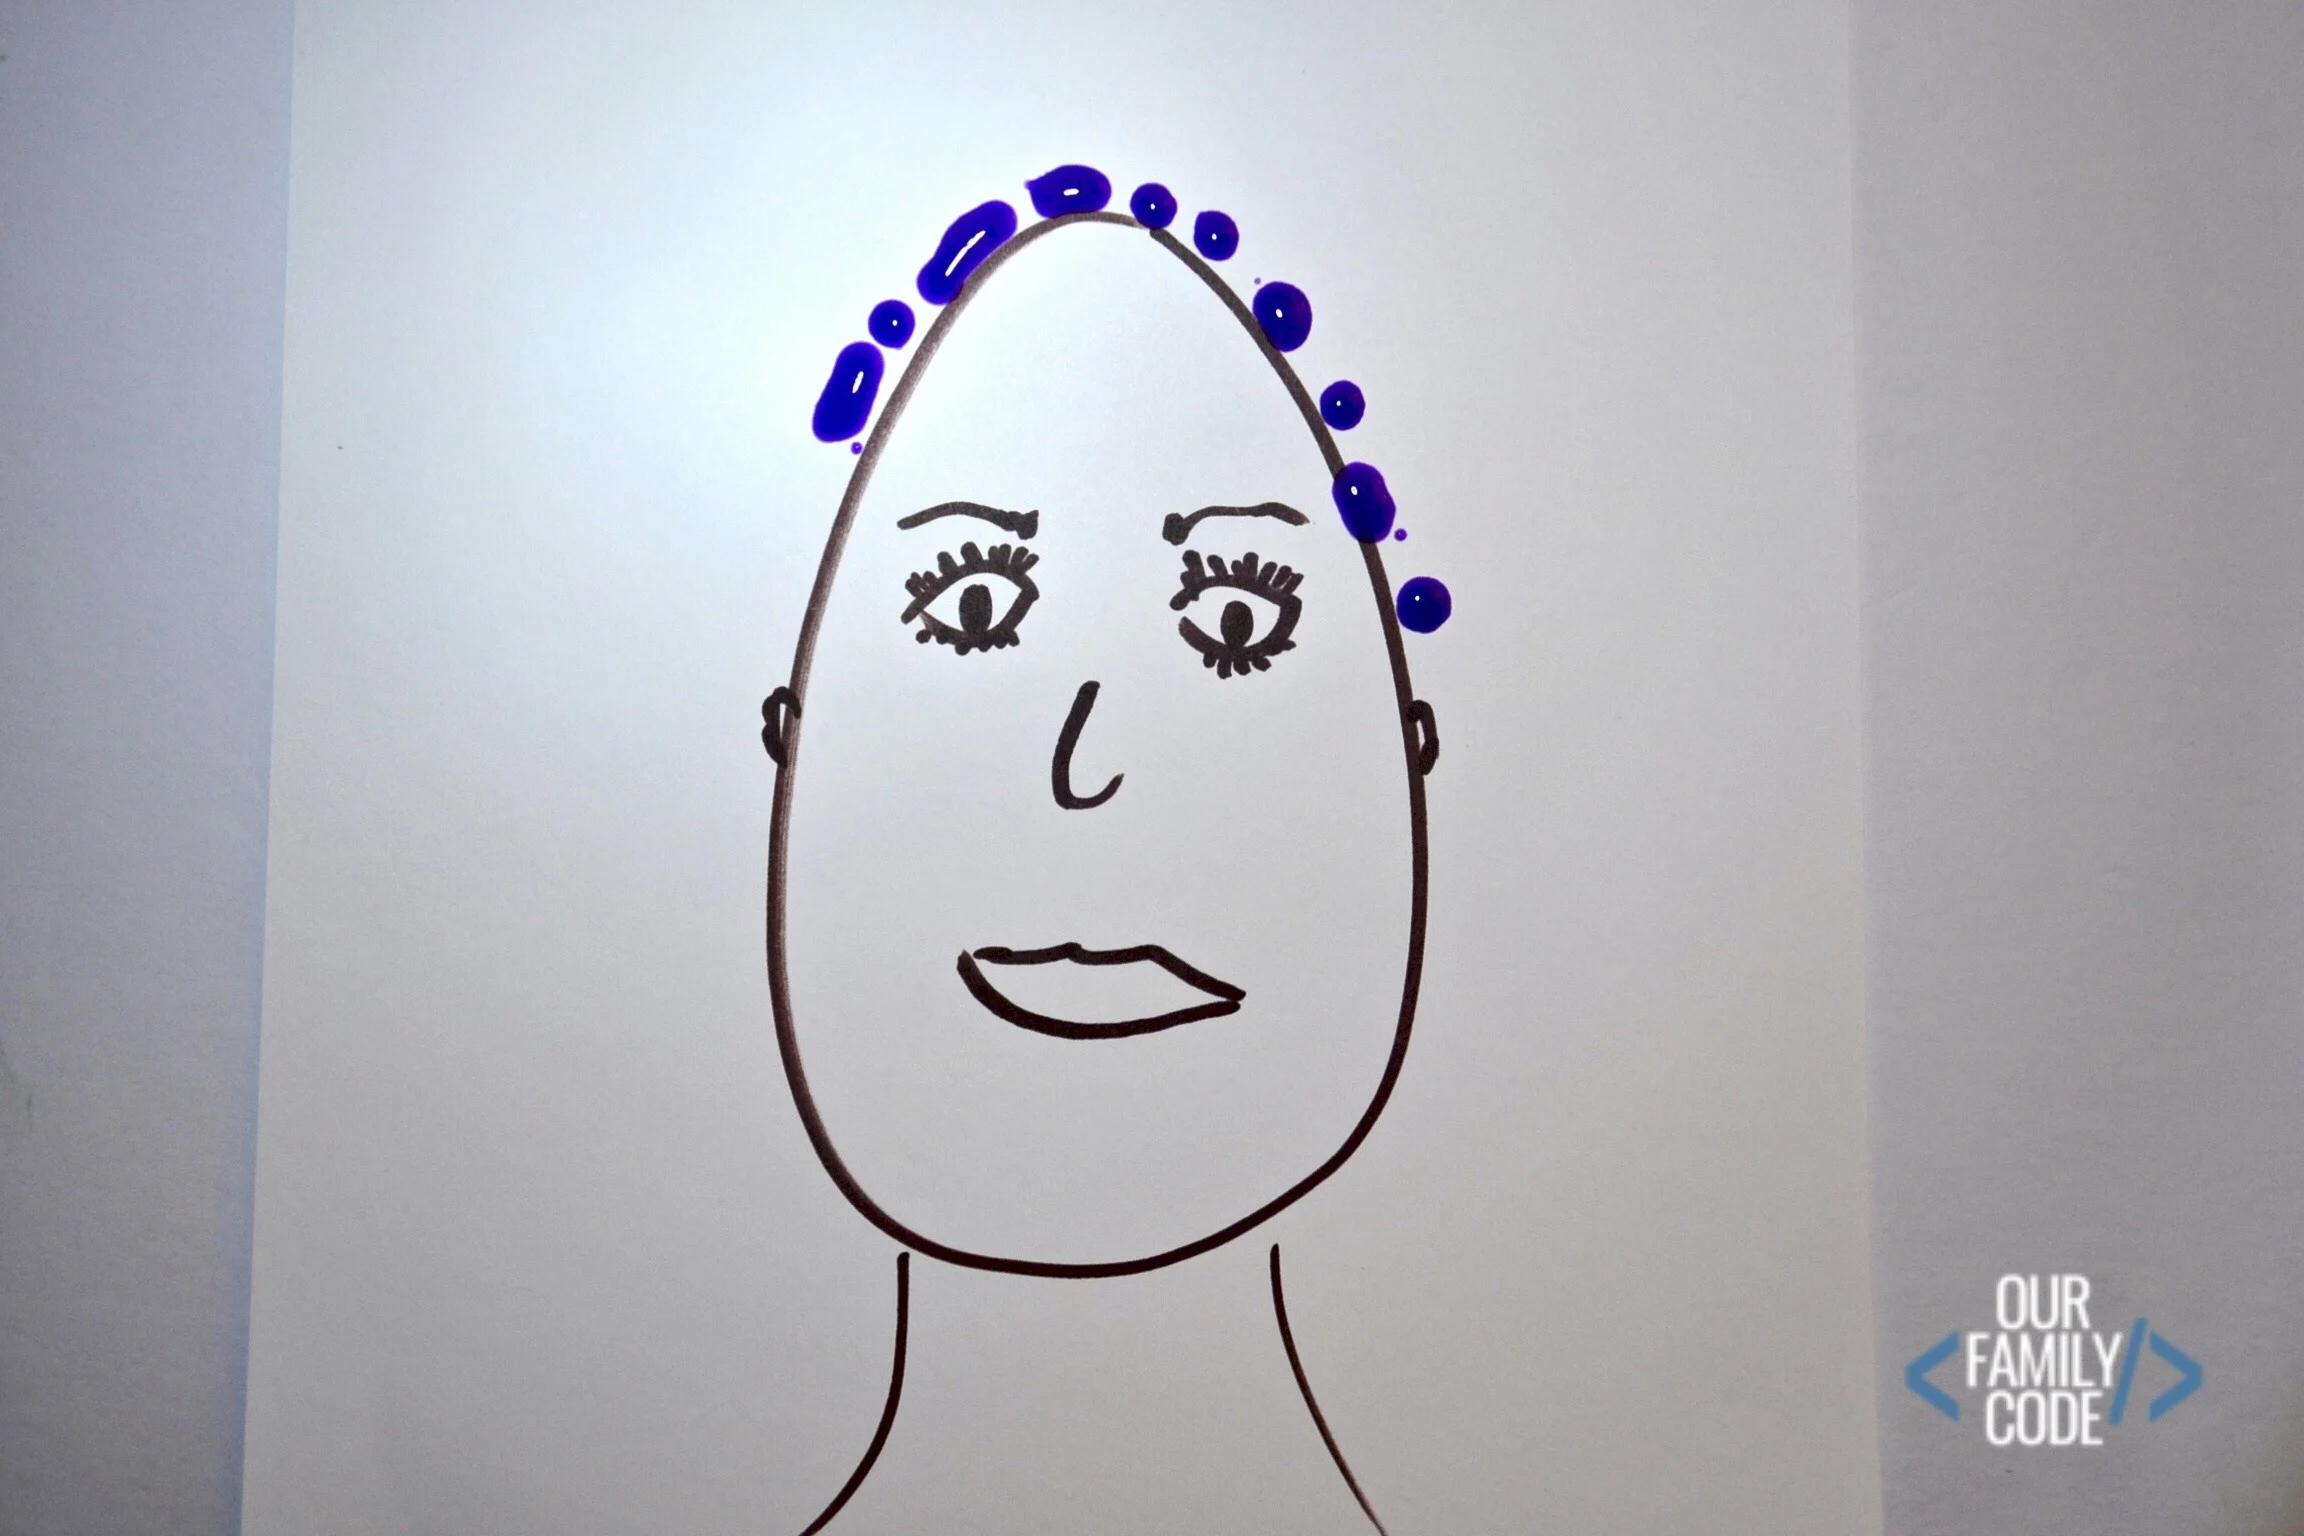
For this straw art activity, you will draw a picture before beginning to paint. After you have drawn your picture, drip drops of paint in the lines of your picture with a medicine dropper or spoon.
Use your straw to blow paint around your painting. This is harder to do than you think!
The goal is to keep the paint in the lines of your picture. How did you control the velocity of your paint with the force of the wind from the straw? What did you have to do to keep the paint within the lines?
Make Observations about Your Straw Blown Art
Discuss what happened when you blew the paint?
When we blew our paint, the wind we created pushed the paint away from us.
What happens to the paint when you blow at it differently?
Blowing at the paint differently pushed our paint forward away from us in the same direction of the wind.
What happens when you blow softer?
Blowing softer created less velocity, which made our paint move more slowly and our spots were darker because less paint was pushed away.
What happens if you blow stronger through the straw?
By blowing our paint harder, we created high velocity wind that accelerated our paint forward. The fast acceleration left lighter spots because less paint remained in those areas.
What happens if you blow through the straws in short spurts?
When we blow through our straws in short spurts, we created gusts of wind that made the paint spread out in one spot without being forced forward in one direction. This helped to fill in our artwork.
What happens if you blow in long spurts?
When we blow through our straws in long spurts, the wind we created pushes the paint forward in long lines.
What happened when the paint colors mixed?
When the paint mixed, it created different colors. In our case, we created brown spots because we used orange, purple, and green paint. We observed that our paint mixed very quickly in areas with low velocity wind.
Connect your straw art velocity activity with more STEAM buckets!
Science
Discuss wind velocity. How does faster or slower wind change your artwork?
Technology
Take pictures of each step and then put them together to create a presentation or a short stop-motion flip book of your velocity straw art. Talk about technology that is used to measure the wind.
Engineering
What happens if you use more than one straw? Build an anemometer with cups and straws and measure the velocity of wind from your straws, a hair dryer, or even a fan.
Art
What happens when colors meet each other? Does the color stay the same? Use only primary colors and try to mix them by blowing air through your straw. What colors did you create?
Math
Can you identify any patterns or shapes in your artwork? Cut the straw. What happens when you blow through a different length of straw? What lengths work best?
Explore More with Straw Blow Art
Take this activity one step further and observe even more concepts with this creative art project.
Try to use different paper and explore how this activity works on different textures. Use gravity to move paint around your paper and observe the differences and similarities between gravity and velocity?
Another fun way to explore this blow art activity, would be to use a hair dryer to blow paint around. Make predictions. How is it the same as straw painting? How is it different?
Some Books to Read with Your Blow Painting Velocity Activity
- The Wind Blew by Pat Hutchins
- Boy, Were We Wrong About the Weather! by Kathleen V. Kudlinski
- Amy’s Windy Tale! by Haley Belinda
31 Days of Low-Prep STEAM Activities for Kids
This activity is part of our 31 Days of Low-Prep STEAM Activities for Kids. Every activity will primarily focus on each of the buckets of STEAM (Science, Technology, Engineering, Art, & Math) although these integrated projects fit in more than one bucket.
You and your kiddos are going to love all of the activities that we have in store! Visit the 31 Days of Low-Prep STEAM Activity hub and pin it, so you can come back and visit it daily!
PIN THIS IMAGE TO SHARE THIS LOW-PREP STEAM ACTIVITY
Science Art Activities
Find more awesome activities that pair science with art!
Exploring Science with Gravity Paint Pours
Gravity makes some of the most interesting art! Learn about gravity with paint pours and make awesome marbleized patterns with kids today!
Chalk Pastel Leaf Rubbings STEAM Activity
We created leaf rubbings to learn about and capture the nature of leaves as well as explore how our chosen medium interacted with different papers.
Oil Resist Tessellation Art Science & Math STEAM Activity
This oil resist tessellation art is a great way to combine science, art, and math into one masterful activity for kids!
How to Make Awesome Sharpie Art with Science!
Learn about solubility, color mixing, and diffusion with Sharpie art on a canvas!
3D Art: How to Create Awesome 3D Art Drawings & Anaglyphs for Kids
Learn how to draw 3D images and make anaglyph artwork and grab some free 3D art worksheets!
Squeegee Art Butterfly Process Art Activity
This butterfly squeegee painting art activity is exactly the type of Spring process art activity that you are looking for!
What is Op Art? Optical Illusion STEAM Activity
What is Op Art? Find out how to make awesome optical illusion art and download a free optical illusion coloring book for kids!
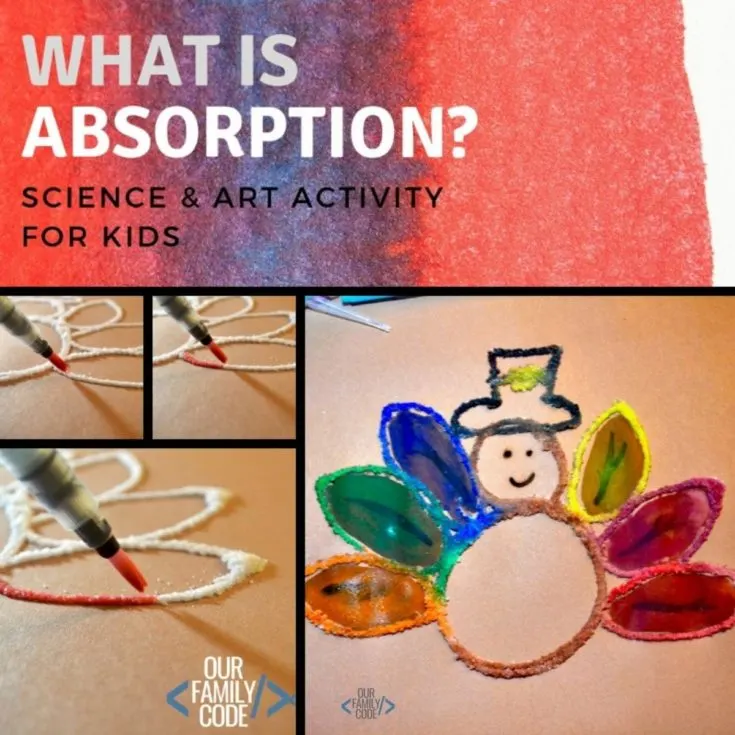
Salt Painting: Learn about Absorption!
Learn about polar molecules and absorption with this salt painting activity! This is such an easy art project for kids with science that is great for preschoolers through tweens!
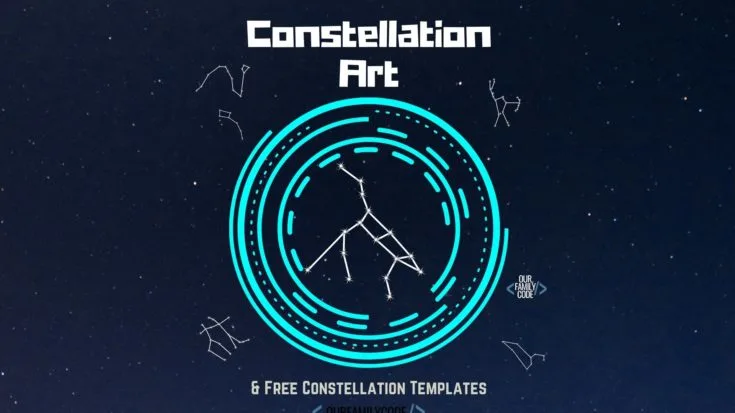
How to Make Constellation Art STEAM Activity
This constellation art activity is great for introducing constellations and sparking a sense of wonder for galaxies and planets above while also helping kids to recognize patterns in the sky by observing, describing, and turning them into art!
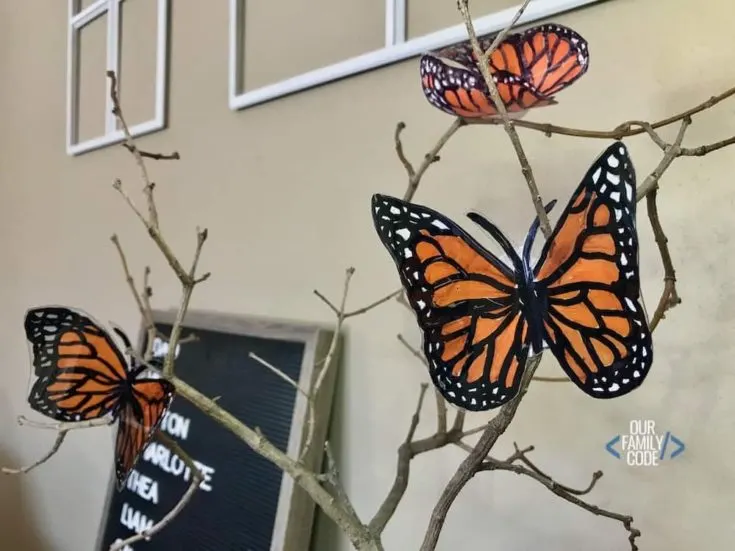
Plastic Bottle Butterflies Recycled Art
Make plastic bottle butterflies with this easy recycled art activity and learn about Monarch butterfly migration and how they find shelter and food during their journey!
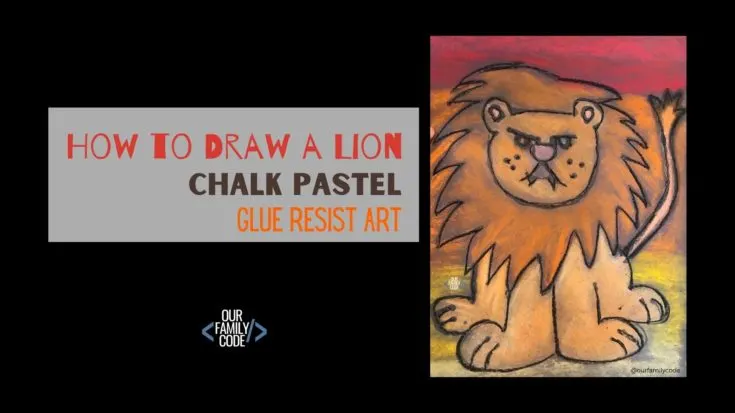
How to Draw a Lion Chalk Pastel Glue Resist Art
Learn how to draw a lion and make chalk pastel glue resist art with this easy low-prep STEAM activity for kids!
Plastic Water Bottle Sun Catchers
Recycle plastic water bottles into a sun catcher with this great spring recycled art project for kids!
Meet Toni, the Maker Mom behind Our Family Code

Hey there, I’m Toni! I’m a software engineer and Maker Mom that finds my joy in unleashing my children’s curiosity by exploring STEAM concepts with my fantastic five!
When I’m not chasing toddlers or raising tweens, you can find me tearing things up and putting them back together over here at Our Family Code.
I am the owner and content creator of multiple educational websites designed to increase access to STEAM & STEM education with a focus on teaching computer science and coding to kids of all ages!
You can also find out more about me by visiting ToniGardner.com!






teachworkoutlove
Tuesday 2nd of October 2018
These are awesome activities !!