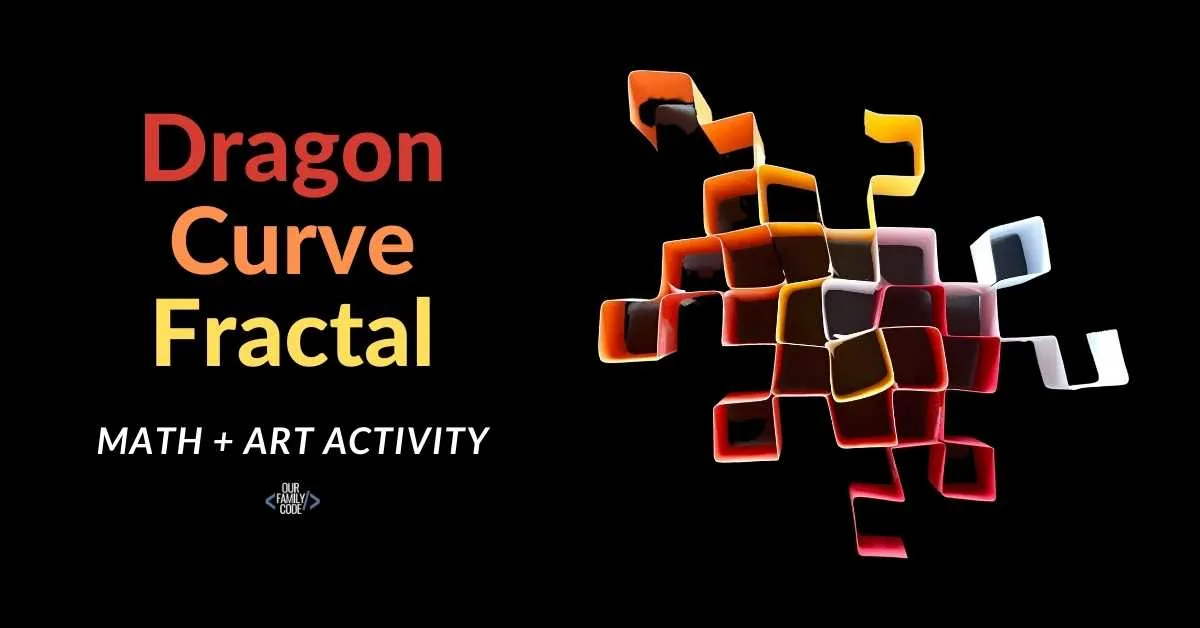
Learn about dragon curve fractals and how to make dragon curve fractal art with this awesome STEAM activity!
This post contains affiliate links. As an Amazon Associate, Our Family Code earns from qualifying purchases. Please see our Disclosure Policy for more details.
What is a Dragon Curve fractal?
A fractal is a pattern that is made up of smaller copies of itself. The dragon curve fractal has the shape of a giant dragon, but it’s made up of one line that bends back and forth, which creates what looks like a bunch of boxes.
The dragon curve fractal was invented in 1966 by John Heighway and William Harter. Heighway and Harter were both NASA scientists.
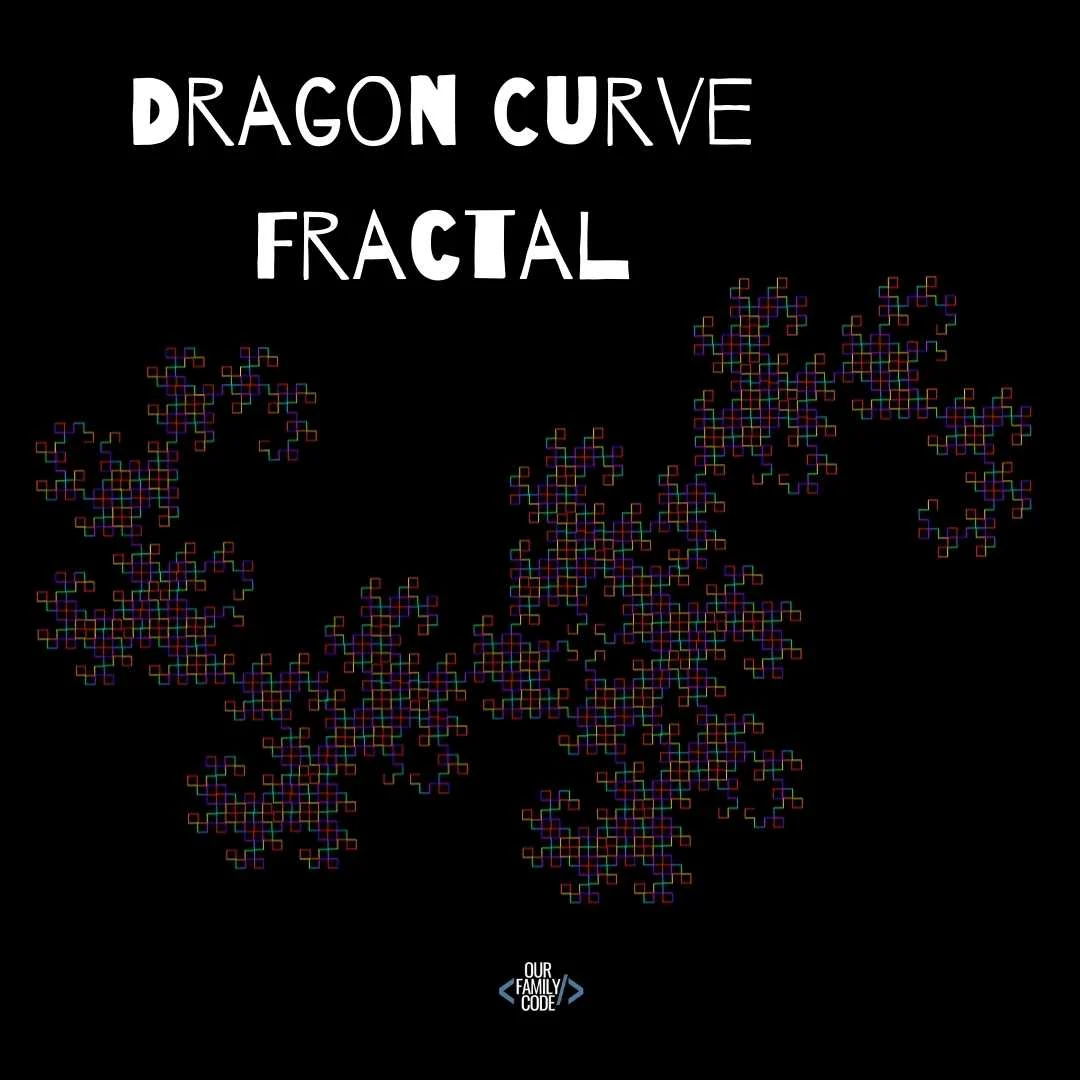
They discovered the dragon curve fractal when they were folding a dollar bill when they noticed that with enough folds, they could create a pattern that looked like a Chinese dragon.
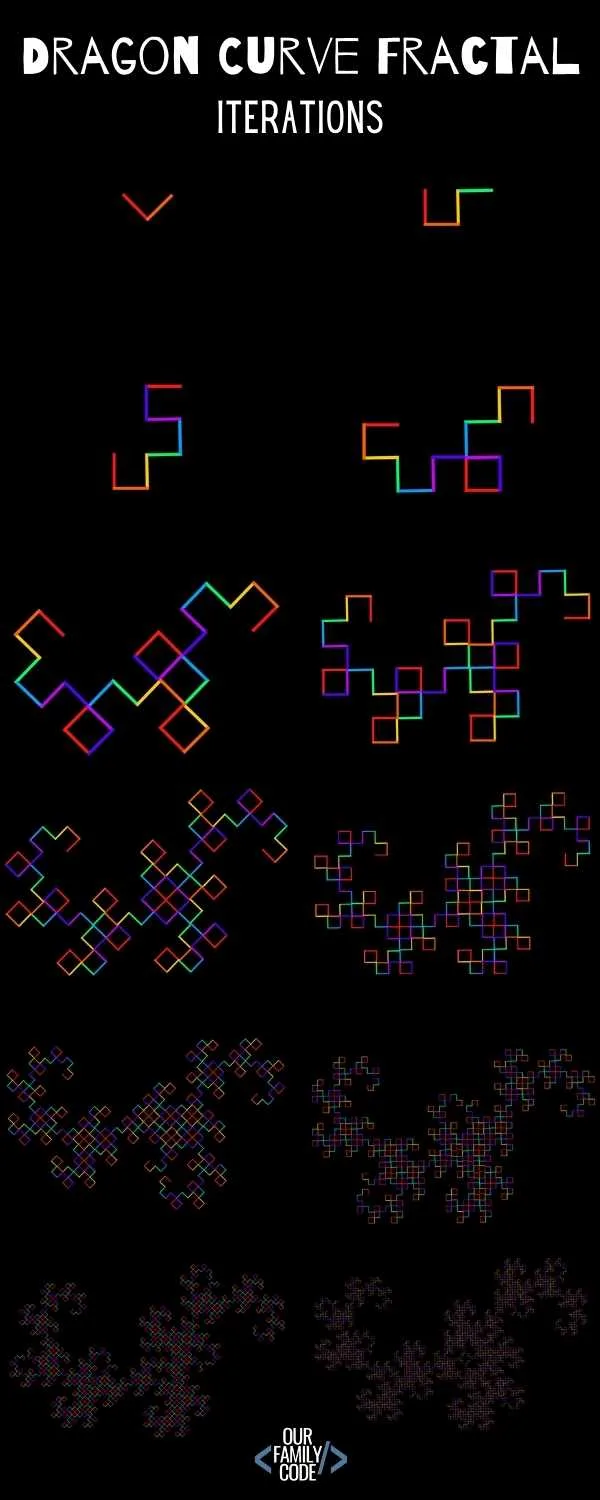
Every iteration, or repeated step, of folding the paper created another version of the same dragon shape.
Day of the Dragon King
This dragon curve fractal math + art STEAM activity is part of our Magic Tree House book activity series based on the Magic Tree House books by Mary Pope Osborne.
This activity is a great way to pair a STEAM concept with book number fourteen, Day of the Dragon King. In the story, Jack and Annie visit ancient China where a powerful emperor called the Dragon King has ordered all books be burned.
FIND MORE MAGIC TREE HOUSE ACTIVITIES
- Learn the Science of Mummification with Apple Mummies
- Can You Build a Working Drawbridge? Castle STEAM Challenge
- Rocket Ship Decomposition Unplugged Coding Activity
What’s so interesting about the dragon curve fractal?
Dragon curve fractals are pretty neat because they are space-filling curves. This means that the more folds that are added to a dragon curve, the more the shape fills in instead of grows. This is what gives the fractal a dragon appearance.
The dragon curve fractal can also be used to make a tessellation, a pattern made of repeating shapes that fit together. You can make a dragon curve tessellation by taking four dragon curves and rotating them so that each one points in a different direction.
What are Iterations?
The dragon curve fractal is one of a range of paper folding fractals. The dragon shape begins to take place after about 10 iterations of folding the paper exactly in half and to the left followed by opening the paper up so that each fold is 90 degrees.

Iterations are a repeated procedure. You can find iterations in many math and technology applications, especially coding.
In this case, folding the paper in half and to the left is the iteration. To make a dragon curve fractal, you complete 4-12 iterations depending on the length of your paper.
Dragon Curve Fractal Art Supplies
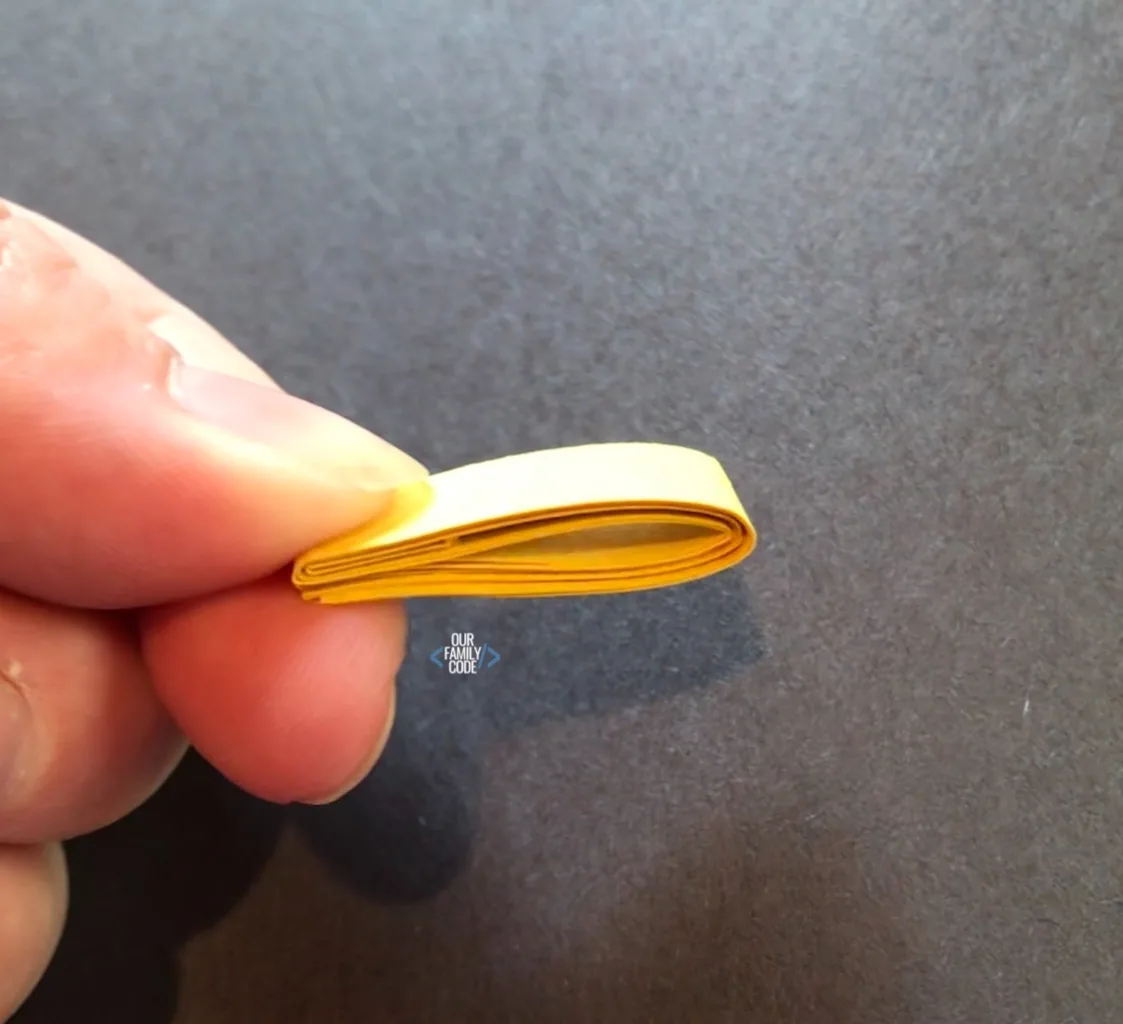
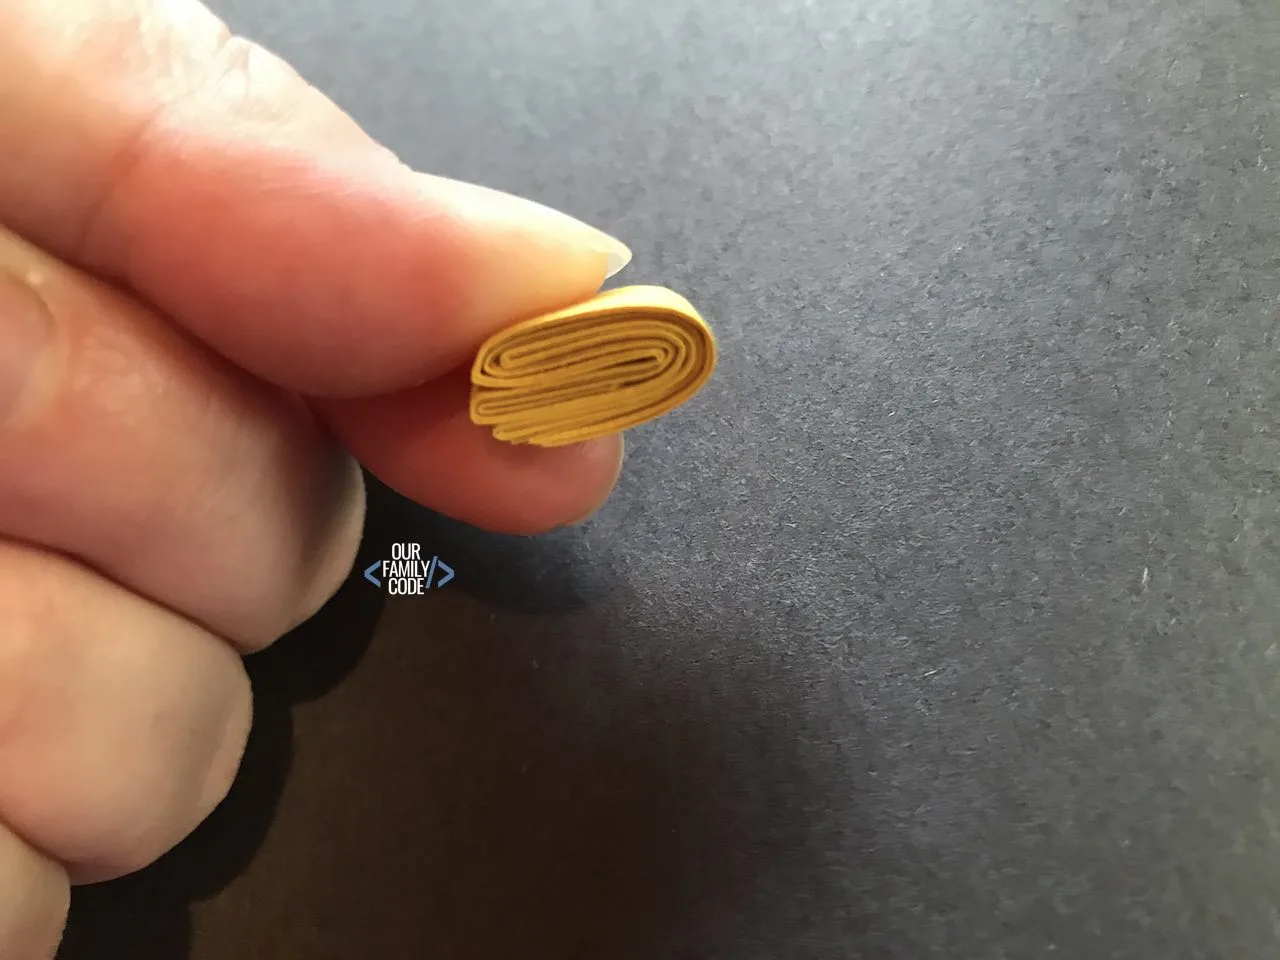
How to Fold a Dragon Curve Fractal
Follow the steps below to create a dragon curve fractal pattern with at least 5 iterations. We used 1/2-inch wide strips of a 12×18 sheet of construction paper to practice and 1-inch wide strips of colored cardstock for our final fractal art.
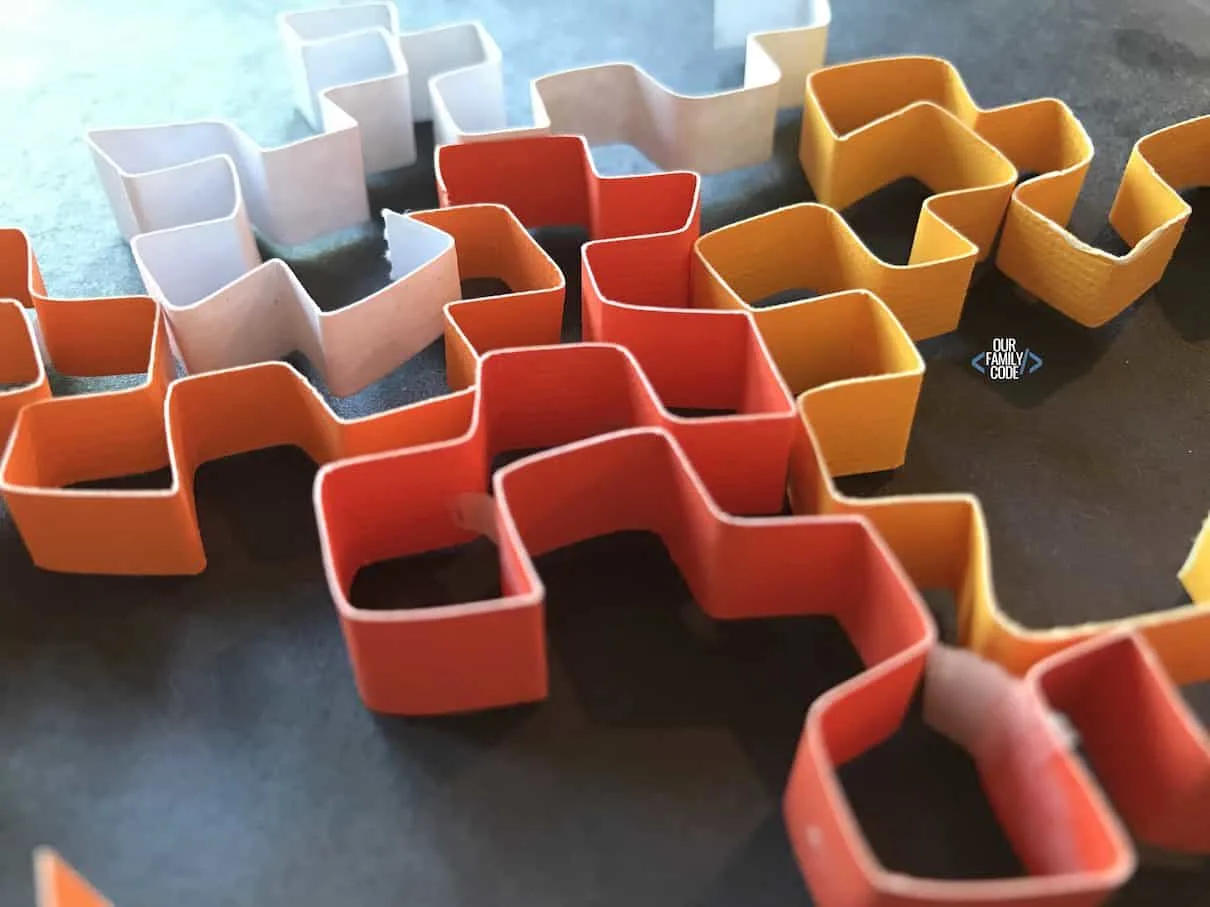
For our practice dragon curve fractal folding, we cut our paper in 1/2in strips. This was not very kid-friendly.
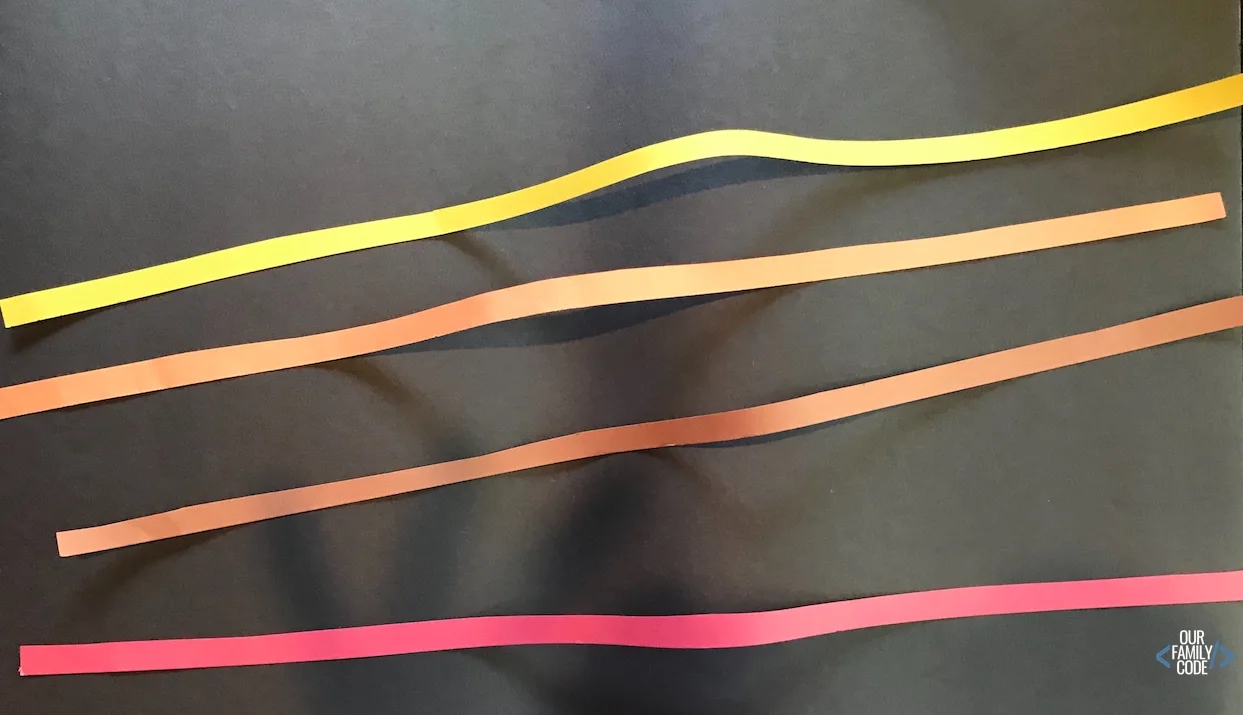
We recommend cutting strips of at least 1-inch, so that kids have an easier time constructing this awesome math art!
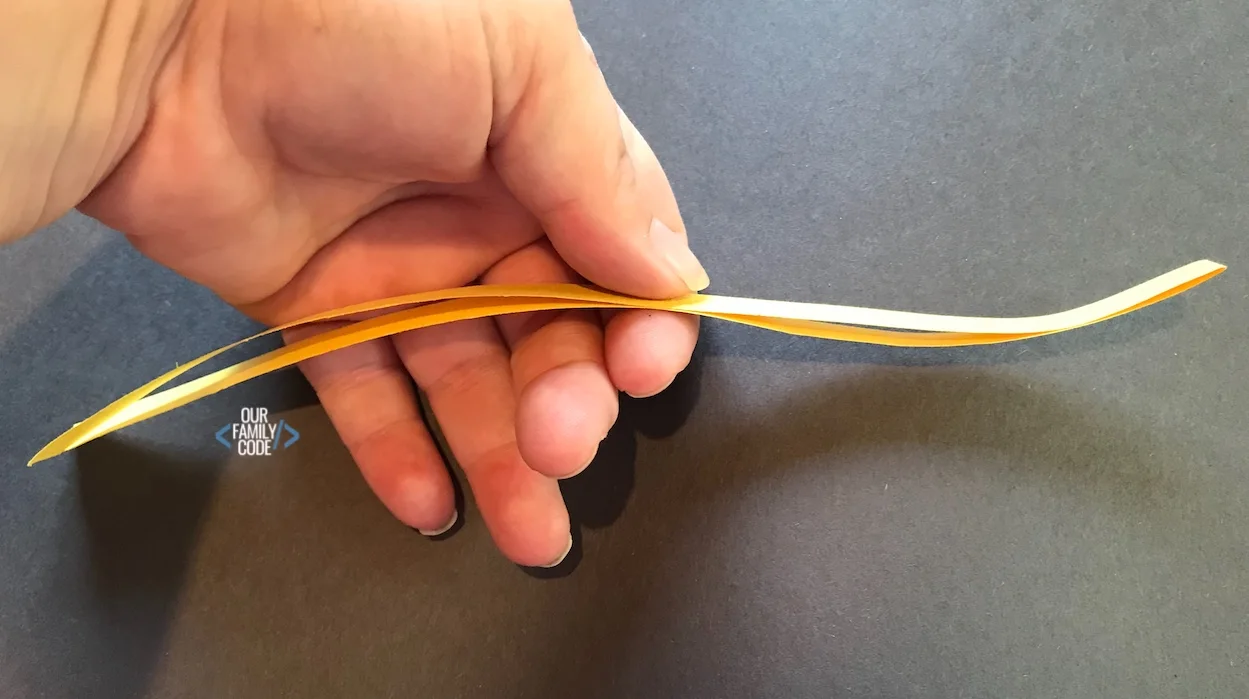
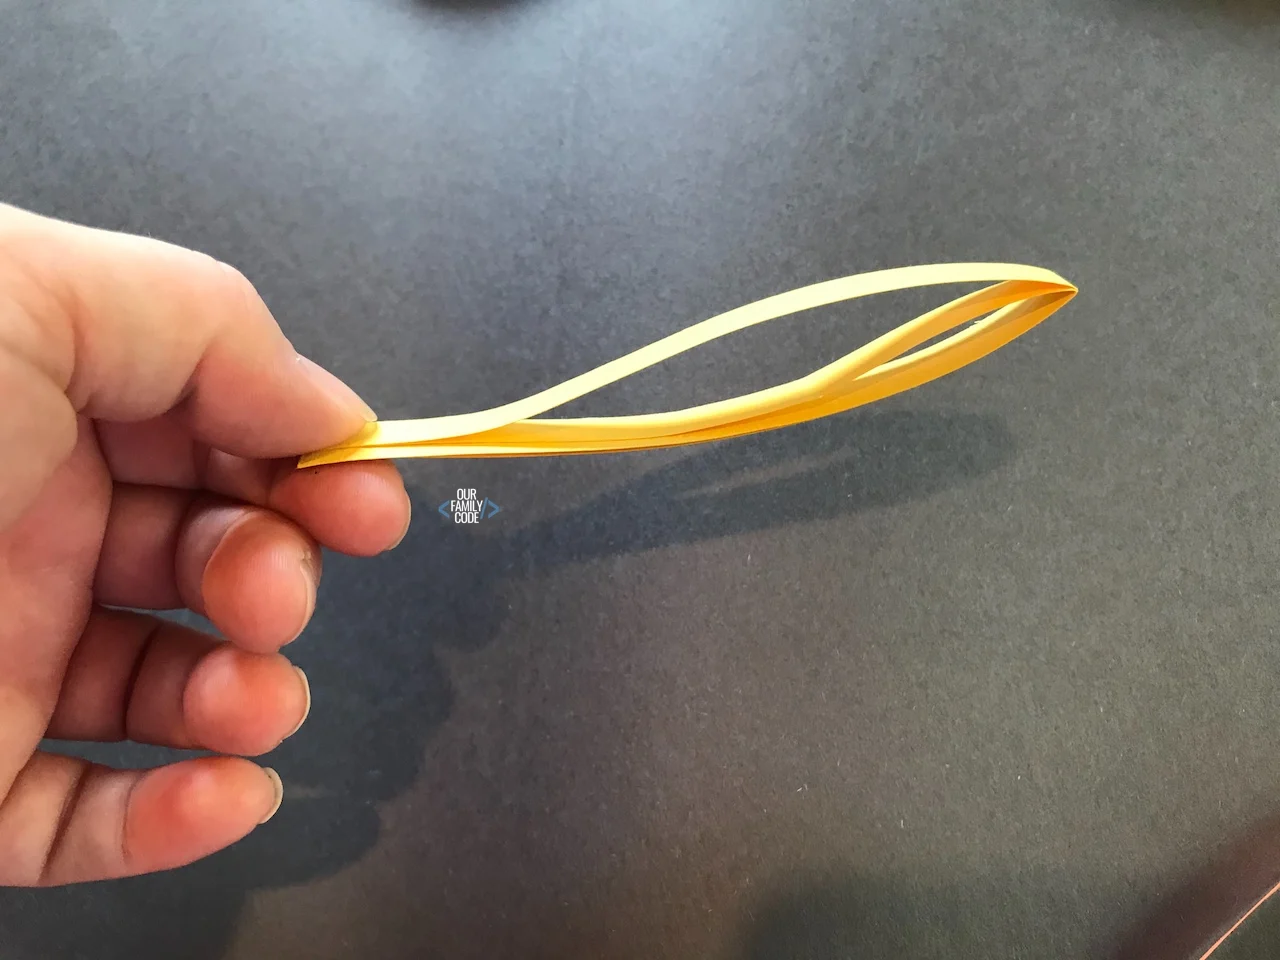
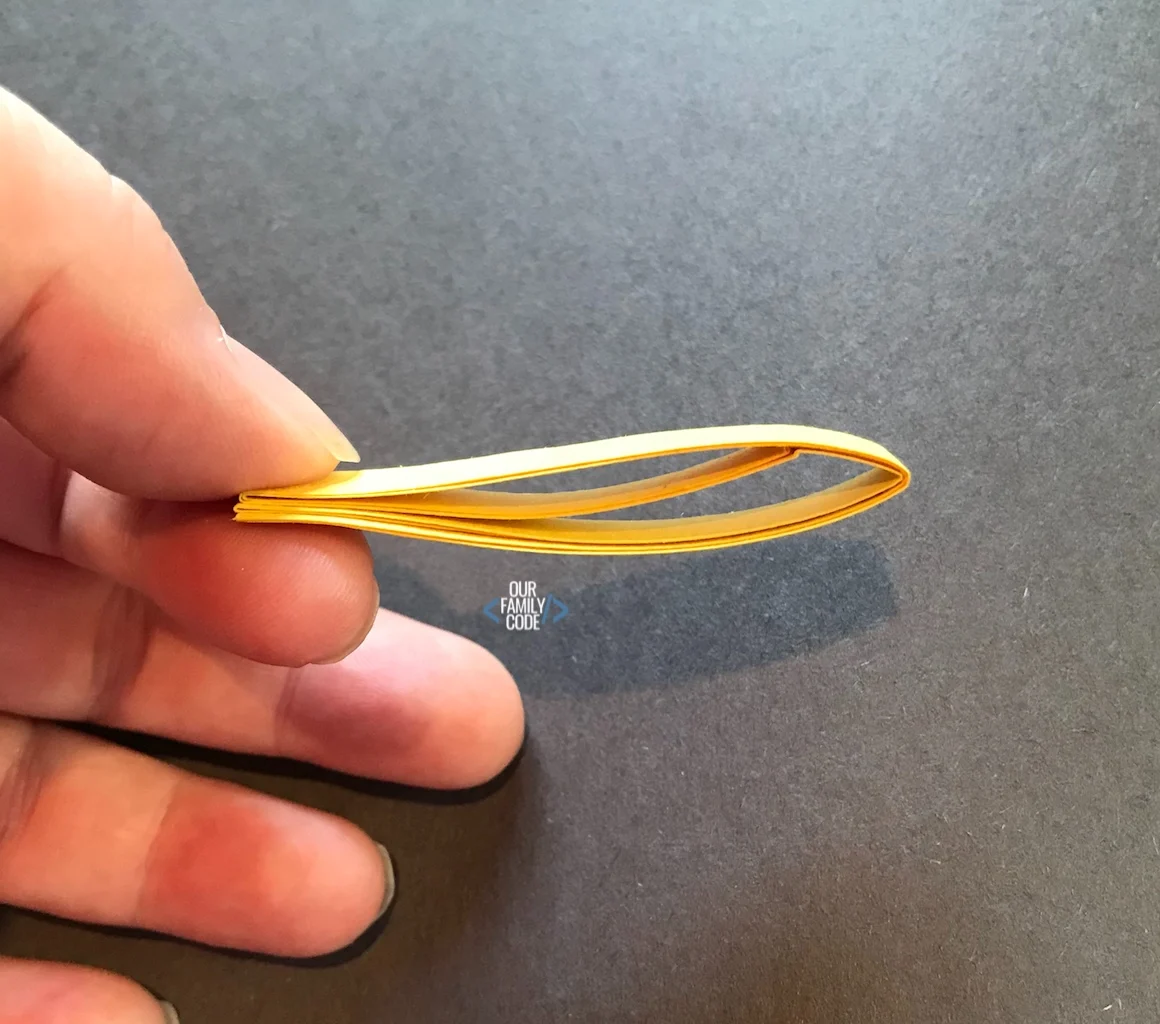
Unfolding a Dragon Curve Fractal
Follow the steps below to create a dragon curve fractal pattern with at least 5 iterations. We used 1/2-inch strips of a 12×18 sheet of construction paper to practice and 1-inch wide strips of colored cardstock for our final math + art project.
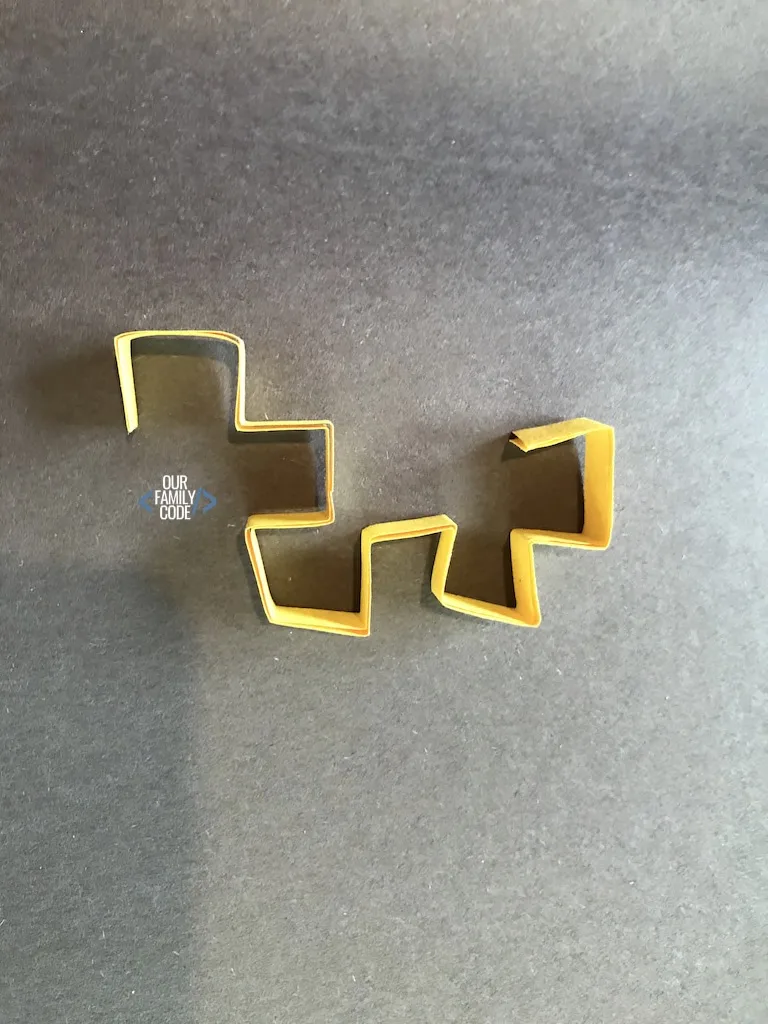
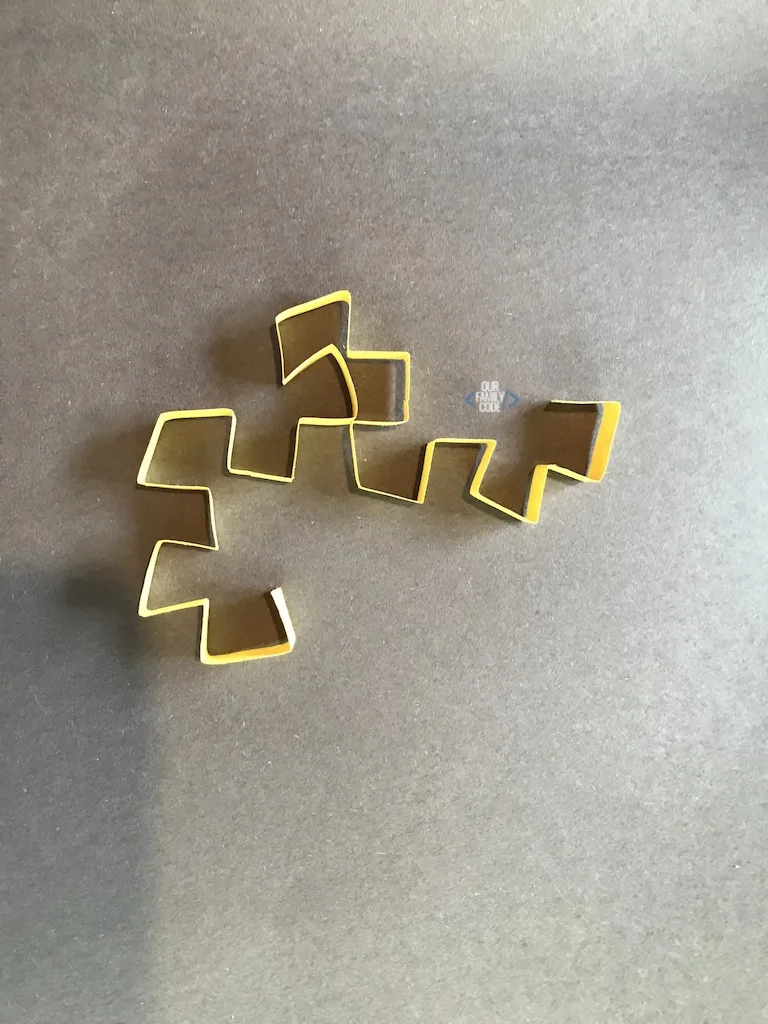
Making Dragon Curve Fractal Art
For our dragon curve fractal art activity, we cut five strips of different colored papers.
We used 1-inch wide strips of colored cardstock for our final fractal art. To fold your dragon curve, fold your strip of paper in half to the left. Repeat this iteration 5 times.
Unfolding Dragon Curve Stages
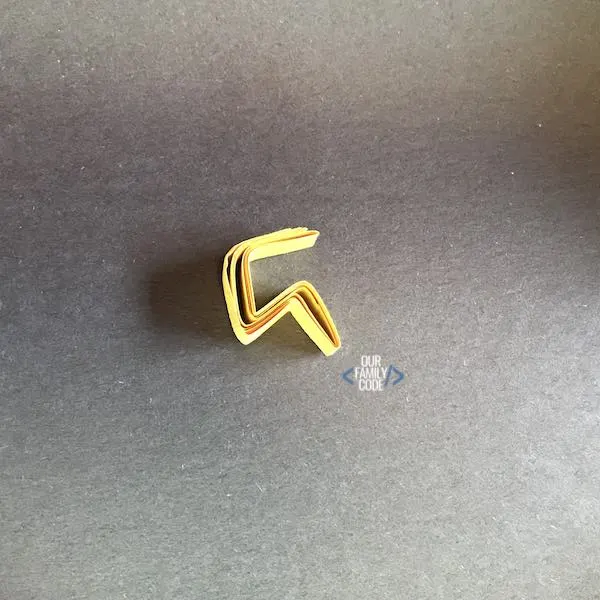
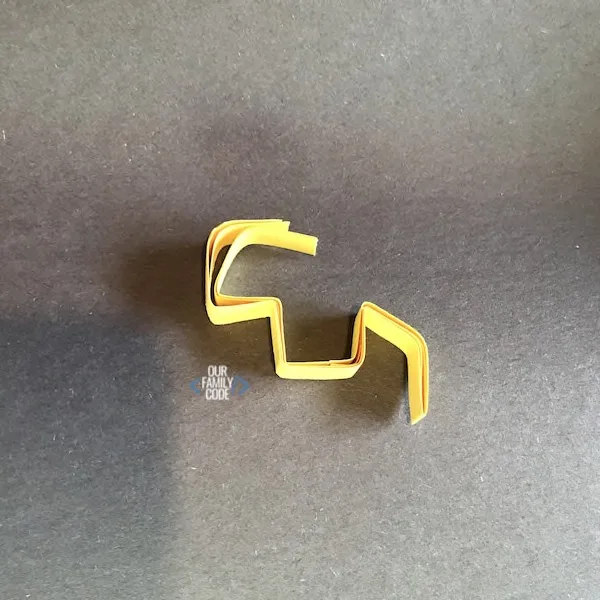
After folding your dragon curve, you will begin to unfold the fractal art in stages. When you unfold the strips of paper, make sure that each fold is at a right angle.
Below, you’ll see a stage three dragon curve. This means that it has been unfolded three times.
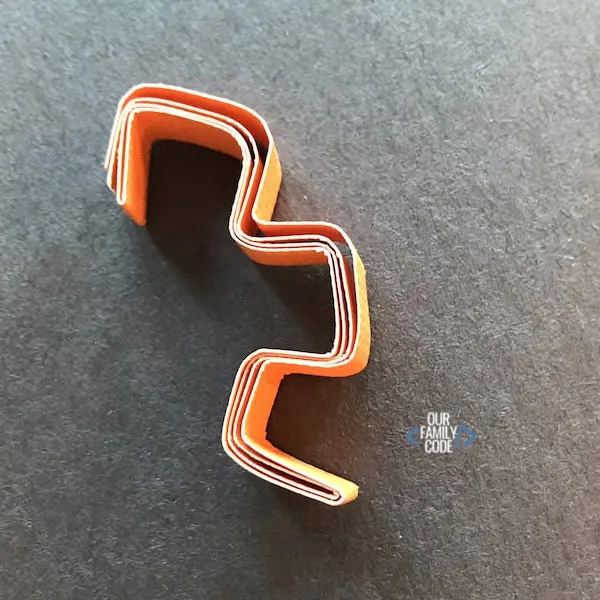
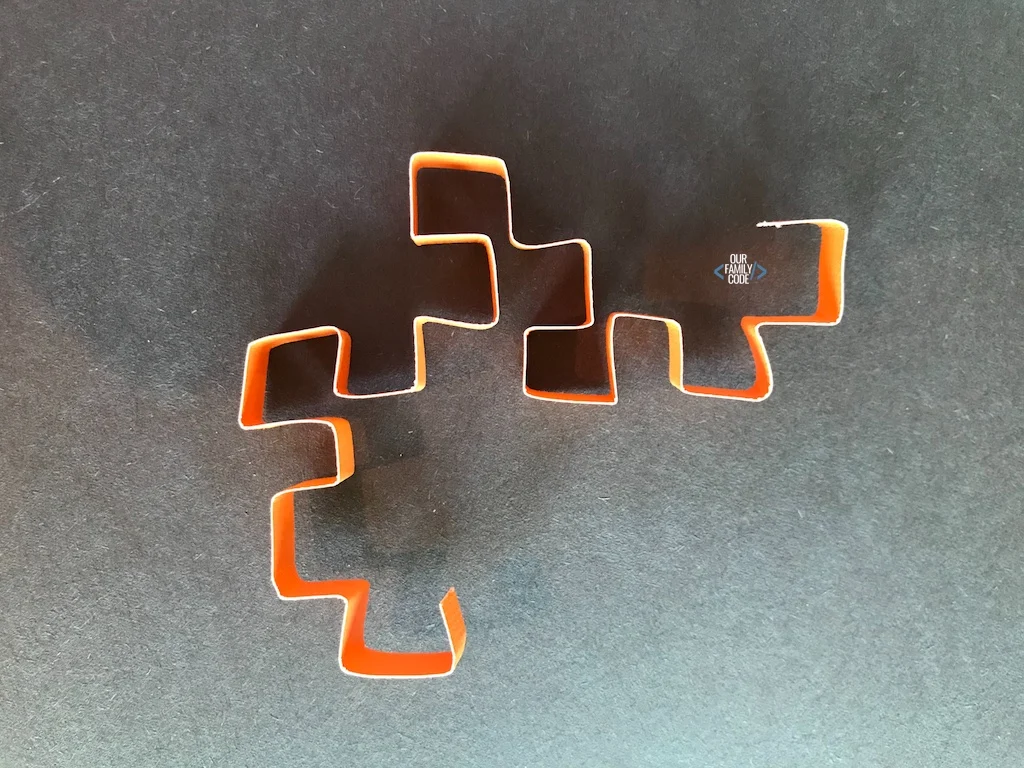
This is a stage 4 dragon curve fractal. It has been unfolded four times.
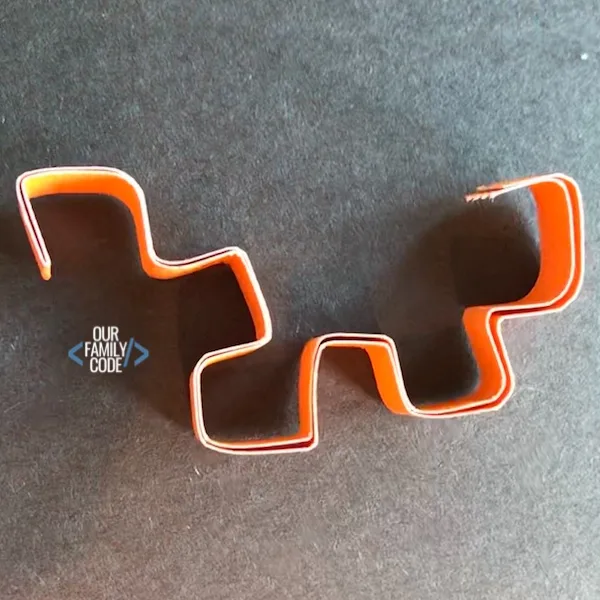
This image below shows what each strip of paper should look like before you attach it to the other colored strips. Repeat for all of your other strips of paper.
In the image below, five dragon curves have been placed together to show how they tile the plane or fill space. However, when we placed our curves together, they did not want to stay in place.
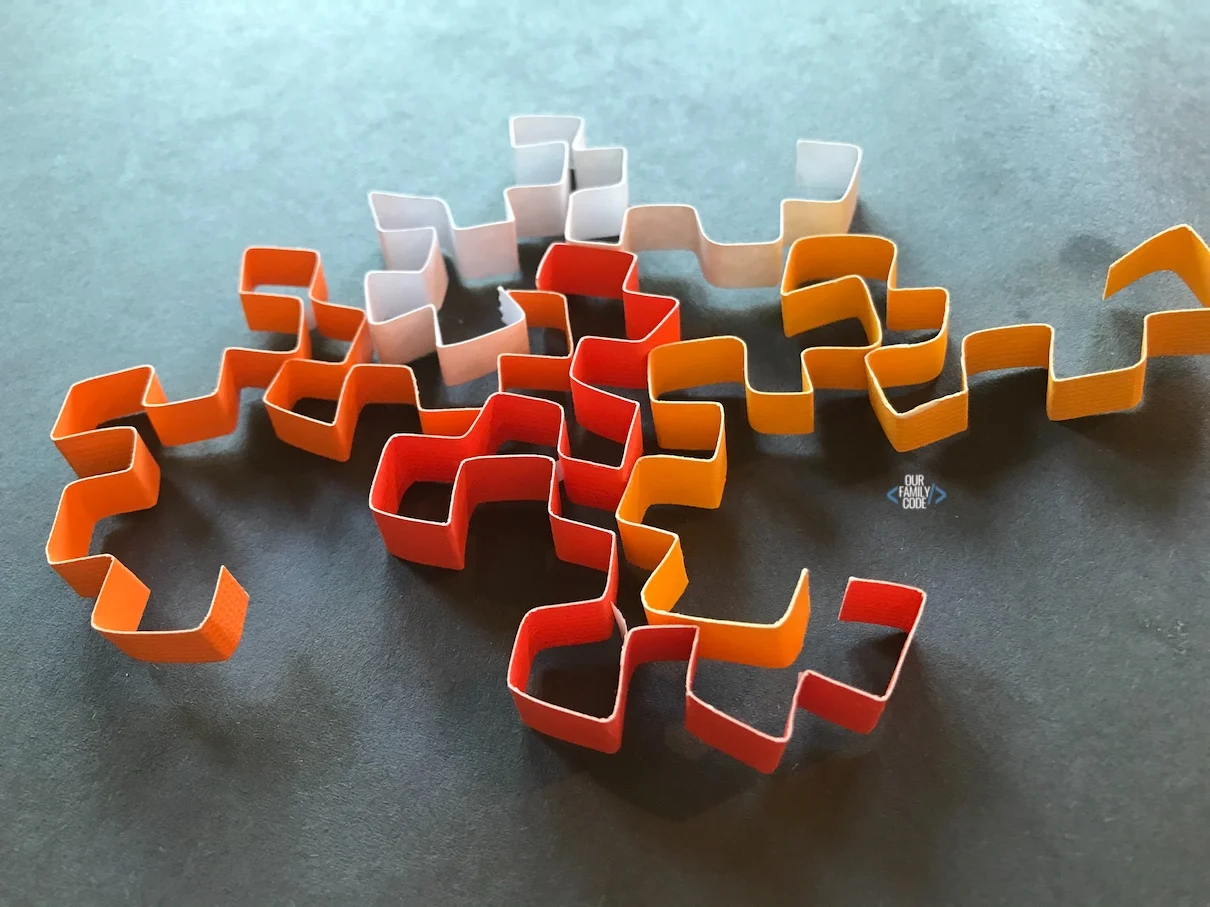
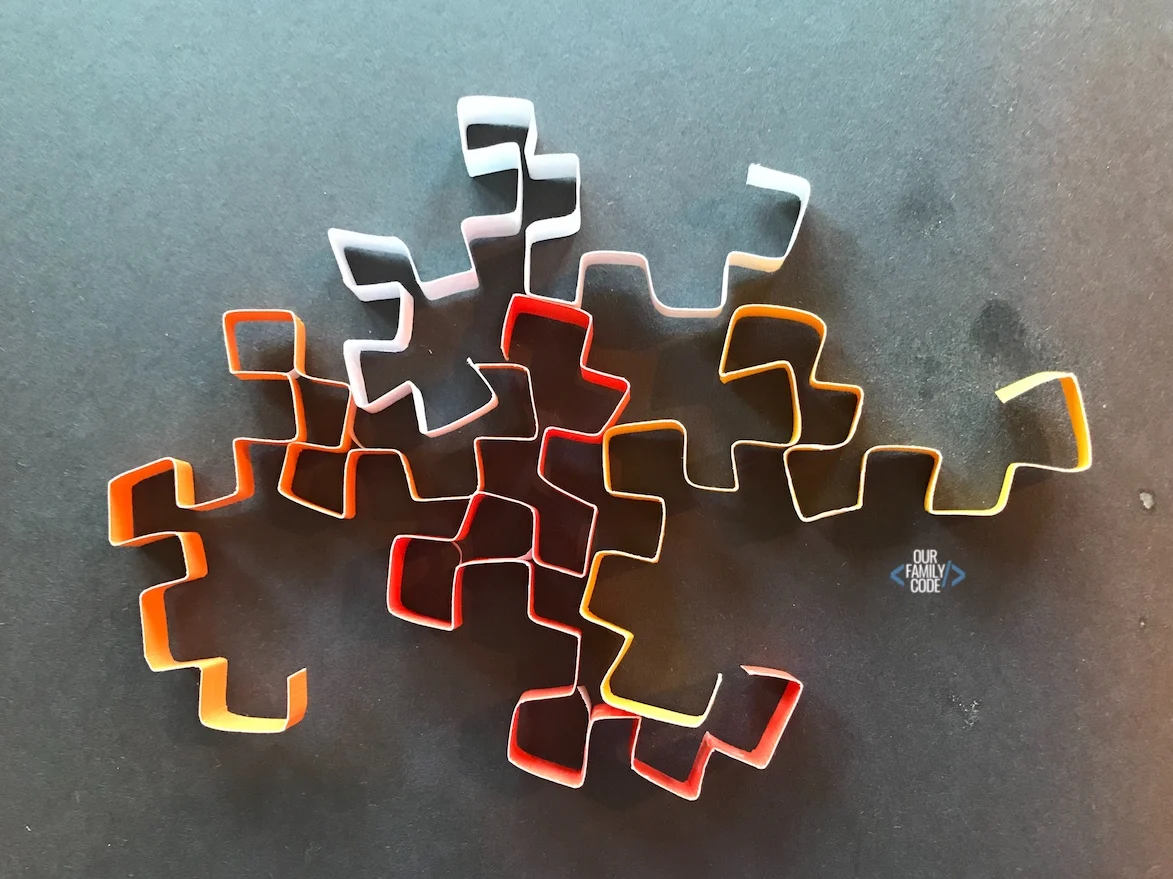
Use Tape to Secure Fractal Art
We recommend taping the corners to create the boxes as they are formed. Check out the best way to tape the completed boxes below!
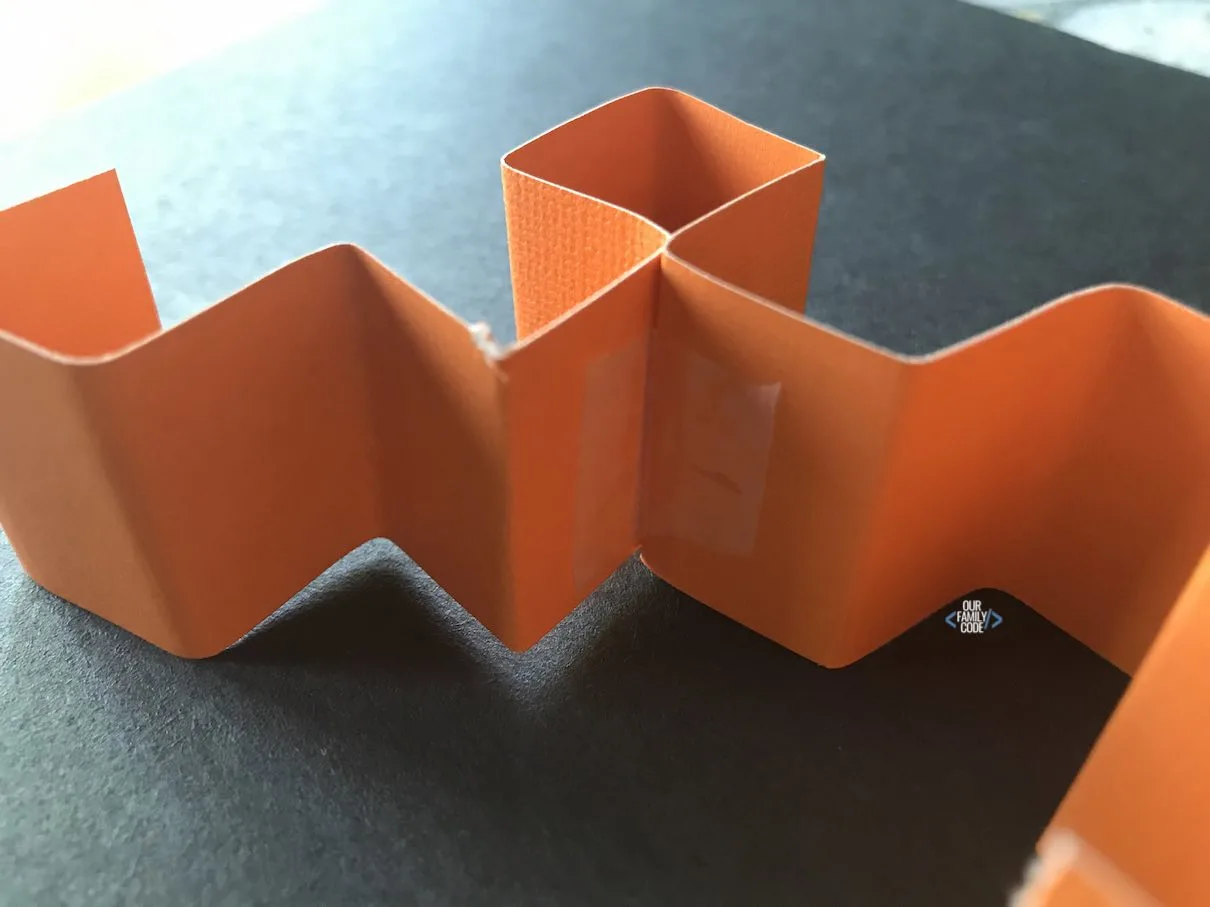
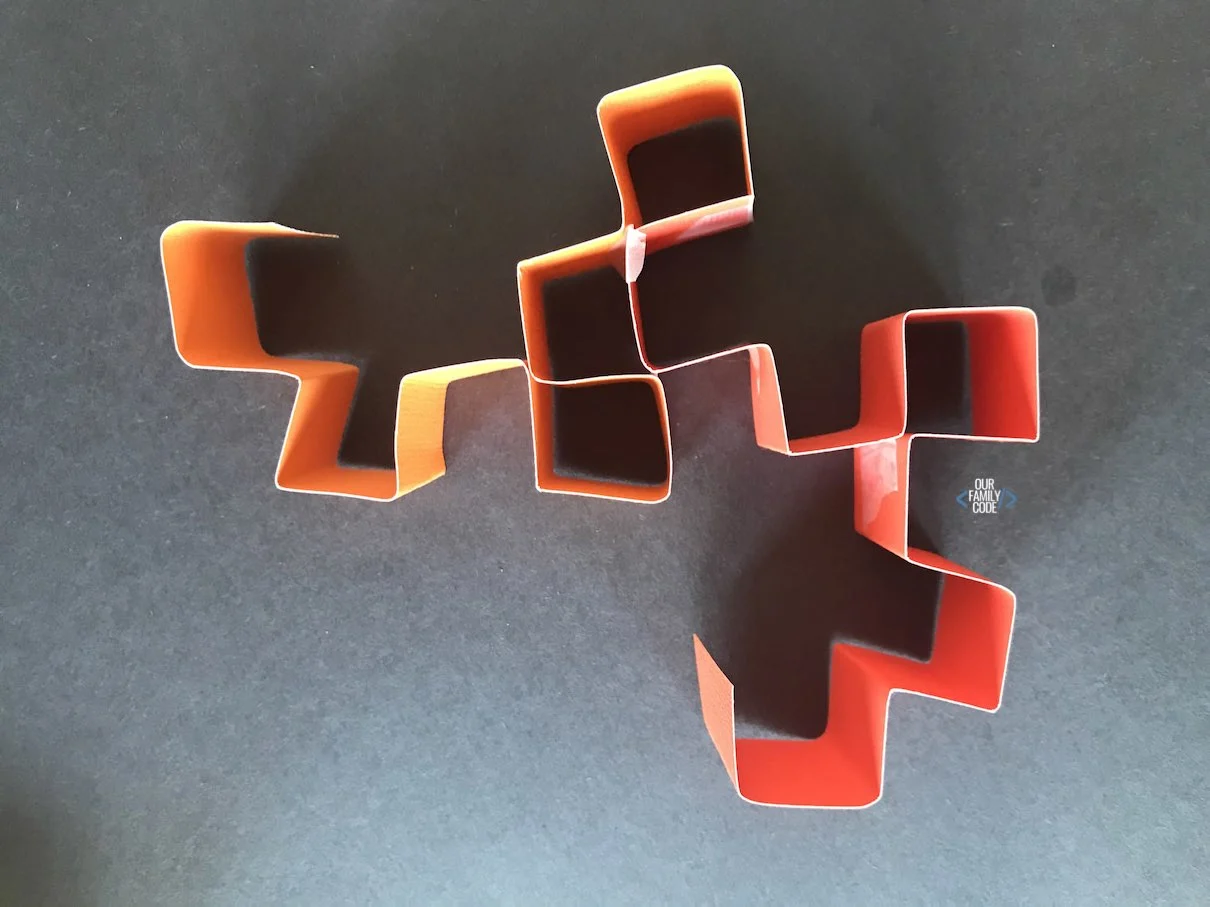
Tape your two colors together and make sure that each right angle is defined. You may need to refold sections to make strong corners.
Repeat the process and tape another colored strip to your fractal art. Each curve starts at the same point, but is rotated 90 degrees.
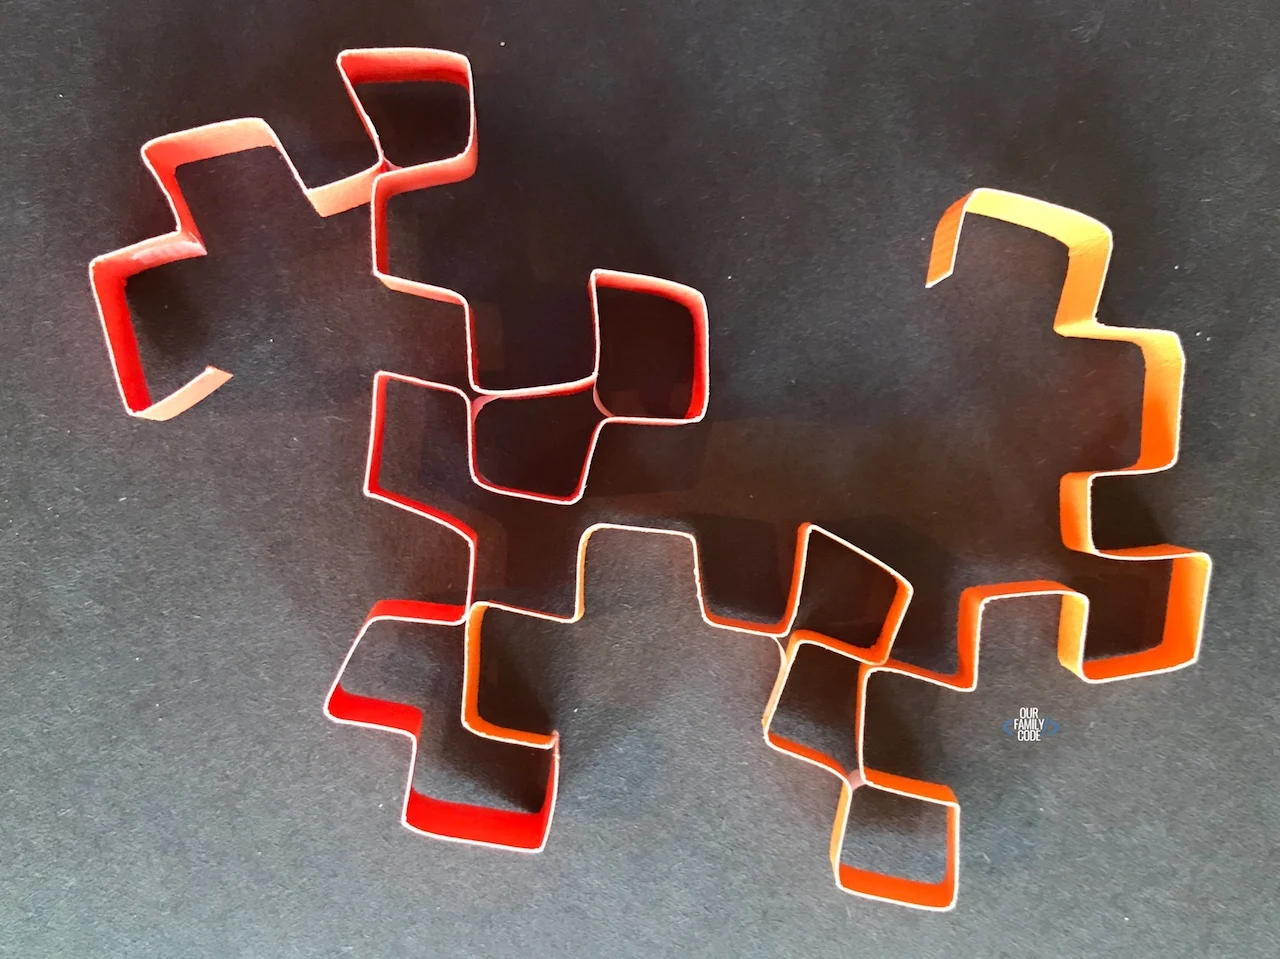
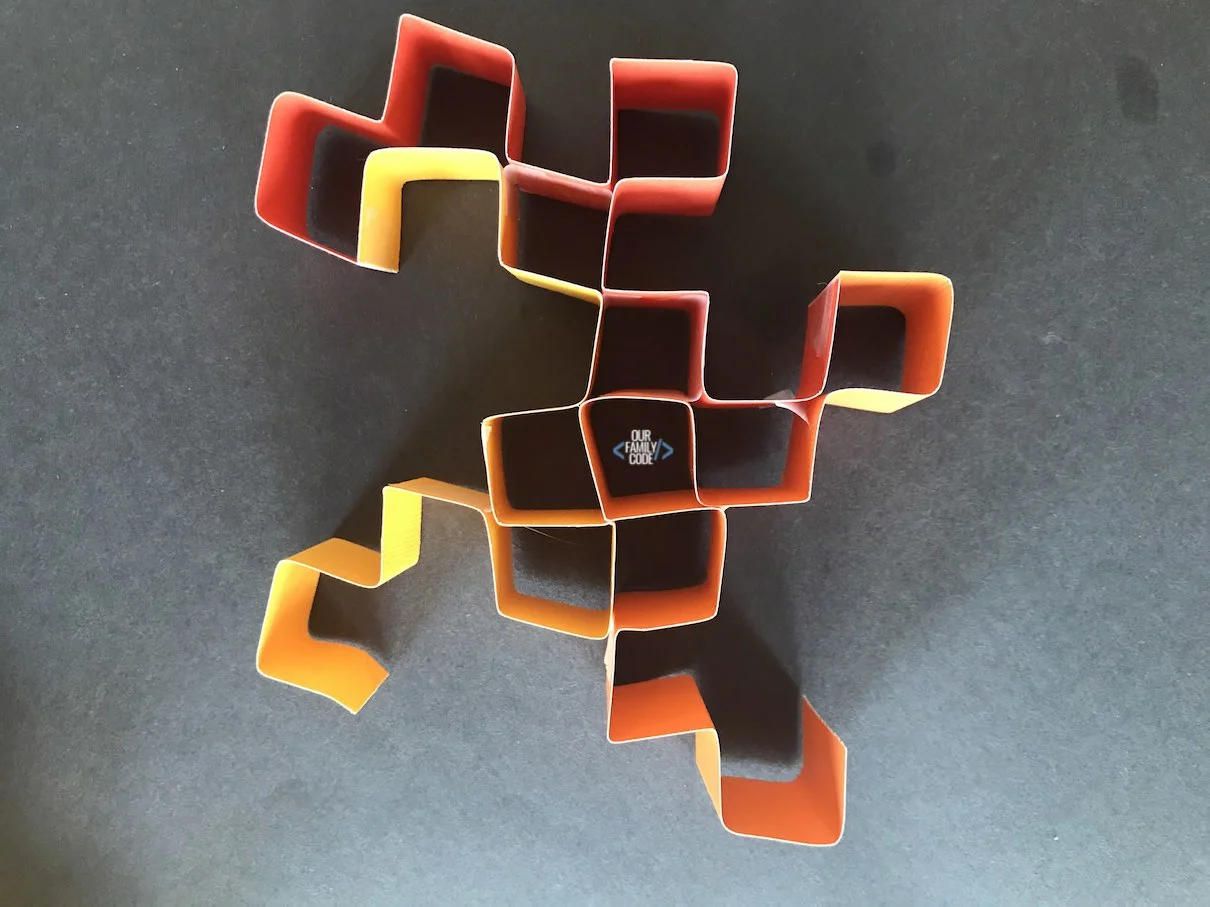
Repeat the process. For each color, I placed the new strip down to eyeball where it fills in the space correctly before taping it into place. After I determined the correct placement, I taped the fourth colored strip to our fractal art.
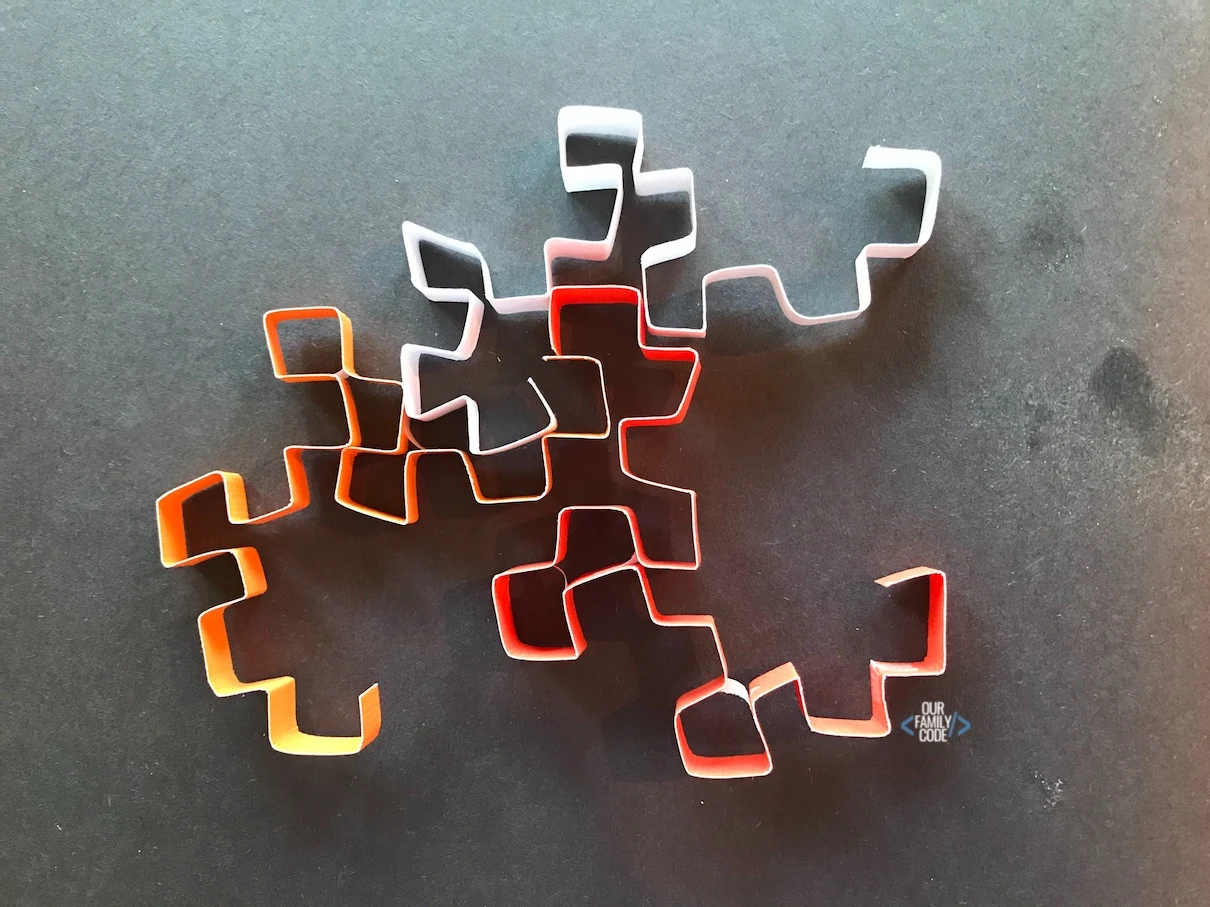
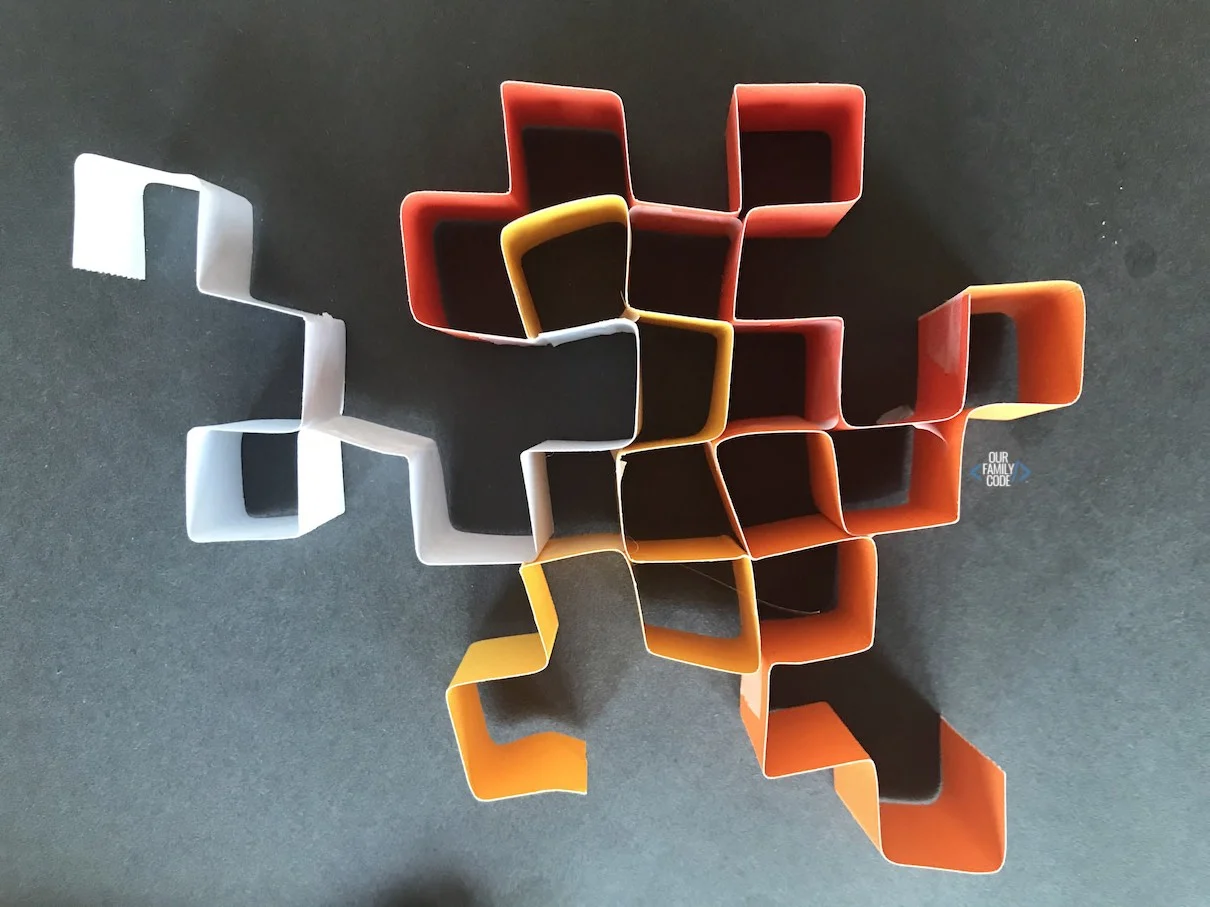
Finally, add the remaining colored strip and check out your fractal art! You can extend the curves by adding strips and filling in the plane as much as you’d like!
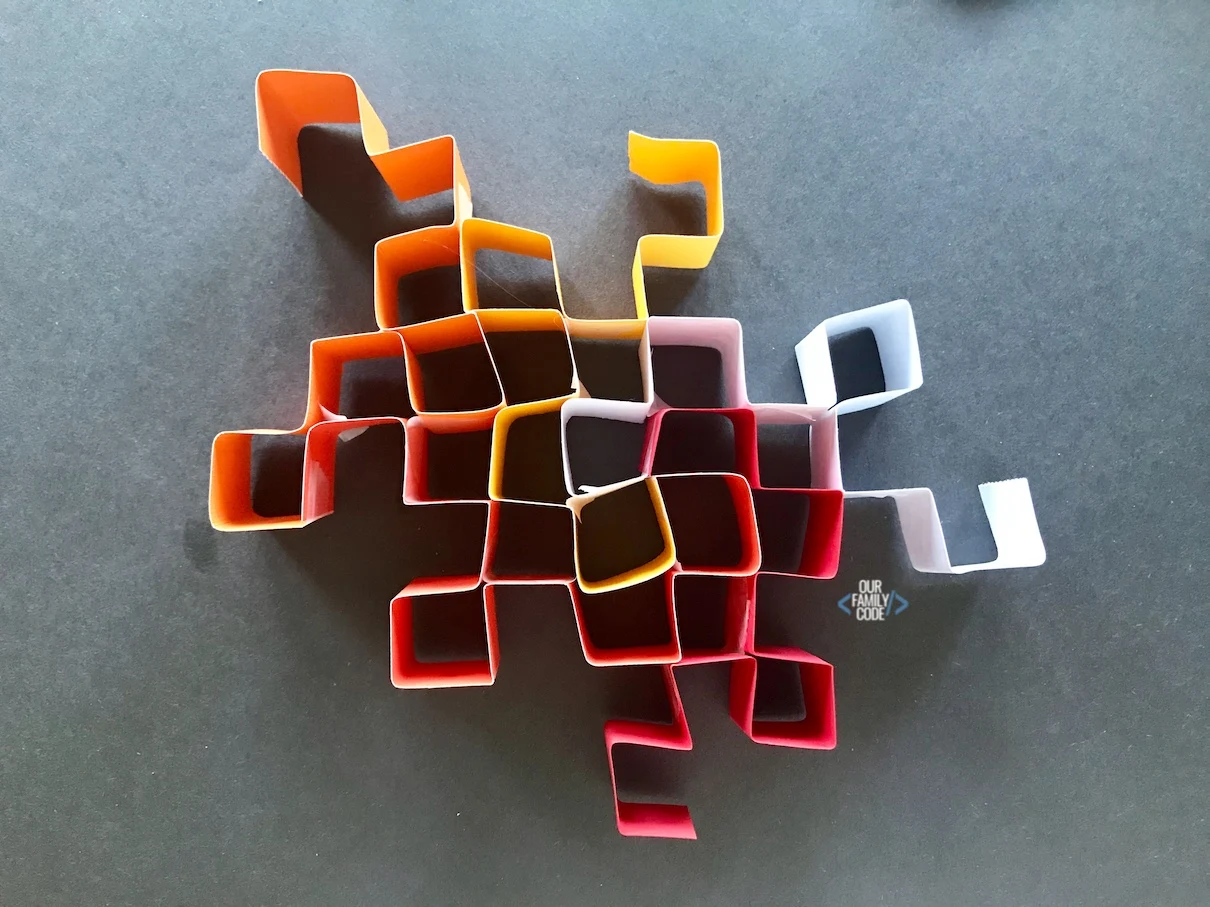
This is our final dragon curve fractal art!
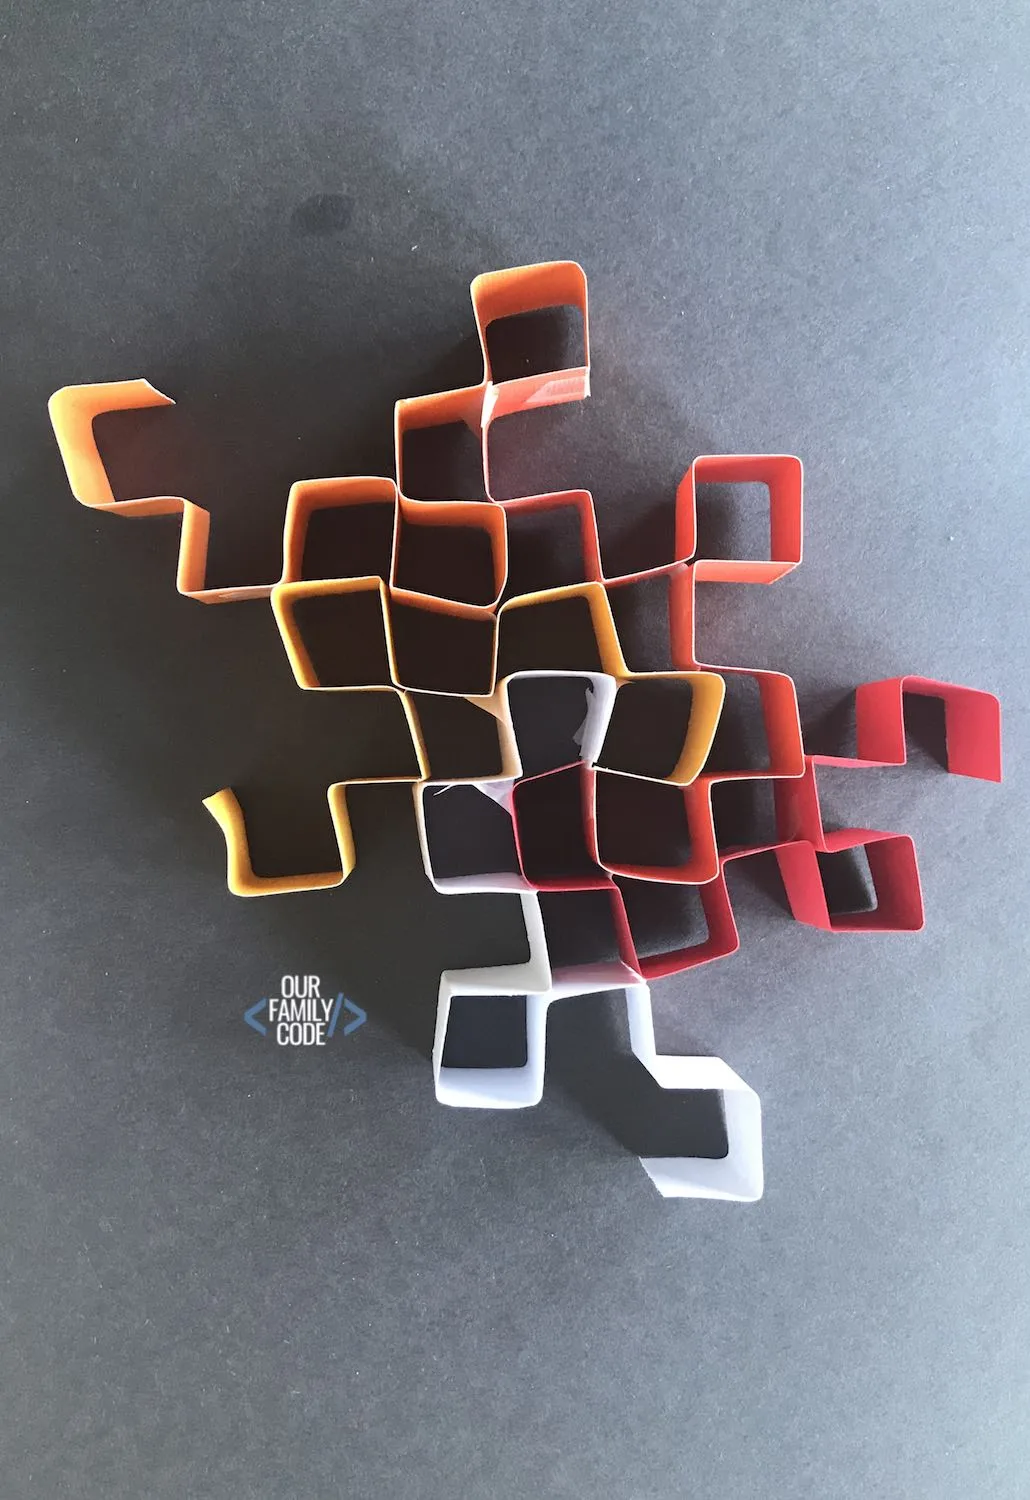
Even my 2yr old enjoyed playing with our dragon curve art and practiced counting the different colors and boxes!

You can display your dragon curve fractal art by stringing thread through one of the boxes of your dragon curve. You can also tape it to a sheet of paper to create a 3D picture to hang up!
We chose to stand our dragon curve fractal art up on our table because our thick strips made it easy to stand!
Dragon Curve Fractal Resources
There are a bunch of really neat online resources for creating digital dragon curve fractals!
- Generate a digital dragon curve from Online Math Tools
- Draw the Heighway Fractal from Online Math Tools
- Visit the Virtual Math Museum to learn about Fractals
SAVE THIS MATH + ART ACTIVITY!
Math + Art Activities
Math + Art activities are our jam! Find more Math + Art + Tech activities!
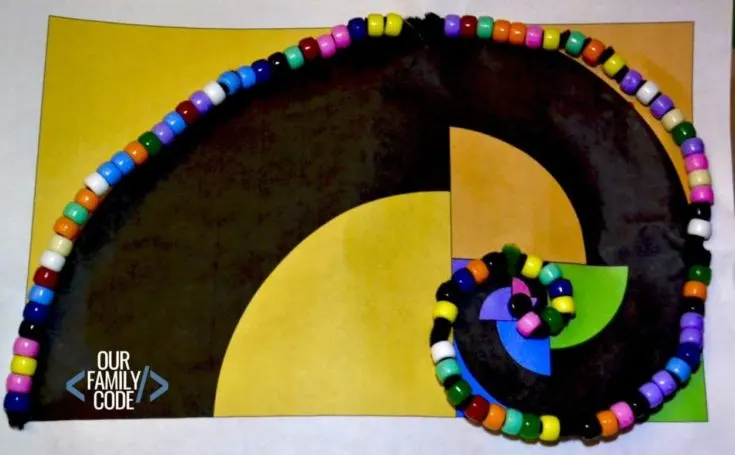
This math and art activity presents this would-be complex mathematical concept in an easy to understand, tangible way with Fibonacci art!
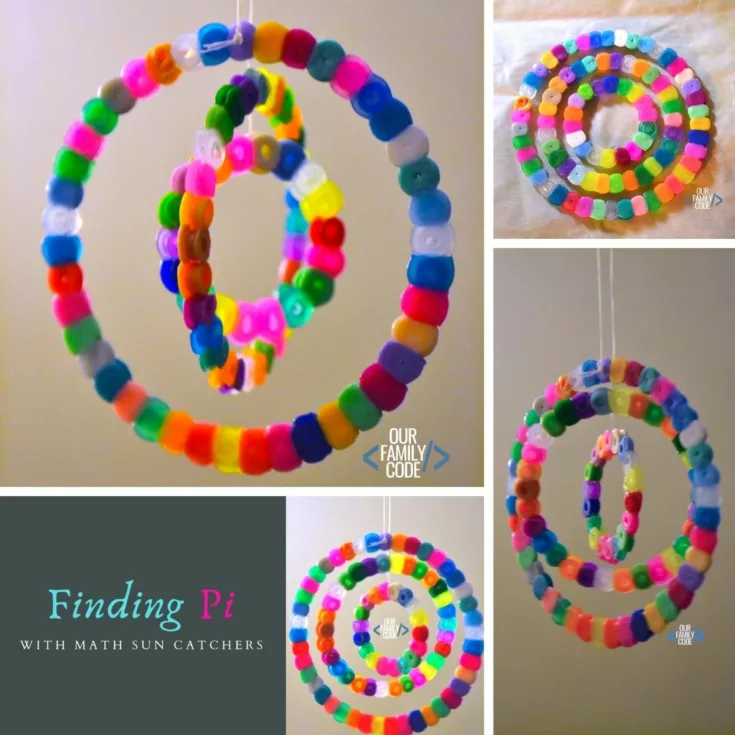
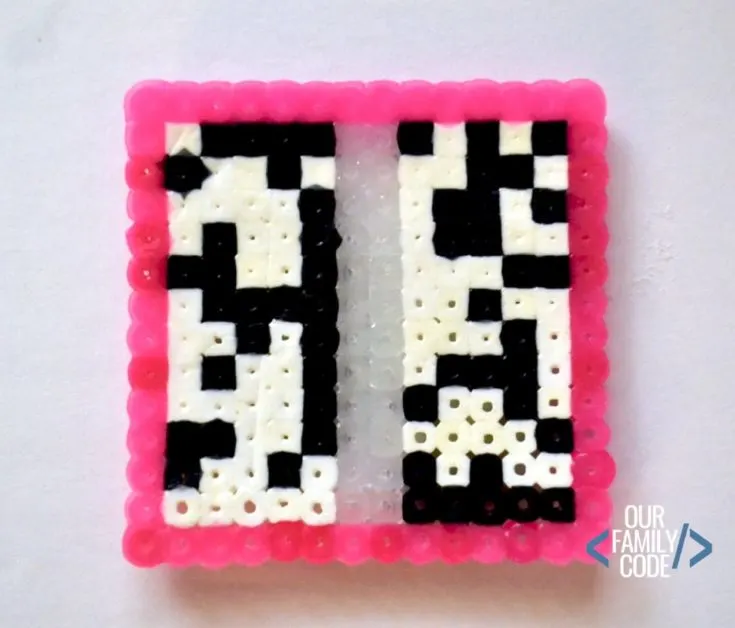
The goal of this activity is to explore the number Pi and prove that it is a mathematical constant by making math sun catchers out of perler beads for a fun math + art STEAM activity!
The number Pi, inspired it’s own language known as “Pilish”. Pilish is a challenging form of writing. Learn it today and write a piem!
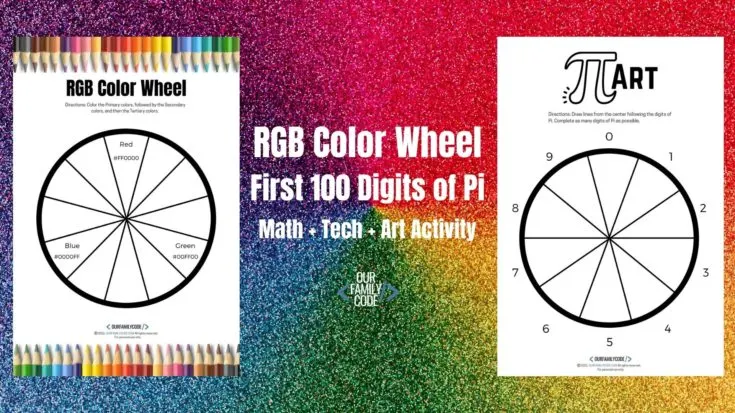
Learn the first 100 digits of Pi with this color wheel activity that helps kids to visualize numbers of Pi in the first 100 digits and learn about color wheels!
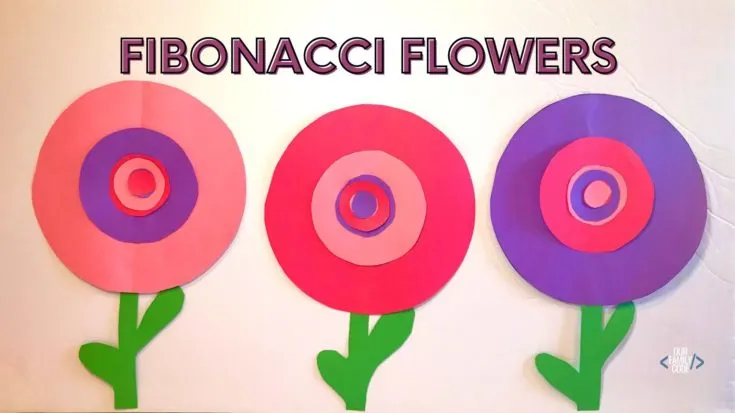
This Fibonacci activity for kids is a hands-on way to teach the Fibonacci sequence and make some math + art Fibonacci flowers!
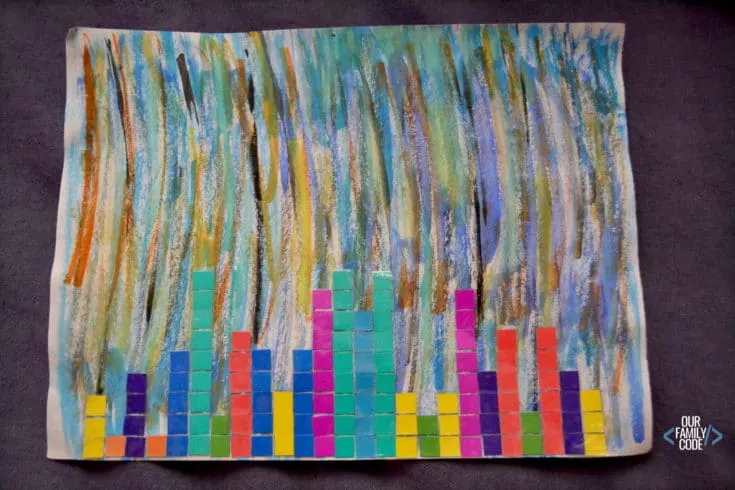
This Pi Day activity is designed to introduce Pi by using mosaic paper squares to build a color coded cityscape.
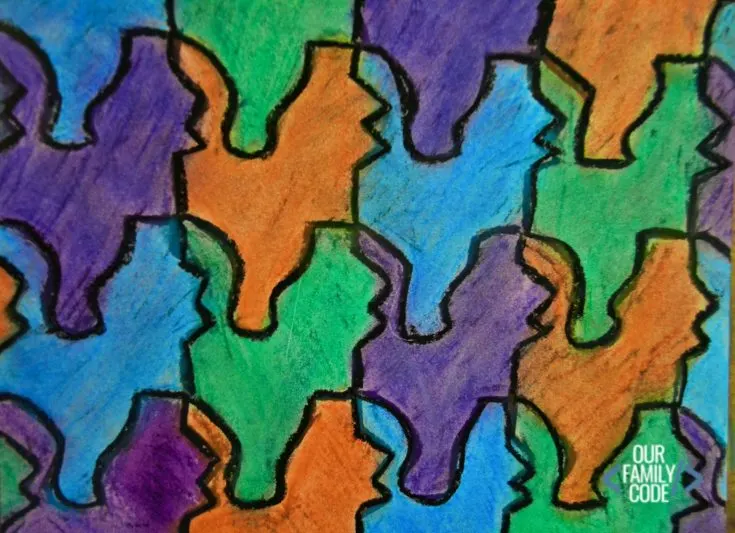
This oil resist Escher tessellation art is a great way to combine science, art, and math into one masterful activity for kids!
Introduce algorithms with this hands-on unplugged coding activity for kids!
Meet Toni, the Maker Mom behind Our Family Code

Hey there, I’m Toni! I’m a software engineer and Maker Mom that finds my joy in unleashing my children’s curiosity by exploring STEAM concepts with my fantastic five!
When I’m not chasing toddlers or raising tweens, you can find me tearing things up and putting them back together over here at Our Family Code.
I am the owner and content creator of multiple educational websites designed to increase access to STEAM & STEM education with a focus on teaching computer science and coding to kids of all ages!
You can also find out more about me by visiting ToniGardner.com!







PURTI
Monday 24th of August 2020
Loved the easy steps you have shown