

Have you ever drawn with a white crayon on white paper and wondered whether anything was actually there?
That’s half the fun of crayon resist art.
For this Halloween art activity, kids use a white crayon to create hidden spiderwebs and optical-illusion designs, then reveal their drawings with colorful Bingo daubers.
The result looks a little like magic.
It isn’t.
It’s materials science, art, and visual perception working together.
This Halloween crayon resist art project is easy enough for younger kids, but older kids can take the same idea much further by experimenting with line patterns, optical illusions, symmetry, and different resist materials.
Looking for more October projects? Find this activity and dozens more in our collection of 31+ Halloween STEM and STEAM Activities for Kids.

This post contains affiliate links. As an Amazon Associate, Our Family Code earns from qualifying purchases. Please see our Disclosure Policy for more details.
What Is Crayon Resist Art?
Resist art is created when one material prevents another material from covering or soaking into part of a surface.
In this project, we draw with a wax crayon first.
Then we add color over the top.
The wax in the crayon does not readily mix with or absorb the water-based coloring the same way the paper does. Instead, the color collects on the exposed paper while the waxy lines remain visible.
That contrast reveals the hidden drawing.
The same general resist-art idea can be explored with several materials, including:
- Wax crayons
- Candles
- Oil pastels
- Glue
- Tape
- Rubber bands
- Water-resistant materials
Changing the resist material changes the final effect, which makes this an easy art technique to turn into an experiment.
Why Does Wax Resist Water-Based Color?
Paper absorbs water-based color fairly easily because liquid can move into the tiny spaces between its fibers.
Wax behaves differently.
Wax is hydrophobic, meaning it does not interact readily with water.
When you cover part of the paper with a thick layer of wax crayon, that wax acts as a barrier between the paper and the watery ink or paint placed over it.
The uncovered paper absorbs the color.
The wax-covered areas resist it.
That is why the white drawing suddenly appears.
What Is Optical Illusion Art?
An optical illusion happens when what we perceive visually does not perfectly match the physical reality of the image or object.
Artists can create these effects intentionally using:
- Repeating lines
- Curves
- Contrast
- Patterns
- Geometry
- Color
- Perspective
- Shading
Op Art, short for Optical Art, became known for designs that create the impression of movement, depth, vibration, or distortion even though the artwork itself is completely still.
For our Halloween project, the spiderweb focuses mainly on wax resist and pattern, while the handprint design uses curved and straight lines to create a stronger optical-illusion effect.
We also have a separate Optical Illusion STEAM Activity with printable worksheets and more Op Art experiments if your kids want to keep going.

Halloween Crayon Resist Art Supplies
You’ll need:
- White cardstock or heavy white paper
- White crayons
- Bingo daubers in several colors
- Black marker, optional
- Pencil, optional
- Ruler, optional
- Paper towels
Cardstock works especially well because it holds up better when kids apply a lot of ink.
If you don’t have Bingo daubers, you can experiment with watercolor paint or another thin water-based coloring medium.
Different materials may produce slightly different results.
How to Make a Crayon Resist Spiderweb
1. Draw the Spiderweb with White Crayon
Use a white crayon to draw a spiderweb on white cardstock.
Yes, this feels slightly ridiculous because you can barely see what you’re drawing.
That is part of the fun.
Start with several lines radiating outward from a center point.
Then connect those lines using curved sections to create the web.
Press firmly with the crayon.
2. Add More Web Details
Once the basic spiderweb is finished, add more curves, lines, or smaller sections.
Kids do not need to create a perfectly symmetrical web.
In fact, irregular webs often look more interesting.
Encourage them to experiment with:
- Tight curves
- Wide spaces
- Small sections
- Large sections
- Extra branches
- Multiple center points
The drawing will remain mostly hidden until the next step.
3. Reveal the Spiderweb with Bingo Daubers
Now add color.
Press the Bingo dauber over the paper and watch the white crayon lines begin to appear.

Kids can use one color or cover the page with several.
The ink colors the exposed paper while the wax-covered sections remain much lighter.
Continue coloring until the entire web is revealed.

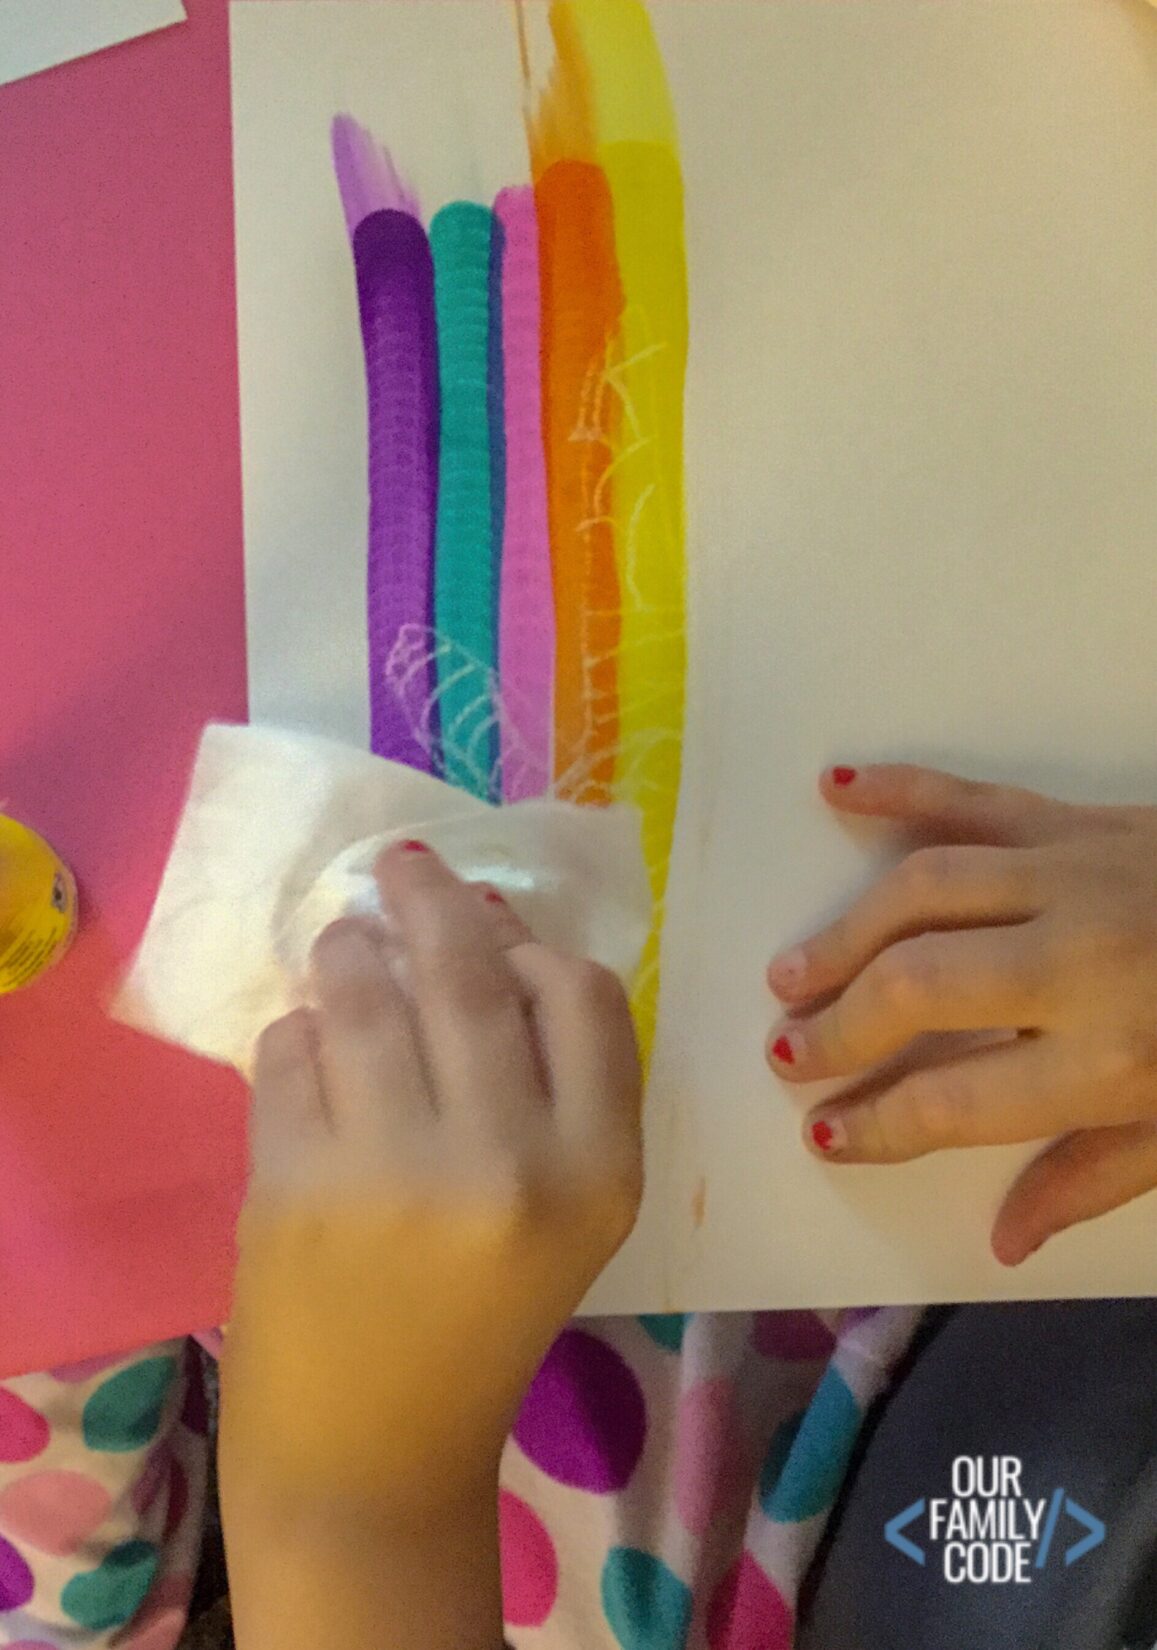
4. Wipe Away Excess Ink if Needed
If too much ink pools on top of the wax, gently blot or wipe it with a paper towel.
Do not scrub aggressively.
The goal is simply to remove extra liquid from the waxy areas while letting the color remain on the paper.
Then allow the artwork to dry.
Experiment with Spiderweb Patterns
Spiderwebs are perfect for experimenting with repeating lines and patterns.
Try creating:
- A symmetrical web
- An off-center web
- A web with very small spaces
- A web with large open sections
- Multiple webs on one page
- Spiral-style webs
Then compare the final drawings.

Which one appears to have the most movement?
Which feels the most balanced?
Which pattern draws your eye toward the center?
There is no single correct design.
Make a Halloween Optical Illusion Handprint
Once kids understand the crayon resist technique, try a second design that focuses more strongly on Op Art.
Trace a hand onto the paper lightly with pencil if needed.
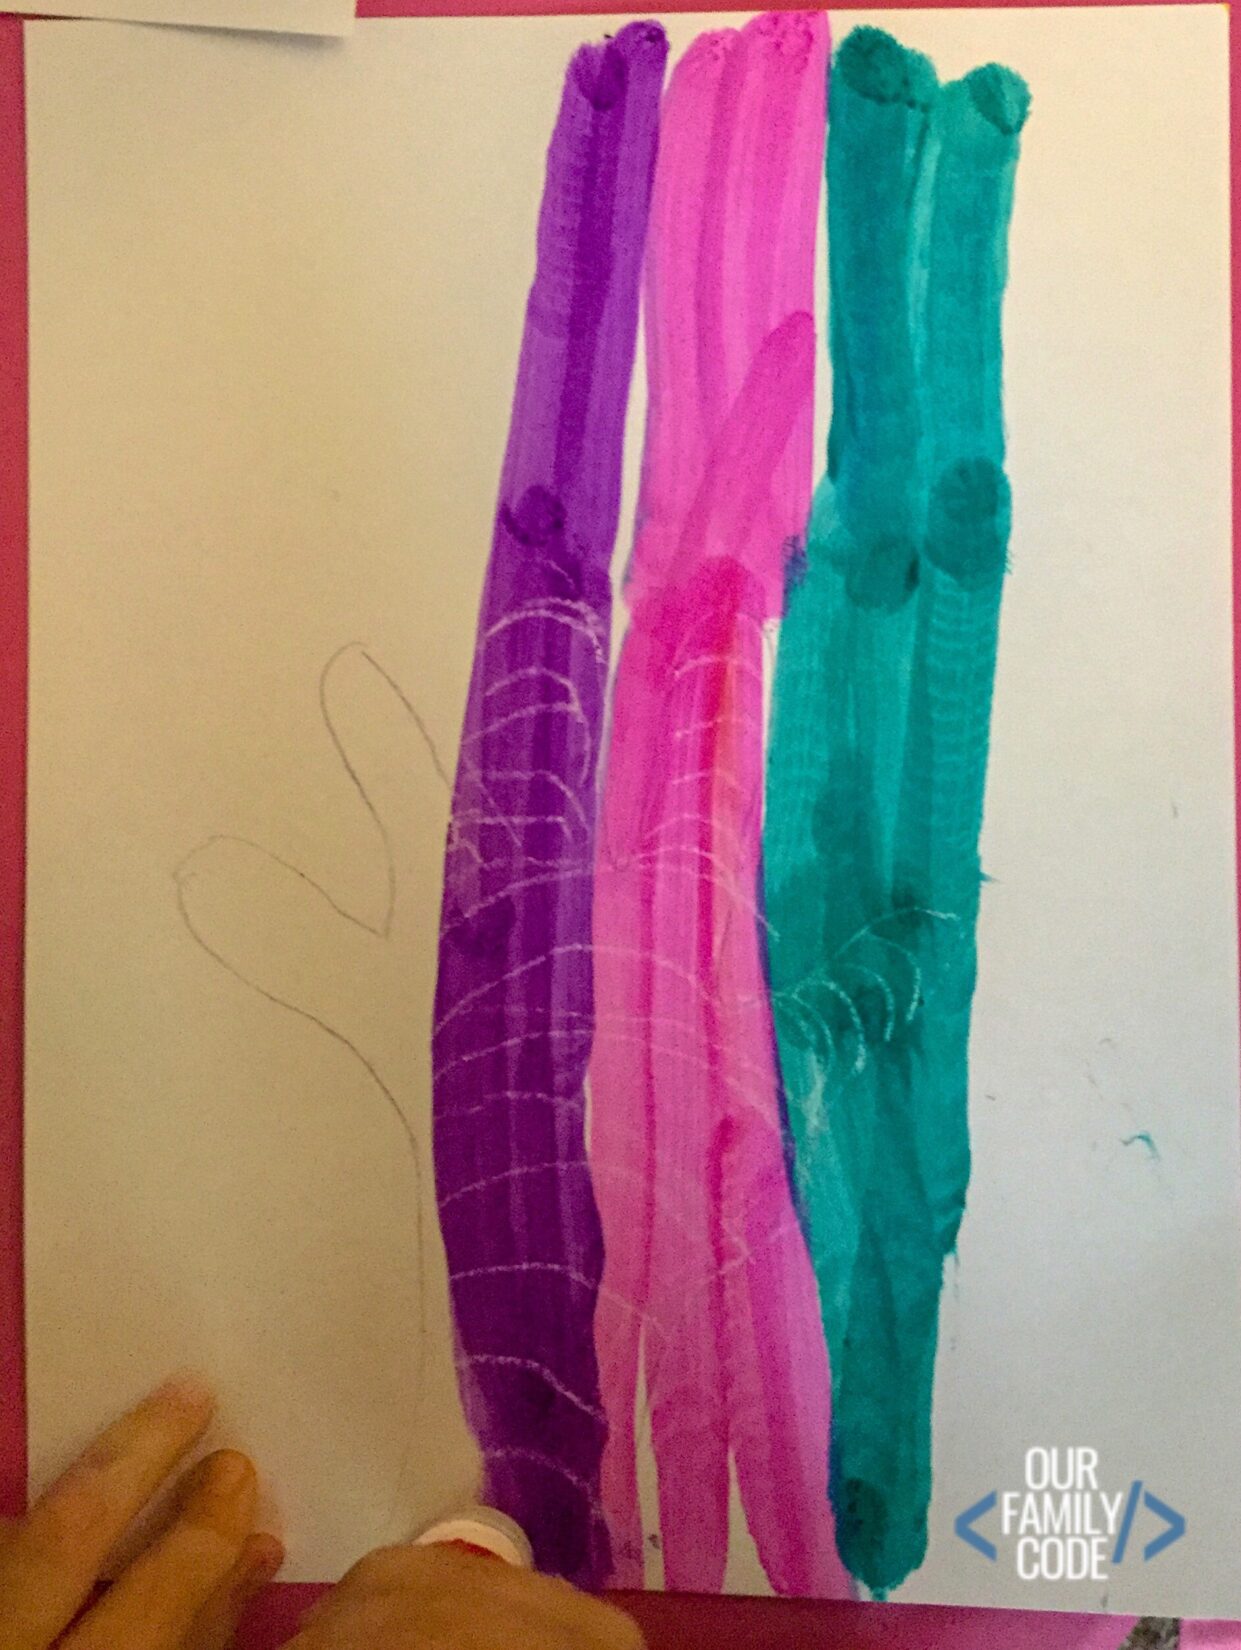
Instead of drawing ordinary straight lines across the entire page, change the shape of the lines as they cross the hand.
1. Draw Lines Across the Background
Create a series of horizontal lines across the paper.
Keep the spacing fairly consistent.
2. Curve the Lines Across the Hand
When a line reaches the hand shape, curve it upward.
Then bring it back down when it exits the other side.

Continue the same idea across each finger.
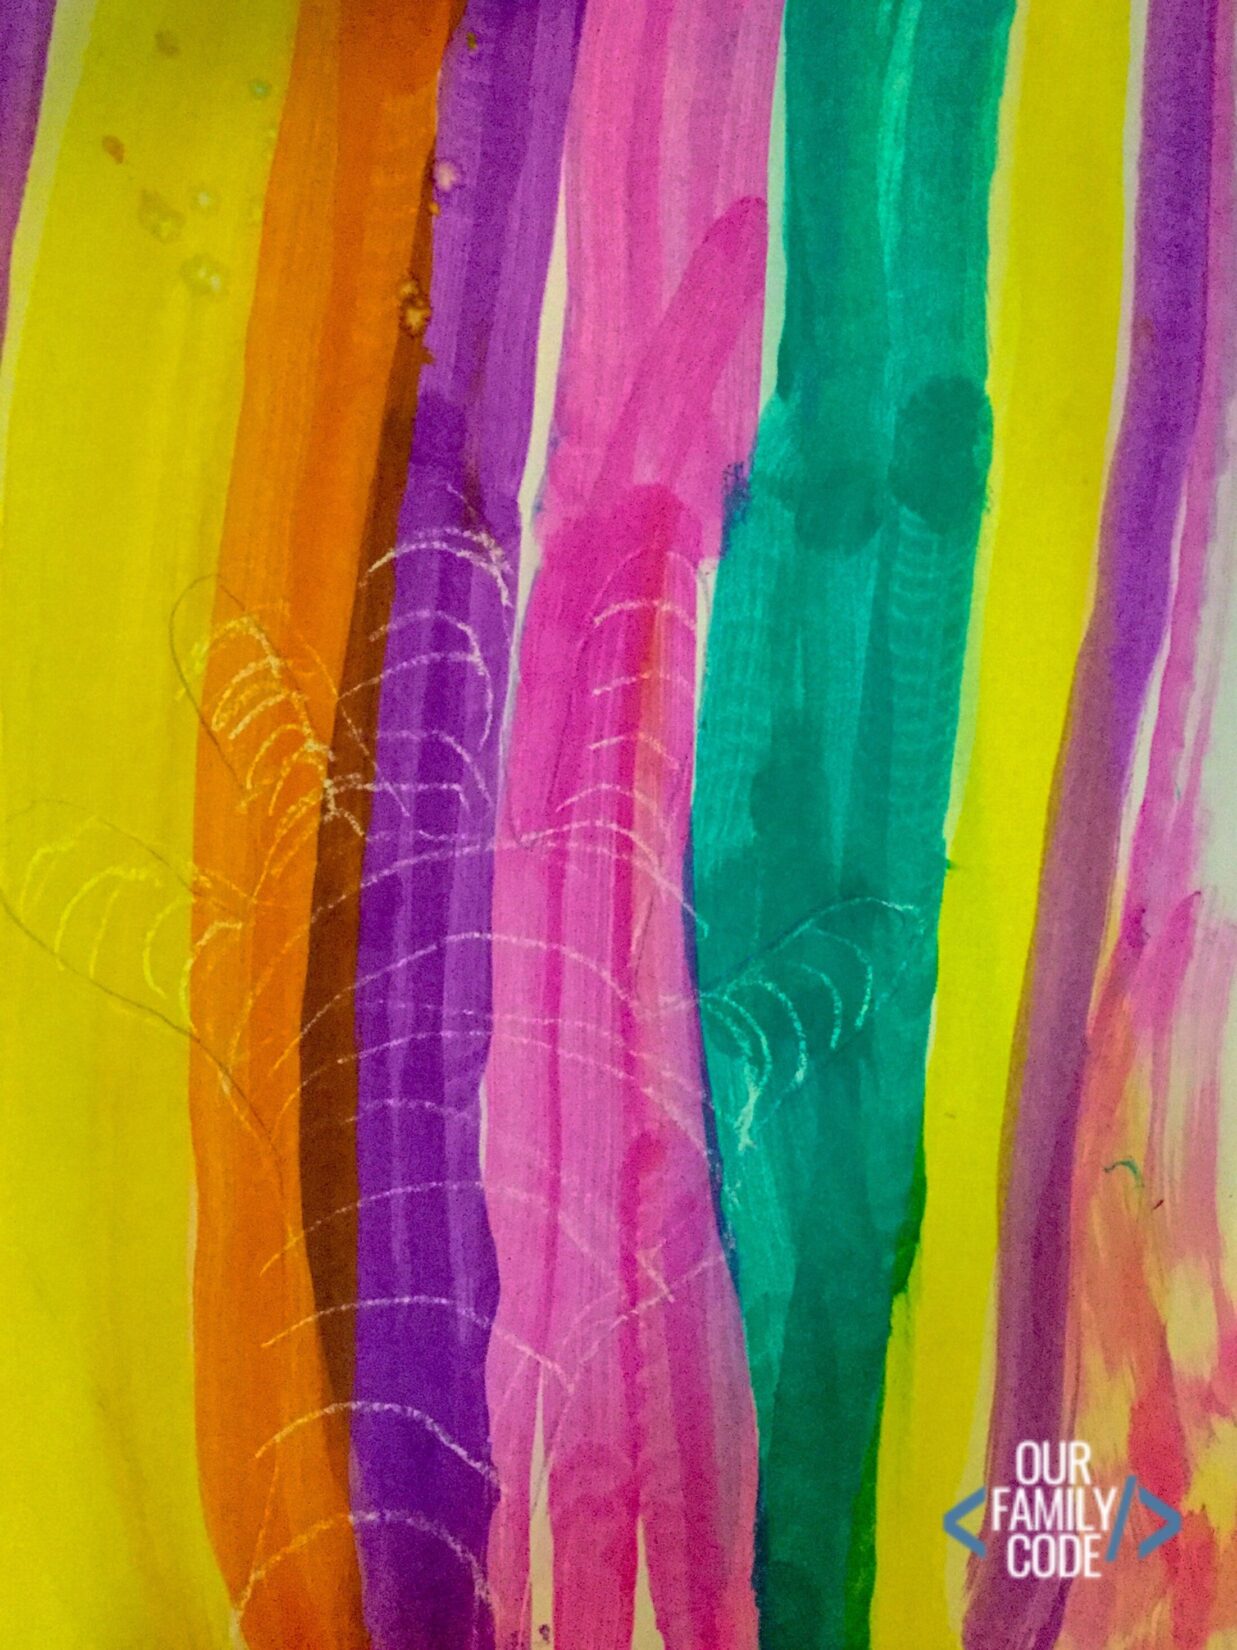
These curved sections make the hand appear to rise off the page even though the paper is completely flat.

3. Repeat the Pattern
Continue adding lines until the entire hand and background are filled.
The consistency of the pattern matters more than perfection.
And if your 10-year-old accidentally gives herself six fingers, as happened in our original project, consider it a Halloween feature rather than a mistake.
4. Reveal the Design with Color
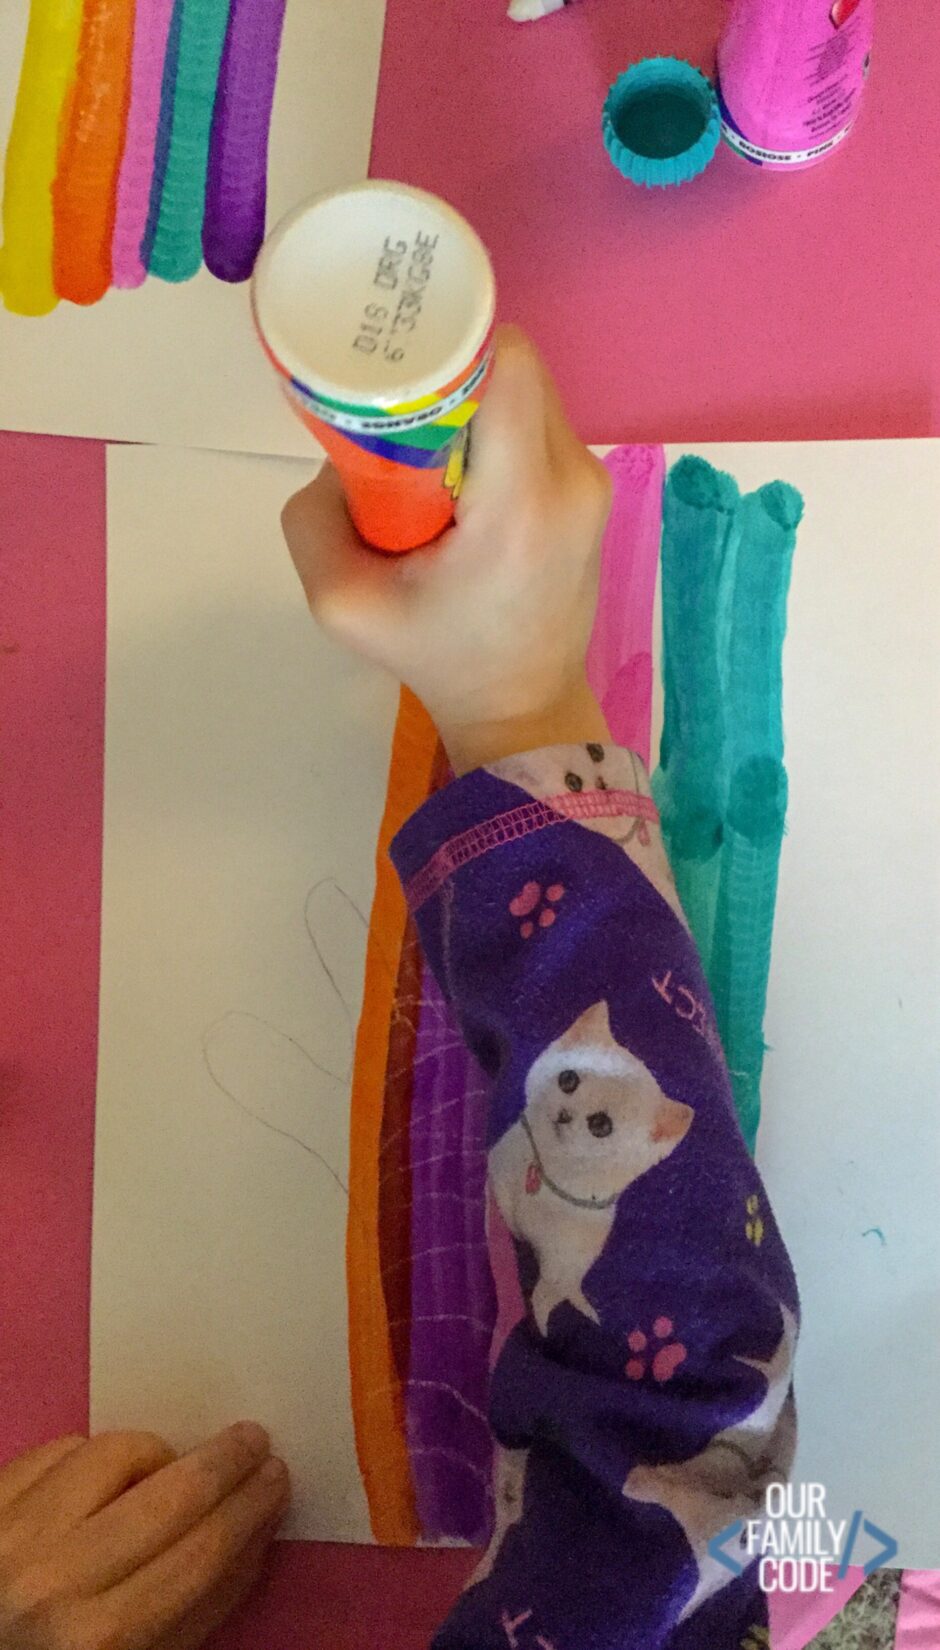
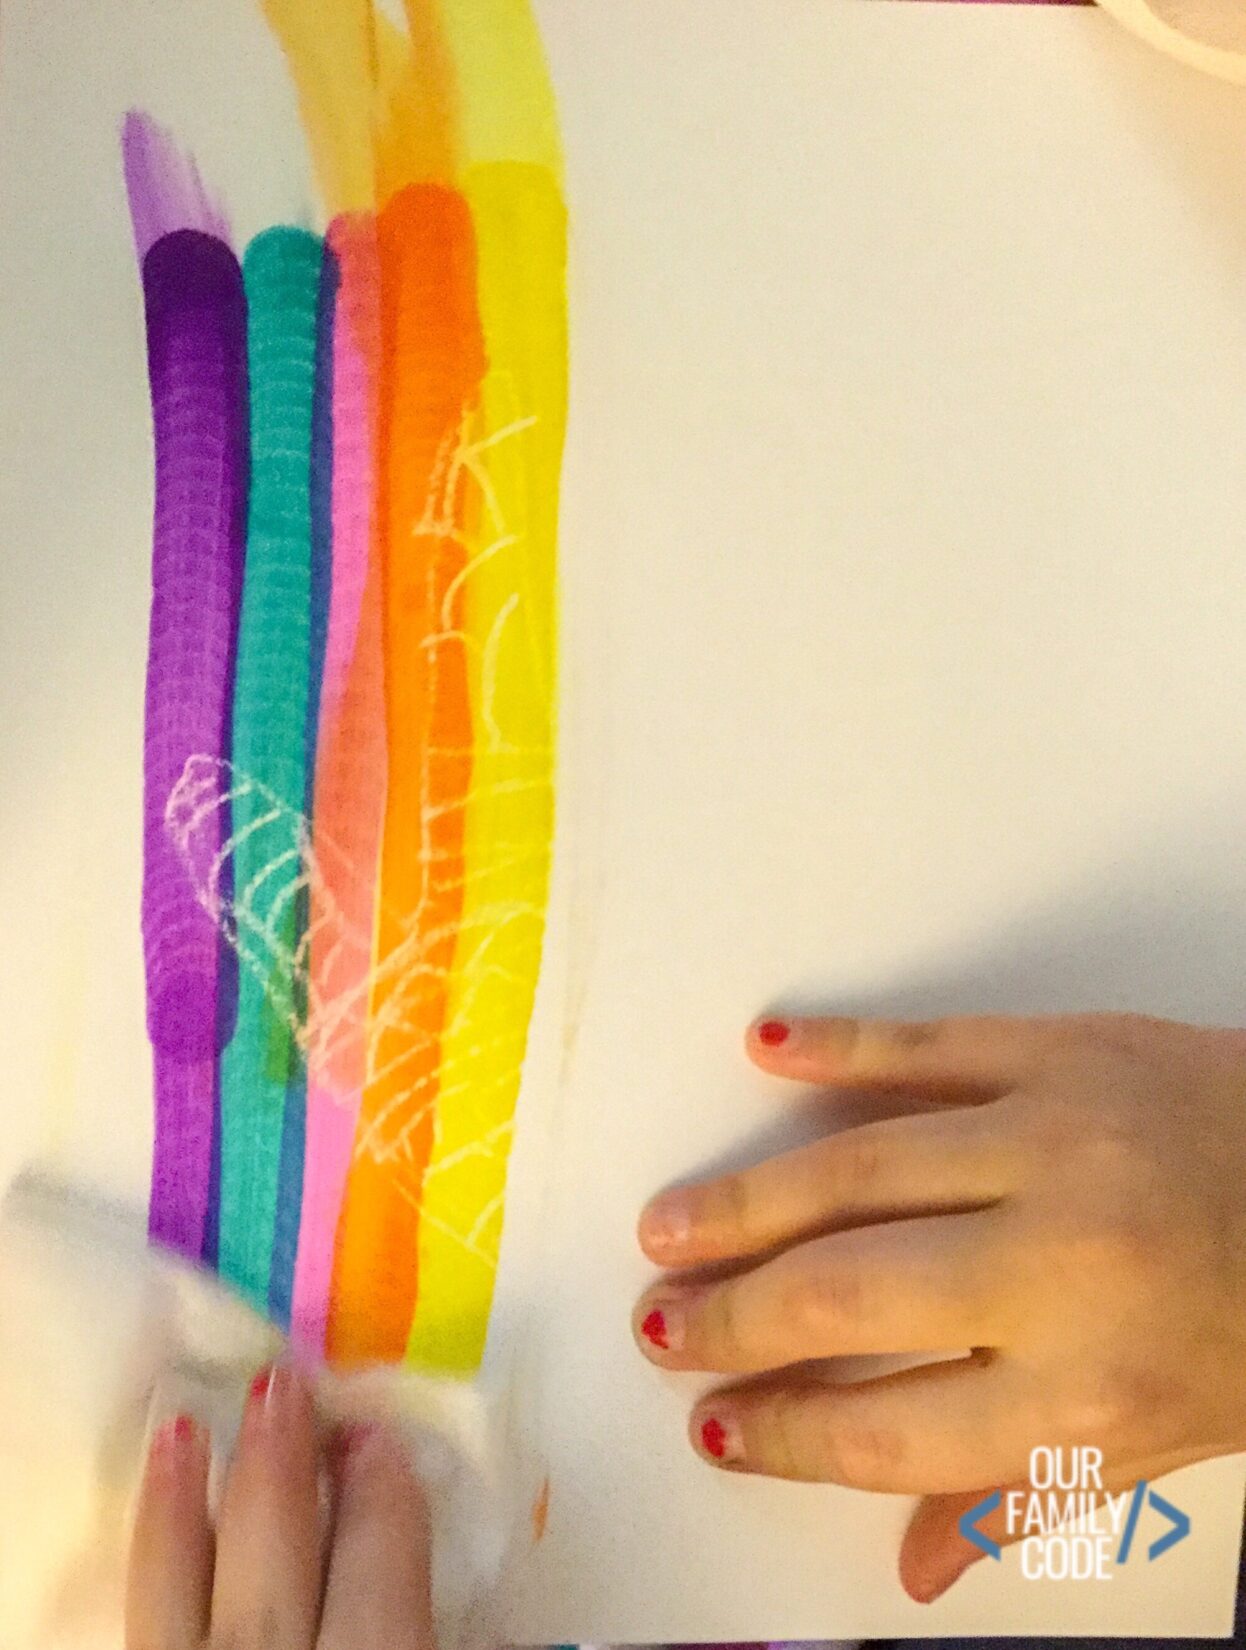
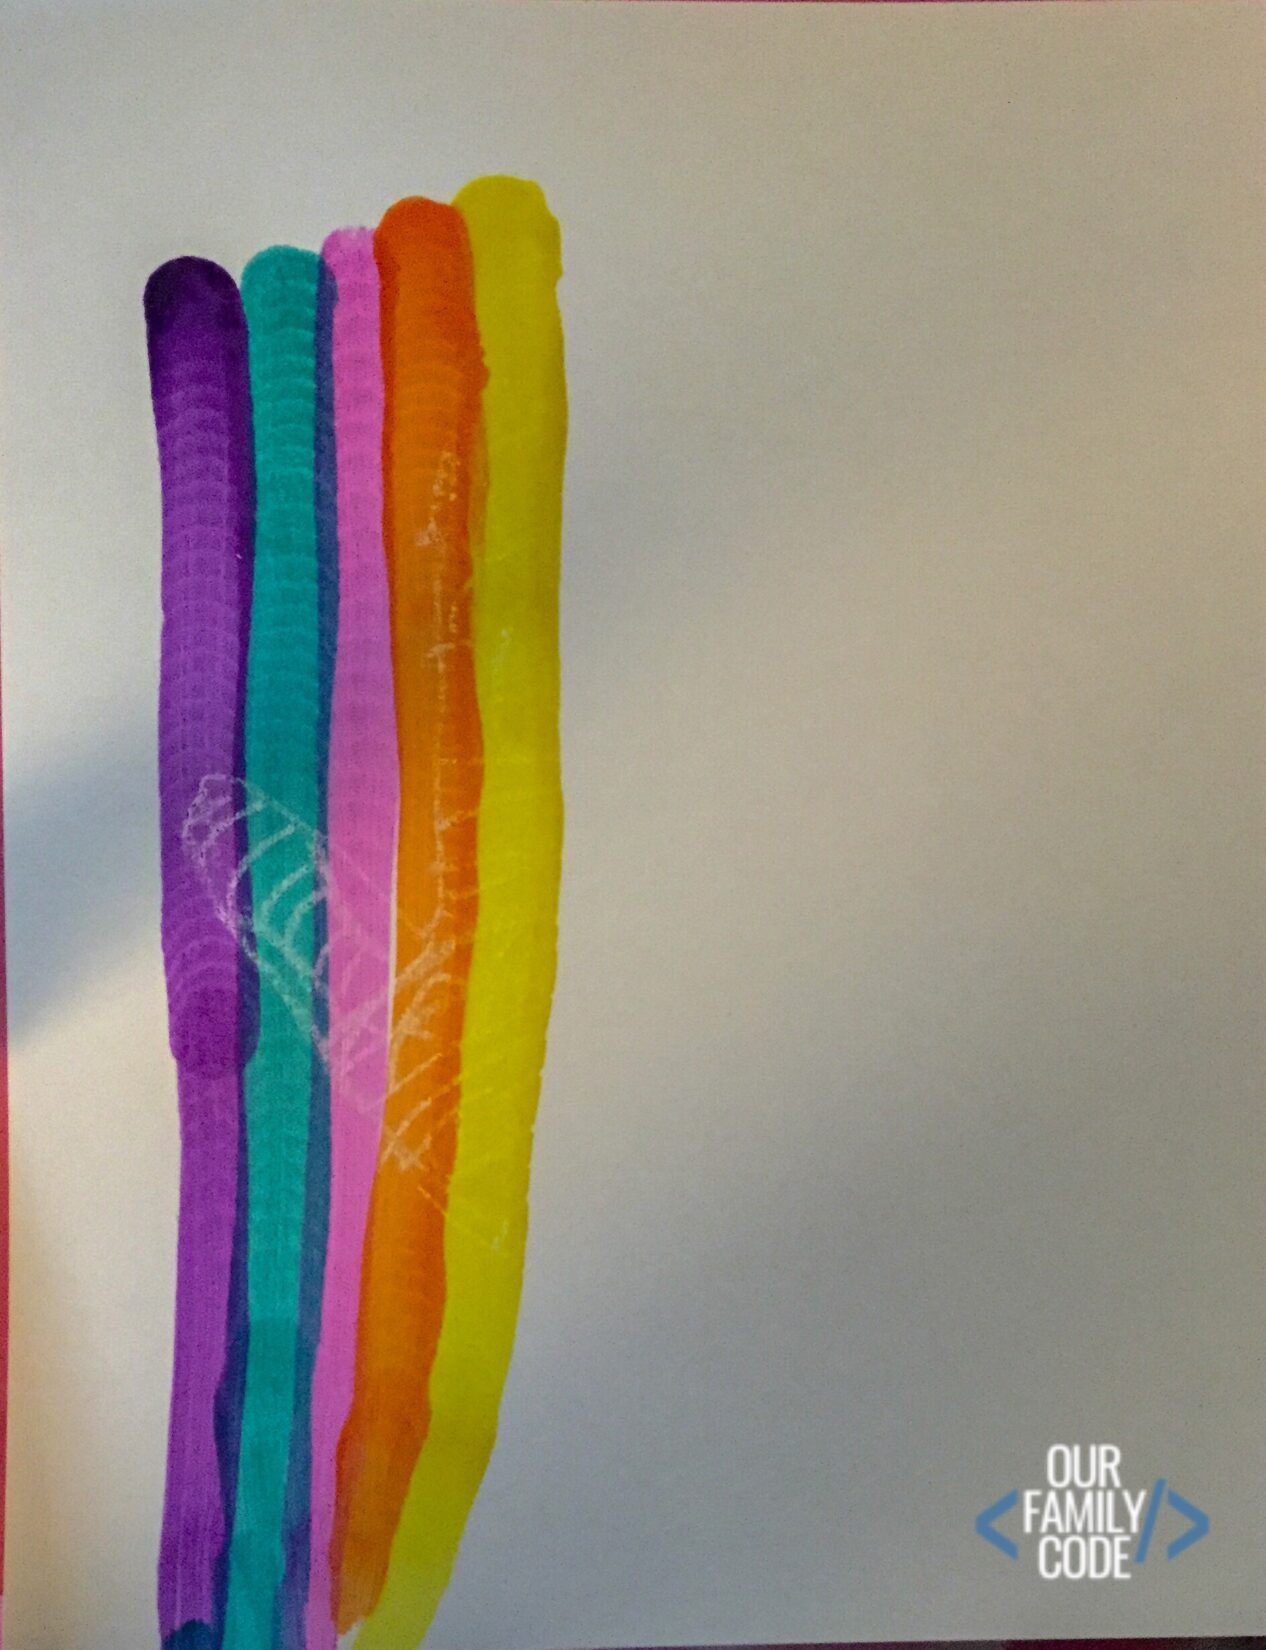
Go over the drawing with Bingo daubers just as you did with the spiderweb.
The resist technique will reveal the hidden lines while the curved pattern creates the optical-illusion effect.
Why Does the Hand Look Three-Dimensional?
Your brain uses visual clues to interpret shape and depth.
When straight lines suddenly curve upward across one area and then return to their original path, your visual system may interpret that change as a raised surface.
Nothing on the paper actually moves forward.
The pattern creates the perception of depth.
That makes this a great opportunity to talk about the difference between:
What is physically on the page
and
What your brain thinks it sees.
Try the Same Op Art Technique with Halloween Shapes
Hands aren’t the only shapes that work.
Try:
- Pumpkins
- Bats
- Ghosts
- Cats
- Candy corn
- Witch hats
- Eyeballs
- Spiders
Draw the basic shape first.
Then use curved lines inside the object and straighter lines outside it.
Can you make a pumpkin appear rounded?
Can you make a ghost look like it is floating above the page?
Can you make a bat appear to rise out of the background?
Turn Crayon Resist Art into a Science Experiment
Instead of using only one type of drawing material, compare several.
Try making the same simple line with:
- White crayon
- Oil pastel
- Candle wax
- Colored pencil
- Washable marker
- Glue
Then cover all of them with the same water-based color.
Which materials resist the ink?
Which absorb it?
Which create the cleanest line?
Now the activity becomes a materials investigation.
Test Different Coloring Materials
You can also keep the resist material the same and change what goes on top.
Try:
- Bingo dauber ink
- Watercolor paint
- Diluted tempera
- Washable marker
- Food coloring mixed with water
Ask:
Does the white crayon resist every liquid equally well?
Which coloring medium creates the strongest contrast?
Which dries fastest?
Which produces the brightest color?
Change one variable at a time if you want to compare the results more carefully.
Crayon Resist Experiment Variables
Independent Variable
The independent variable is the material you intentionally change.
That could be:
- Type of resist material
- Type of coloring medium
- Amount of crayon wax
- Paper type
Dependent Variable
The dependent variable is what you observe.
You could compare:
- How clearly the line appears
- Amount of color absorbed
- Drying time
- Contrast
- Smudging
Controlled Variables
Keep other conditions as consistent as possible.
For example:
- Same paper size
- Same line thickness
- Same amount of liquid
- Same drying time
- Same drawing pattern
That turns an art project into a simple materials-science investigation.
Experiment with Paper
Paper is another variable kids can change.
Try crayon resist on:
- Printer paper
- Cardstock
- Watercolor paper
- Construction paper
Does the color behave the same way on each surface?
Which paper absorbs the most ink?
Which keeps the wax lines sharpest?
Which paper wrinkles after getting wet?
Kids begin seeing that the surface underneath the art matters just as much as the materials placed on top.
Explore Symmetry with Spiderweb Art
Spiderwebs are also useful for exploring radial symmetry.
Radial symmetry happens when parts of a design repeat around a central point.
Many flowers, snowflakes, sea stars, and human-made patterns use some form of radial arrangement.
A spiderweb is not always perfectly symmetrical in nature, but drawing one gives kids a chance to experiment with repeated sections around a center.
Ask:
Can you make each section similar?
Then ask:
What happens if you deliberately break the pattern?
Sometimes asymmetry makes the artwork even more interesting.
Add Math to Optical Illusion Art
Op Art naturally connects with mathematics.
Kids use:
- Lines
- Curves
- Repetition
- Spacing
- Symmetry
- Geometry
- Pattern
- Measurement
Older kids can use a ruler to make the spacing between lines more consistent.
Try making lines every:
½ inch
Then compare that with a drawing using lines every:
¼ inch
Does changing the spacing change how strong the illusion appears?
That is a great art-and-math question because kids can actually see the effect of changing the numbers.
Why Contrast Matters
Optical illusions are often easier to see when there is strong contrast.
Black and white create extremely high contrast.
Bright colors against white can also make patterns stand out clearly.
Try creating two identical designs.
Color one with similar colors.
Color the other with strongly contrasting colors.
Which optical illusion is easier to see?
Does contrast change the way the pattern feels?
Crayon Resist Art for Younger Kids
Younger children do not need to make a complicated optical illusion.
Let them focus on the reveal.
Draw:
- Lines
- Shapes
- Letters
- Numbers
- Simple spiderwebs
Then let them cover the page with color.
For preschoolers, the surprise of seeing an invisible white drawing suddenly appear is plenty of science and art for one activity.
They can also practice:
- Fine-motor control
- Shape recognition
- Color identification
- Pattern
- Cause and effect
Optical Illusion Art for Older Kids
Older kids can take the activity much further.
Challenge them to create:
- A 3D-looking pumpkin
- A hand that appears raised from the page
- A warped spiderweb
- Repeating geometric patterns
- A design that appears to move
Then ask them to explain which visual clues create the illusion.
That shifts the activity from simply copying a technique to understanding how the design works.
Questions to Ask During the Activity
Try asking:
- Why can we see the crayon after adding color?
- What makes wax behave differently from paper?
- Which material created the strongest resist?
- Why does the hand look raised?
- What happens if the lines are closer together?
- Does symmetry make the spiderweb look different?
- Which colors create the strongest contrast?
- How could we make the illusion stronger?
- What other Halloween shape could we use?
Kids do not need formal vocabulary for every answer.
Let their observations come first.
What Kids Learn from Halloween Crayon Resist Art
This activity combines several areas of STEAM.
Kids explore science by comparing the properties of wax, paper, and water-based color.
They use math through symmetry, patterns, spacing, lines, and geometry.
They experiment with visual perception through optical illusions.
And, of course, they use art and design to make choices about color, pattern, composition, and shape.
That is exactly why I like projects where the boundaries between subjects get a little blurry.
Explore More Optical Illusions
If your kids want to keep experimenting, try our full Optical Illusion STEAM Activity.
It includes optical-illusion handprints, swirly motion toys, printable Op Art worksheets, and a free optical-illusion coloring book.
Explore More Optical Illusion Activities →
Try More Halloween Art & Science
Pair this project with our Sticky Spider Web Science Activity to investigate the actual materials and biology behind spider silk.
You can also make Chalk Pastel Pumpkin Resist Art or try Preschool Pumpkin Art with Cotton Swabs for another seasonal art experiment.
Find all of these and more in our collection of 31+ Halloween STEM and STEAM Activities for Kids.
You Might Also Like
Sticky Spider Web Science
Investigate spider silk, proteins, sticky strands, and the materials science behind real spiderwebs.
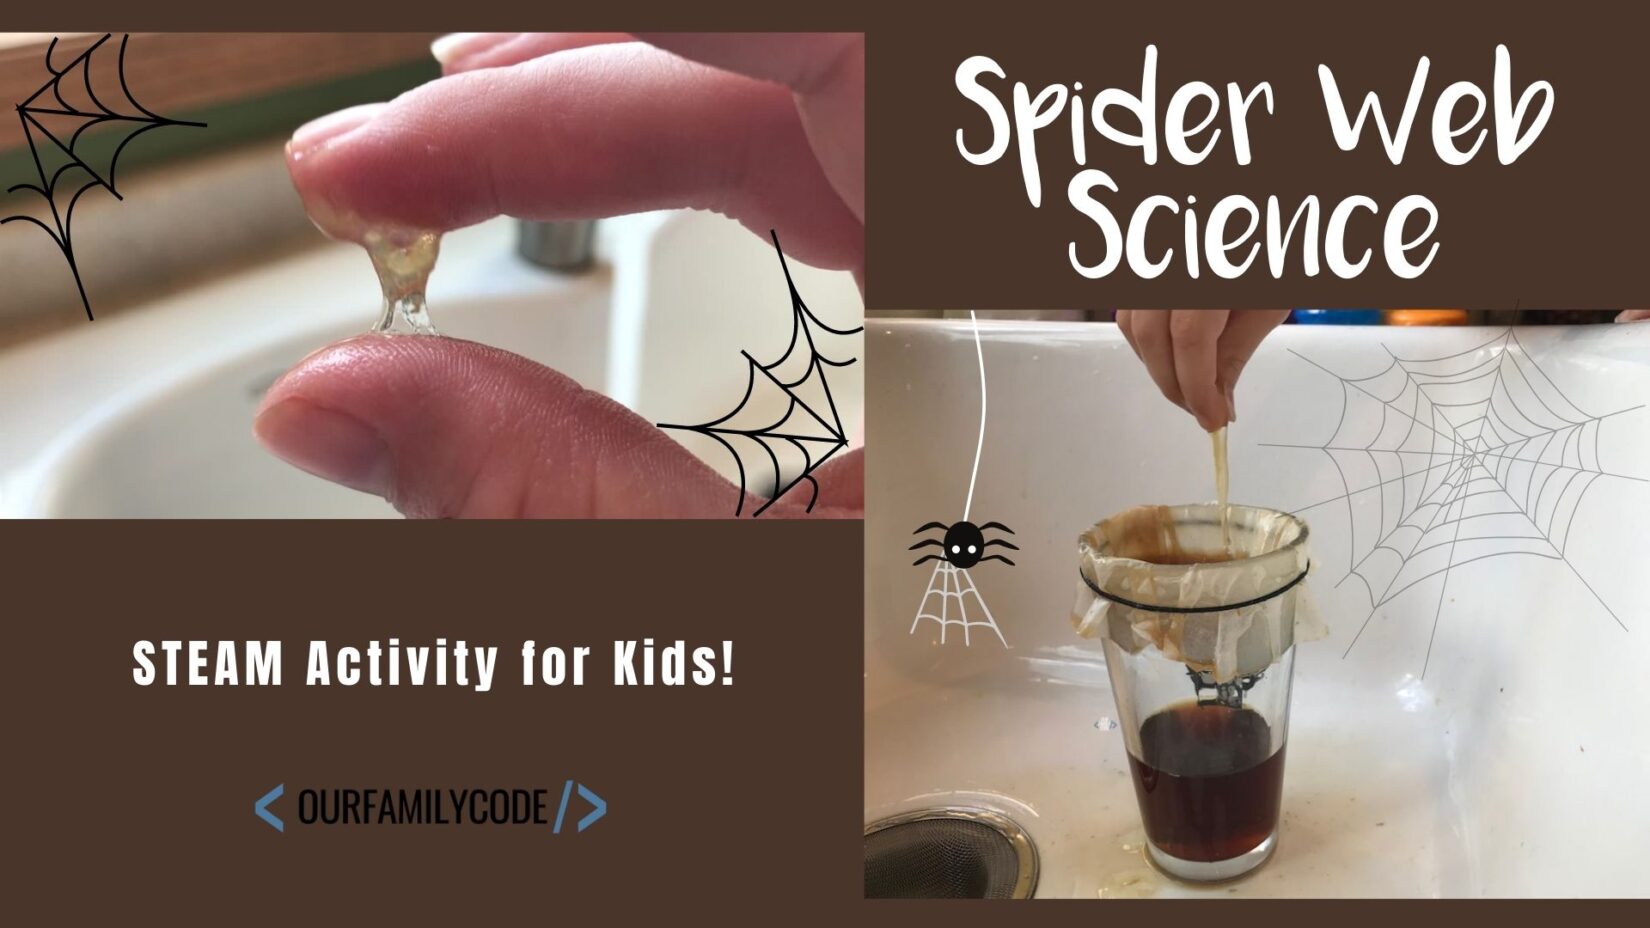
Try the Sticky Spider Web Science Activity →
Chalk Pastel Pumpkin Resist Art
Use glue resist and chalk pastels to explore texture, color, and contrast with a Halloween pumpkin project.
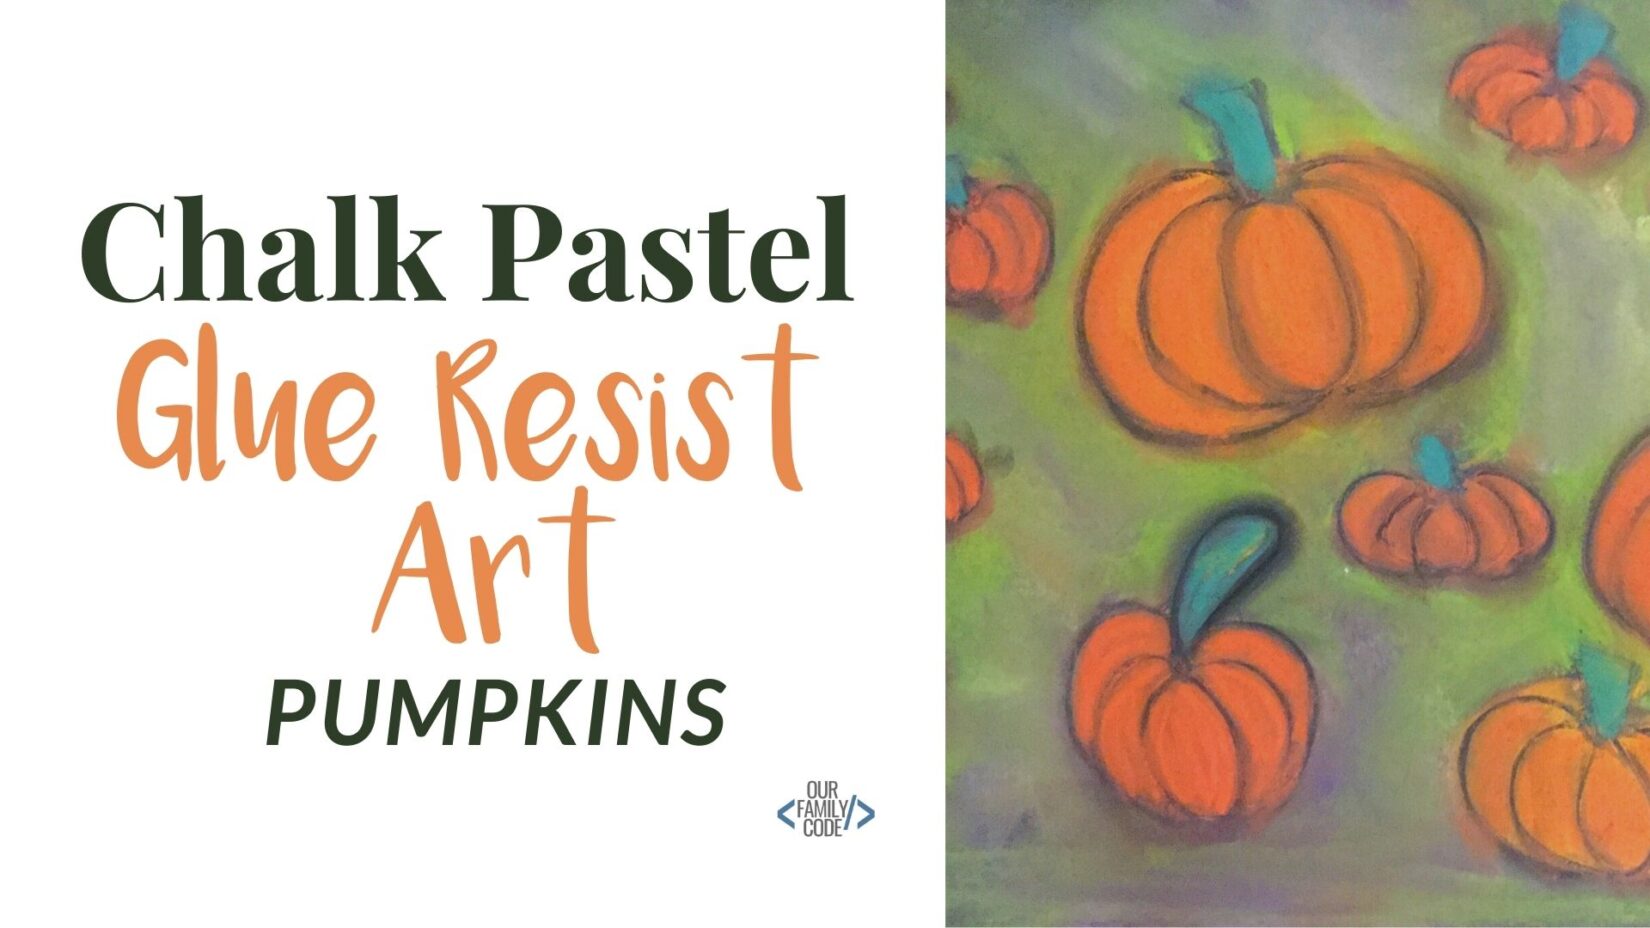
Try the Chalk Pastel Pumpkin Art Activity →
Optical Illusion STEAM Activities
Explore Op Art, motion illusions, handprint designs, printable worksheets, and a free optical-illusion coloring book.
Explore Optical Illusion Art →
A white crayon on white paper doesn’t look like much. Add a little color, though, and suddenly the science becomes visible.

Meet Toni, the Maker Mom behind Our Family Code

Hey there, I’m Toni! I’m a software engineer and Maker Mom that finds my joy in unleashing my children’s curiosity by exploring STEAM concepts with my fantastic five!
When I’m not chasing toddlers or raising tweens, you can find me tearing things up and putting them back together over here at Our Family Code.
I am the owner and content creator of multiple educational websites designed to increase access to STEAM & STEM education with a focus on teaching computer science and coding to kids of all ages!


How clever is this!!! I am saving this one to do with the kids!
It was so much fun and not messy to do with Bingo daubers, which is totally a plus!
This is such a fun activity to do with kids