

Learn how to draw 3D art with red and blue pencils and a pair of anaglyph glasses. This STEAM activity combines color filters, careful tracing, and slightly offset outlines to make a flat drawing appear to have depth.
I love when art meets technology, and this project kept Charlotte coloring long after I expected her to be finished! In our original activity, Peyton also helped make a 3D coloring book while we waited at dance class so younger kids could join in.
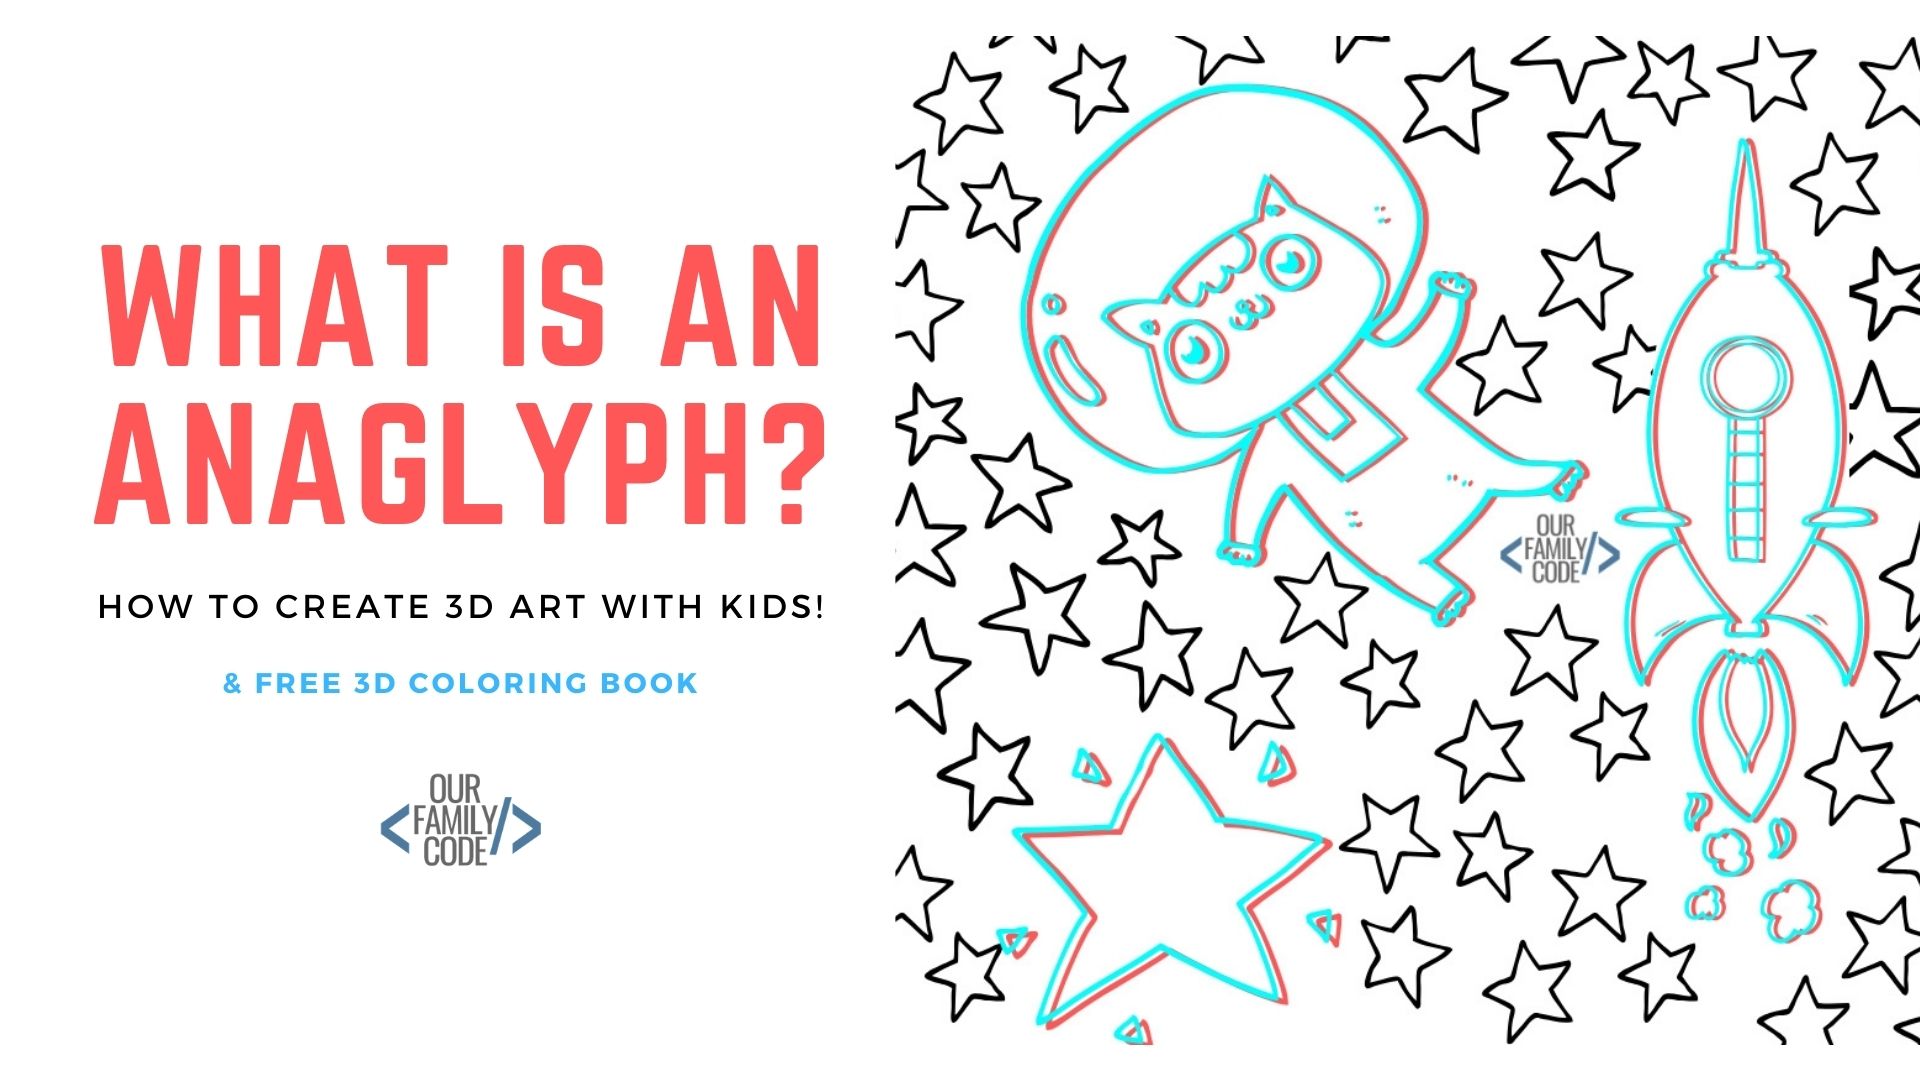
Perception activities have interested me since high school, when my perception experiment earned third place in the city science fair. Making these drawings gave us another way to ask questions about what we see and how an image is presented.
Start with a simple hand-drawn shape before trying a detailed picture or digital version. Our free workbook and community activity instructions are linked below, with the original examples preserved to help you plan.
What Is Anaglyph Art?
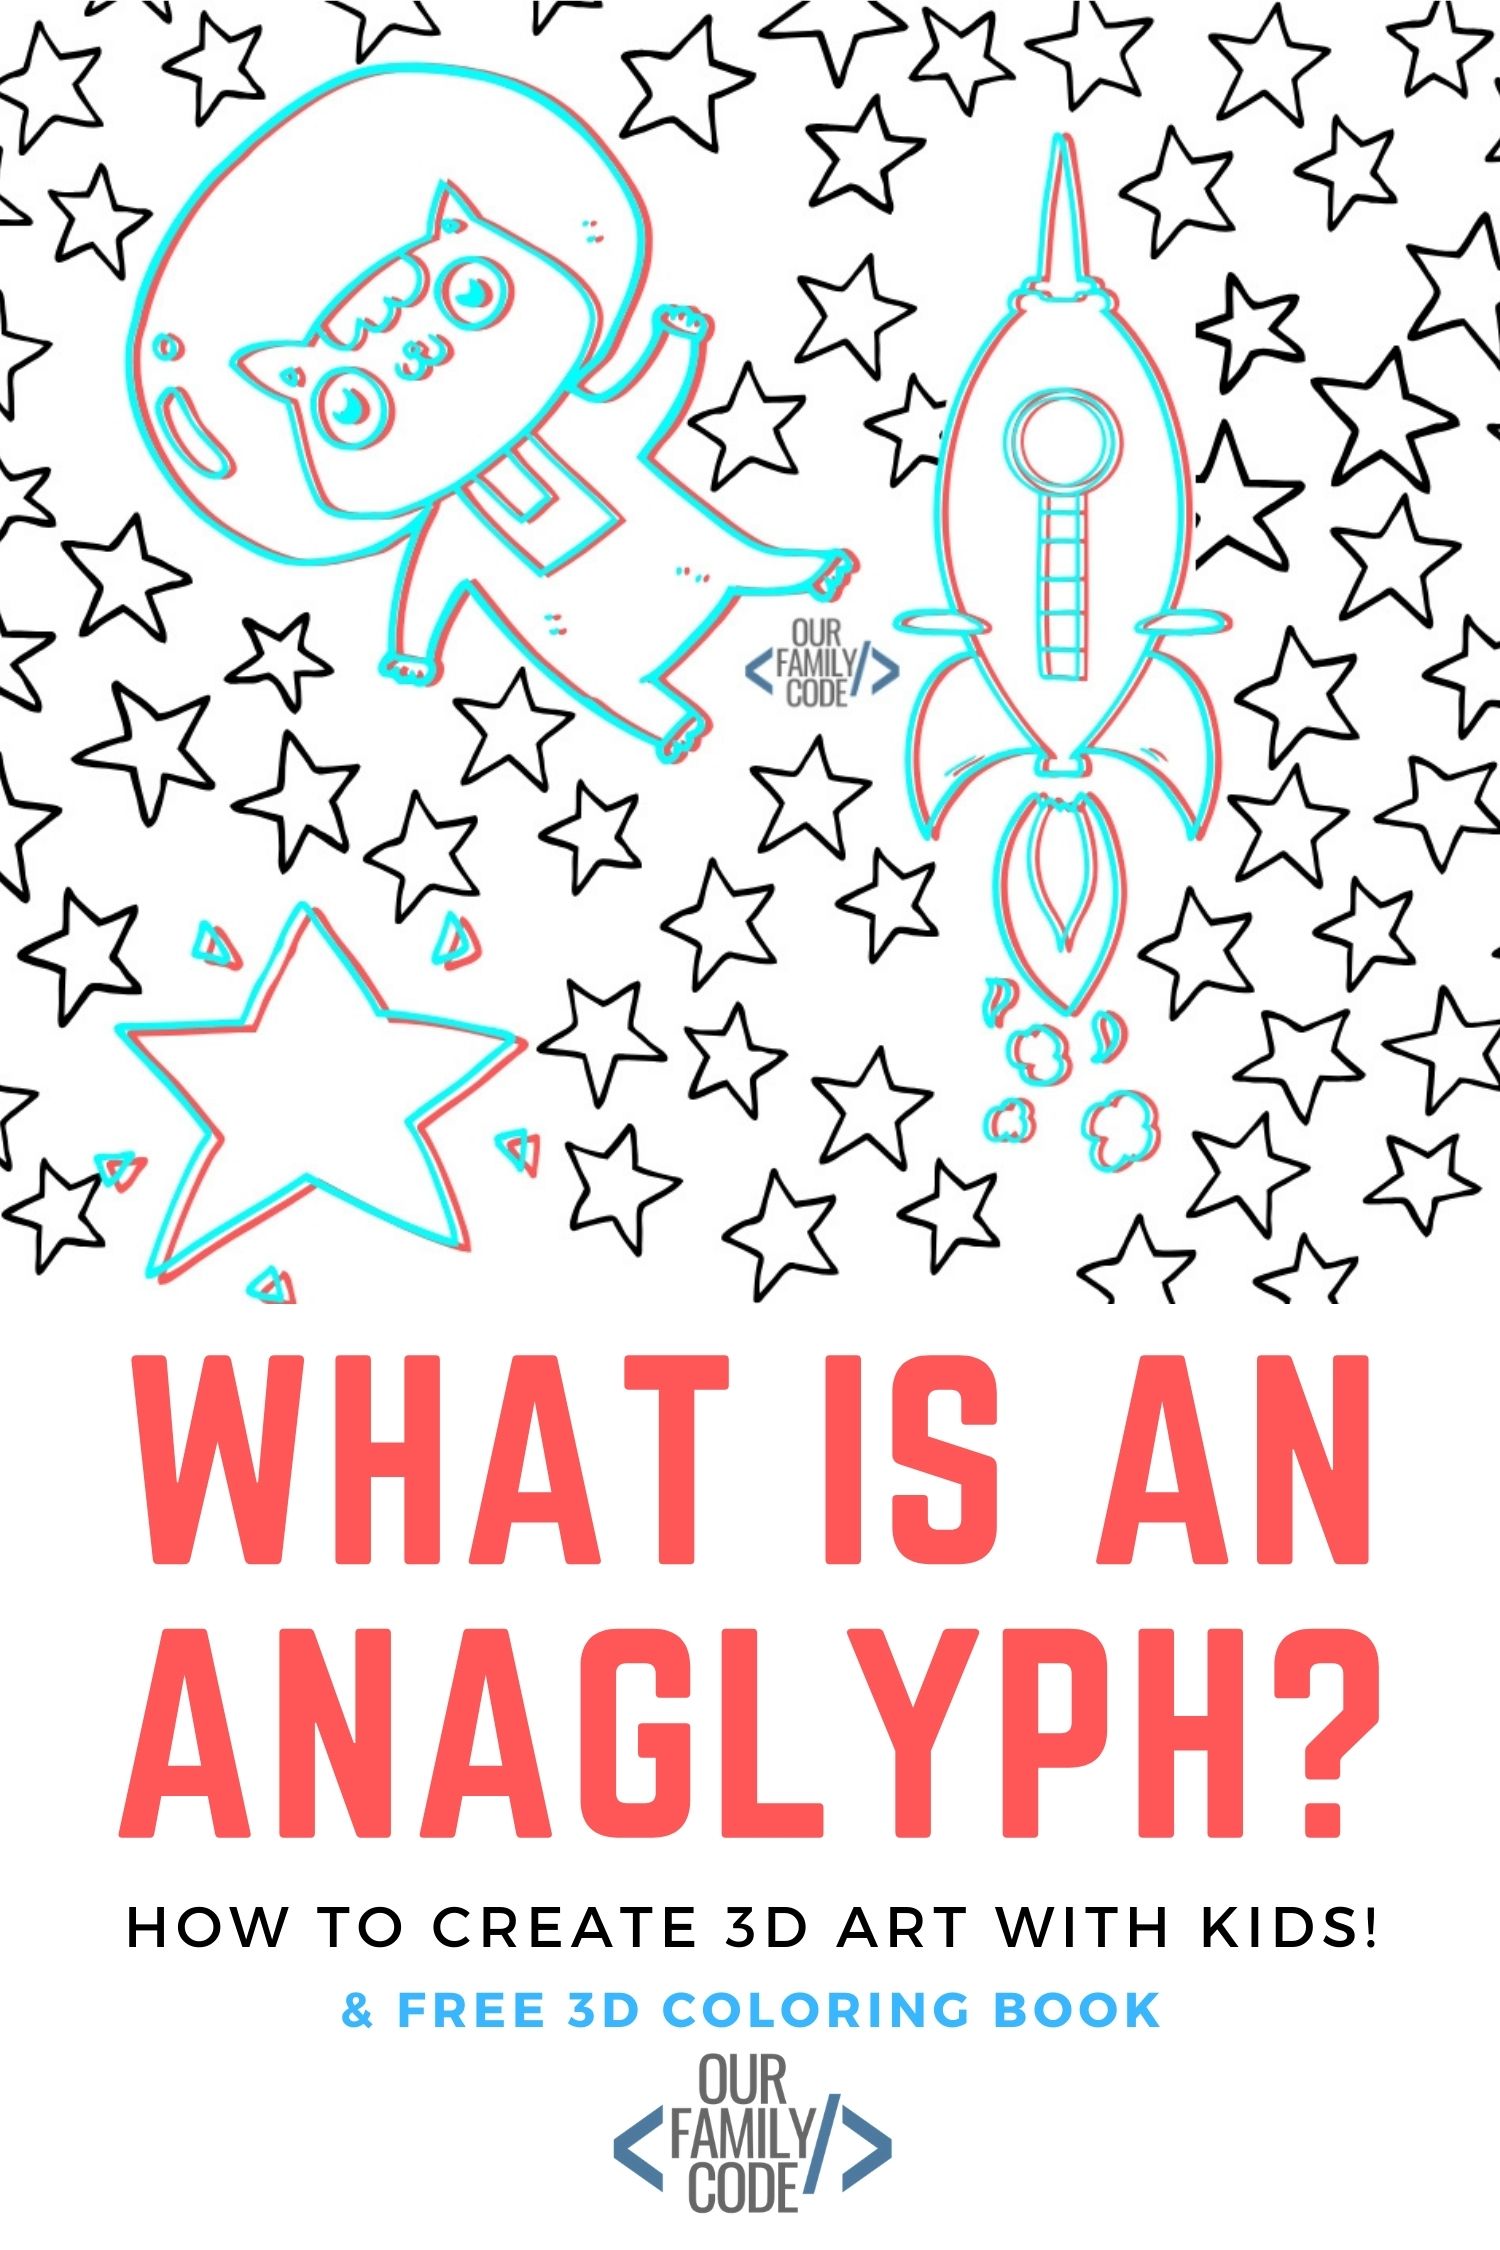
An anaglyph combines two views using different colors so colored glasses can separate them for the two eyes. The difference between those views can create a stereoscopic depth effect.
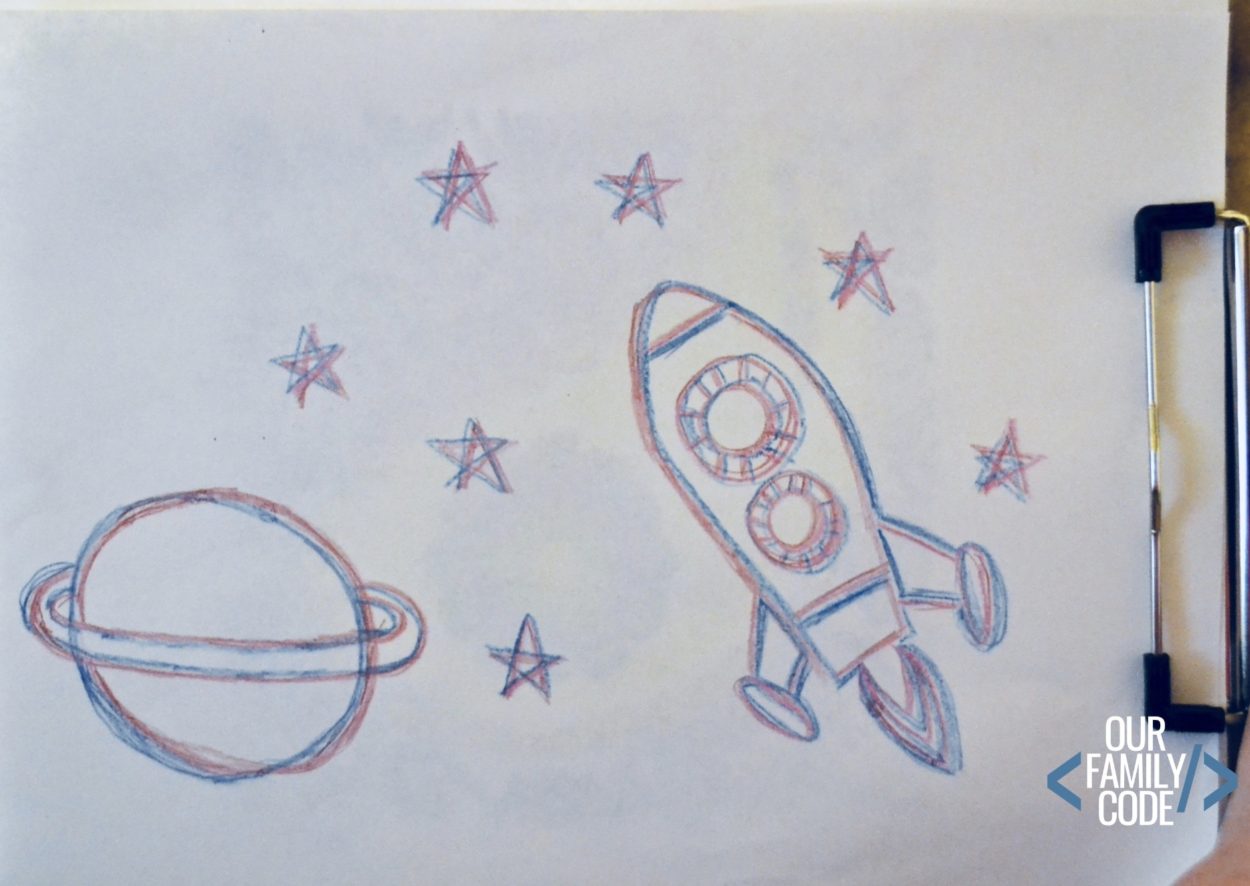
For our drawing activity, we make two nearly identical outlines with a small horizontal offset. This is a simple depth experiment rather than a complete reconstruction of a three-dimensional scene.
On white paper, a red line that matches the red filter becomes low contrast through that filter, while the other colored outline remains darker. The opposite filter favors the other view, helping each eye receive a different outline.
Read NASA’s explanation of anaglyphs for another example of separating views with colored filters. Many anaglyphs use red and cyan glasses, commonly with red over the left eye, but follow the arrangement intended for your picture and glasses.
Materials for 3D Art
Our original project used red and blue lenses from Learning Resources color mixing glasses. We tested several drawing materials and found colored pencils gave us the best results.
- Red-blue or red-cyan anaglyph glasses
- White paper and a scrap sheet for testing
- Different shades of red and blue/cyan pencils, crayons, or markers
- A pencil and a simple drawing to trace
- A ruler
- A clipboard or tape to keep the paper steady
- An optional light board
- The free 3D art workbook linked below
This post contains affiliate links. As an Amazon Associate, Our Family Code earns from qualifying purchases; see our Disclosure Policy for details.
For a group, red/blue colored pencils can be convenient, but test them with the glasses before handing out supplies. A color name on the box does not guarantee a good match with a particular filter.
Test Your Red and Blue Colors First
Make short red lines on white scrap paper using the materials you want to try. Look at them through the red lens alone, then through the blue or cyan lens alone.
Choose a red that becomes very faint against the white paper through the red lens and looks noticeably darker through the other lens. It may not disappear perfectly, so compare the contrast rather than demanding an impossible match.
Repeat the test with your blue or cyan materials. Look for a line that becomes faint through its matching lens and remains darker through the red lens.
Our successful hand-drawn combination used red and a cyan-like blue. Record the specific pencils or crayons that work with your glasses so you can use the same combination again.
How to Draw 3D Art by Hand
1. Choose a Simple Outline
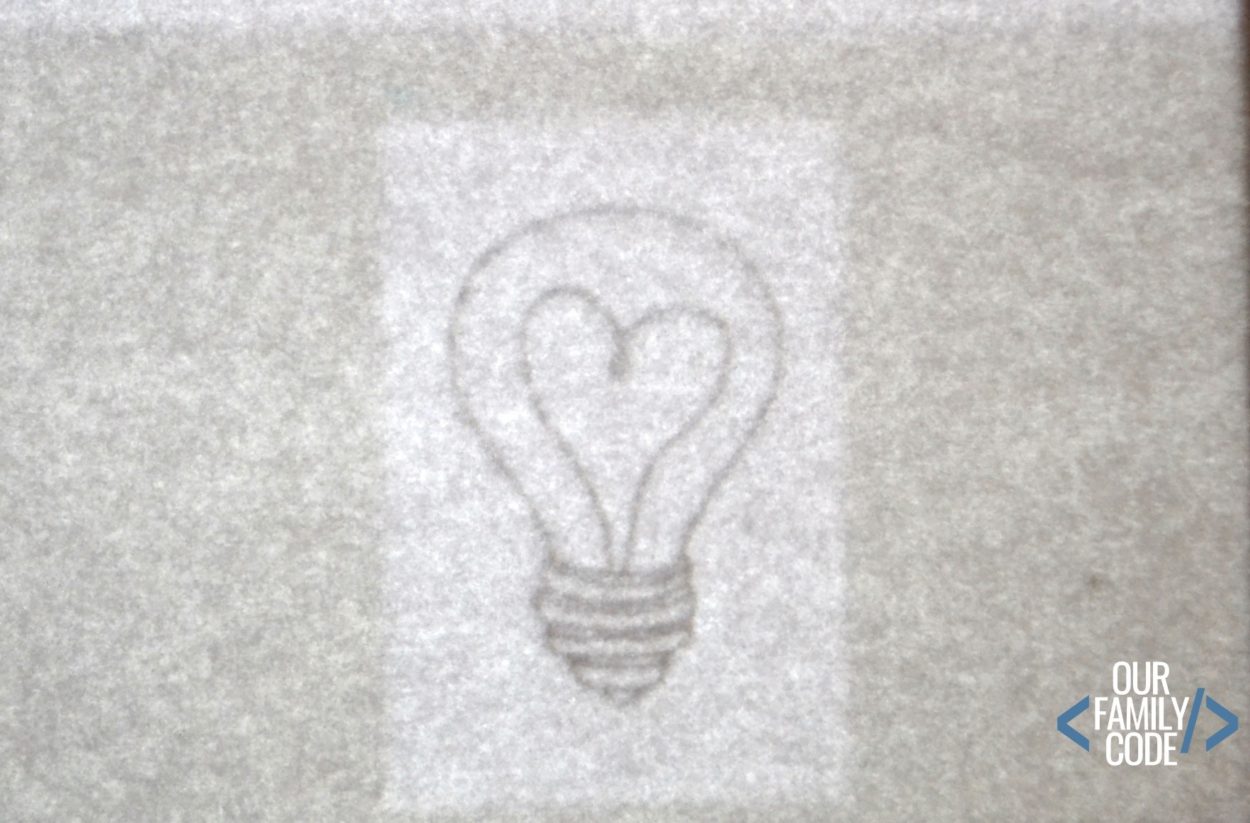
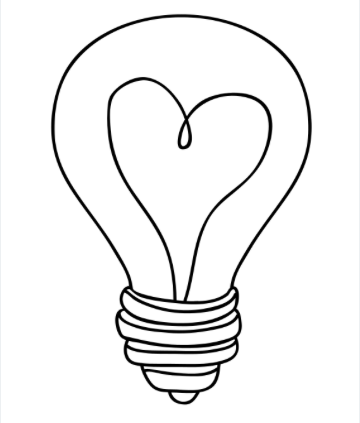
Draw a heart, star, lightbulb, or another clear shape on a separate sheet. Keep the first design simple so it is easy to trace twice.
If your pencil outline is difficult to see through another sheet, darken that master drawing with a marker. Keep the dark master separate from the finished artwork so a black outline does not dominate both colored views.
2. Trace the First View in Red
Place a blank sheet over your master drawing and hold it steady with tape or a clipboard. Trace the outline using the red material that passed your filter test.
Use an optional light board if it makes tracing easier. Follow the device’s directions and avoid moving the paper while you are tracing.
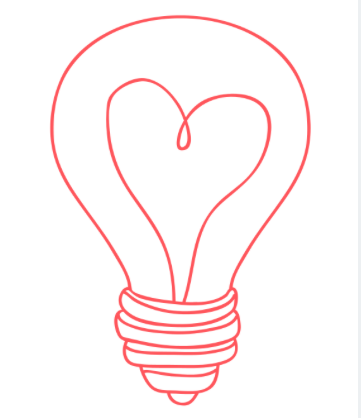
3. Shift Horizontally and Trace the Second View
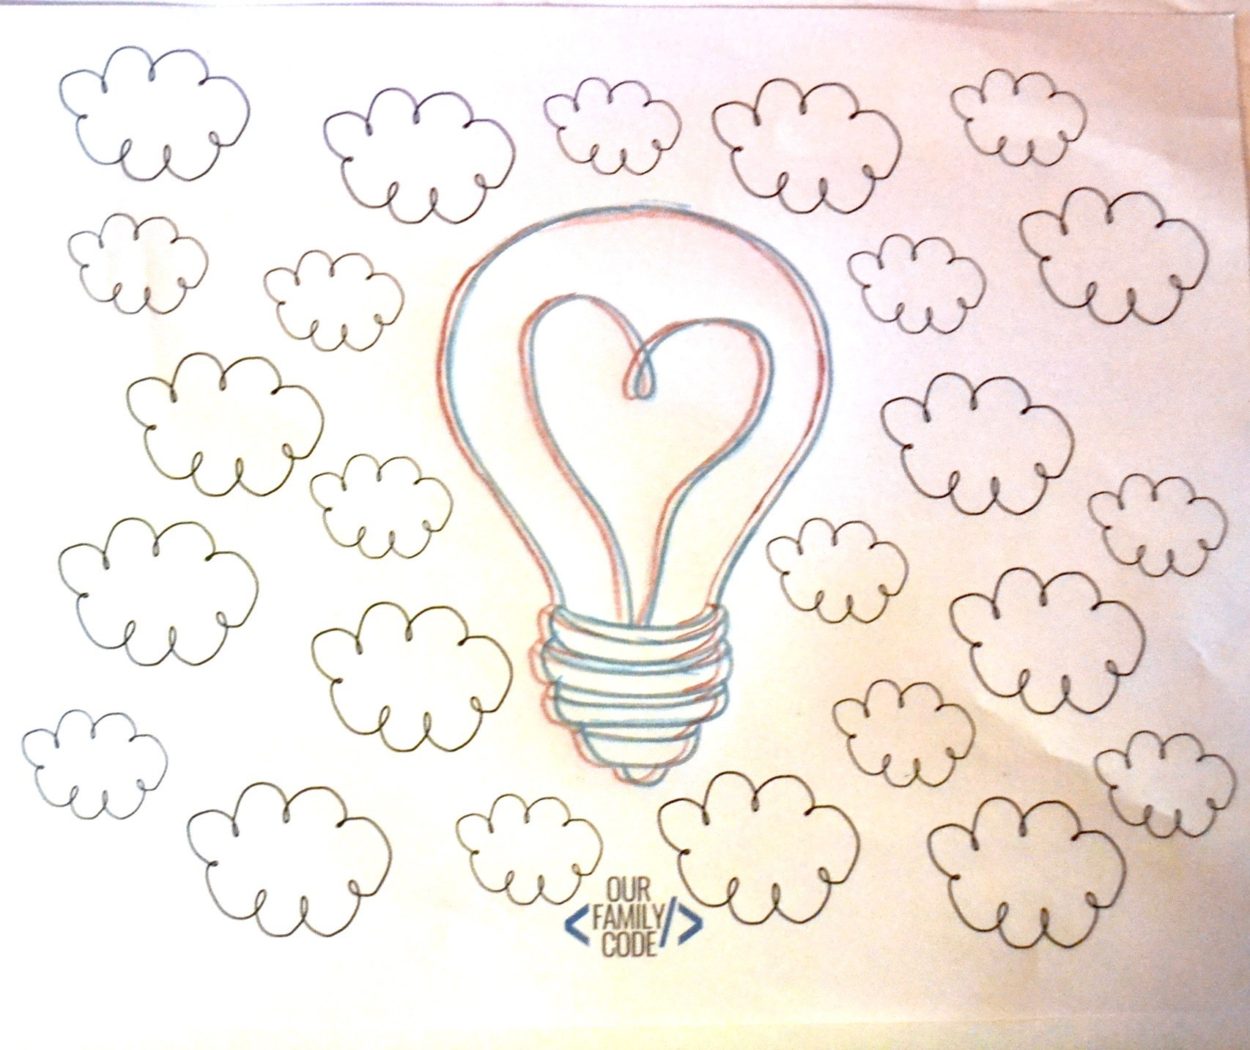
Move the tracing sheet a small distance sideways while keeping it at the same height and angle. Use a ruler and a reference mark to help make the shift consistent.
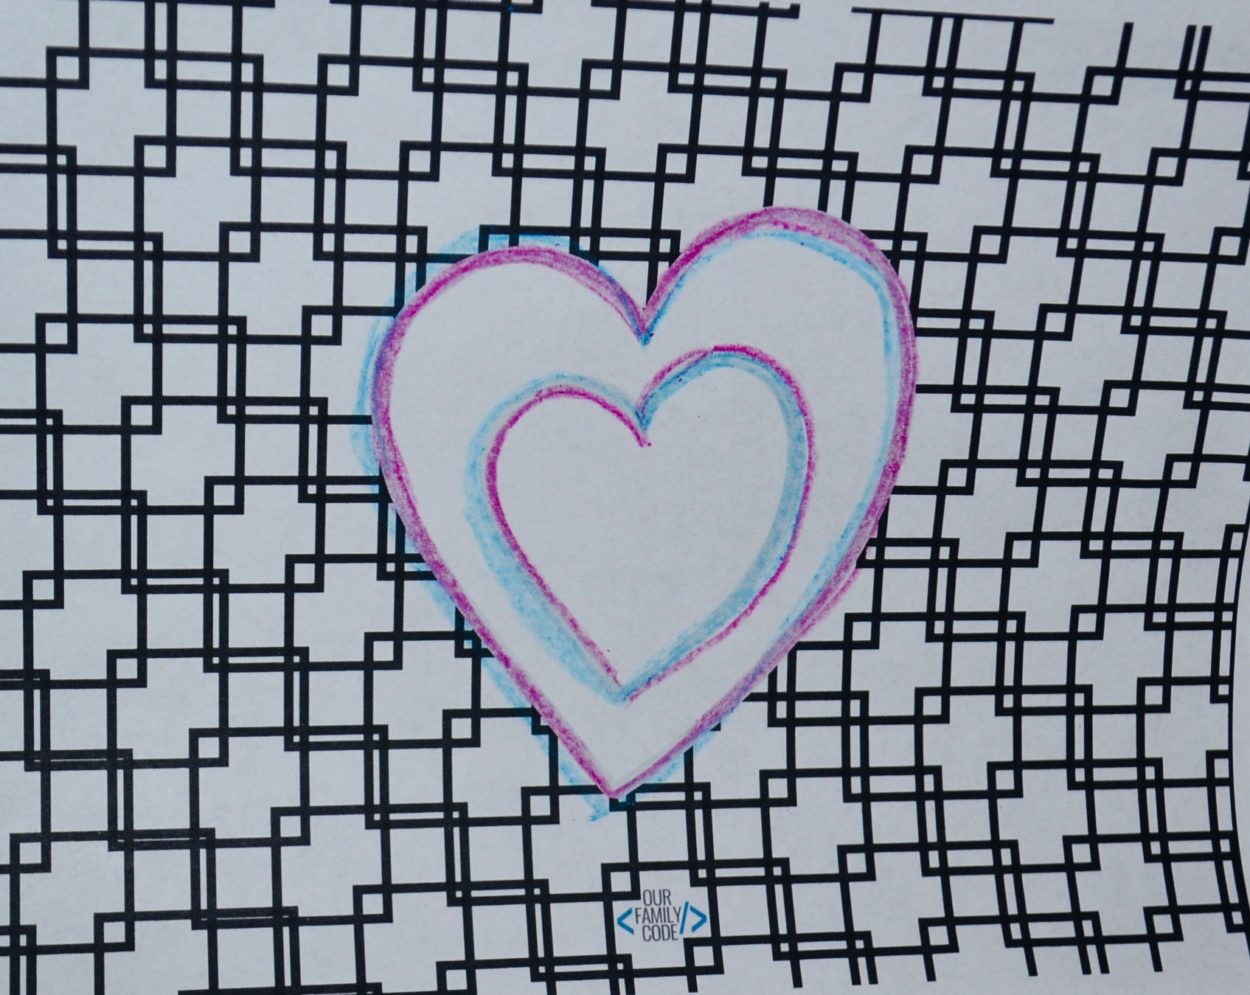
Secure the paper again and trace the same master with your tested blue or cyan material. Keep the outlines as similar as possible so the main difference is their horizontal position.
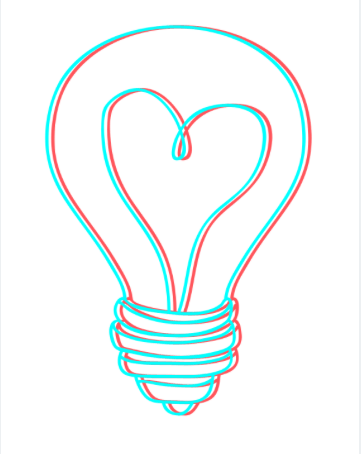
Start with a small offset instead of moving the sheet a large distance. Too much separation, a vertical shift, or a rotated sheet can make the outlines difficult to combine.
4. View and Compare
Put on the glasses in the orientation intended for your image and look at the drawing in good light. Try a comfortable viewing distance and compare the image with and without the glasses.
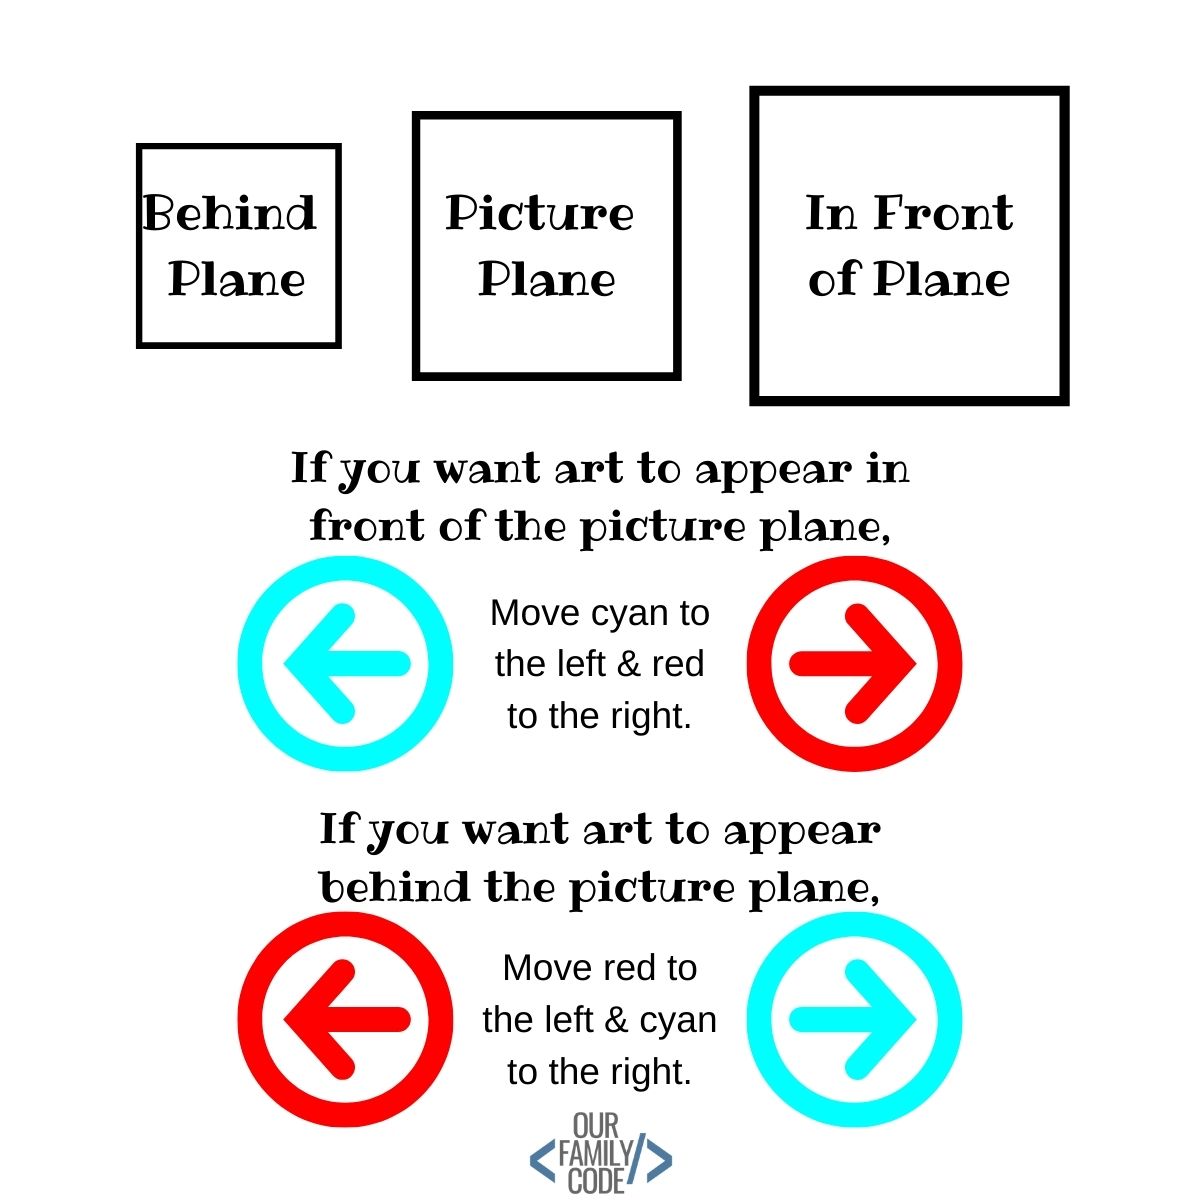
The direction of the offset and which colored view reaches each eye affect the apparent depth. Make a second simple drawing with the opposite horizontal shift and describe whether its position appears different.
The picture plane is the surface of the paper or screen. A drawing may seem in front of or behind that surface, but do not assume a bigger offset will always produce a clearer effect.
Examples from Our Original Project
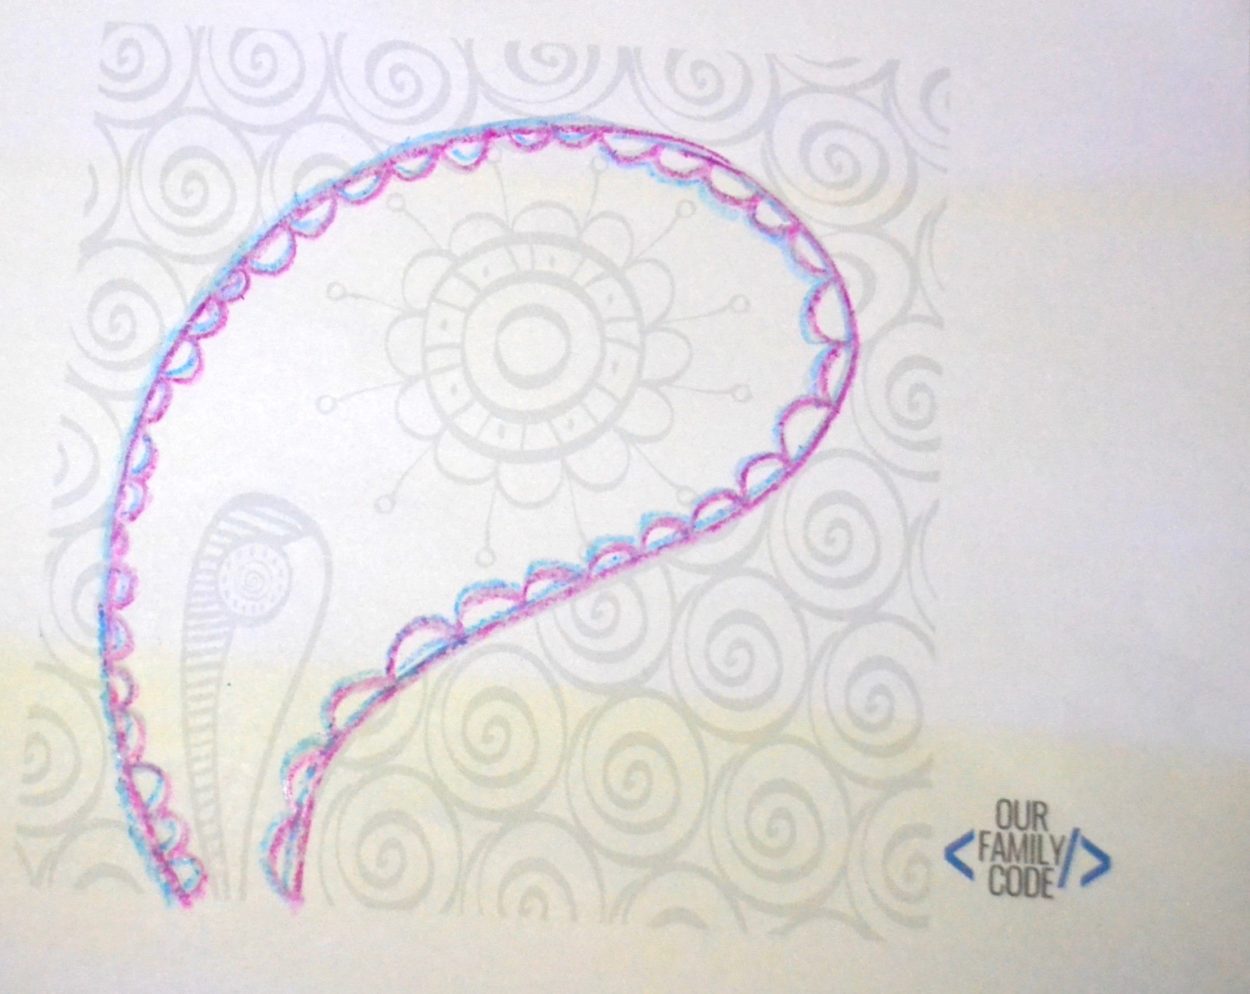
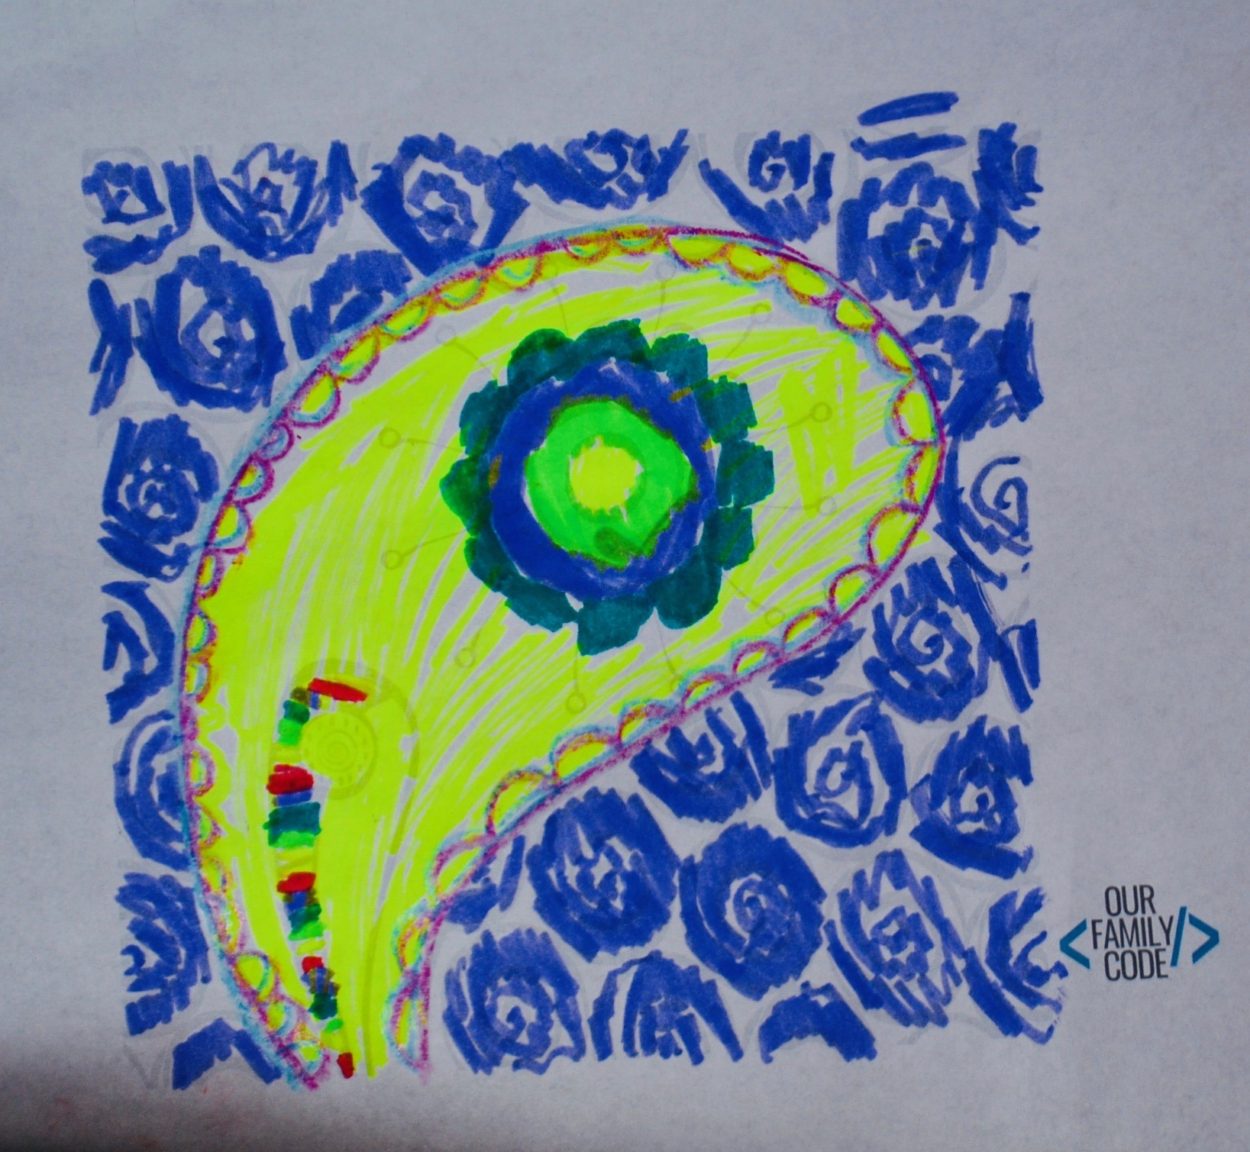
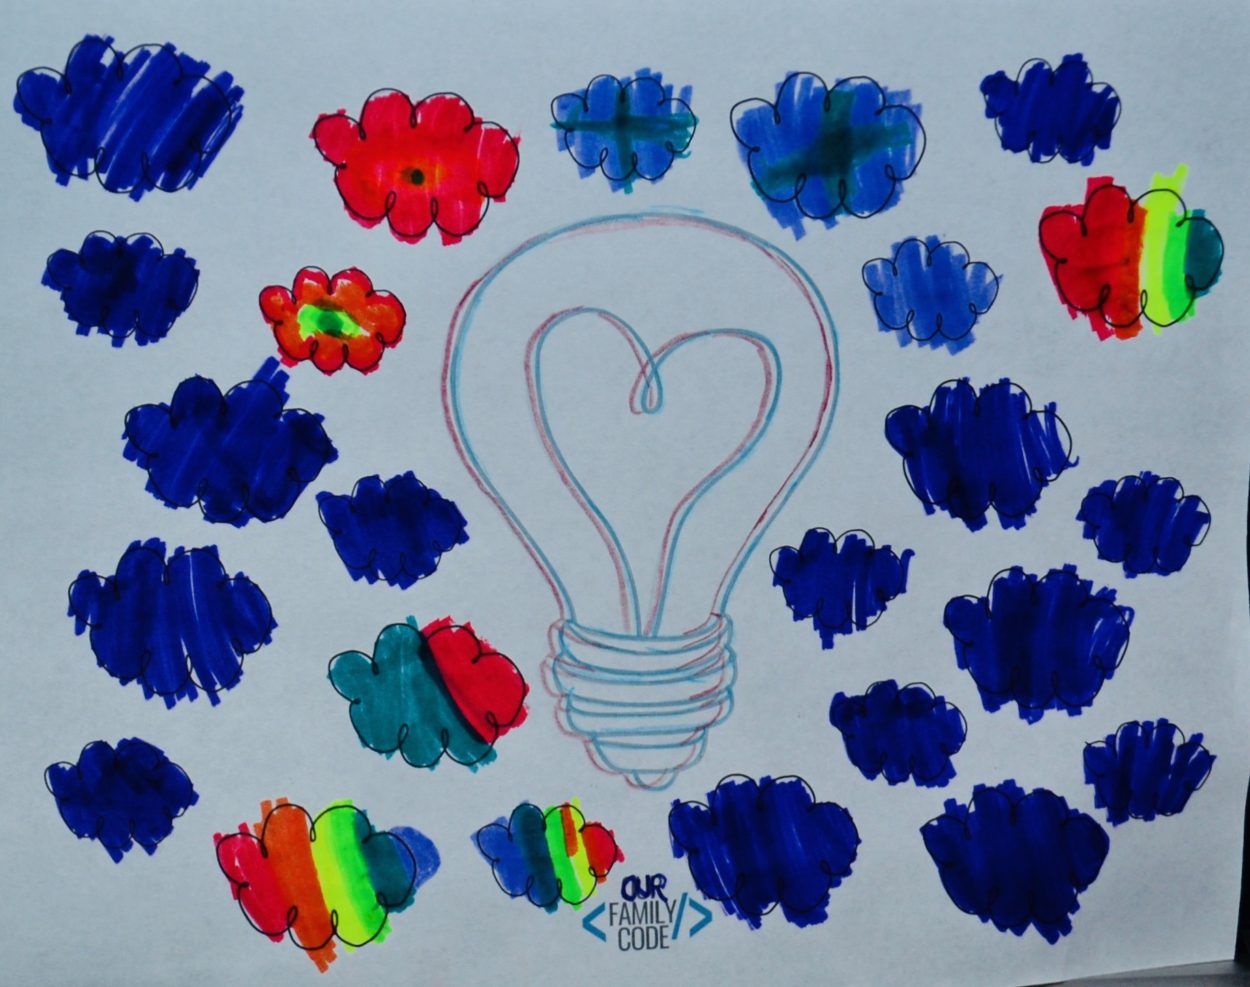
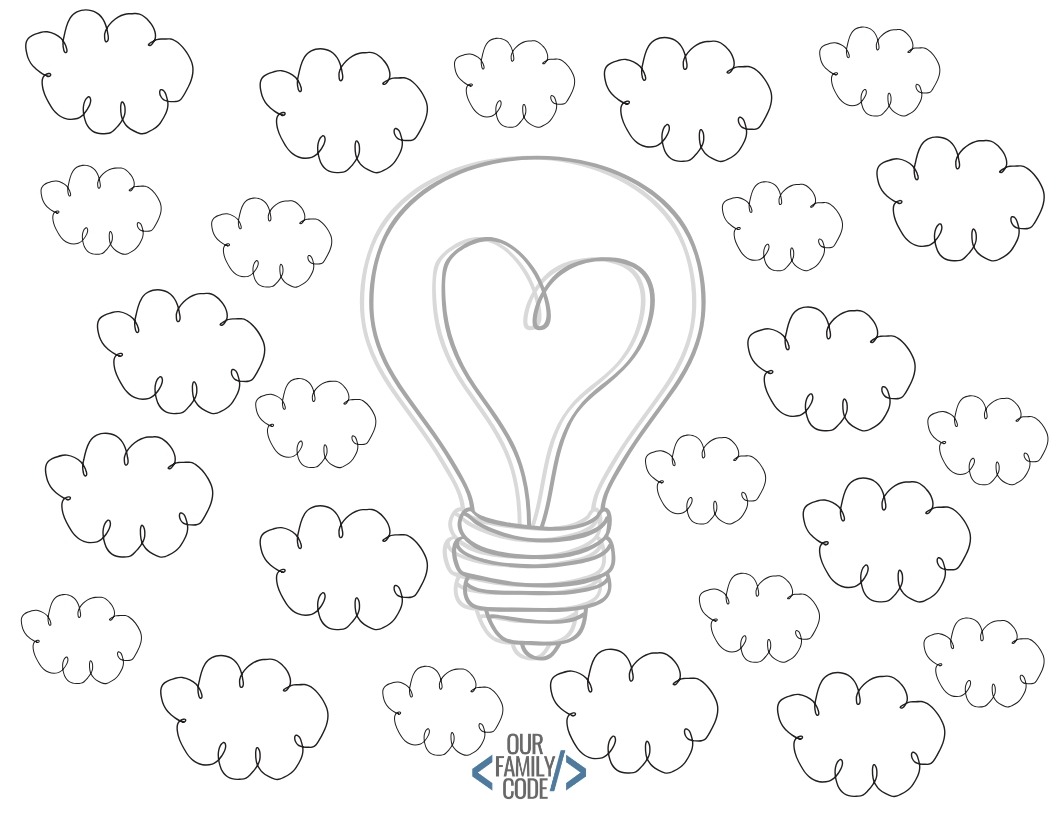
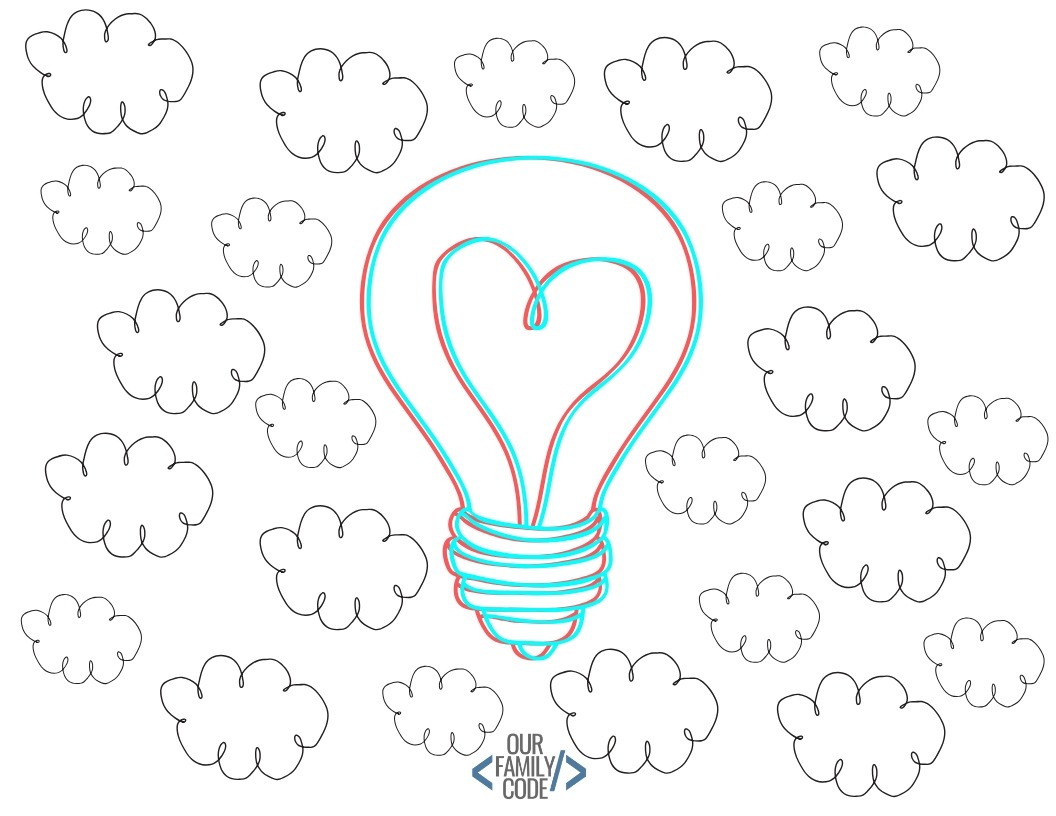
We kept our outlines close together while practicing and used a clipboard to maintain alignment. These original paisley, lightbulb, and heart drawings show the ideas we tried.
Make Digital Anaglyph Drawings
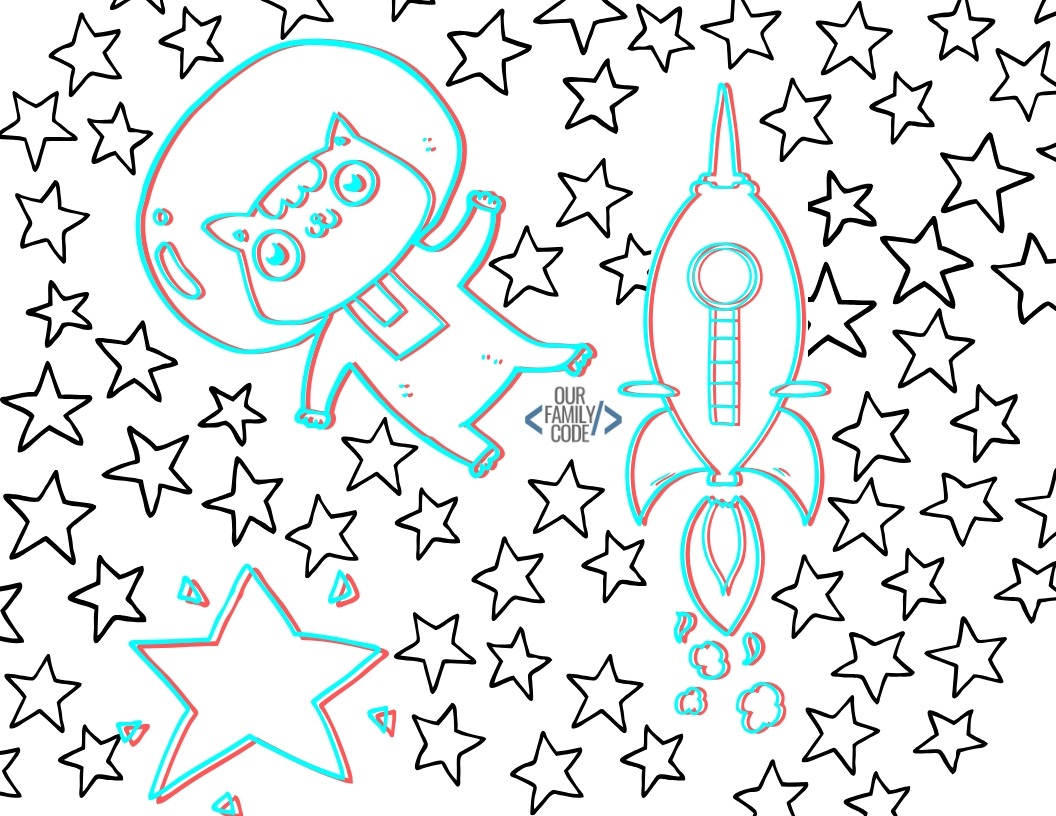
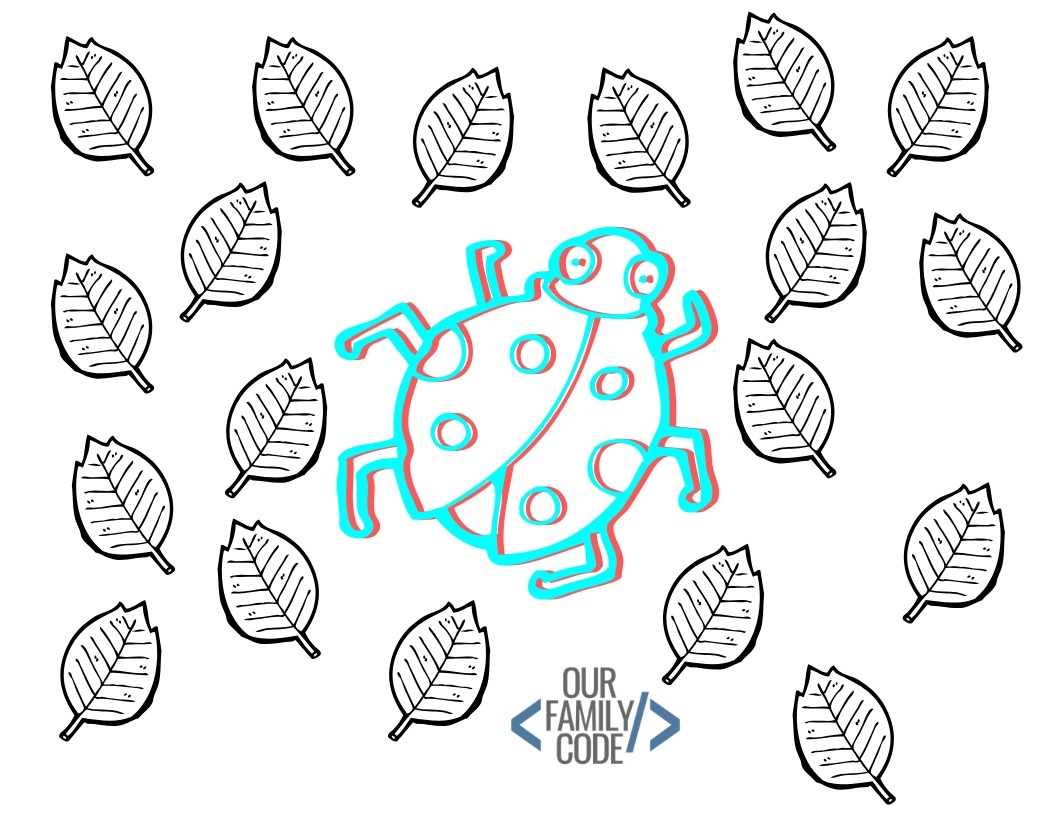
Peyton was in fifth grade when we tried the digital part of this project. She used doodles to explore the same duplicate-and-shift idea, and we made coloring pages that Charlotte could trace.
Use your own drawing or an image you have permission to use, preferably simple line art on a transparent background. Open it in a drawing program that supports separate layers.
Duplicate the outline so each copy has its own layer, then color one red and the other blue or cyan. Move one layer slightly left or right while keeping the vertical alignment and scale the same.
For digital colors, red is #ff0000, blue is #0000ff, and cyan is #00ffff. Our original article mislabeled the blue code as cyan; choose the color that works with your filters and test the actual display or printout.
View the result through your glasses before exporting a large set of pages. Screen settings, printer output, ink, and paper can affect how well the colors separate.
Troubleshooting Your 3D Drawing
If both outlines remain equally visible through both lenses, return to the scrap-sheet color test. Change the drawing material or filter combination before redrawing the whole picture.
If the outlines look doubled, reduce the horizontal offset and check for accidental vertical movement. Keep the tracing sheet flat and use reference marks to hold its angle steady.
If a digital image works on screen but not on paper, test a small print before producing a workbook. Printer color adjustments can change the match between the drawing and the filters.
If viewing feels uncomfortable, take the glasses off and pause. Children can still compare the filtered colors and alignment even when they do not perceive a strong depth effect.
Download the Free 3D Art Coloring Book
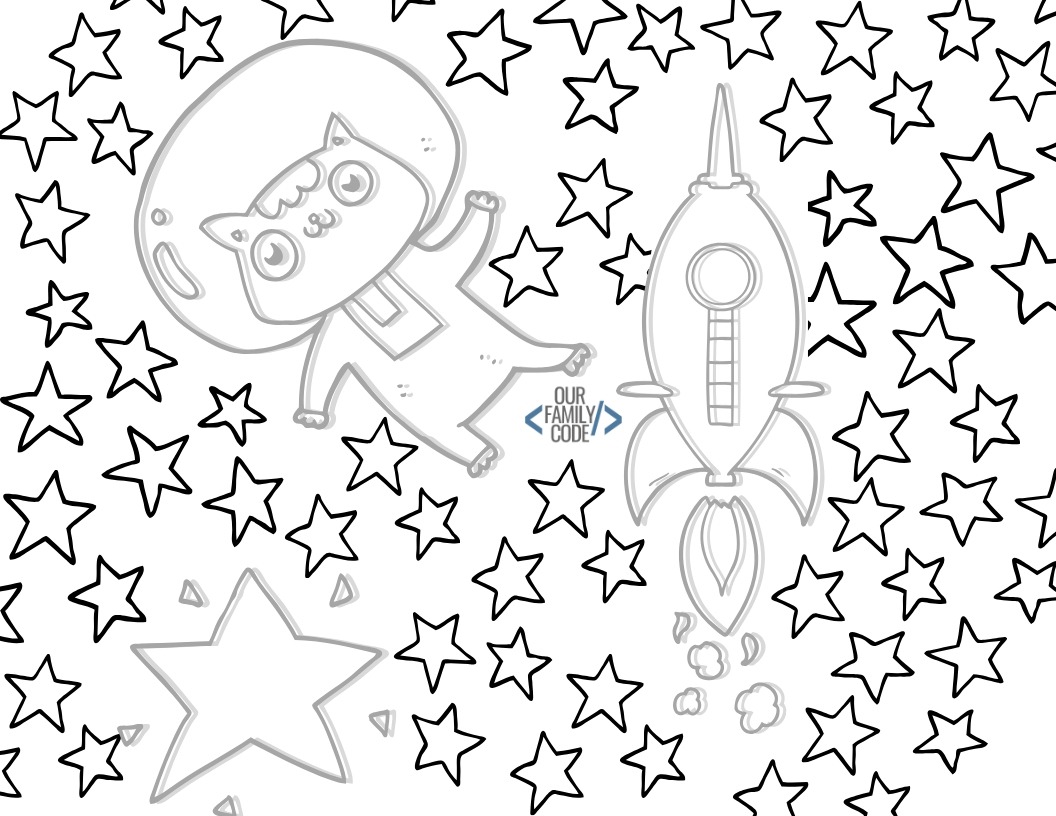
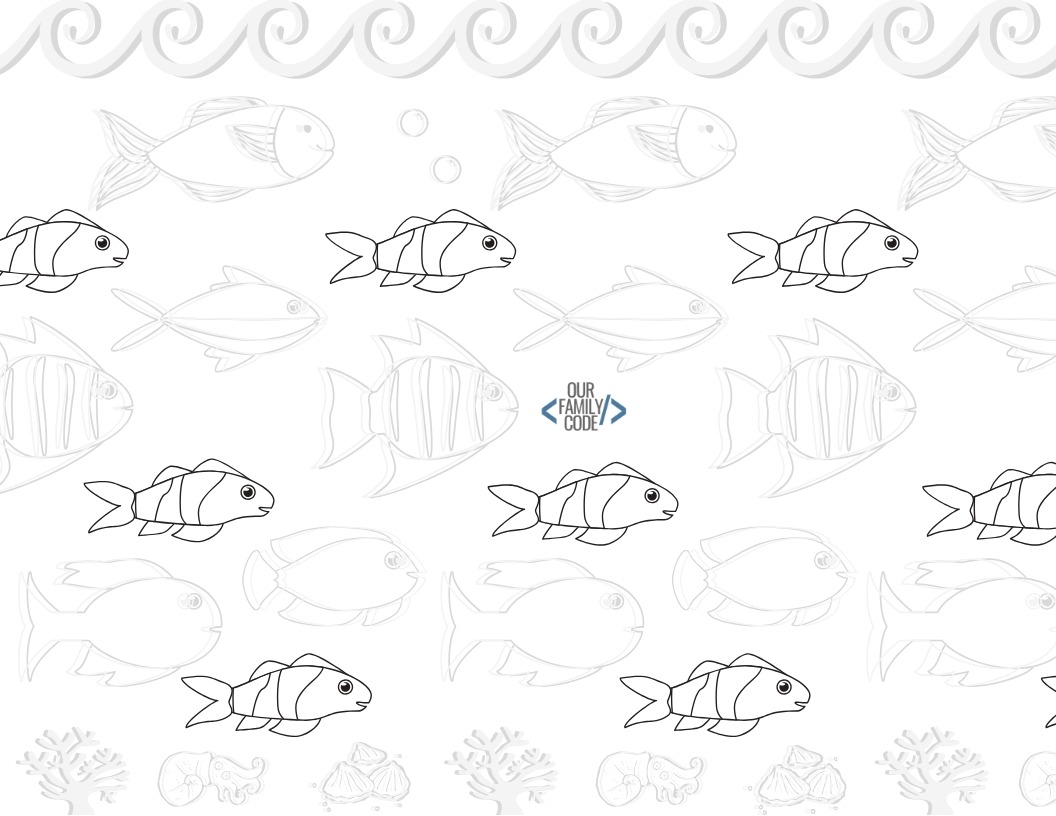
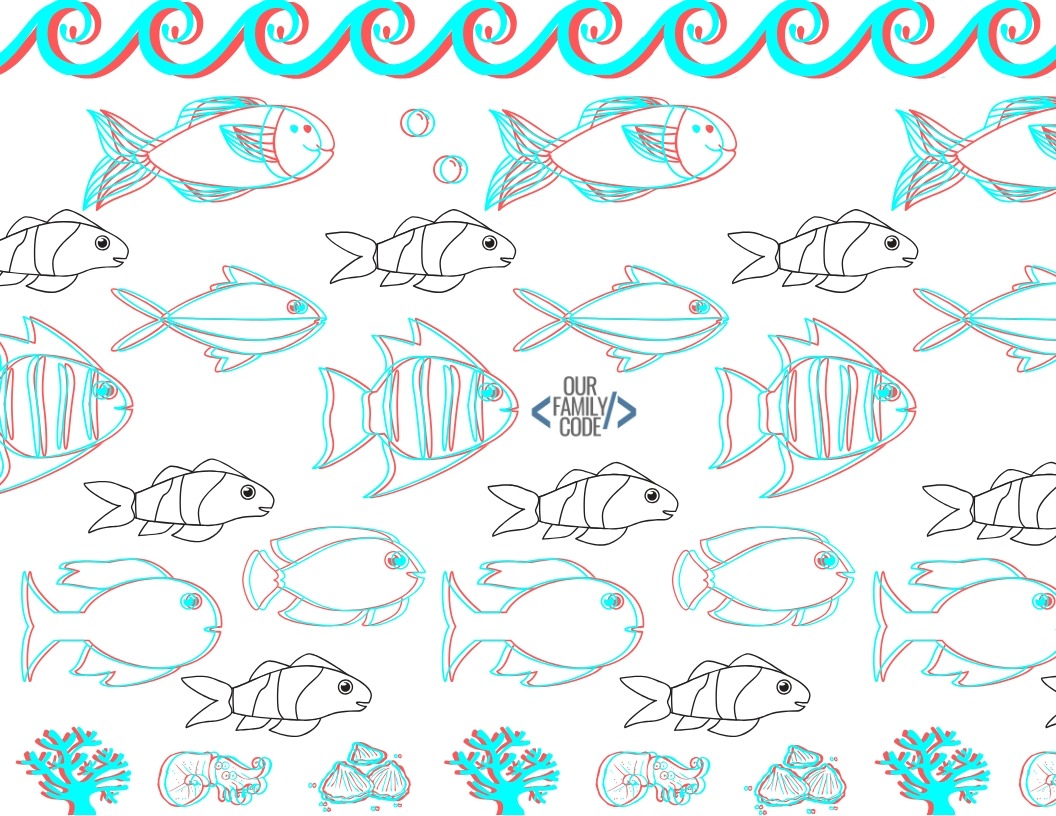
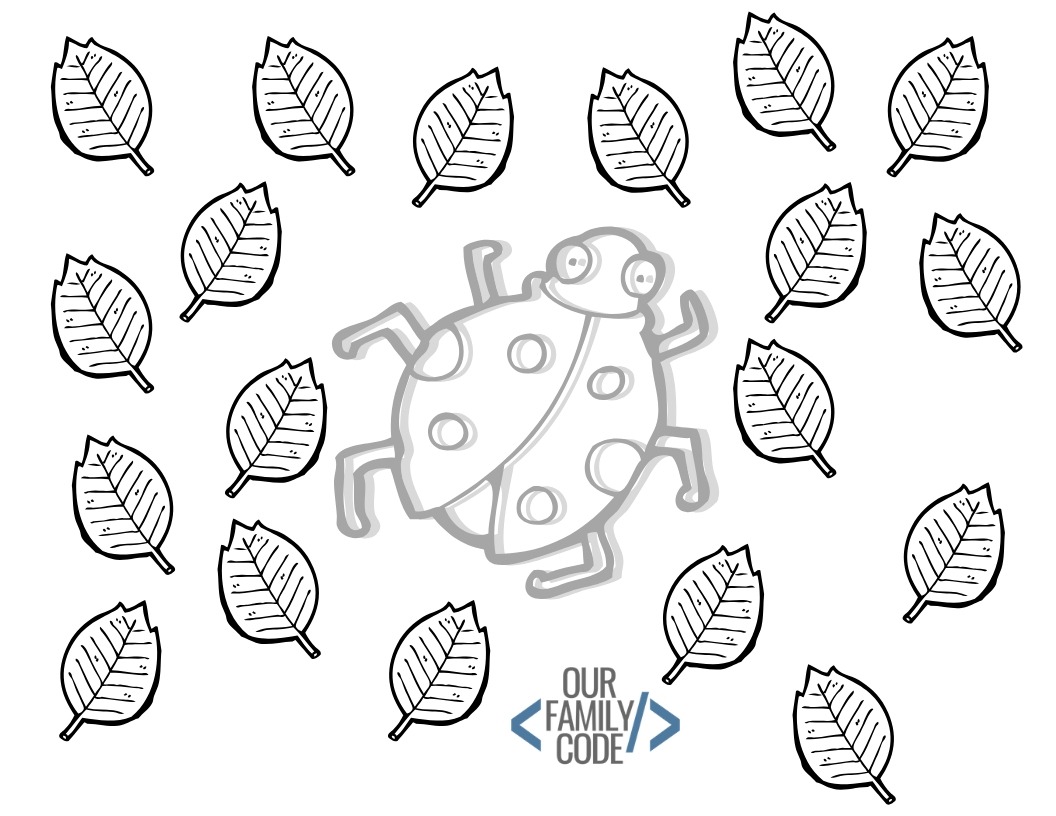
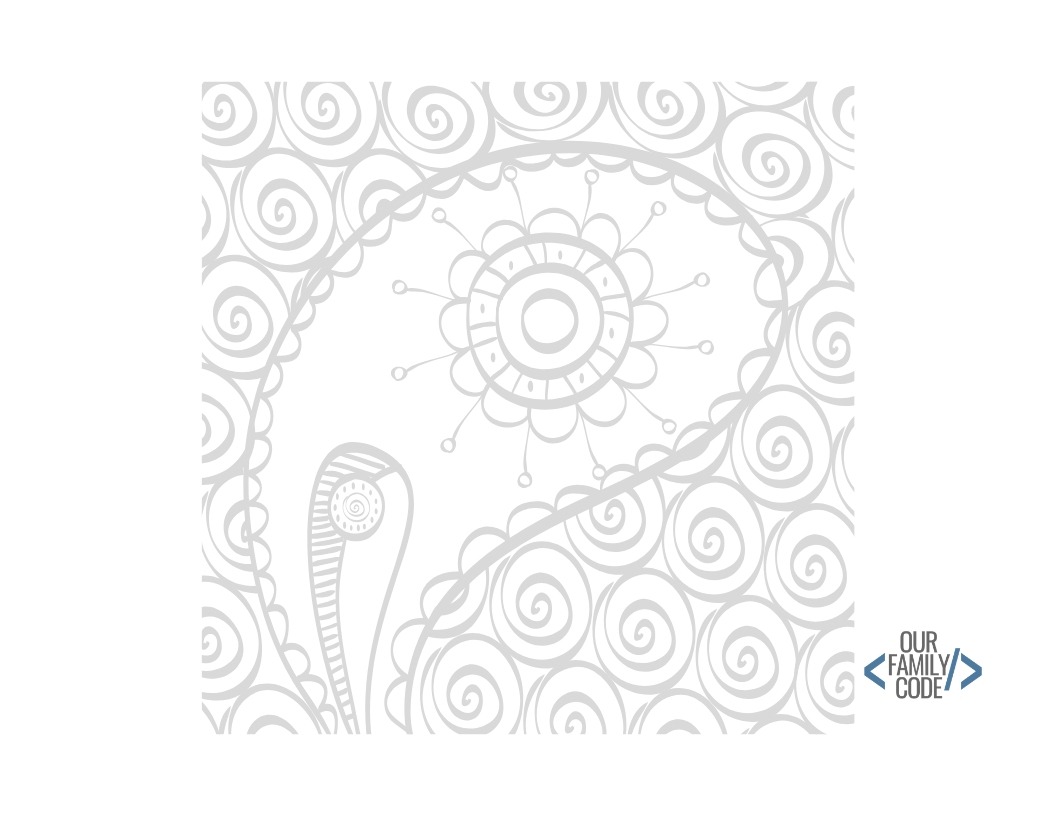
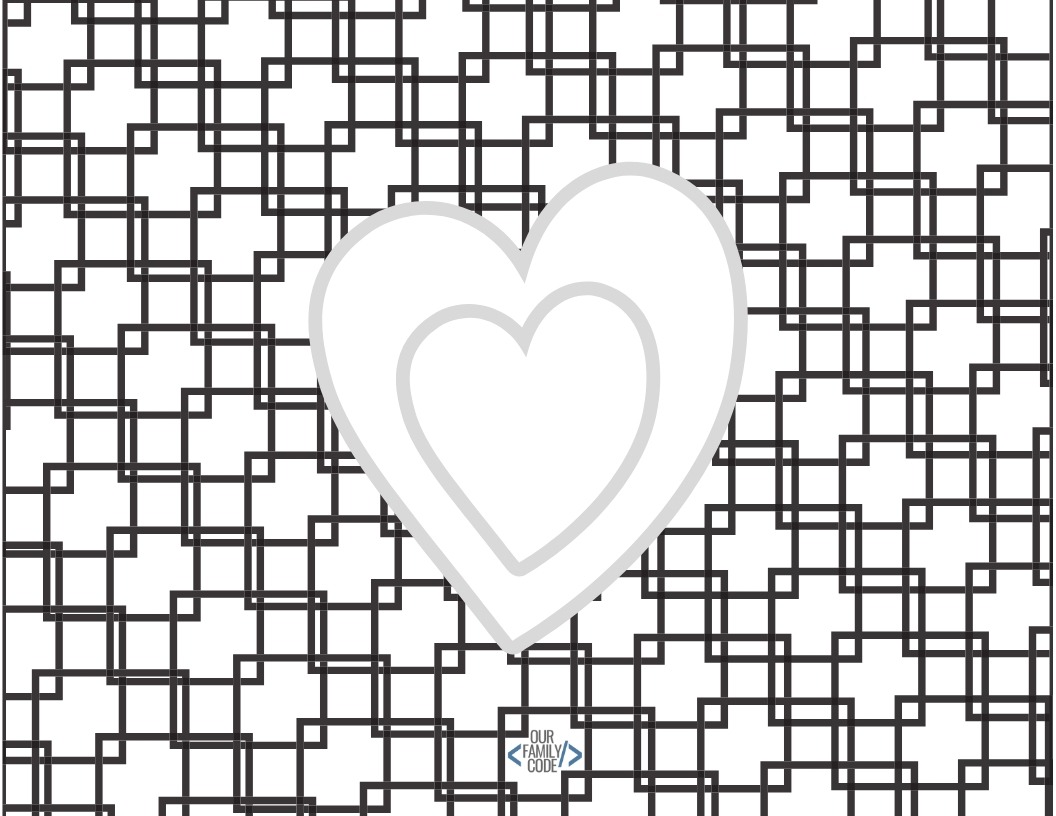
Our original workbook contains offset gray outlines for tracing with the tested colors. The darker gray guide is for red, and the lighter gray guide is for blue or cyan.
Trace each guide once, starting with the darker one in red. Red and blue lines may cross where the design requires it; keep each color aligned with its own guide instead of treating every crossing as an error.
The final two pages invite children to trace the main gray line in red and create their own small shift for the second outline. Print a test page and check the colors through your glasses first.
Download the free 3D art coloring workbook. Preview the original pages below to choose a starting design.
Download the Community Activity Instructions
We used this activity in our original Rock the STEAM community initiative in Stoughton, Wisconsin. The project was designed to help families explore hands-on STEAM with accessible activity materials.
Visit our Rock the STEAM community initiative page for the background of that work. These original instruction sheets remain available for families and educators.
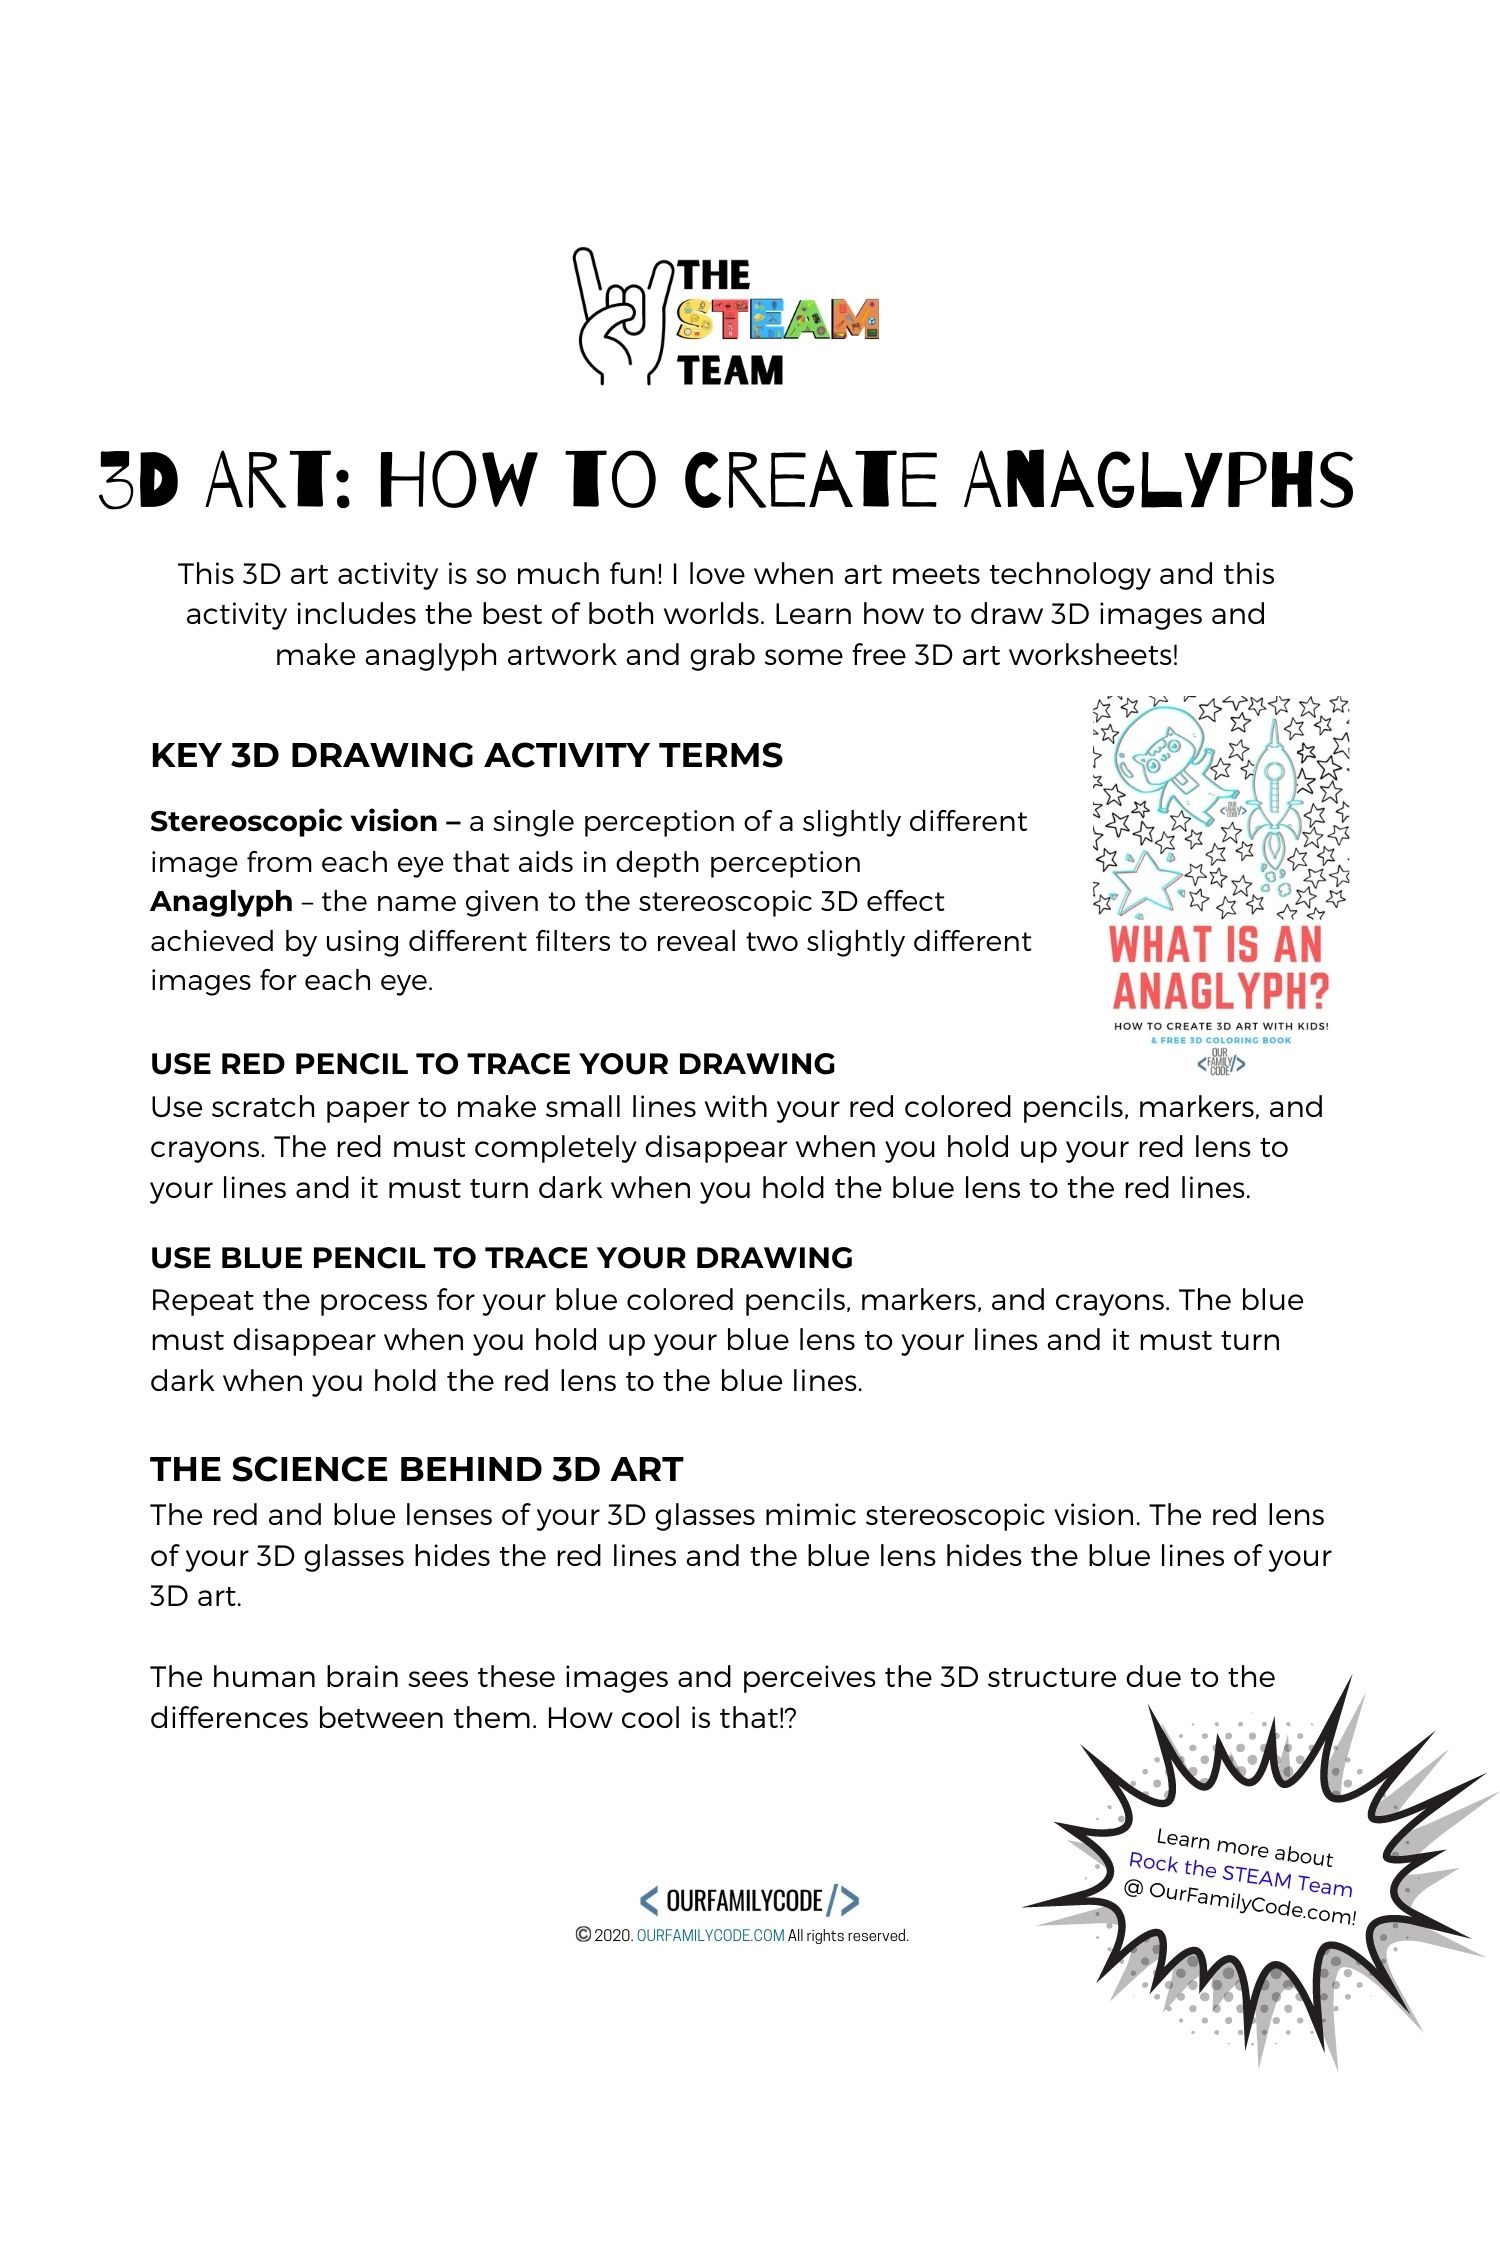
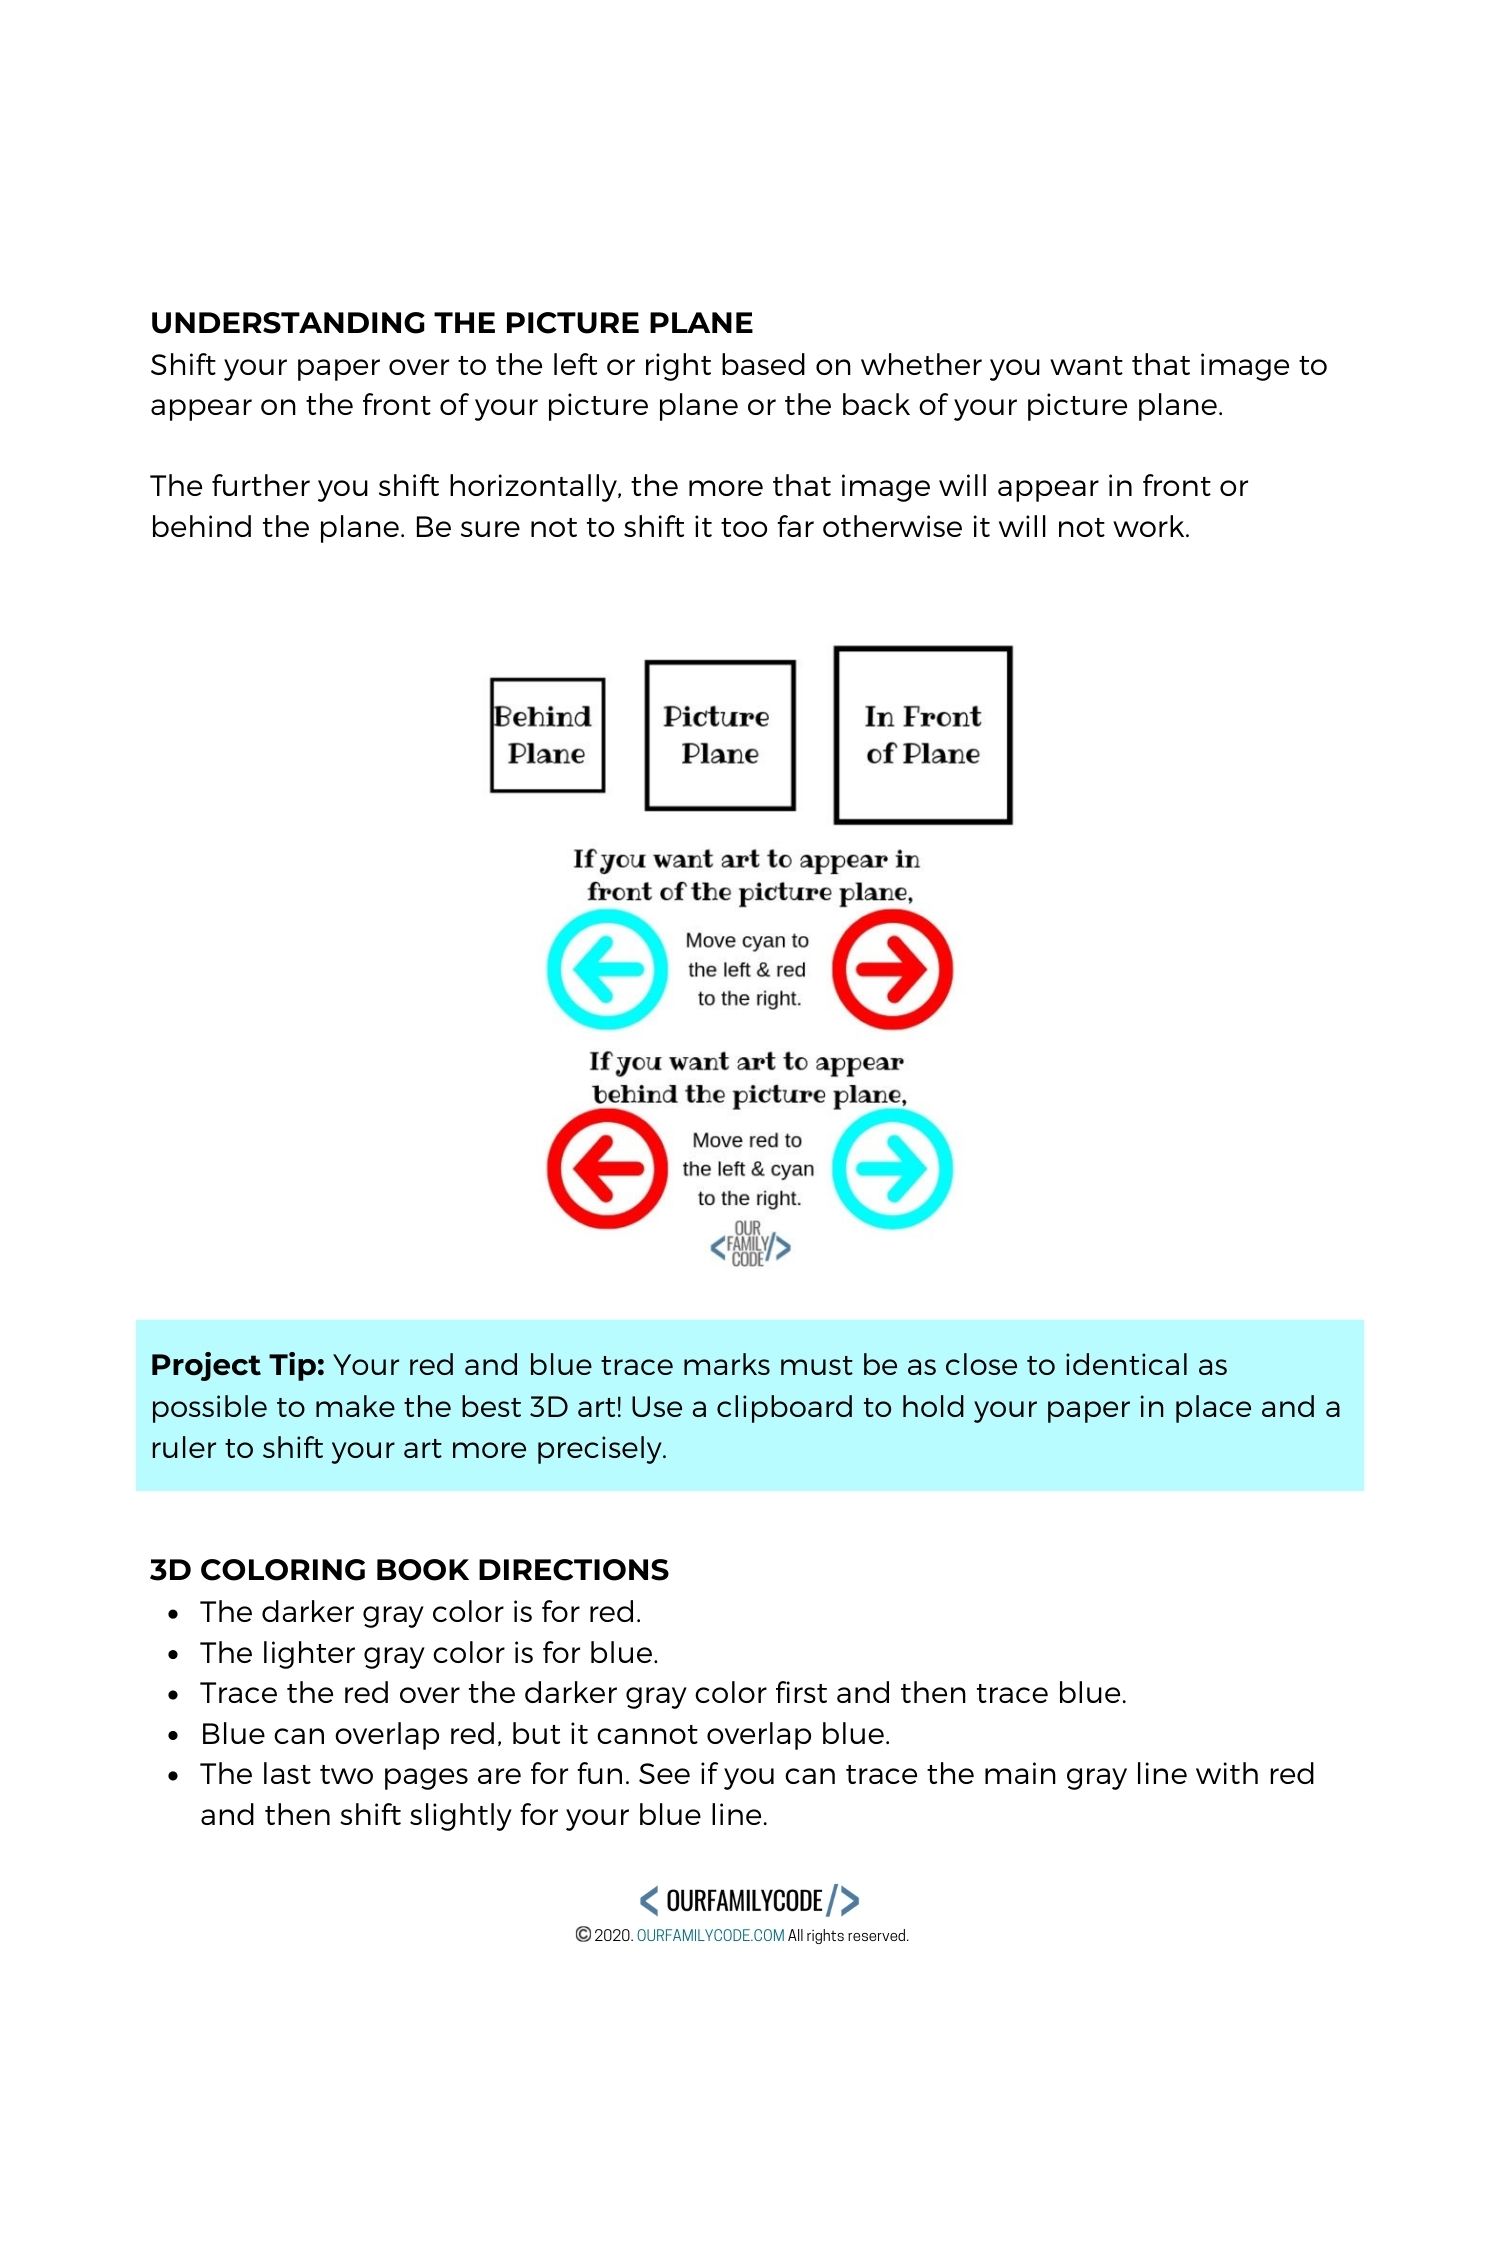
Download the printable 3D art activity instructions. These materials may be used for the free learning activities described here; we do not give permission for them to be sold or used commercially.
Connect Anaglyph Art to STEAM
STEAM stands for Science, Technology, Engineering, Art, and Math. This activity combines testing materials with designing and comparing a visual effect.
Science: Investigate how each filter changes the contrast of colored lines. Keep the paper and lighting consistent when comparing drawing materials.
Technology: Duplicate and align layers in a drawing program. As a software engineer and Maker Mom, I like connecting precise movement on screen with the careful paper shifts in the hand-drawn version.
Engineering: Design a paper frame to hold suitable red and blue/cyan filter sheets. Test the filters first and have an adult help with cutting; the frame alone will not create the effect.
Art: Choose an outline and compare its appearance before and after adding the second color. Try a simple shape before a detailed doodle.
Math: Measure the offset and compare small changes while keeping the drawing’s size fixed. Record which arrangement is easiest to view rather than looking for one universal best distance.
Books to Read with Your Activity
Pair the drawing with The Dot or Sky Color by Peter H. Reynolds. Our original list also included STEM Doodle Book by Sumita Mukherjee.
You Might Also Like
Try recycled bottle sun catchers, superhero wall art, or blow painting with straws for another creative project. For seasonal ideas, explore 31 Nights of Halloween STEAM Activities.
This activity is part of our 31 Days of Low-Prep STEAM Activities collection. Choose another science and art investigation below.

Gravity Paint Pours
Use gravity to move paint and create marbled patterns. Compare the movement of liquid paint with the spreading ink in this Sharpie activity.
Chalk Pastel Leaf Rubbings
Capture leaf textures with paper and chalk pastels. Compare how different art materials interact with a surface.
Oil Resist Tessellation Art
Make a repeating tile and color its outlines with oil and chalk pastels. This project adds geometric patterns to an investigation of art materials.
Sharpie Art on Canvas
Use permanent markers and adult-applied rubbing alcohol to investigate solubility. Let the artwork dry completely before considering it as a constellation background.
Squeegee Butterfly Art
Move paint with a squeegee to make butterfly process art. Try describing the direction and shape of the paint marks.
Optical Illusion Art
Make patterns that create surprising visual effects. Explore the difference between a change in the artwork and a change in how it appears.
Salt Painting
Observe how colored liquid spreads through a salt-covered design. Compare its movement with the ink spreading on your canvas.
Light-Up Constellation Art
Transfer a star pattern onto a canvas and make it glow with battery-operated lights. Compare a model of a sky pattern with a drawing that creates a depth illusion.
Plastic Bottle Butterflies
Make butterfly artwork using a recycled plastic bottle. Explore a different surface and connect the project with butterfly migration.
Chalk Pastel Glue Resist Lion
Draw a lion and use dried glue lines with chalk pastel color. Compare those boundaries with the soft edges produced by alcohol and marker ink.
Plastic Bottle Sun Catchers
Reuse plastic bottles to make colorful sun catchers. Notice how light changes the appearance of your finished artwork.
Blow Painting with Straws
Use moving air to push paint across paper. Compare this movement with the liquid flow and spreading colors in your Sharpie art.
Save the image below and keep a note of the colors and glasses that worked together. Those details make it easier to return to the project and compare another drawing.
Meet Toni, the Maker Mom behind Our Family Code

Hey there, I’m Toni! I’m a software engineer and Maker Mom that finds my joy in unleashing my children’s curiosity by exploring STEAM concepts with my fantastic five!
When I’m not chasing toddlers or raising tweens, you can find me tearing things up and putting them back together over here at Our Family Code.
I am the owner and content creator of multiple educational websites designed to increase access to STEAM & STEM education with a focus on teaching computer science and coding to kids of all ages!


